
Have you ever found yourself in the middle of a project only to realize your power screwdriver isn’t working? Frustrating, isn’t it?
Whether you’re a seasoned DIY enthusiast or just someone who occasionally fixes things around the house, a malfunctioning power screwdriver can be a real setback. But don’t worry—you’re not alone in this. Learning how to repair your power screwdriver can save you time, money, and a lot of hassle.
Imagine the satisfaction of not only getting your tool back in action but also gaining the confidence to tackle future issues with ease. Ready to dive into the world of power screwdriver repair and become your own handyman hero? Let’s get started.

Credit: www.amazon.de
Common Power Screwdriver Problems
Power screwdrivers are handy tools for many jobs. They can stop working well over time. Knowing common problems helps you fix them faster.
Issues can come from different parts like the battery, motor, chuck, or switch. Each problem has simple ways to check and repair it.
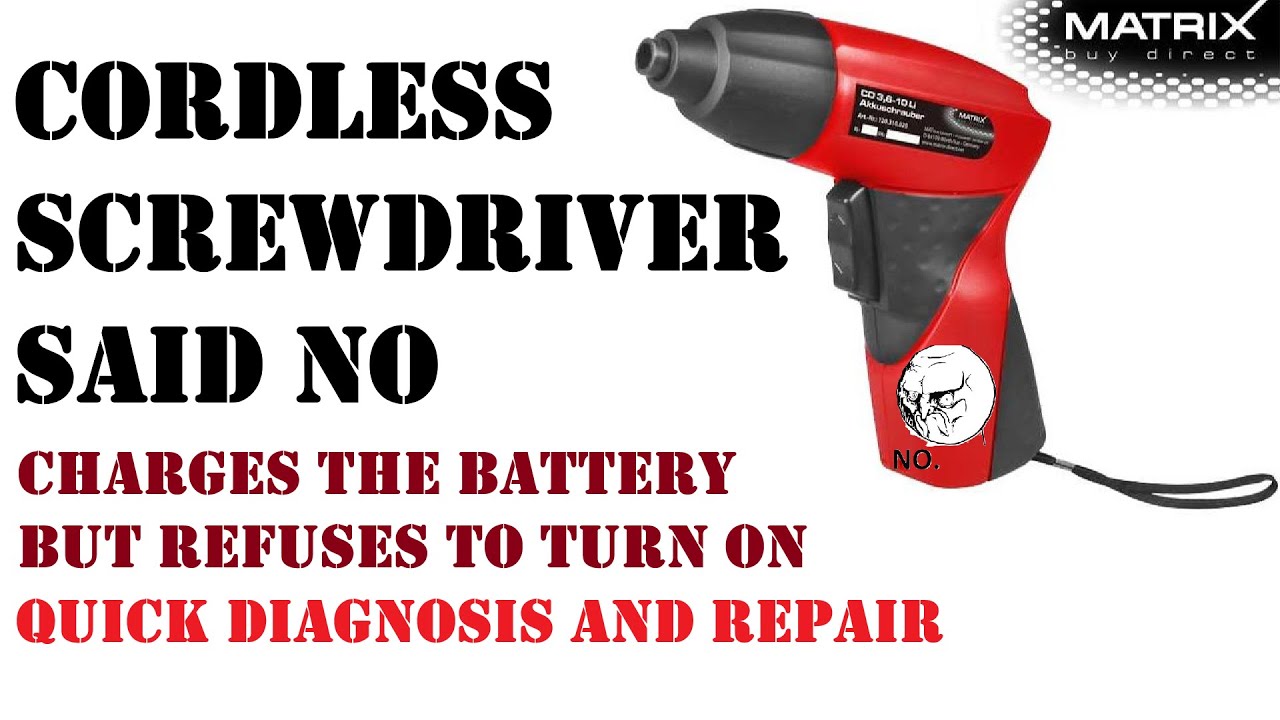
Battery Issues
Batteries can lose charge or fail completely. This causes the screwdriver to stop working or run for a short time. Sometimes the battery does not hold power well.
Check if the battery is properly connected and charged. Clean the contacts if dirty. Replace the battery if it no longer holds a charge.
- Charge battery fully before use
- Clean battery contacts regularly
- Replace old or damaged batteries
Motor Malfunctions
The motor drives the screwdriver bit. If it makes strange noises or stops running, it may be faulty. Dirt or worn brushes can cause motor problems.
Open the screwdriver case to check the motor. Clean dust and debris. Replace worn brushes or the motor if needed.
- Listen for unusual motor sounds
- Clean the motor area from dust
- Replace brushes if worn out
- Consider motor replacement if broken
Chuck And Bit Problems
The chuck holds the screwdriver bit in place. If it slips or does not tighten, the bit will not work properly. Bits can also become worn or damaged.
Check the chuck for dirt or damage. Clean it and tighten the chuck properly. Replace worn bits to keep good grip and performance.
- Clean chuck regularly
- Tighten chuck before use
- Use good-quality bits
- Replace worn or damaged bits
Switch And Trigger Failures
The switch and trigger control power to the screwdriver. If the tool does not start or stops suddenly, the switch might be broken. Dirt or wear can cause failures.
Test the switch and trigger for smooth operation. Clean contacts and replace the switch if it does not work correctly.
- Check switch and trigger movement
- Clean switch contacts
- Replace faulty switches
Essential Tools For Repairs
Repairing power screwdrivers needs the right tools. Using proper tools makes the job easier and safer.
This guide covers the main tools you need to fix power screwdrivers. Each tool helps with a specific task.
Screwdriver Sets
A good screwdriver set is a must for repairs. It includes different sizes and types of screwdrivers.
- Flathead screwdrivers
- Phillips screwdrivers
- Torx drivers
- Hex keys or Allen wrenches
Multimeter Use
A multimeter checks electrical parts in the screwdriver. It helps find broken wires or bad batteries.
- Set the multimeter to measure voltage or resistance.
- Test the battery voltage to see if it is charged.
- Check the motor coil for continuity.
- Inspect switches for proper operation.
Lubricants And Cleaners
Lubricants keep moving parts smooth. Cleaners remove dust and grime inside the tool.
| Type | Use |
| Light machine oil | Lubricate gears and shafts |
| Contact cleaner | Clean electrical contacts |
| Compressed air | Remove dust inside tool |
| Isopropyl alcohol | Clean metal parts |
Replacement Parts
Having spare parts helps fix common failures. Replace worn or broken components to restore function.
- Carbon brushes
- Switches
- Bearings
- Power cords or batteries
Battery Troubleshooting
Power screwdrivers rely on healthy batteries to work well. If your tool stops working, the battery might be the problem. Testing and caring for the battery can save you time and money.
This guide covers how to check your battery health, tips for charging and storage, and how to replace battery packs safely.
Testing Battery Health
Start by checking the battery charge level and performance. A weak battery will not hold power or run the tool long. Use a multimeter to test the voltage output of the battery pack.
- Fully charge the battery before testing.
- Set the multimeter to DC voltage.
- Touch the multimeter probes to the battery terminals.
- Compare the reading to the battery’s rated voltage.
- If voltage is low, the battery may need replacement.
Charging And Storage Tips
Proper charging and storage extend battery life. Avoid overcharging or leaving the battery empty for a long time. Store batteries in a cool, dry place to prevent damage.
| Tip | Details |
| Charge Fully | Charge the battery before first use and between uses. |
| Avoid Overcharge | Unplug charger once the battery is full. |
| Store Cool | Keep batteries away from heat or direct sunlight. |
| Partial Charge Storage | Store batteries at about 50% charge if not used for a long time. |
| Clean Contacts | Wipe battery terminals with a dry cloth before charging. |
Replacing Battery Packs
When the battery no longer holds charge, replace it with the correct pack. Use only compatible batteries for your power screwdriver model to avoid damage.
- Turn off the screwdriver and remove the old battery.
- Match the replacement battery model and voltage.
- Insert the new battery securely in place.
- Test the tool to ensure the new battery works properly.
- Recycle old batteries safely at a local collection center.
Motor Repair Techniques
Power screwdrivers rely on their motor to work well. Fixing motor problems can save money and extend tool life. Learn how to spot issues and fix common motor parts.
This guide covers key motor repair steps. You will find tips on cleaning, lubricating, and replacing worn parts. Follow these simple instructions to keep your screwdriver running smoothly.
Identifying Motor Issues
Start by checking for signs of motor trouble. Listen for strange noises or weak power. Look for burning smells or overheating. These signs help find motor faults early.
- Unusual grinding or clicking sounds
- Motor stops or runs unevenly
- Power screwdriver feels hot quickly
- Burning or electrical smell near the motor
- Visible damage to motor parts or wires
Cleaning And Lubricating
Cleaning removes dirt and dust that block motor parts. Lubricating lowers friction to keep the motor smooth. Both steps help prevent wear and tear.
| Task | Tools Needed | Notes |
| Remove dirt and dust | Soft brush, compressed air | Do not use water inside motor |
| Apply lubricant | Light machine oil | Use small amounts on moving parts |
| Check motor casing | Cloth | Wipe off excess oil and dust |
Replacing Brushes And Components
Motor brushes wear out over time. Replace them to restore good contact. Also check other parts like springs and wires for damage.
- Remove the motor cover carefully
- Take out old brushes and note their size
- Install new brushes of the same type
- Inspect springs and connectors for wear
- Reassemble the motor and test the screwdriver
Fixing Chuck And Bit Problems
Power screwdrivers can have issues with their chuck and bits. Fixing these problems helps the tool work better. This guide shows simple ways to repair common problems.
Understanding how to fix the chuck and bits saves time and money. Follow the steps to keep your screwdriver in good shape.
Aligning And Tightening Chuck
A loose or misaligned chuck causes the bit to wobble. This affects your work and can damage the tool. Fixing it is easy with the right steps.
First, turn off the power screwdriver and remove the bit. Check if the chuck is clean and free from dirt. Dirt can stop the chuck from closing properly.
- Clean the chuck with a dry cloth.
- Insert the bit straight into the chuck.
- Turn the chuck clockwise to tighten it fully.
- Make sure the bit is centered and not loose.
Replacing Worn Bits
Bits wear out after long use. A worn bit slips or breaks easily. Replace worn bits to keep your screwdriver working well.
Check bits often for signs of wear. Look for rounded or broken edges. Use the correct size bit for your screws.
- Remove the old bit from the chuck.
- Pick a new bit that fits your screw type.
- Insert the new bit firmly into the chuck.
- Tighten the chuck to hold the bit securely.
Dealing With Jammed Chucks
A jammed chuck does not open or close easily. This can stop your screwdriver from working. Fix the jam before using the tool again.
Remove the power source before fixing the chuck. Use a small tool to clear dirt inside the chuck. Lubricate the chuck if needed for smooth movement.
- Turn off and unplug the screwdriver.
- Use compressed air to blow out dirt.
- Apply a small amount of oil to the chuck.
- Open and close the chuck several times.
- If stuck, gently tap the chuck with a rubber mallet.
Switch And Trigger Maintenance
Power screwdrivers need regular care to work well. The switch and trigger parts are key to control the tool.
Fixing these parts can save money and keep your tool safe. Learn how to check and fix them.
Inspecting Wiring Connections
Loose or broken wires cause power problems. Check all wiring inside the screwdriver carefully.
Look for burnt spots, cuts, or worn insulation on wires. Make sure all wires connect tightly to the switch.
- Unplug the tool before inspecting
- Use a flashlight to see inside
- Test wires for continuity with a multimeter
- Fix or replace damaged wires
Cleaning Contacts
Dirty or corroded contacts stop electricity flow. Clean the switch contacts to keep power steady.
Use a small brush or cloth with contact cleaner. Gently remove dust and rust from the contact points.
- Remove the switch carefully
- Apply contact cleaner sparingly
- Use a soft brush or cloth
- Dry contacts before reassembling
Replacing Faulty Switches
If the switch does not work after cleaning, it may be faulty. Replace it with a new one for safety.
Buy the correct switch model for your screwdriver. Remove the old switch and connect the new one correctly.
- Unplug the screwdriver
- Note the wiring layout before removal
- Disconnect wires from the old switch
- Attach wires to the new switch firmly
- Test the screwdriver before full assembly
Safety Tips During Repairs
Repairing power screwdrivers can be dangerous without the right safety steps. Use care to avoid injuries and damage.
Follow these safety tips to protect yourself and the tool during repairs.
Disconnecting Power Sources
Always unplug the screwdriver before starting any repair. This stops electric shocks and accidental starts.
- Unplug the charger or power cable.
- Remove the battery pack if it is cordless.
- Press the power button to release any stored energy.
- Check that no power is flowing to the tool.
Using Protective Gear
Wear safety gear to protect your eyes, hands, and skin from harm.
- Use safety goggles to protect your eyes from dust and debris.
- Wear gloves to avoid cuts and electric shocks.
- Use a dust mask if you work in a dusty place.
- Wear tight clothing that won’t get caught in moving parts.
Handling Components Carefully
Handle all parts gently to avoid damage and injury. Keep parts organized and clean.
| Component | Handling Tip |
| Motor | Hold with both hands to avoid dropping |
| Switch | Do not pull wires forcefully |
| Battery | Store in a dry place away from metal objects |
| Screws | Keep in a small container to prevent loss |
Credit: www.youtube.com
Preventive Care For Longevity
Power screwdrivers are useful tools for many tasks. Taking care of them helps them last longer.
Simple habits can prevent damage and keep your tool working well. Follow these tips often.
Regular Cleaning Routines
Dust and dirt can build up inside the power screwdriver. Clean it regularly to avoid problems.
Wipe the outside after use. Remove dust from vents and moving parts to keep airflow clear.
- Use a dry cloth to clean the tool’s body.
- Blow compressed air into vents to remove dust.
- Clean the chuck to keep bits fitting well.
- Check and remove debris from the battery contacts.
Proper Storage Practices
Store your power screwdriver in a dry, cool place. Avoid places with high humidity or heat.
Keep the tool in its case or on a shelf to protect it from damage and dust.
- Use the original case for storage.
- Keep batteries separate if not used for a long time.
- Store away from direct sunlight and moisture.
- Place in a spot with stable temperature.
Avoiding Overuse
Do not use the power screwdriver for tasks beyond its design. Overuse can cause damage.
Give the tool breaks during long jobs. This helps prevent overheating and wear.
- Use the correct screwdriver bit for each job.
- Do not force the tool when it slows down.
- Take rests after extended use.
- Follow the tool’s recommended duty cycle.

Credit: www.amazon.ca
Frequently Asked Questions
How Do I Fix A Power Screwdriver That Won’t Start?
Check the battery charge and connections first. Clean any dirt from the contacts. Replace the battery if it’s dead. Also, inspect the power switch for damage. If the motor is faulty, professional repair may be necessary.
What Causes A Power Screwdriver To Lose Torque?
Worn-out brushes or gears often cause torque loss. Dirt and debris inside the tool can also reduce power. Regular maintenance and cleaning help prevent this issue. Replace damaged parts promptly to restore optimal performance.
How Can I Replace A Power Screwdriver’s Battery?
Identify the correct battery model for your screwdriver. Remove the old battery by unlocking the compartment. Insert the new battery securely, ensuring correct polarity. Charge fully before first use to maximize battery life.
Why Is My Power Screwdriver Overheating During Use?
Overheating usually results from extended use without breaks. Blocked ventilation or dirty motor parts can also cause heat buildup. Allow the tool to cool down regularly. Clean vents and maintain the motor to prevent overheating.
Conclusion
Repairing power screwdrivers can save time and money. Start by checking the battery and motor carefully. Clean parts often improve performance. Replace broken components with the right tools. Test the screwdriver after each fix. Regular care keeps the tool working longer.
Small problems do not need expert help. Fixing your own tools builds confidence and skill. Keep your power screwdriver ready for any job. Simple steps make repair easy and effective.
