Is your sanding machine not working as it should? Don’t worry; you’re not alone.
Whether you’re a DIY enthusiast or a professional, dealing with a malfunctioning sanding machine can be frustrating. But before you rush to buy a new one or call in costly repairs, consider this: many common issues can be fixed with just a bit of know-how and some basic tools.
Imagine the satisfaction of reviving your trusted tool back to life, saving money, and gaining the confidence that comes with mastering a new skill. You’ll discover straightforward steps to troubleshoot and repair your sanding machine, ensuring it runs smoothly and efficiently. Ready to take control and get your machine back in action? Let’s dive in!
Common Sanding Machine Issues
Sanding machines are useful tools, but they can face problems over time. These issues can affect how well the machine works.
Knowing common problems helps you fix the machine and keep it working longer.
Motor Problems
The motor is the heart of a sanding machine. If it stops or runs weakly, the machine won’t work well.
Check for signs like overheating, strange smells, or slow speed. These can mean the motor needs repair or replacement.
Belt And Disc Wear
Belts and discs wear out with use. Worn parts reduce sanding quality and can cause damage.
- Look for cracks or tears on the belts.
- Check discs for uneven wear or damage.
- Replace belts and discs if they are worn out.
Power Supply Troubles
Power issues stop the machine from running. Check the power cable and plug for damage.
| Problem | Possible Cause | Solution |
| No power | Loose plug or broken cable | Secure plug, replace cable |
| Machine stops | Overloaded circuit | Reset breaker, avoid overloading |
| Intermittent power | Faulty switch | Replace switch |
Unusual Noises And Vibrations
Strange sounds or strong vibrations can mean loose parts or worn bearings.
- Check all screws and bolts; tighten if loose.
- Inspect bearings for wear and replace if needed.
- Balance discs and belts properly to reduce vibration.
Tools Needed For Repairs
Fixing sanding machines needs the right tools. Using proper tools helps make repairs easier and safer.
This guide covers the essential hand tools, specialized equipment, and safety gear you need.
Essential Hand Tools
Hand tools are the basic items you use for most repairs. They help remove parts and adjust screws and bolts.
- Screwdrivers (flathead and Phillips)
- Wrenches (adjustable and socket sets)
- Pliers (needle-nose and regular)
- Allen keys (hex wrenches)
- Hammer
- Utility knife
- Wire cutters
These tools allow you to open the machine, replace belts, and tighten loose parts.
Specialized Equipment
Some repairs need special tools made for sanding machines. These tools help fix motor parts and belts.
- Belt tension gauge
- Multimeter for electrical testing
- Bearing puller
- Lubrication oil or grease gun
- Replacement sanding belts and pads
- Brushes for cleaning motor parts
Using these tools helps keep your sanding machine working smoothly after repair.
Safety Gear
Safety gear protects you while fixing sanding machines. Always wear the right gear to avoid injuries.
- Safety goggles to protect your eyes
- Work gloves for hand safety
- Dust mask or respirator
- Ear protection (earplugs or earmuffs)
- Protective clothing
Wearing safety gear reduces risks from dust, noise, and sharp parts during repairs.
Step-by-step Fixes
Fixing sanding machines can save money and extend their use. Simple repairs often restore good function.
This guide covers basic repairs. Follow clear steps for common problems.
Replacing Worn Belts And Discs
Worn belts and discs reduce sanding quality. Replace them to keep the machine running well.
First, unplug the machine for safety. Remove the old belt or disc carefully. Check for damage on the pulleys and drum.
- Buy the correct size belt or disc for your model
- Install the new belt or disc tightly and evenly
- Test the machine to ensure smooth operation
Motor Maintenance And Repair
Keep the motor clean and free of dust. Dirt can cause the motor to overheat and fail.
Check the motor brushes for wear. Replace them if they are short or damaged. Lubricate motor bearings if needed.
- Turn off and unplug the machine before working on the motor
- Use a brush or compressed air to clean dust
- Replace worn brushes with exact matches
- Apply light oil to motor bearings as per instructions
Electrical Troubleshooting
Electrical issues can stop the machine from working. Check the power cord and switch first.
Use a multimeter to test electrical parts. Replace damaged wires or faulty switches carefully.
- Unplug the machine before checking electrical parts
- Look for frayed or cut wires
- Test switches for proper function
- Replace damaged parts with exact replacements
Adjusting And Aligning Components
Proper alignment ensures smooth sanding and less wear. Check the belt tracking and disc alignment regularly.
Use adjustment screws or knobs to align parts. Make small changes and test the machine after each adjustment.
- Check belt tension and tracking before starting
- Align sanding discs so they spin evenly
- Tighten all screws and bolts securely
- Run the machine and listen for unusual noises

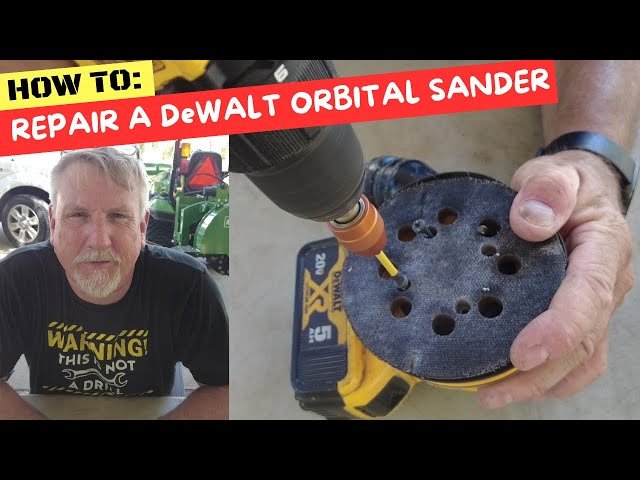
Credit: www.youtube.com
Preventive Maintenance Tips
Keeping sanding machines in good shape helps them work longer and safer. Regular care lowers repair costs. Follow simple tips to protect your machine from damage.
Preventive maintenance includes cleaning, lubrication, and proper storage. Each step plays a key role in machine health. Learn how to do each correctly.
Regular Cleaning Routines
Cleaning removes dust and debris that can harm sanding machines. Clean the machine after every use. Dust buildup can cause overheating and wear.
- Unplug the machine before cleaning.
- Use a brush or compressed air to clear dust from belts and motors.
- Wipe surfaces with a dry cloth to remove fine particles.
- Check and clean the dust collection system regularly.
- Avoid using water or liquids that may damage parts.
Lubrication Practices
Lubrication reduces friction and wear on moving parts. Follow the machine’s manual for correct oils and greases. Too much or too little lubricant can cause problems.
| Part | Lubricant Type | Frequency |
| Bearing | Light machine oil | Monthly |
| Gear | Grease | Every 3 months |
| Moving joints | Oil or grease | After every 10 hours of use |
Storage Recommendations
Proper storage protects sanding machines from damage and rust. Store in a dry, clean place. Avoid extreme temperatures and humidity.
Tips for storing sanding machines:
- Cover the machine with a cloth or plastic sheet.
- Keep it off the floor to prevent moisture contact.
- Store in a well-ventilated area to avoid rust.
- Remove sanding belts and store them separately.
- Check the machine monthly if stored long-term.
When To Seek Professional Help
Repairing sanding machines can be simple, but some problems need expert care. Knowing when to call a professional saves time and money.
Some issues are too hard or risky to fix alone. This guide helps you decide when to get professional help.
Complex Electrical Issues
Electrical problems in sanding machines can be dangerous. Faulty wiring or motors may cause shocks or fires.
Professionals have the tools and knowledge to handle electrical repairs safely. Avoid fixing electrical parts if you lack experience.
Severe Mechanical Damage
Machines with broken gears, bent frames, or damaged belts need expert repair. These parts affect machine safety and performance.
Trying to fix severe damage without skills can make the problem worse. Professionals can replace or fix parts correctly.
Warranty And Service Options
Check if your sanding machine is under warranty. Repairs done by unauthorized people may void it.
Authorized service centers can fix your machine without losing warranty protection. They use original parts and follow rules.
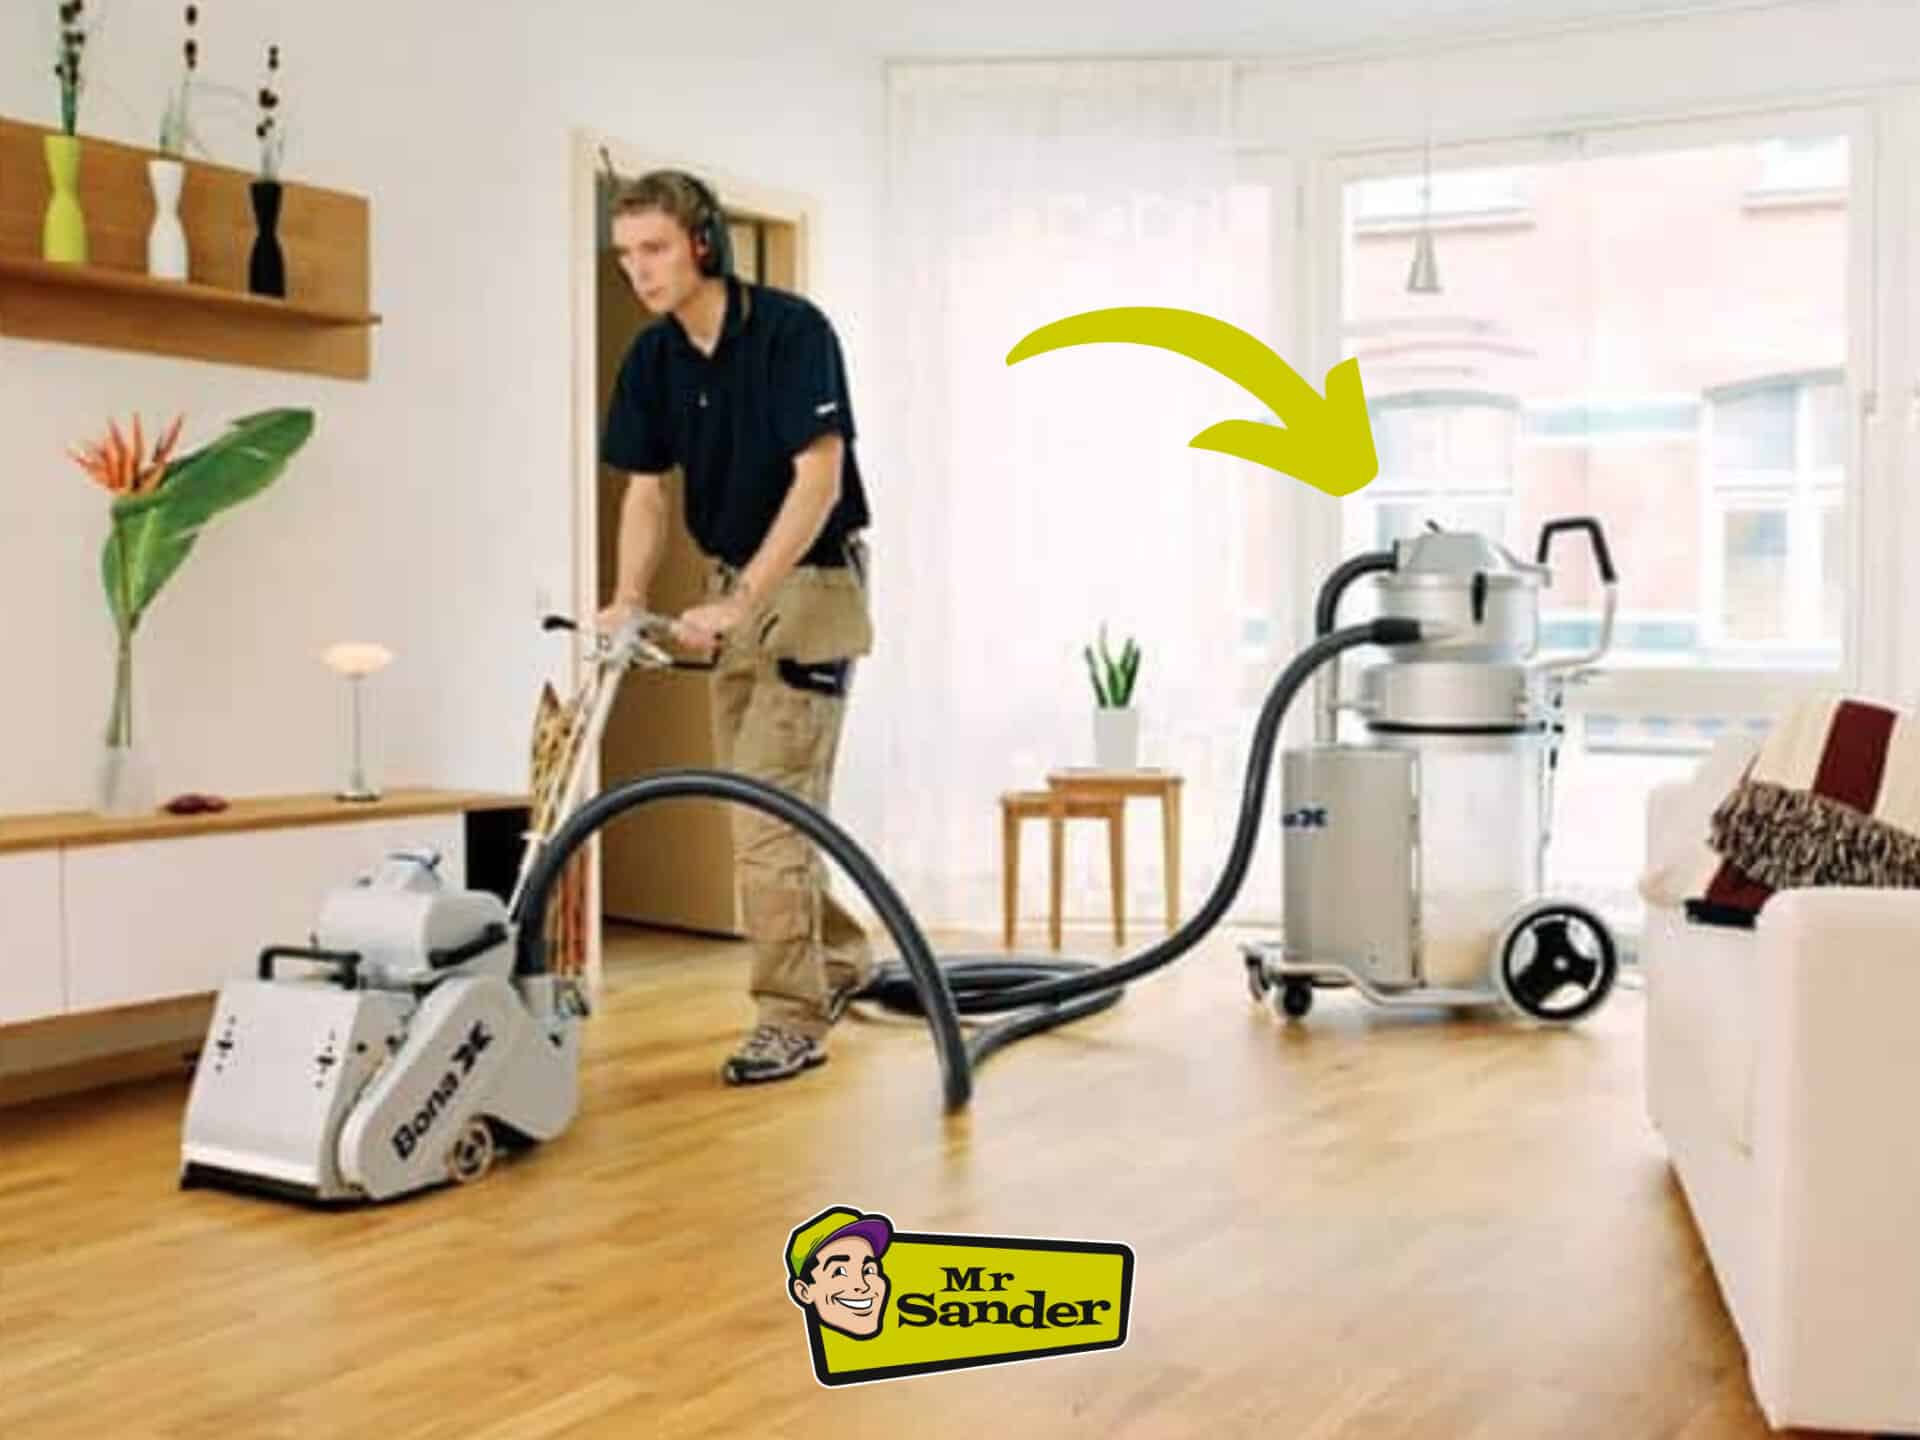
Credit: mrsander.co.uk
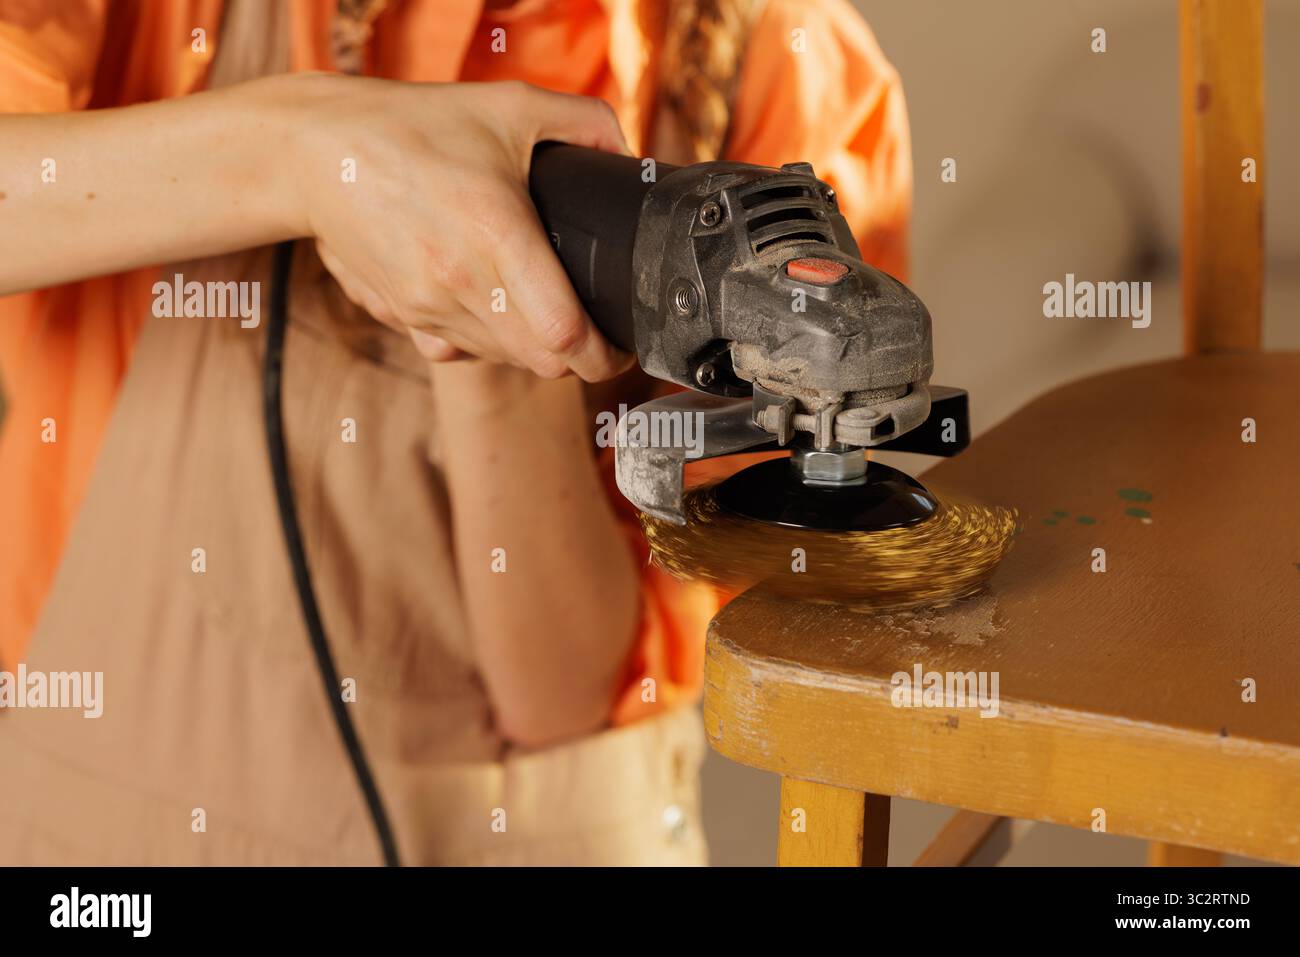
Credit: www.alamy.com
Frequently Asked Questions
How Do I Fix A Sanding Machine That Won’t Start?
Check the power source and cord for damage. Inspect the switch and motor for faults. Replace worn brushes or fuses. Clean dust buildup inside the machine to ensure smooth operation.
What Causes Sanding Belts To Slip Or Break?
Belt slippage or breakage often results from incorrect tension, worn pulleys, or misalignment. Ensure proper belt tension and replace damaged belts immediately for safe, effective sanding.
How Can I Reduce Sanding Machine Vibrations?
Tighten loose parts and balance sanding belts properly. Replace worn bearings and clean dust from moving components. Regular maintenance helps minimize vibrations and improves machine performance.
When Should I Replace Sanding Machine Brushes?
Replace brushes when you notice reduced power, sparking, or uneven sanding. Worn brushes cause motor inefficiency and damage. Inspect brushes regularly for smooth operation.
Conclusion
Repairing sanding machines is easier than it seems. Follow the steps carefully. Check parts often to keep the machine working well. Fix small problems before they grow bigger. Use the right tools for each repair. Keep your workspace clean and safe.
Regular care extends the life of your sanding machine. With patience and practice, repairs become simple. Save money and time by doing repairs yourself. Stay confident and keep improving your skills. Your sanding machine will serve you longer and better.