Choosing the right sanding block can make a huge difference in your project’s finish. If you want smooth surfaces without the hassle, you need to know what to look for.
But with so many options out there, how do you pick the best one for your needs? This guide will help you understand the key features and make a confident choice. Keep reading—you’re just a few steps away from mastering the perfect sanding technique.

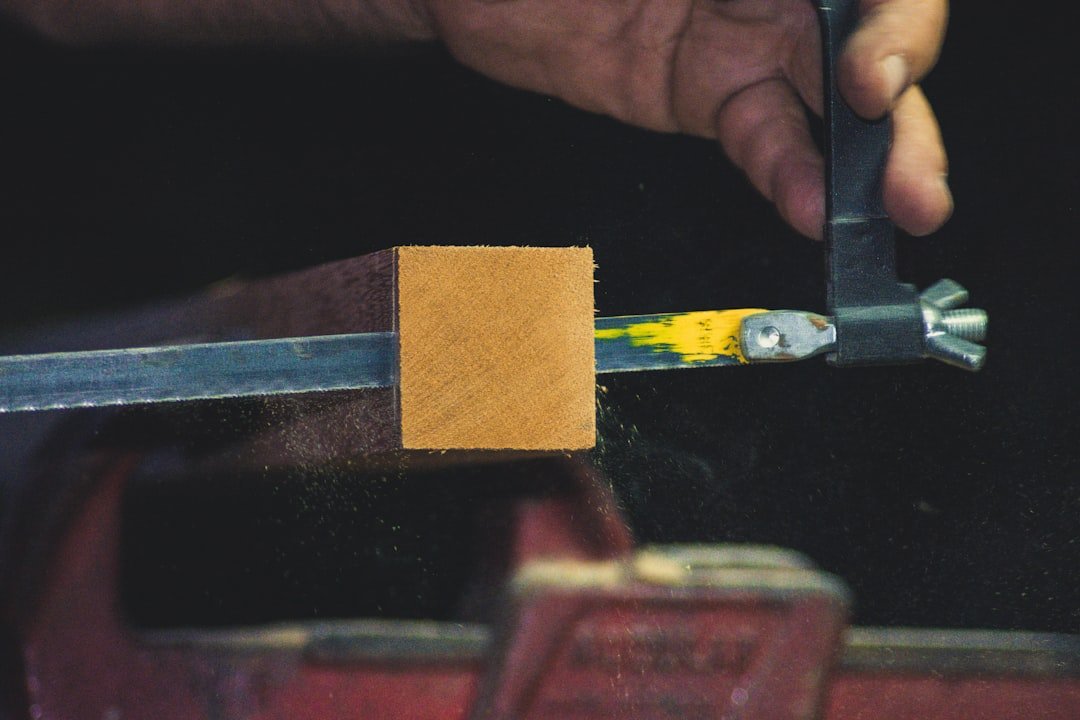
Credit: www.amazon.com
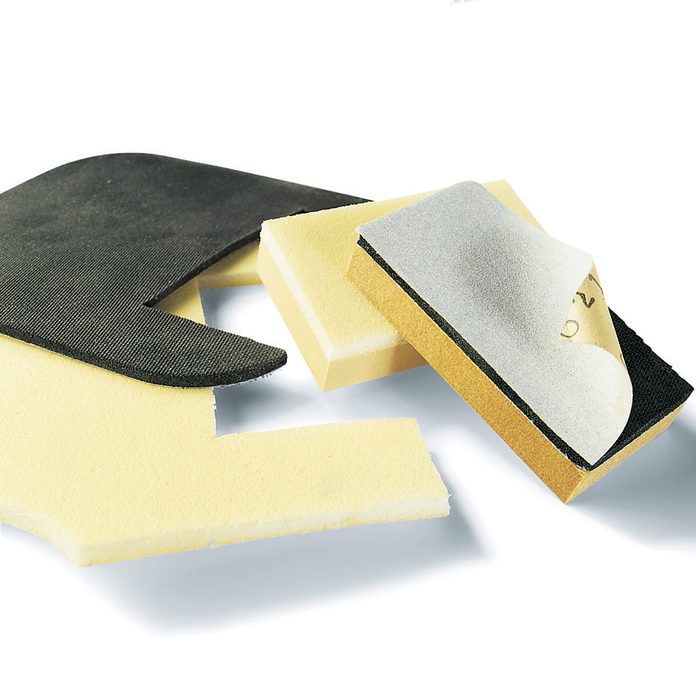
Types Of Sanding Blocks
Sanding blocks help smooth surfaces for painting or finishing. They come in different types for various tasks.
Choosing the right sanding block makes your work easier and better. Below are common types you can use.
Wooden Blocks
Wooden sanding blocks are firm and durable. They give good control for flat surfaces. You wrap sandpaper around them for use.
They work well for heavy sanding and removing rough spots. You can make them yourself or buy ready-made ones.
Foam Blocks
Foam sanding blocks are soft and flexible. They fit curved and uneven surfaces better than wood. Foam blocks reduce hand fatigue during long sanding.
- Good for light to medium sanding
- Come in various shapes and sizes
- Can be used wet or dry
- Ideal for detail sanding
Rubber Blocks
Rubber sanding blocks offer a firm but slightly flexible grip. They hold sandpaper tightly and resist wear. These blocks last longer than foam.
| Feature | Benefit |
| Firmness | Good for flat and slightly curved surfaces |
| Durability | Long-lasting under heavy use |
| Grip | Prevents sandpaper slipping |
| Weight | Heavier than foam but lighter than wood |
Sanding Sponges
Sanding sponges combine foam and abrasive material. They bend easily and clean flat or curved surfaces. Sponges are reusable and can be rinsed.
Advantages of sanding sponges:
- Flexible for detailed work
- Can be used wet to reduce dust
- Washable and reusable
- Comfortable to hold
Choosing The Right Grit
Choosing the right grit for a sanding block is important for good results. The grit number shows the size of the sandpaper particles. Lower numbers mean bigger particles, and higher numbers mean smaller particles.
Picking the correct grit helps you work faster and avoid damaging the surface. Different grits are good for different tasks.
Coarse Grit Uses
Coarse grit has large, rough particles. It removes material quickly and shapes surfaces fast. Use it to take off paint, smooth rough wood, or shape soft materials.
Coarse grit can leave scratches, so use it only when you need heavy sanding. It is usually grit sizes 40 to 60.
- Removing old paint or varnish
- Shaping rough wood
- Leveling uneven surfaces
- Preparing wood for finer sanding
Medium Grit Uses
Medium grit is a good choice for general sanding. It smooths surfaces after coarse grit and prepares for fine sanding. It is common for sanding wood or metal before finishing.
Medium grit usually ranges from 80 to 120. It helps remove minor scratches left by coarse grit.
- Smoothing wood after rough sanding
- Removing small surface imperfections
- Preparing surfaces for painting or staining
- Sanding between coats of finish
Fine Grit Uses
Fine grit has very small particles. It creates a smooth, polished surface. Use it for final sanding before painting or applying finish.
Fine grit ranges from 150 to 220 or higher. It removes small scratches and makes the surface ready for finishing touches.
- Final sanding before painting or staining
- Smoothing surfaces between finish coats
- Polishing wood or metal surfaces
- Removing light scratches and dust nibs
Material Compatibility
Choosing the right sanding block depends on the material you want to work on. Different materials need different sanding block types. Using the wrong block can damage the surface or reduce sanding efficiency.
Understanding material compatibility helps you pick the best sanding block for smooth, even results. This guide covers wood, metal, and plastic surfaces.
Wood Surfaces
Wood needs sanding blocks with soft to medium firmness. A flexible block helps follow wood grain and avoid scratches. Foam or rubber sanding blocks work well on wood.
Use sanding blocks that hold sandpaper tightly to prevent tearing. Avoid hard blocks that can gouge soft wood.
- Choose foam or rubber blocks for flexibility
- Use blocks that fit sandpaper securely
- Avoid very hard blocks on soft wood
Metal Surfaces
Metal surfaces need firm and durable sanding blocks. Hard plastic or wood blocks help apply even pressure. They prevent sanding uneven spots or dents.
Use sanding blocks that resist wear. Metal needs strong blocks to handle rougher sandpaper grades.
- Choose hard plastic or wooden blocks
- Pick blocks that hold sandpaper firmly
- Use durable blocks for rough sanding
Plastic Surfaces
Plastic surfaces require soft and gentle sanding blocks. Soft foam blocks reduce the risk of scratching or melting plastic. They help keep even pressure on curved surfaces.
Use blocks that allow careful sanding without damage. Avoid hard blocks that can leave marks or cracks.
- Use soft foam sanding blocks
- Pick blocks that follow curves easily
- Avoid hard blocks on delicate plastic

Credit: surfprepsanding.com
Ergonomics And Comfort
Choosing the right sanding block helps you work longer without pain. Good ergonomics reduce hand fatigue and improve control.
Comfort is key for sanding tasks. A block that fits your hand well makes sanding easier and safer.
Grip Design
A sanding block with a good grip stops your hand from slipping. Look for blocks with textured or rubber surfaces.
Ergonomic grips follow the shape of your hand. This reduces strain and helps you keep a steady hold.
- Soft rubber grips add comfort
- Textured surfaces improve hold
- Contoured shapes fit your hand better
- Wide grips reduce pressure points
Weight Considerations
Light sanding blocks help you work longer without tiring. Heavy blocks can cause hand and arm fatigue quickly.
Balance weight with durability. A block should be light but strong enough for tough sanding jobs.
- Choose lightweight materials like plastic or foam
- Heavier blocks offer more control but tire your hand
- Test the block’s weight before buying
- Consider the sanding time and your strength
Durability And Maintenance
Choosing a sanding block means thinking about how long it lasts and how to keep it clean. Good care helps your block work well for a long time.
Durable sanding blocks save money and make your work easier. Simple maintenance keeps them in top shape.
Cleaning Techniques
Cleaning your sanding block removes dust and debris. This stops the block from clogging and keeps it sanding smoothly.
Use a stiff brush or compressed air to clean the block. Avoid water unless the block is water-resistant.
- Brush off dust after each use
- Blow out particles with compressed air
- Do not soak non-waterproof blocks
- Let blocks dry completely if wet
Longevity Tips
Take care of your sanding block to make it last longer. Store it in a dry place away from heat and sunlight.
Use the right grit for your project. Avoid pressing too hard to reduce wear on the block.
- Store in a cool, dry spot
- Use correct grit for each task
- Apply gentle pressure while sanding
- Replace the block when it wears out
Credit: www.familyhandyman.com
Budget And Value
Choosing the right sanding block means thinking about how much you spend. You want a good balance between cost and quality. This helps you get the best value for your money.
Some sanding blocks cost less but wear out fast. Others cost more but last longer and work better. Knowing what to pick can save money and improve your work.
Cost Vs Quality
Cheap sanding blocks can be good for small jobs. They may tear or lose shape quickly. Higher quality blocks hold up well and give smooth finishes.
| Price Range | Durability | Finish Quality |
| Low | Short | Basic |
| Medium | Moderate | Good |
| High | Long | Excellent |
Reusable Options
Reusable sanding blocks save money over time. You can replace the sandpaper and keep the block itself. This reduces waste and is good for the environment.
- Choose blocks with replaceable pads
- Look for durable materials like rubber or wood
- Keep your sanding block clean to last longer
- Use the right grit sandpaper for each job
Expert Tips For Best Results
Selecting the right sanding block is key for smooth finishes. The right block helps you work faster and cleaner.
Knowing what to look for can save time and improve your project’s quality. Follow these tips for the best sanding results.
Proper Sanding Techniques
Hold the sanding block firmly but do not press too hard. Let the sandpaper do the work.
Move the block evenly across the surface. Sand in the direction of the wood grain to avoid scratches.
- Use even, steady strokes
- Keep the block flat on the surface
- Change sandpaper when worn out
- Clean dust often to see progress
Avoiding Common Mistakes
Do not use a sanding block that is too hard or too soft for your project. This can cause uneven sanding.
Avoid sanding with dirty or clogged sandpaper. It reduces efficiency and can scratch the surface.
- Do not apply too much pressure
- Do not sand in a circular motion
- Do not ignore the sanding block size
- Do not skip cleaning the block and surface
Frequently Asked Questions
What Factors Should I Consider When Choosing A Sanding Block?
Consider the sanding block’s material, size, and grit compatibility. Choose a block that fits your hand comfortably and suits your project type. Durable materials like rubber or foam offer better control and even sanding results.
How Does Grit Size Affect Sanding Block Performance?
Grit size determines the sanding block’s abrasiveness. Lower grit numbers (40-60) remove material quickly, while higher grits (120-220) provide smoother finishes. Select grit based on your project’s needs for optimal results.
Can I Use A Sanding Block On Curved Surfaces?
Yes, flexible sanding blocks or sponge types work well on curves. They conform to the surface shape, ensuring even sanding without damaging the material.
Why Is Sanding Block Size Important For My Project?
Size impacts control and coverage. Larger blocks cover more area, ideal for flat surfaces. Smaller blocks offer precision for detailed or tight spaces.
Conclusion
Choosing the right sanding block improves your project results. Consider the material and grip for comfort. Evaluate the block’s size for your task. Think about the type of sandpaper it uses. Compare prices, but prioritize quality. A well-chosen sanding block saves time.
It also enhances your final finish. Keep these tips in mind for better outcomes. Your projects will look more professional. Happy sanding!
