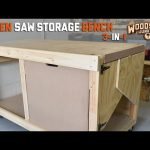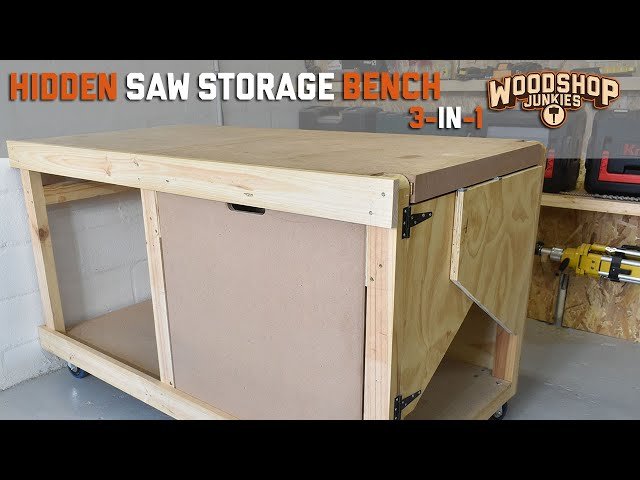
Are you tired of searching for tools and materials in a cluttered garage or workspace? Imagine having a dedicated spot where everything is organized and within reach.
Setting up a DIY workbench with storage can transform your workspace from chaotic to efficient. You don’t need to be a master carpenter to create a functional and stylish workbench that meets your needs. Whether you’re a weekend warrior or a seasoned DIY enthusiast, this guide will walk you through the simple steps to build your own workbench with storage.
Discover how easy it is to customize your workspace, increase productivity, and enjoy the satisfaction of a clutter-free environment. Stick around to learn how this project can change the way you work and play.
Choosing The Right Location
Setting up a DIY workbench needs careful thought about where to place it. The right location makes your projects easier and safer.
This guide helps you pick the best spot by looking at workspace size, lighting, ventilation, and power access.
Assessing Workspace Size
Check how much room you have before placing your workbench. It should fit well without crowding the area.
- Measure the floor space where you want the workbench.
- Leave space for movement around the bench.
- Consider storage needs under or near the bench.
- Think about future projects that may need more space.
Considering Lighting And Ventilation
Good light and air help you work better and stay safe. Choose a spot with enough natural or artificial light.
| Lighting Type | Benefits | Notes |
|---|---|---|
| Natural Light | Bright, saves energy | Place near windows |
| Overhead Light | Even lighting | Use LED lights for clarity |
| Ventilation | Removes dust and fumes | Open windows or fans work well |
Access To Power Sources
Your workbench needs power for tools. Pick a location near outlets to avoid using long extension cords.
- Check how many electrical outlets are available.
- Use power strips with surge protection if needed.
- Avoid placing the bench where cords can cause trips.
- Consider adding extra outlets if your space allows.
Selecting Materials And Tools
Building a DIY workbench with storage needs careful material and tool selection. The right choices improve strength and usability.
This guide covers wood types, essential tools, and hardware needed for a sturdy workbench.
Types Of Wood For Durability
Choose wood that holds up under heavy use and resists warping. Hardwoods last longer but cost more.
- Maple: Strong and smooth surface, good for worktops.
- Oak: Very durable, ideal for frame and legs.
- Birch: Hard and affordable, fits many designs.
- Pine: Softwood, cheaper, good for shelves or storage parts.
- Poplar: Lightweight and easy to work with.
Essential Tools Checklist
Gather tools before starting. These help with cutting, joining, and assembling your workbench.
- Circular saw or handsaw for cutting wood.
- Drill with various bits for holes and screws.
- Screwdriver set to drive screws securely.
- Measuring tape and square for accurate cuts.
- Sander or sandpaper to smooth surfaces.
- Clamps to hold pieces while gluing or screwing.
Hardware And Fasteners
Use quality hardware to keep your workbench strong and stable over time.
| Hardware | Purpose | Recommended Type |
| Wood screws | Join wood pieces tightly | Coated, 8 or 10 size |
| Bolts and nuts | Secure legs and frame | Galvanized steel, ¼ inch |
| Wood glue | Add extra strength to joints | Water-resistant PVA glue |
| Corner brackets | Reinforce corners | Steel, L-shaped |
| Drawer slides | Enable smooth storage movement | Ball bearing type |
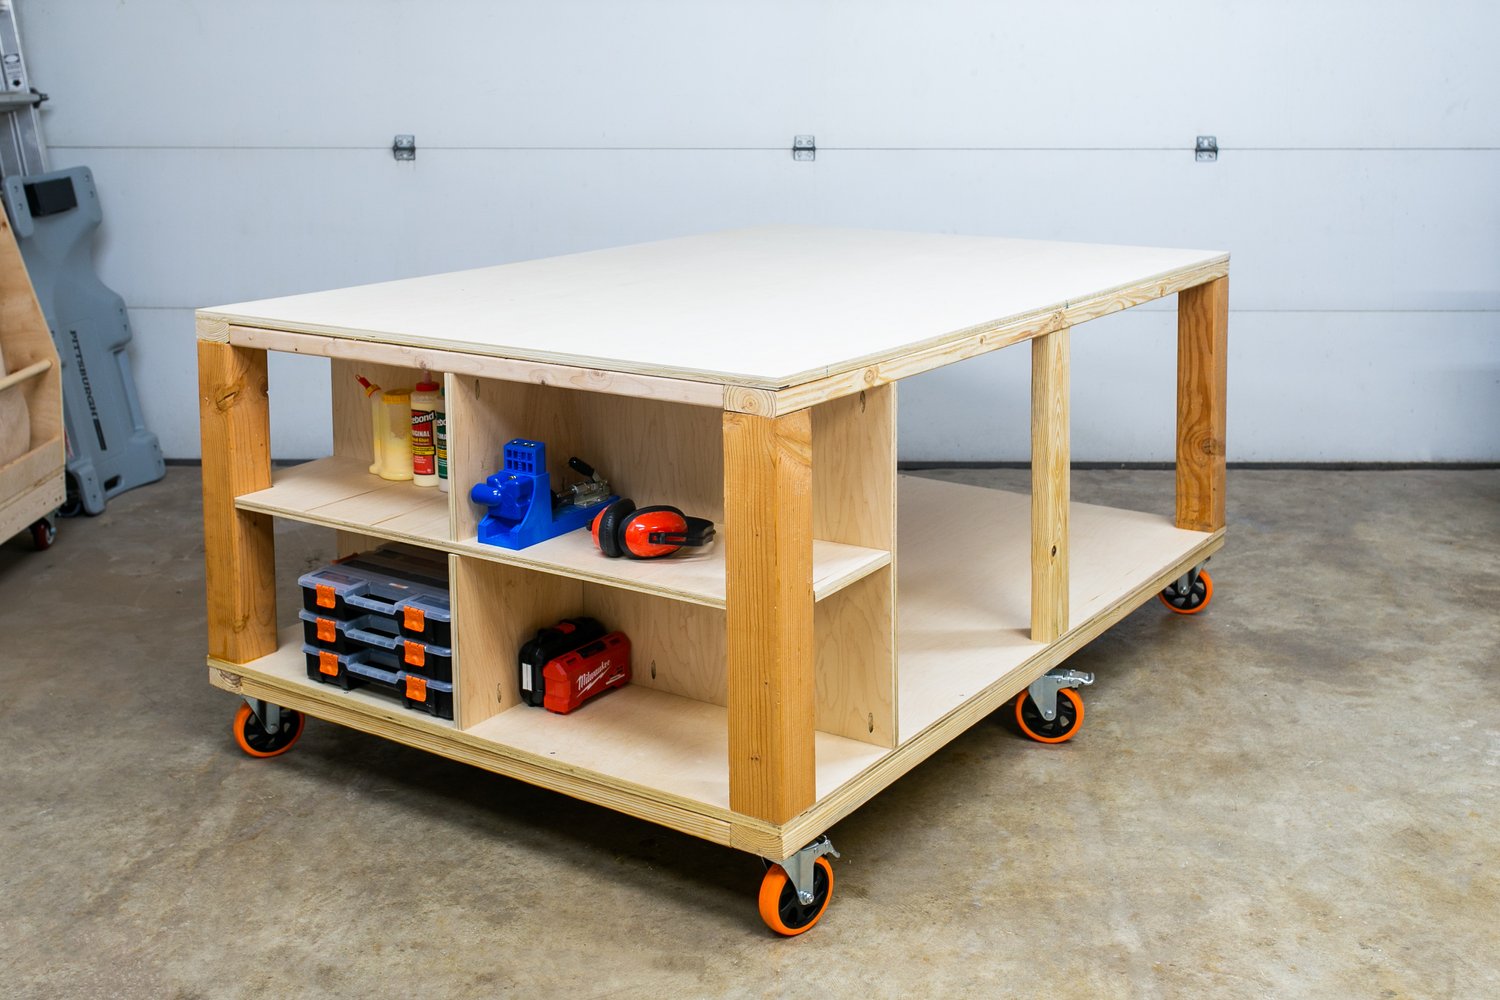
Designing Your Workbench
Designing a DIY workbench is key for a useful workspace. A well-planned workbench helps keep tools organized and work efficient.
Consider space, storage, and how you move the bench. Good design saves time and effort in your projects.
Determining Dimensions
Start by measuring the space where your workbench will go. Make sure it fits well without blocking doors or walkways.
Think about the height and width. The height should be comfortable for you to work at for long periods.
- Standard height is about 34 to 36 inches
- Width depends on available space and projects
- Depth should allow room for tools and materials
Incorporating Storage Options
Add storage to keep your tools and supplies close. Storage helps keep your workspace clean and organized.
Choose shelves, drawers, or pegboards based on what tools you have and how you work.
- Shelves hold large items and bins
- Drawers keep small tools and parts safe
- Pegboards make tools easy to find and grab
Planning For Mobility
Think about if you need to move your workbench. Wheels or casters add mobility and ease cleaning.
Choose locking wheels to keep the bench steady when you work. Make sure the wheels fit your floor type.
- Use heavy-duty casters for durability
- Locking casters keep the bench stable
- Consider size of wheels for uneven floors

Credit: medium.com
Building The Frame
Building a sturdy frame is the first step in making your DIY workbench with storage. The frame supports the entire bench and holds the storage compartments.
Focus on strong materials and precise measurements. This ensures your workbench will last and hold heavy tools safely.
Cutting And Preparing Wood
Start by choosing good quality lumber like pine or oak. Use a saw to cut the wood to the correct sizes for the frame.
Sand the edges smooth to avoid splinters. Mark each piece clearly to help with assembly.
- Measure twice, cut once
- Cut legs, supports, and frame pieces
- Sand all cut edges for safety
- Label pieces for easy identification
Assembling Legs And Supports
Attach the legs to the frame pieces using screws or bolts. Make sure the legs are straight and aligned.
Add support braces between the legs to increase strength. This will keep the workbench steady during use.
- Use wood screws or bolts for strong joints
- Place braces diagonally for extra support
- Check that legs are vertical before tightening
- Tighten all fasteners securely
Ensuring Stability And Leveling
Place the frame on a flat surface. Check if it rocks or tilts. Adjust leg length if needed to level the bench.
Add rubber pads or shims under legs to prevent slipping and protect your floor. This keeps the workbench steady.
- Use a carpenter’s level to check flatness
- Trim legs if one is too long
- Add shims or pads under legs for balance
- Test stability by applying pressure
Adding The Work Surface
The work surface is the main area where you will do your projects. It needs to be strong and smooth for easy work.
Choosing the right surface and securing it well makes your workbench last longer and work better.
Choosing Surface Material
Pick a material that is tough and easy to clean. Wood is popular because it is strong and smooth.
Other options like plywood or MDF work well for light tasks but may not last as long.
- Solid hardwood: durable and smooth
- Plywood: affordable and stable
- MDF: smooth but less durable
- Metal: very strong but can be hard on tools
Securing The Top
Attach the surface firmly to the frame to prevent movement. Use screws or bolts for a tight hold.
Make sure the surface is level before securing it. This keeps your work steady and safe.
- Use wood screws for wooden frames
- Bolts for metal frames
- Add washers to avoid surface damage
- Check for evenness with a level tool
Finishing Touches For Durability
Protect the surface by sanding it smooth. This prevents splinters and rough spots.
Apply a finish like varnish or paint to resist stains and water damage.
- Sand with fine-grit sandpaper
- Apply wood sealer or varnish
- Use paint for extra protection
- Let each coat dry fully before adding more
Credit: www.makergray.com
Creating Storage Solutions
A DIY workbench with good storage helps keep tools tidy and easy to find.
Organizing your workspace improves efficiency and saves time during projects.
Installing Shelves And Drawers
Shelves provide open storage for large tools and supplies. Drawers keep smaller items hidden but accessible.
- Measure the space under or above the workbench for shelves.
- Use sturdy wood or metal brackets to support shelves well.
- Install drawers with smooth slides to hold screws, nails, and small tools.
- Label each drawer to know contents without opening them.
Using Pegboards And Hooks
Pegboards let you hang tools on the wall for quick access. Hooks hold items like hammers, wrenches, and tape measures.
| Tool | Hook Type | Placement Tip |
| Hammer | Single hook | Near work area for easy reach |
| Screwdriver | Multi-hook rack | Grouped by size and type |
| Measuring tape | Loop hook | At eye level |
| Wrench | Magnetic strip | Keep sets together |
Organizing Small Parts And Tools
Small parts like nails and screws need special containers. Use clear bins or divided organizers.
Tips for Organizing Small Parts:
- Sort parts by type and size.
- Label each container clearly.
- Keep frequently used items within arm’s reach.
- Use stackable boxes to save space.
Customizing For Efficiency
Creating a DIY workbench is a great project. Customizing it helps improve your work speed. Adding features that fit your needs makes your space more useful.
Focus on tools and storage that save time. Adjust lighting and power access. Use clamps and vises that hold your work steady. Personal touches can make your bench easier to use.
Incorporating Power Strips And Lighting
Good lighting and easy access to power make your workbench safer and more productive. Place power strips where you can reach them quickly. Bright lights reduce eye strain and improve accuracy.
- Mount power strips along the back or sides of the bench
- Use LED strip lights under shelves for even light
- Choose adjustable lamps for focused tasks
- Consider motion-sensor lights for convenience
Adding Clamps And Vises
Clamps and vises hold materials steady for cutting, gluing, or sanding. Choose types that fit your usual projects. Install them in spots that give you the best leverage.
| Clamp/Vise Type | Best Use | Placement Tip |
| Quick-release clamp | Fast holding and releasing | Near work surface edge |
| Pipe vise | Holding round objects | Mounted on side |
| Bench vise | Heavy-duty clamping | Corner of bench for strength |
Personalizing With Paint And Labels
Paint and labels add personality and order. Use bright colors to highlight tool zones. Labels help you find items fast and keep the bench tidy.
- Paint drawers and shelves with contrasting colors
- Label storage bins with contents or tool names
- Use chalkboard paint on small sections for notes
- Protect paint with a clear sealant for durability

Credit: www.ramblingrenovators.ca
Maintaining Your Workbench
Keeping your DIY workbench in good shape helps it last longer. Regular care makes your workspace safe and neat.
Follow simple steps to clean, check, and improve your workbench storage over time.
Regular Cleaning Tips
Clean your workbench often to remove dust and dirt. This keeps the surface smooth and ready for work.
- Use a soft cloth to wipe the surface daily.
- Clean spills immediately to avoid stains.
- Remove tools and debris after each project.
- Apply a wood polish or oil every few months to protect the wood.
Inspecting For Wear And Damage
Check your workbench regularly for any signs of wear or damage. Early fixes keep it strong and safe.
| Area | What to Check | Action |
| Workbench Top | Cracks, dents, loose screws | Sand rough spots, tighten screws |
| Legs and Frame | Wobbles, splits, rust | Reinforce joints, replace rusty parts |
| Storage Units | Broken drawers, loose shelves | Fix drawer tracks, tighten shelves |
Upgrading Storage Over Time
Add new storage options as your needs change. This keeps your tools organized and your work area clear.
- Install pegboards to hang tools on the wall.
- Add small bins or boxes for screws and nails.
- Use magnetic strips to hold metal tools.
- Build extra shelves under the bench for larger items.
Frequently Asked Questions
What Materials Are Needed For A Diy Workbench With Storage?
You need plywood, 2×4 lumber, screws, wood glue, drawer slides, and storage bins. Quality materials ensure durability and functionality.
How Do I Maximize Storage In A Diy Workbench?
Use drawers, shelves, pegboards, and bins. Organize tools by size and type for easy access and better efficiency.
What Tools Are Essential To Build A Diy Workbench?
Basic tools include a drill, saw, measuring tape, level, and screwdriver. These help in precise cutting and assembly.
How Can I Customize My Diy Workbench For Specific Projects?
Add adjustable shelves, removable tool holders, or a foldable work surface. Tailor features based on your project needs.
Conclusion
Setting up a DIY workbench with storage makes your workspace neat and handy. You can keep all tools close and easy to reach. Building it yourself saves money and fits your needs. A strong workbench helps finish projects faster and better.
Small steps lead to a big improvement in your work area. Start simple, add storage, and enjoy a tidy, useful bench. This project suits both beginners and experienced makers. Take pride in a workbench built just for you.