Are you tired of digging through cluttered drawers or piles of tools every time you need something? Setting up a rolling tool chest can change the way you work, saving you time and keeping your workspace organized.
Imagine having all your tools within easy reach, neatly arranged and ready whenever you need them. In this guide, you’ll discover simple steps to set up your rolling tool chest so it works perfectly for you. Keep reading, and you’ll learn how to turn chaos into order with a few smart moves.

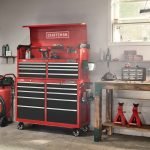
Credit: www.youtube.com
Choosing The Right Tool Chest
Picking a good rolling tool chest helps keep tools safe and easy to reach. It makes work faster and more organized.
Think about your needs before buying. Size, material, and wheels matter for the best choice.
Size And Capacity
Choose a tool chest size that fits your workspace. It should hold all your tools without crowding the area.
Check how many drawers and compartments you need. More drawers help sort tools by type or size.
- Small chests work well for light tool sets
- Medium size fits most hobbyists and mechanics
- Large chests store many tools for professionals
Material And Durability
Look for strong materials like steel or heavy-duty plastic. They protect tools and last longer.
Check the finish to avoid rust and scratches. A good finish keeps the chest looking new.
- Steel is very strong and durable
- Plastic is lighter but less tough
- Powder-coated finish resists rust and chips
Mobility Features
Wheels help move the chest easily around your workspace. Choose wheels that roll smoothly on your floor.
Look for lockable wheels to keep the chest steady when needed. Handles also make moving easier.
- Swivel casters allow easy turning
- Locking wheels keep the chest in place
- Side handles improve grip and control
Preparing Your Workspace
Setting up a rolling tool chest needs a clean and organized workspace. A good workspace helps you work safely and efficiently.
Before you start, take time to prepare the area. This makes the setup process easier and faster.
Clearing The Area
Clear the space where you will place the tool chest. Remove any items that block your work or create hazards.
- Move boxes and furniture away from the spot.
- Sweep the floor to remove dust and debris.
- Make sure the floor is dry to avoid slips.
- Check for cords or cables that may cause tripping.
Ensuring Proper Lighting
Good lighting helps you see details clearly. It also reduces eye strain and accidents.
| Lighting Type | Best Use |
| Natural Light | Daytime work near windows |
| Overhead Lights | General room lighting |
| Task Lights | Focused work on small parts |
Gathering Necessary Tools
Collect all tools needed to assemble and set up your rolling tool chest. Having tools ready saves time.
- Screwdrivers (both flathead and Phillips)
- Wrenches or socket set
- Measuring tape
- Rubber mallet or hammer
- Level tool to check balance
- Gloves to protect your hands
Assembling The Chest Frame
Setting up the frame is the first step to build your rolling tool chest. A strong frame holds all the drawers and tools safely.
Follow the instructions carefully to avoid mistakes. Take your time and work on a flat surface.
Unpacking Components
Start by opening the box and laying out all parts. Check if you have the frame pieces, screws, and tools.
Look for any damage or missing parts. Keep the instruction manual nearby for reference.
- Side panels for the frame
- Top and bottom panels
- Back panel
- Screws and bolts
- Assembly tools or hardware pack
Following Assembly Instructions
Read each step before starting. Align parts as shown in the guide. Use the right screws for each connection.
Attach side panels to the bottom panel first. Make sure edges meet evenly. Tighten screws but do not overtighten.
- Match holes in parts to screw locations
- Use a screwdriver or drill with care
- Check frame alignment often
- Follow the manual sequence
Securing The Frame
Once the main frame is together, secure all screws firmly. This keeps the chest strong and stable.
Check corners and joints for tightness. Add any support brackets included with the kit.
- Tighten all bolts and screws evenly
- Use a level to check frame balance
- Attach back panel for extra support
- Double-check all connections
Installing Drawers And Handles
Setting up your rolling tool chest starts with installing the drawers and handles. Proper installation ensures smooth operation and easy access to your tools.
This guide covers aligning the drawer slides, attaching the handles, and testing the drawer movement for best results.
Aligning Drawer Slides
Attach the drawer slides carefully to both the chest and the drawers. Make sure they line up perfectly to avoid sticking or wobbling.
- Measure the inside width of the chest where the slides will go.
- Mark the slide positions on both the chest and the drawer sides.
- Use a level to keep slides straight and even.
- Secure slides with screws, checking alignment as you go.
- Repeat for each drawer to ensure uniform movement.
Attaching Handles
Handles make opening your drawers easier. Attach them firmly and in the right spot for comfort and style.
| Handle Type | Common Placement | Recommended Screw Size |
|---|---|---|
| Bar Handle | Center of drawer front | 8 x 1 inch |
| Knob | Upper corner of drawer front | 6 x 3/4 inch |
| Recessed Handle | Flush with drawer surface | Depends on handle design |
Testing Drawer Movement
After installation, test each drawer to check its movement and handle fit.
- Open and close the drawer slowly to feel for smooth sliding.
- Listen for any scraping or catching sounds.
- Check if the handle feels tight and comfortable.
- Adjust screws or slides if the drawer sticks or wobbles.
- Repeat testing until all drawers move freely and handles are secure.
Attaching Wheels And Locks
Adding wheels and locks to your rolling tool chest makes it easier to move and secure. Proper attachment keeps the chest steady and safe.
This guide helps you pick the right wheels, mount them, and set up locks for your tool chest.
Selecting The Right Wheels
Choose wheels that fit the weight and floor type. Heavy-duty wheels hold more weight and last longer.
Consider wheel size and material for smooth movement and durability.
- Rubber wheels work well on hard floors
- Polyurethane wheels resist chemicals and wear
- Larger wheels roll easier on rough surfaces
- Swivel wheels allow better turning
Mounting Wheels To Base
Attach wheels to the tool chest base using the right tools and hardware. Make sure the chest is upside down on a flat surface.
Align the wheel plates with mounting holes. Use bolts and nuts to fix them tightly.
- Check wheel direction before fastening
- Tighten bolts securely to avoid wobbling
- Use washers to protect the wood or metal base
- Test wheels by rolling the chest gently
Setting Up Wheel Locks
Install locks on at least two wheels to keep the chest still. Locks prevent rolling when you work.
Attach the lock parts near the wheel axles. Check that locking mechanisms move freely.
- Use locks that fit your wheel type
- Secure lock brackets with screws or bolts
- Test locks by locking and unlocking wheels
- Make sure locks hold the chest firmly in place

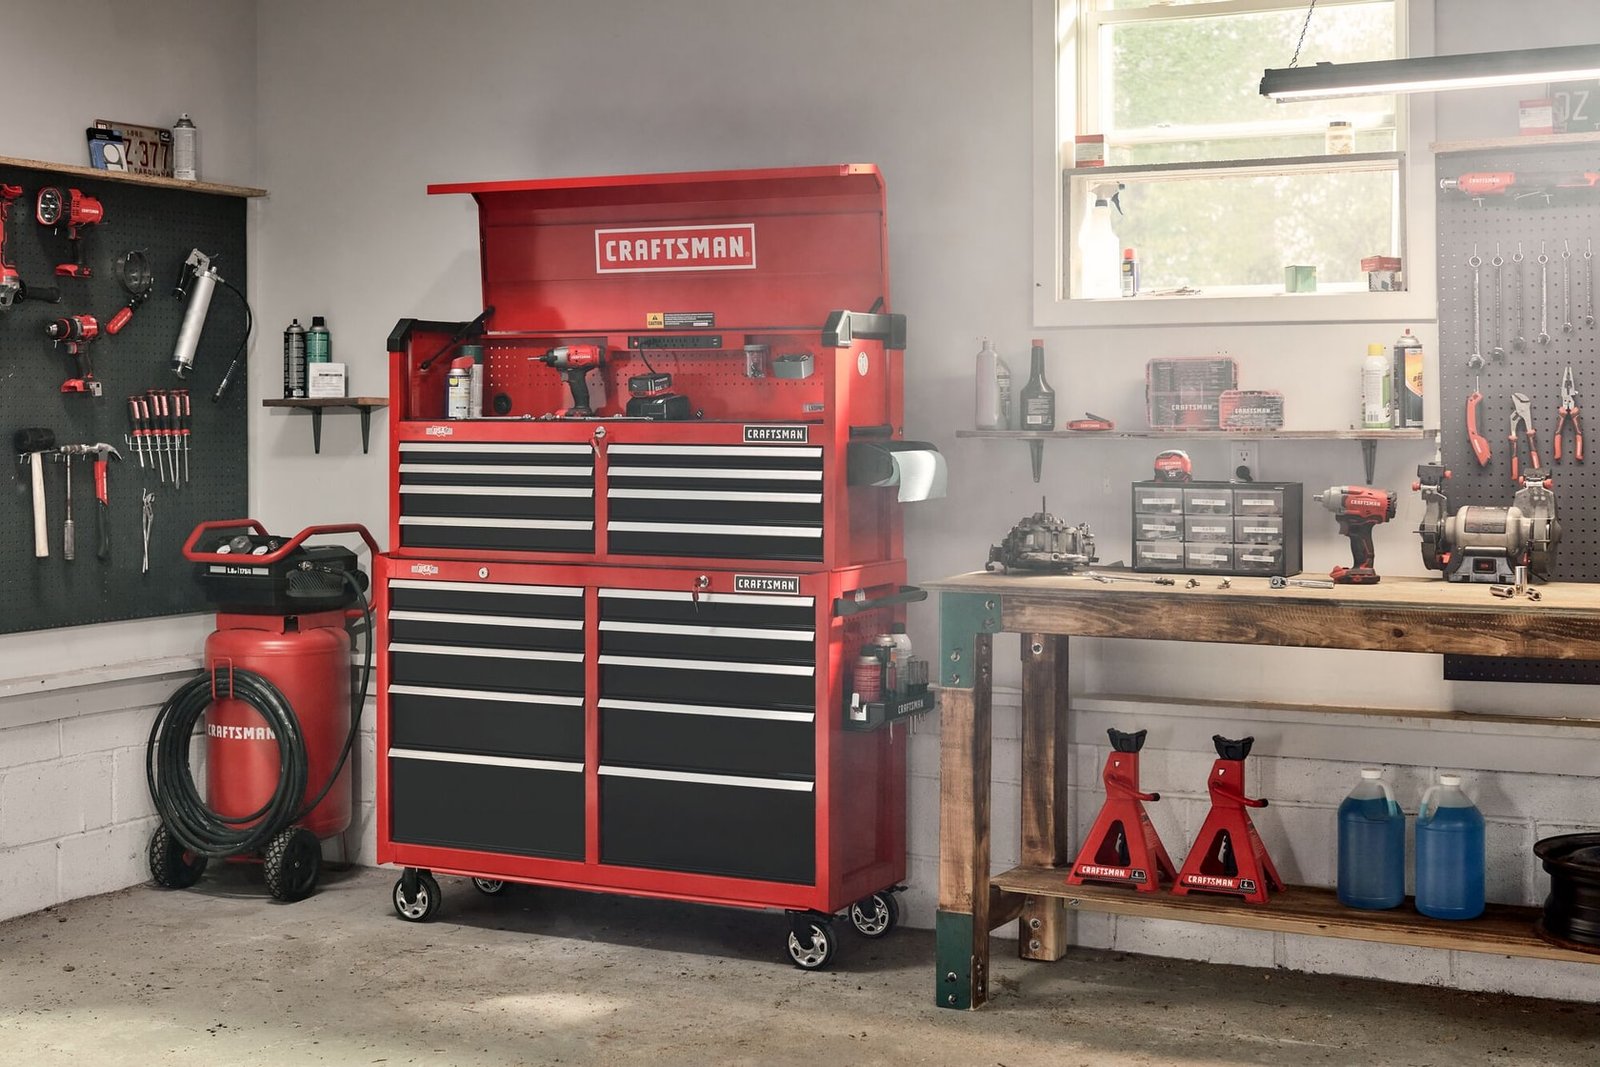
Credit: www.reddit.com
Organizing Tools Efficiently
Keeping tools in a rolling tool chest helps save time and space. Organizing tools efficiently makes work easier and faster.
Use smart strategies to arrange your tools. This keeps them easy to find and protects them from damage.
Sorting Tools By Type
Group tools by their type to keep the chest neat. This means putting similar tools in the same drawer or area.
Sorting tools this way helps you find what you need quickly. It also prevents tools from mixing and getting lost.
- Put wrenches together
- Keep screwdrivers in one place
- Group pliers by size
- Store power tool accessories separately
Using Drawer Dividers
Drawer dividers create sections inside drawers. They stop tools from moving around when you roll the chest.
Dividers help keep small tools and parts organized. You can adjust or remove them as your tool collection changes.
- Use plastic or metal dividers
- Place dividers to fit tool sizes
- Keep small items like screws separated
- Change dividers to match new tools
Labeling For Easy Access
Labels help you find tools without opening every drawer. Use clear, simple labels on each drawer or section.
Labeling saves time and keeps your chest organized. You can use stickers, tape, or printed tags for labeling.
- Label drawers by tool type
- Use large, easy-to-read text
- Place labels on drawer fronts
- Update labels when you change tools
Maintaining Your Tool Chest
Keeping your rolling tool chest in good shape helps it last longer. Regular care keeps tools safe and easy to find.
Follow simple steps to clean, lubricate, and check your tool chest. This will keep it working smoothly every day.
Regular Cleaning Tips
Dust and dirt can build up inside your tool chest. Clean it often to avoid damage and rust on tools.
- Remove all tools before cleaning
- Use a soft cloth to wipe inside and outside
- Vacuum small debris from corners
- Clean spills immediately to avoid stains
- Dry the chest completely before putting tools back
Lubricating Moving Parts
Lubrication keeps drawers and wheels sliding smoothly. Use light machine oil or silicone spray for best results.
| Part | Lubricant Type | Frequency |
| Drawer slides | Light machine oil | Every 3 months |
| Wheels | Silicone spray | Every 6 months |
| Handles | Light machine oil | Every 6 months |
Inspecting For Wear And Tear
Check your tool chest for damage often. Fix small problems to avoid big repairs later.
- Look for loose screws or bolts
- Check drawer alignment and stops
- Inspect wheels for cracks or flat spots
- Examine paint or coating for chips or rust
- Replace worn parts as needed
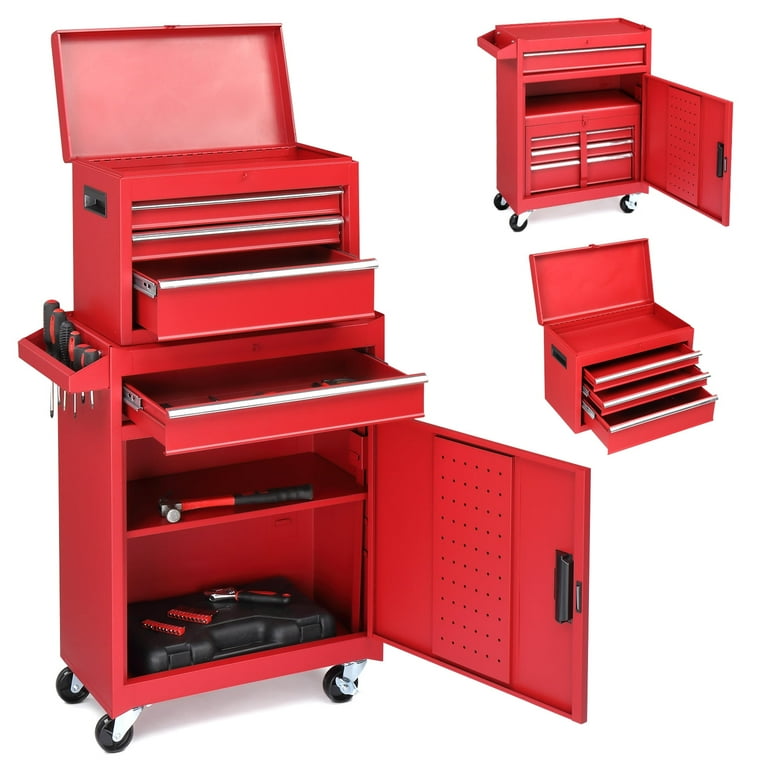
Credit: www.walmart.com
Frequently Asked Questions
How Do I Assemble A Rolling Tool Chest?
Start by organizing all parts and instructions. Attach casters securely for mobility. Assemble drawers carefully, ensuring smooth sliding. Follow the manual step-by-step to avoid errors. Check stability before loading tools.
What Tools Are Needed To Set Up A Tool Chest?
You will need a screwdriver, wrench, hammer, and possibly an Allen key. These tools help in attaching wheels, handles, and securing drawers. Having them ready makes assembly faster and easier.
How Can I Organize Tools In A Rolling Chest Efficiently?
Group similar tools together in drawers. Use dividers or trays to separate small items. Label each drawer for quick access. Keep frequently used tools in the top drawers for convenience.
How Do I Maintain A Rolling Tool Chest?
Clean the chest regularly to remove dust and debris. Lubricate drawer slides to keep them smooth. Check and tighten bolts periodically to maintain stability. Avoid overloading drawers to prevent damage.
Conclusion
Setting up a rolling tool chest saves time and keeps tools organized. Start with clean drawers and sort tools by type. Use drawer liners to protect your tools and reduce noise. Label each drawer clearly for quick access. Keep heavy tools in the bottom drawers for stability.
Regularly check and tidy your chest to maintain order. A well-set tool chest makes work easier and faster. Simple steps lead to a neat and efficient workspace. Your tools stay safe and ready for any job.