Are your chisels and saws not cutting as smoothly as they used to? Dull tools can turn a simple project into a frustrating struggle.
But don’t worry—you can bring back their sharpness quickly and easily. In this guide, you’ll discover step-by-step methods to sharpen your chisels and saws like a pro. Imagine working with tools that glide through wood effortlessly, saving you time and giving you perfect results every time.
Keep reading, and you’ll learn the secrets to making your tools sharp again—no special skills needed.
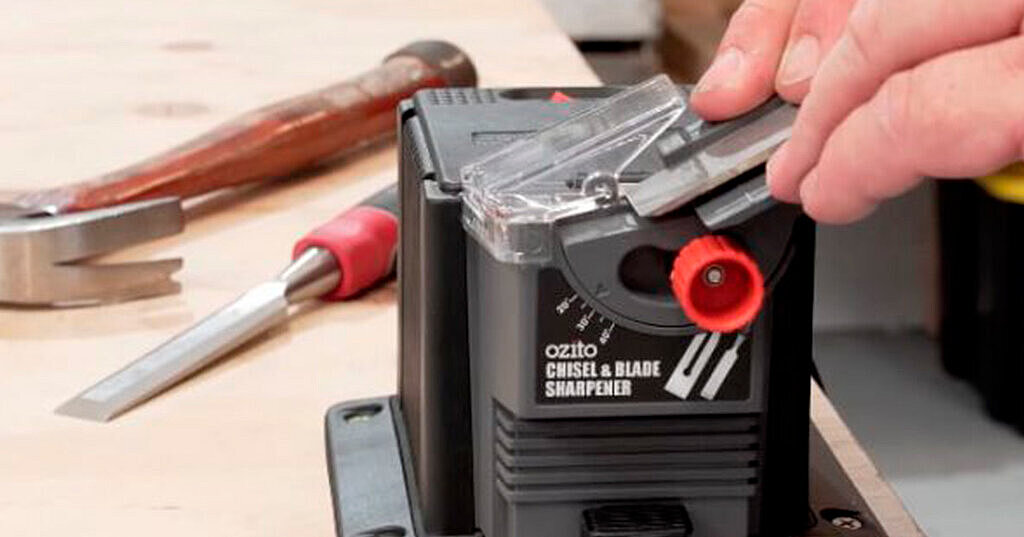
Credit: www.ozito.co.nz
Choosing The Right Tools
Sharpening chisels and saws needs the right tools. Picking correct tools makes the job easier.
Good tools help keep your blades sharp and safe to use. Learn what tools fit your needs.
Types Of Chisels And Saws
Chisels come in different sizes and shapes. Each type has a specific use in woodworking.
- Bevel edge chisels are common for general work.
- Mortise chisels are strong for making holes.
- Paring chisels are thin for fine trimming.
- Back saws have a stiff edge for straight cuts.
- Crosscut saws cut across the wood grain.
- Rip saws cut along the wood grain.
Essential Sharpening Equipment
Sharpening needs more than just the blade. Use the right equipment for best results.
| Tool | Purpose |
| Sharpening stones | Used to grind and hone blade edges |
| Honing guide | Keeps blade angle steady while sharpening |
| Lubricant | Water or oil to reduce friction on stones |
| Leather strop | Polishes edge after sharpening |
| Clamp or vise | Holds blade steady for safety |

Credit: www.theenglishwoodworker.com
Preparing For Sharpening
Sharpening chisels and saws needs good preparation. This helps you work safely and get sharp tools.
First, you must clean and check your blades. Then, set up a tidy workspace for sharpening.
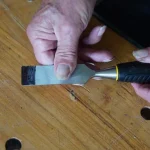
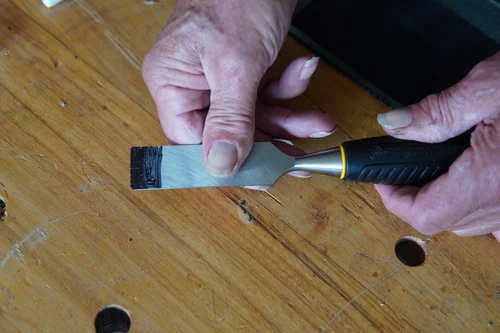
Cleaning And Inspecting Blades
Start by wiping dirt and old oil from the blades. Use a cloth and some mild cleaner.
- Remove rust with fine steel wool or sandpaper.
- Check edges for chips or cracks.
- Look for bent or warped parts.
- Make sure the blade is dry before sharpening.
Setting Up Your Workspace
Choose a flat, stable surface with good light. Keep tools and sharpening stones close by.
| Item | Purpose | Tips |
| Workbench | Stable place to work | Clear clutter before starting |
| Sharpening stones | Sharpen blade edges | Use water or oil as needed |
| Clamps or vises | Hold tools steady | Check grip before sharpening |
| Lighting | See blade details | Use bright, natural light if possible |
Sharpening Chisels
Sharpening chisels keeps them effective and safe to use. A sharp chisel cuts wood cleanly and with less effort.
Using the right stones and techniques is key to good sharpening. This guide covers selecting grit, sharpening methods, and honing edges.
Selecting The Grit For Your Stones
Choose the correct grit to match your chisel’s condition. Coarse stones remove nicks and reshape edges. Fine stones polish and refine.
| Grit Size | Use |
| Coarse (200-400) | Fix chips and reshape blade |
| Medium (800-1000) | Sharpen dull edges |
| Fine (3000+) | Polish and hone sharp edges |
Sharpening Techniques
Keep your chisel flat on the stone. Use even pressure while moving the blade back and forth. Maintain the original bevel angle.
- Start with coarse grit to shape the edge
- Switch to medium grit for sharpening
- Use consistent strokes along the stone
- Check edge sharpness regularly
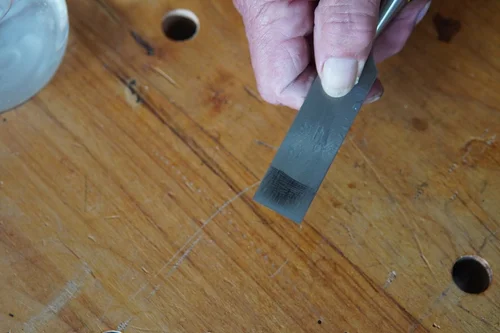
Honing For A Razor Edge
Honing creates a very sharp, smooth edge. Use a fine stone or leather strop to remove burrs. This step finishes the sharpening process.
Tips for honing:
- Keep the bevel angle steady
- Use light pressure
- Strop the edge away from the blade face
- Repeat until the edge feels smooth and sharp
Sharpening Saws
Keeping your saw sharp makes cutting easier and safer. Sharpening saw teeth is a key skill for tool care.
Proper sharpening improves cutting speed and the quality of your work. It also extends the saw’s life.
Filing Saw Teeth
Use a triangular file to sharpen each tooth of the saw. Hold the file at the correct angle to the tooth.
File each tooth evenly, pushing the file only on the forward stroke. Count strokes to keep consistency.
- Use a saw guide to keep the file angle steady
- File every other tooth from one side
- Flip the saw and file the remaining teeth
Setting The Teeth For Accuracy
Teeth need to be set to clear the cut kerf wider than the blade. This stops the saw from binding in wood.
Use a saw set tool to bend each tooth slightly outward. Alternate the direction on each tooth for balance.
- Check the set width with a ruler or gauge
- Do not overbend, or teeth may break
- Adjust the set if the saw binds or cuts too wide
Maintaining Tooth Shape
Keep the original tooth shape while sharpening. This ensures smooth cutting and reduces wear on the blade.
Regularly inspect the teeth for chips or damage. Repair small dents with fine files to keep the shape intact.
- Match the file shape to the tooth shape
- Use gentle strokes to avoid rounding teeth
- Replace the saw if many teeth are damaged beyond repair
Troubleshooting Common Issues
Sharpening chisels and saws can be tricky if the tools have damage or rust. Fixing these issues helps tools work better and last longer.
Below are common problems and easy ways to fix them. This guide will help you keep your chisels and saws sharp and ready to use.
Fixing Nicks And Chips
Nicks and chips in the blade edges make cutting hard. These small damages stop your tool from cutting cleanly.
Use a sharpening stone or file to smooth out the damaged areas. Work slowly to remove the nicks without removing too much metal.
- Hold the tool steady at the right angle.
- Use a coarse stone to remove big chips.
- Switch to finer stones for a smooth edge.
- Check the edge often to avoid over-sharpening.
Dealing With Rust And Corrosion
Rust makes blades dull and weak. It can also stop the blade from moving smoothly.
Remove rust before sharpening. Use steel wool, sandpaper, or a rust remover product. Clean the blade well after removing rust.
- Wear gloves to protect your hands.
- Rub the rusty area gently until rust is gone.
- Dry the tool completely to stop new rust.
- Apply oil to protect the blade after cleaning.
Credit: www.anneofalltrades.com
Maintaining Sharpness
Keeping chisels and saws sharp helps you work better and safer. Sharp tools make clean cuts and last longer.
Regular care is important. It stops tools from getting dull quickly and saves time on repairs.
Proper Storage Tips
Store chisels and saws in a dry place to avoid rust. Use protective covers to keep edges safe.
Keep tools organized so they do not hit each other. This prevents chips and damage to the blades.
- Use a tool rack or box with dividers
- Wrap blades with cloth or plastic guards
- Keep tools away from moisture and dust
- Store chisels blade-side up or in holders
Regular Maintenance Routines
Sharpen chisels and saws often to keep edges sharp. Use the right sharpening stones or files for each tool.
Clean tools after use. Remove dirt and wood chips to stop buildup that can dull blades.
- Wipe blades with a dry cloth after use
- Apply light oil to metal parts to prevent rust
- Check edges for nicks or damage before sharpening
- Sharpen at the correct angle for each tool
- Use fine grit stones for finishing sharpening
Safety Tips During Sharpening
Sharpening chisels and saws is important for good cutting performance. Safety should always come first to avoid injuries.
Wearing the right gear and handling tools carefully can protect you during sharpening tasks.
Protective Gear Recommendations
Using protective gear reduces the risk of cuts and eye damage. Always prepare before you start sharpening.
- Wear safety goggles to protect your eyes from metal particles.
- Use thick gloves to avoid cuts from sharp edges.
- Consider a dust mask if grinding produces fine dust.
- Wear long sleeves to protect your arms from sparks.
Safe Handling Practices
Handle chisels and saws carefully to keep control and prevent accidents. Follow these safety steps:
| Practice | Safety Tip |
| Secure the tool | Clamp chisels or saws firmly before sharpening. |
| Use correct angle | Maintain the right sharpening angle to avoid slipping. |
| Keep fingers clear | Keep hands away from the sharpening edge at all times. |
| Work in good light | Sharpen in a well-lit area to see clearly. |
| Take breaks | Rest your hands to avoid fatigue and loss of control. |
Frequently Asked Questions
How Often Should I Sharpen Chisels And Saws?
Sharpen chisels and saws when they become dull or cut poorly. Regular sharpening maintains precision and extends tool life. For frequent use, sharpen every few weeks. Occasional users can sharpen every few months. Always inspect edges before starting a project.
What Tools Are Needed To Sharpen Chisels And Saws?
You need sharpening stones or whetstones, honing guides, oil or water, and a strop. For saws, use triangular files and saw sets. These tools ensure a sharp, precise edge. Proper tools improve efficiency and safety during sharpening.
Can I Sharpen Chisels And Saws At Home?
Yes, you can sharpen chisels and saws at home with basic tools. Follow step-by-step guides and use proper equipment. Regular home sharpening saves money and keeps tools ready. Practice improves skill and achieves professional results.
What Is The Best Angle For Sharpening Chisels?
The best sharpening angle for chisels is typically between 25 and 30 degrees. This angle balances sharpness and durability. Adjust angle based on chisel type and use. Consistent angle ensures a clean, precise edge every time.
Conclusion
Sharpening chisels and saws is a skill worth learning. It ensures tools are effective and long-lasting. Regular maintenance keeps your tools in top shape. Always use the right sharpening tools. Practice improves your technique over time. Safety is crucial; wear gloves and goggles.
Remember, patience and care lead to the best results. Well-sharpened tools make woodworking enjoyable. Save time and effort with sharp edges. Start sharpening today and see the difference. Your tools will thank you, and your projects will shine. Keep practicing, and you’ll soon become confident in sharpening.