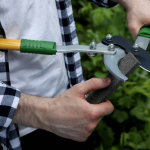
Are your garden shears losing their edge? Dull blades can turn a simple gardening task into a frustrating chore.
Imagine trying to trim your favorite roses or shape your hedges only to find your shears struggling with each snip. Not only does this make gardening less enjoyable, but it can also damage your plants. But don’t worry, you don’t need to be a tool expert to restore your shears to their former glory.
In this guide, you’ll discover simple, effective steps to sharpen your garden shears, making your gardening tasks smoother and more satisfying. Ready to transform your gardening experience? Let’s get started!
Credit: klevarange.com.au
Tools Needed For Sharpening
Sharpening garden shears keeps them cutting clean and easy. Using the right tools makes the job quick and safe.
Gathering proper supplies helps you sharpen effectively. This guide explains what tools to use.
Choosing The Right File Or Sharpener
Select a file or sharpener that fits your garden shears’ blades. The right tool shapes the edge well without damage.
A flat mill file works well for most shears. A sharpening stone can also smooth the blade.
- Mill file: good for metal blades, use smooth strokes
- Sharpening stone: ideal for fine edges, needs water or oil
- Diamond file: lasts long and works on hard steel
- Electric sharpener: fast but use with care to avoid over-sharpening
Additional Supplies To Gather
Besides a file or sharpener, you need a few more items to sharpen safely and well. These help clean and protect the blades.
- Gloves: protect your hands from cuts
- Cleaning brush: removes dirt and rust from blades
- Lubricant or oil: keeps blades moving smoothly after sharpening
- Cloth: used to wipe blades clean
- Vice or clamp: holds the shears steady while you work

Credit: www.youtube.com
Preparing Your Garden Shears
Before sharpening garden shears, you must prepare them well. Proper preparation helps the blades last longer and work better.
Cleaning and taking apart the shears are key steps. These steps remove dirt and let you sharpen every edge.
Cleaning The Blades
Clean blades before sharpening to remove sap, dirt, and rust. This prevents damage and helps you see dull spots clearly.
- Use a stiff brush to remove loose dirt
- Wipe blades with a cloth soaked in soapy water
- Scrape off sap with a plastic scraper or old credit card
- Remove rust using steel wool or fine sandpaper
- Dry blades completely to stop new rust from forming
Disassembling The Shears
Disassemble shears to sharpen blades evenly and safely. Taking them apart also lets you clean hidden parts.
| Part | Tool Needed | Notes |
| Pivot Bolt | Wrench or Pliers | Loosen carefully to avoid damage |
| Blades | Hands or Screwdriver | Separate gently after loosening bolt |
| Springs | No tool needed | Keep track to avoid losing them |
| Handles | Usually fixed | Clean but usually stay attached |
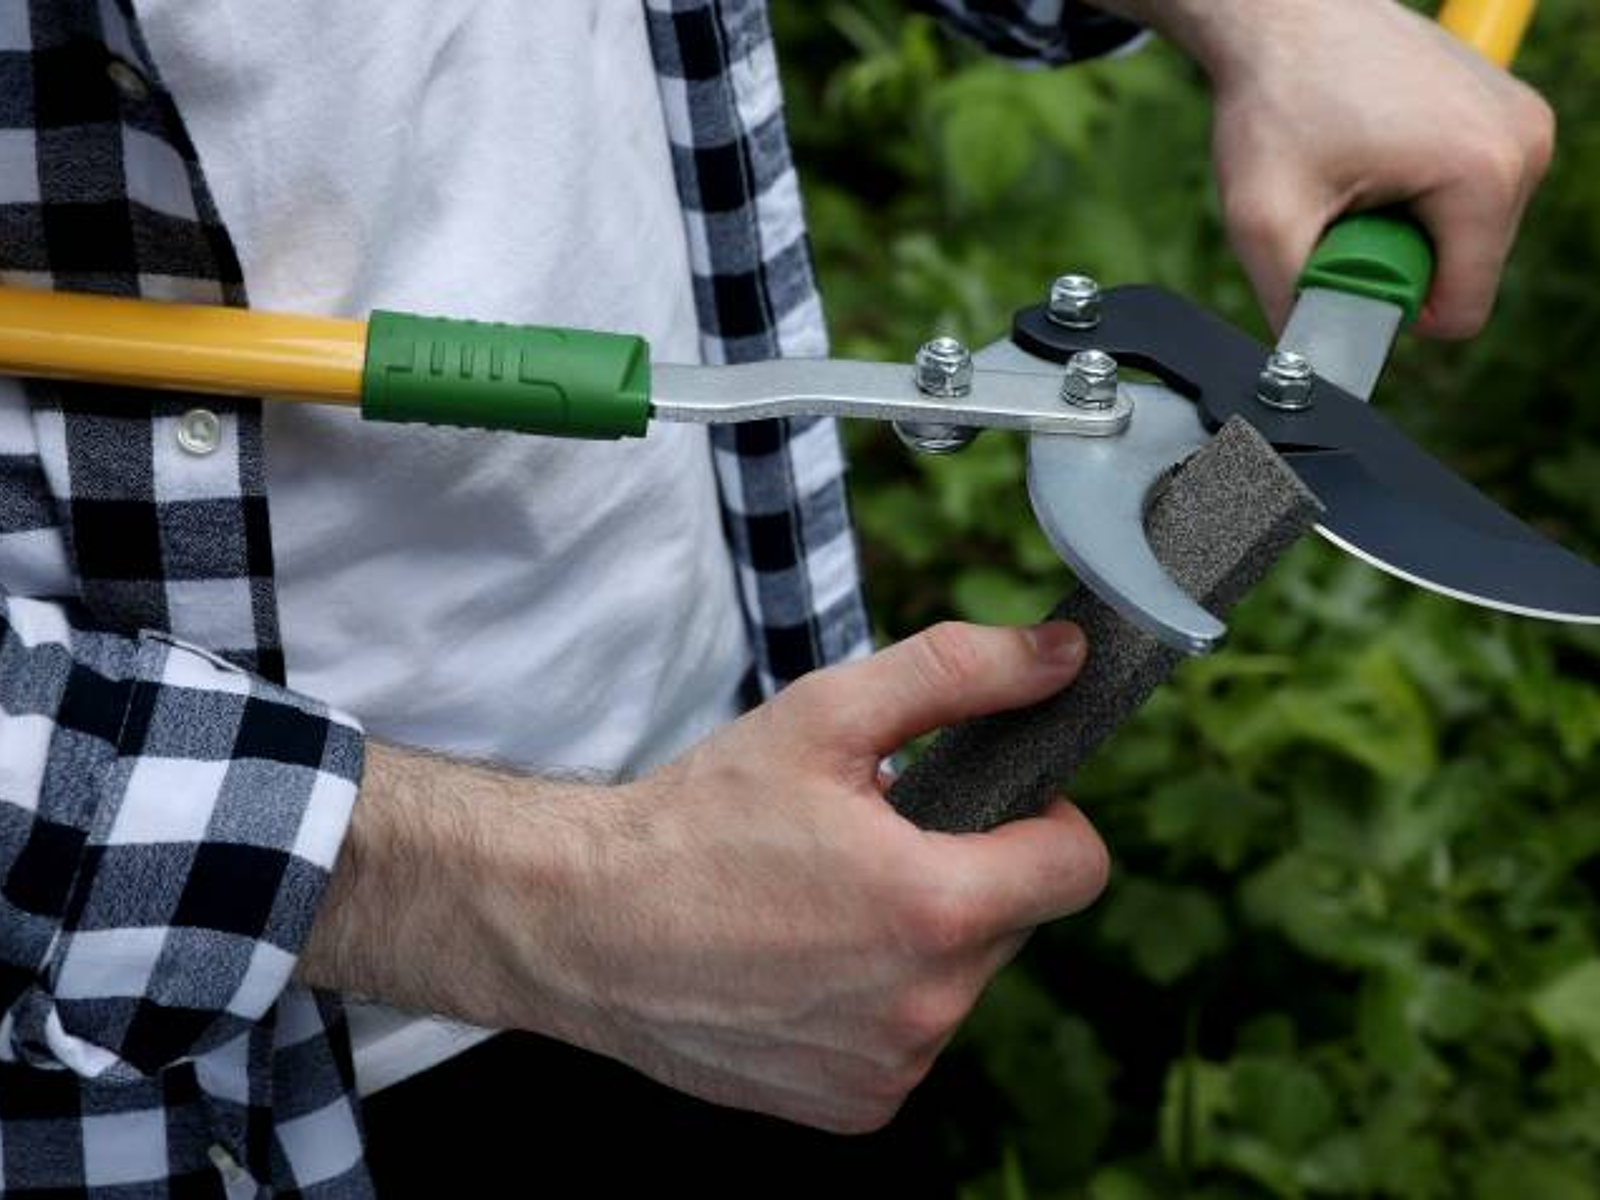
Sharpening Techniques
Keeping your garden shears sharp helps you cut plants cleanly. Sharp blades make pruning easier and safer.
Learn the right ways to file blades and keep the blade angle steady. These steps improve the blade’s edge and last longer.
Filing The Blades Correctly
Use a flat metal file for sharpening garden shears. Hold the file steady and move it across the blade edge in one direction.
- Clean the blades before filing to remove dirt and sap.
- Secure the shears in a clamp or hold firmly.
- File from the base to the tip of the blade.
- Apply even pressure during each stroke.
- Repeat filing until the edge feels sharp.
Maintaining The Original Blade Angle
Keeping the blade angle the same is key to effective sharpening. Most garden shears have a 30 to 40-degree angle.
| Blade Part | Recommended Angle |
| Cutting Edge | 30° to 40° |
| File Position | Match blade angle |
| Stroke Direction | Along the bevel |
Finishing Touches
After sharpening your garden shears, some final steps ensure they work smoothly. These touches keep the blades sharp longer and protect the tool.
Removing burrs and lubricating moving parts are important tasks. They improve cutting performance and extend the life of your shears.
Removing Burrs
Burrs are tiny rough edges left on the blade after sharpening. They can cause poor cuts and damage plants.
- Use a fine sharpening stone or a piece of fine sandpaper.
- Hold the blade steady and gently rub the burr side.
- Work until the edge feels smooth and even.
- Check the blade carefully to ensure all burrs are removed.
Lubricating Moving Parts
Lubrication helps the shears open and close easily. It also prevents rust on metal parts.
| Part | Type of Lubricant | Purpose |
|---|---|---|
| Pivot bolt | Light machine oil | Ensures smooth movement |
| Blade surfaces | WD-40 or similar spray | Prevents rust and reduces friction |
| Handle joints | Multipurpose grease | Keeps handles moving freely |
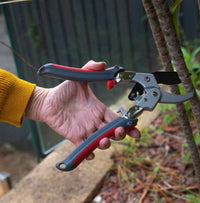
Testing Your Sharpened Shears
After sharpening your garden shears, it is important to test them. Testing helps you see if the blades cut cleanly and easily.
Proper testing ensures your shears work well and last longer. It also helps you find if any adjustments are needed.
Cutting Through Stems
Try cutting different stems to check the sharpness of your shears. Use soft and hard stems to test their strength.
The blades should cut smoothly without crushing or tearing the stems. Clean cuts show the blades are sharp and aligned.
- Pick a fresh green stem about 1/4 inch thick
- Cut the stem in one smooth motion
- Check if the cut is clean and even
- Try a woody or dry stem for tougher testing
Adjusting Tension For Smooth Use
Good tension makes shears easy to open and close. Tight or loose blades can cause poor cutting or hand strain.
Adjust the tension screw or bolt until the blades move smoothly but stay firmly together when closed.
- Loosen the tension to open blades easily
- Tighten the tension to avoid blade wobble
- Test the shears by opening and closing several times
- Find a balance that feels comfortable in your hand
Tips For Maintaining Sharpness
Keeping your garden shears sharp makes cutting easier and safer. Dull blades can damage plants and tire your hands. Regular care keeps your shears in top shape for a long time.
Simple habits like cleaning and proper storage help maintain sharpness. Follow these tips to protect your tool and improve your gardening experience.
Regular Cleaning And Oiling
After each use, clean your garden shears to remove sap, dirt, and moisture. This prevents rust and keeps the blades sharp. Use a damp cloth or brush for cleaning.
- Wipe blades with a clean, dry cloth after cleaning
- Apply a few drops of light oil to the blades and pivot
- Open and close shears to spread the oil evenly
- Remove any sticky residue with rubbing alcohol
- Sharpen blades with a sharpening stone or file if needed
Safe Storage Practices
Store your garden shears in a dry, safe place to avoid damage and rust. Keep blades closed and locked if your shears have a locking mechanism. Avoid leaving shears outside or in damp areas.
| Storage Tip | Reason |
| Keep in a dry toolbox or shed | Prevents rust and corrosion |
| Use blade covers or sheaths | Protects blades from damage |
| Store away from children and pets | Ensures safety |
| Lock blades when not in use | Prevents accidental cuts |

Credit: www.angi.com
Frequently Asked Questions
How Often Should I Sharpen Garden Shears?
Sharpen your garden shears after every 10-15 hours of use. Frequent sharpening keeps blades efficient and prevents plant damage. Regular maintenance extends the tool’s lifespan and ensures clean, precise cuts.
What Tools Do I Need To Sharpen Garden Shears?
You need a sharpening stone, diamond file, or whetstone. A screwdriver or wrench helps disassemble shears. Use lubricating oil for smooth blade movement after sharpening.
Can I Sharpen Garden Shears At Home?
Yes, you can easily sharpen garden shears at home. Use basic tools like a sharpening stone and follow safety steps. Home sharpening saves money and keeps your tools ready for gardening.
Why Is Sharpening Garden Shears Important?
Sharp shears make clean cuts, promoting plant health. Dull blades crush stems, causing damage and disease. Regular sharpening improves cutting efficiency and reduces hand strain.
Conclusion
Sharpening garden shears keeps your tools working well. Clean cuts help plants heal faster and stay healthy. Use a sharpener or file to maintain the blades. Regular sharpening saves time and effort during gardening. A little care goes a long way for your shears.
Keep them clean and dry to prevent rust. Try sharpening often to enjoy smooth and easy cutting. Your garden will thank you with better growth and beauty. Simple steps can make a big difference in your gardening.