Are you ready to take control of your plumbing repairs and save both time and money? Learning how to solder copper joints is a skill that can make a big difference in your home maintenance.
Whether you’re fixing a leak or installing new pipes, knowing the right technique ensures strong, lasting connections. In this guide, you’ll discover simple, step-by-step instructions that anyone can follow—even if you’ve never soldered before. By the end, you’ll feel confident handling your copper joints like a pro.
Keep reading, and let’s get your plumbing flowing smoothly again!
Tools And Materials Needed
Soldering copper joints in plumbing requires specific tools and materials. Having the right items makes the job easier and safer.
This guide lists the main tools and materials you need to solder copper pipes correctly.
Essential Plumbing Tools
You need several tools to prepare and join copper pipes. These tools help cut, clean, and heat the pipes.
- Pipe cutter – to cut copper pipes cleanly
- Wire brush or emery cloth – to clean pipe surfaces
- Propane torch – to heat the joint for soldering
- Heat-resistant gloves – to protect your hands from heat
- Pipe fitting brush – to clean inside fittings
- Flux brush – to apply flux on the pipe and fitting
- Fire extinguisher – for safety in case of fire
Types Of Solder And Flux
Solder and flux are key materials in copper plumbing. They help join pipes securely and prevent leaks.
Choose the right solder and flux for plumbing to ensure a strong, lasting joint.
- Lead-free solder – safe for drinking water pipes
- 60/40 tin-lead solder – used in non-potable applications
- Water-soluble flux – easy to clean after soldering
- Paste flux – stays in place and prevents oxidation
Safety Equipment
Safety gear protects you from burns, fumes, and other hazards. Always use safety equipment when soldering copper pipes.
- Safety glasses – shield your eyes from sparks and debris
- Heat-resistant gloves – protect hands from hot metal and flames
- Long-sleeve clothing – reduce skin exposure to heat
- Fire extinguisher – ready in case of accidental fire
- Well-ventilated area – prevents inhaling harmful fumes
Credit: www.oatey.com
Preparing Copper Pipes
Preparing copper pipes is an important part of soldering plumbing joints. Proper preparation helps create strong and leak-free connections.
Careful cutting, cleaning, and applying flux ensure the solder bonds well to the pipes and fittings.
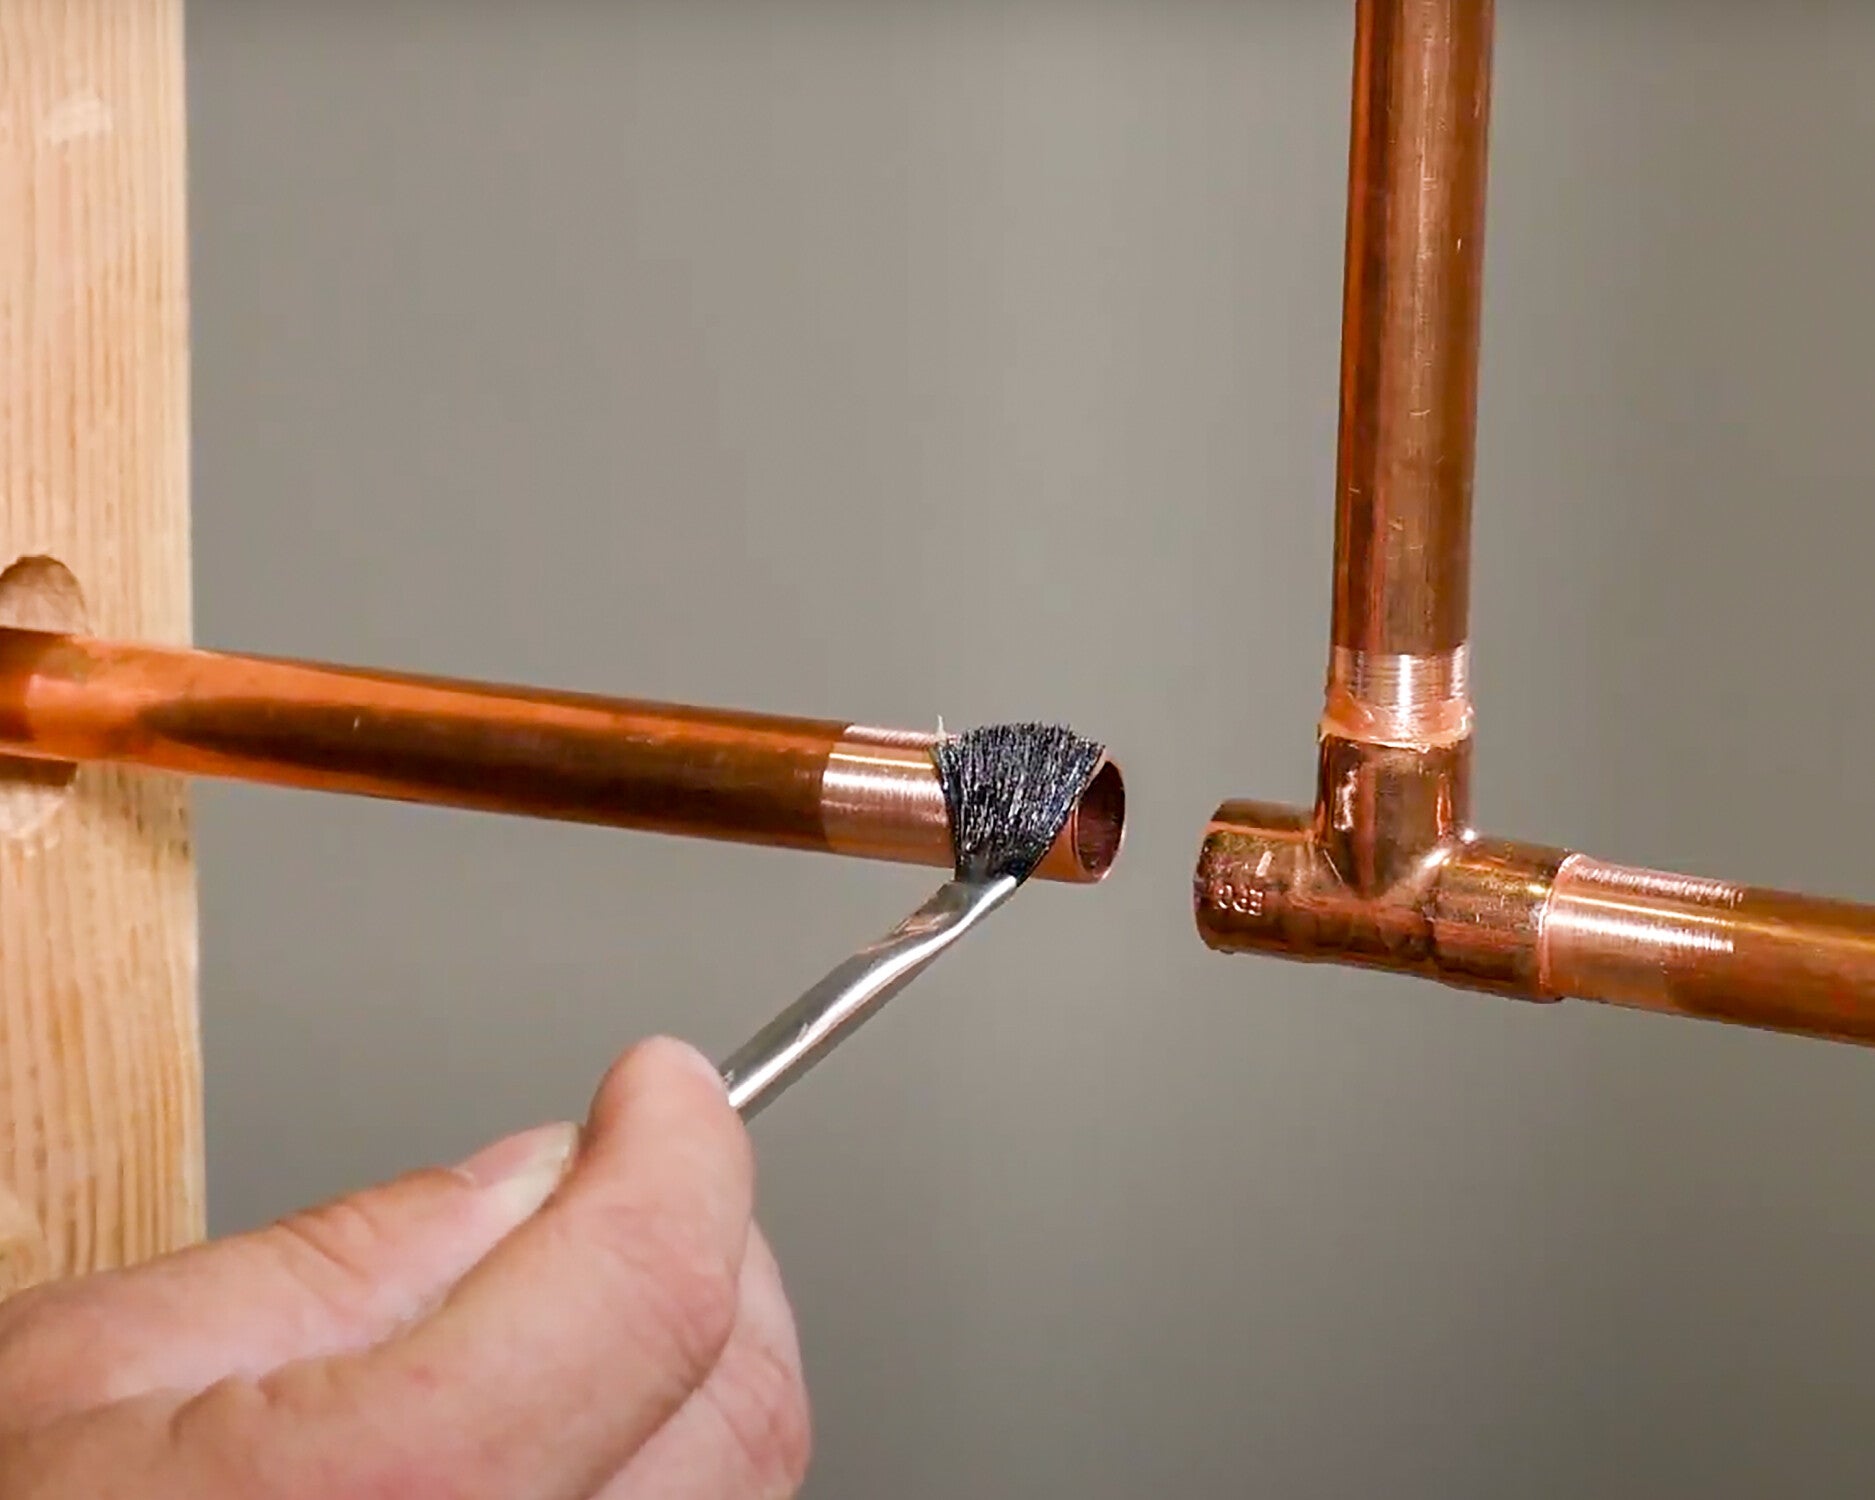
Cutting And Cleaning Pipes
Cut copper pipes using a pipe cutter to get a clean, straight edge. Avoid using a saw as it can leave rough edges.
After cutting, clean the pipe ends to remove dirt, grease, and oxidation. Use sandpaper or a wire brush to shine the copper.
- Use a pipe cutter for a smooth cut
- Remove burrs with a deburring tool or file
- Clean pipe ends with sandpaper or wire brush
- Wipe off dust and debris with a clean cloth
Applying Flux Correctly
Apply flux evenly to the cleaned pipe ends and inside the fitting. Flux helps the solder flow and bond properly.
Use a brush to spread a thin, even layer of flux. Do not use too much flux because it can cause leaks.
- Use a brush to apply flux evenly
- Cover pipe ends and fitting interiors
- Remove excess flux with a clean cloth
- Prepare the joint before heating and soldering
Heating The Joint
Heating the copper joint is a key part of soldering in plumbing. Proper heat ensures the solder flows well and creates a strong seal.
Using the right technique helps avoid leaks and weak connections in pipes.
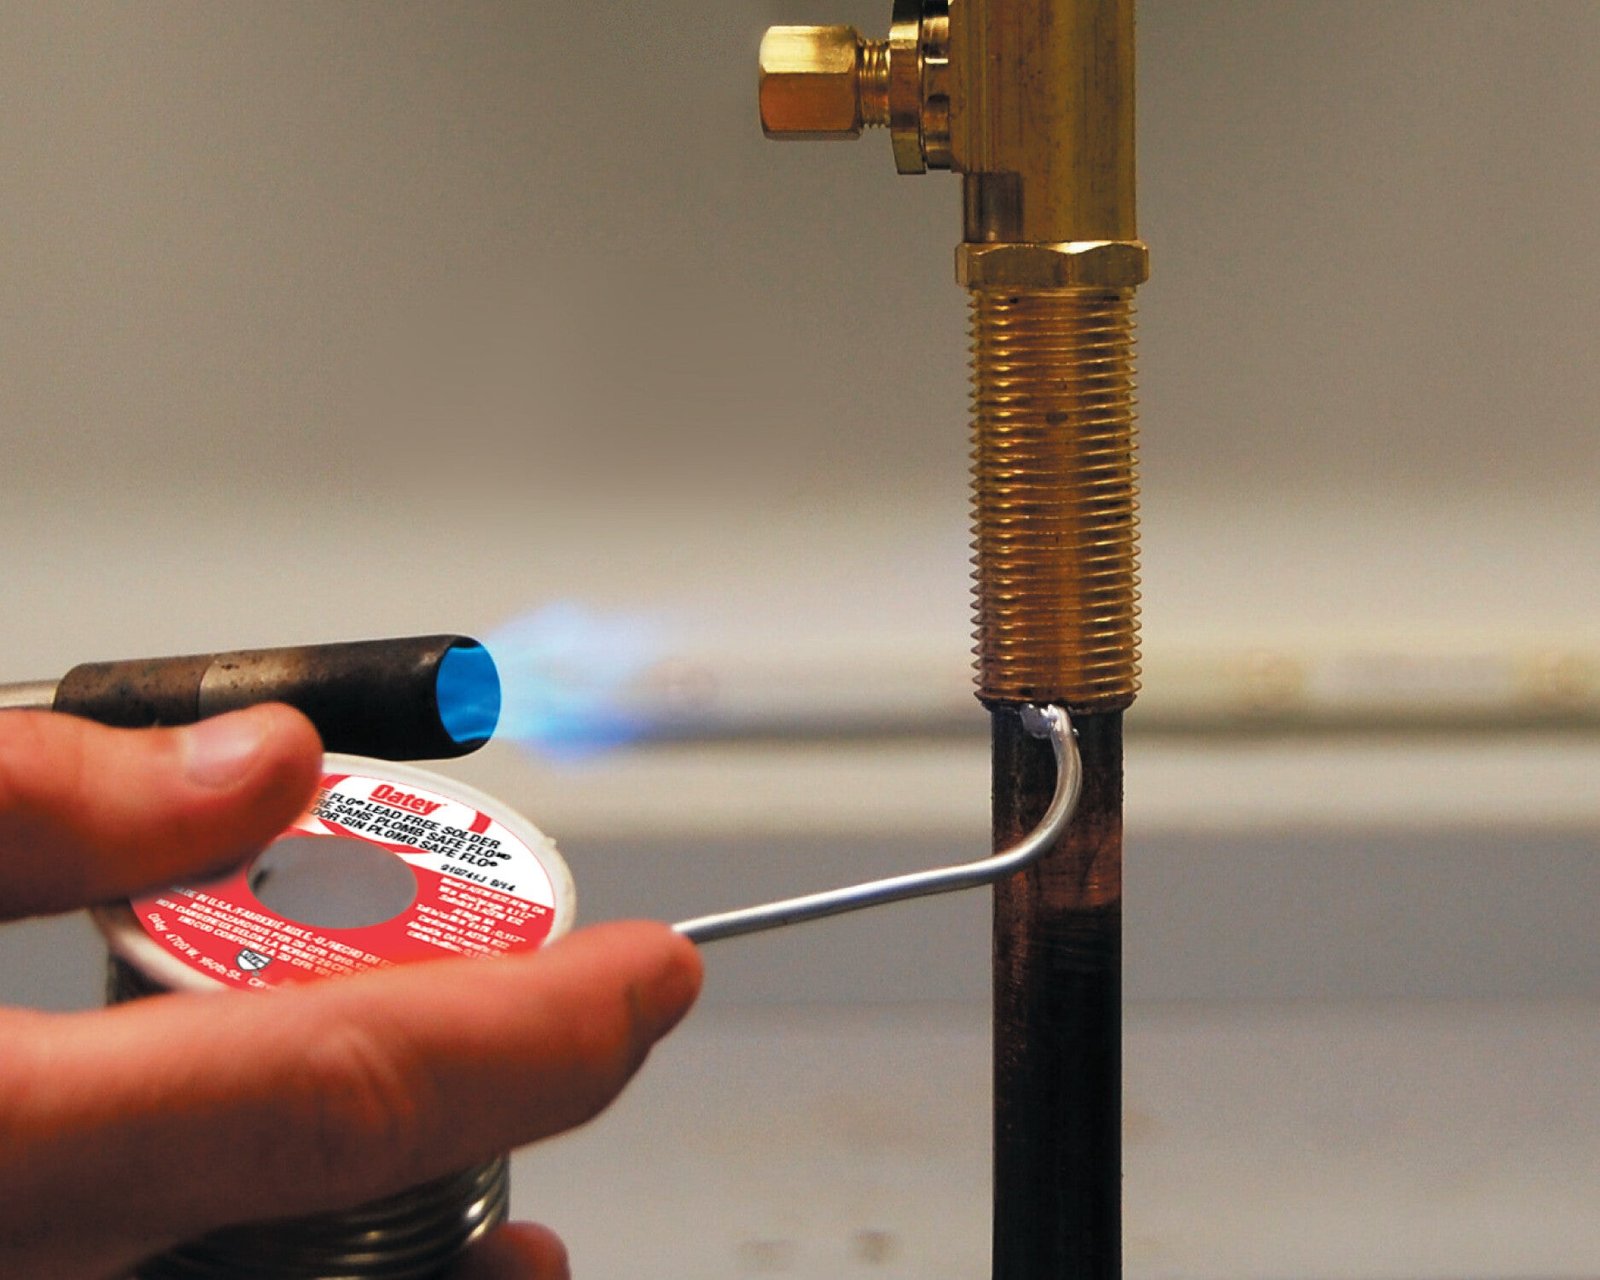
Using A Propane Torch
A propane torch is a common tool to heat copper joints. It gives steady and controlled heat to the pipe and fitting.
- Turn on the torch and adjust the flame to medium size.
- Hold the flame so it touches both the pipe and fitting evenly.
- Move the flame slowly around the joint for even heating.
- Keep the flame away from the solder until the joint is hot enough.
Achieving The Right Temperature
The joint must reach the right temperature to melt solder properly. Too cold or too hot can cause problems.
| Temperature Range | Effect |
| Below 400°F (204°C) | Solder will not melt or flow well. |
| Between 400°F and 600°F (204°C – 316°C) | Ideal temperature for solder to flow and bond. |
| Above 600°F (316°C) | Can burn flux and weaken the joint. |
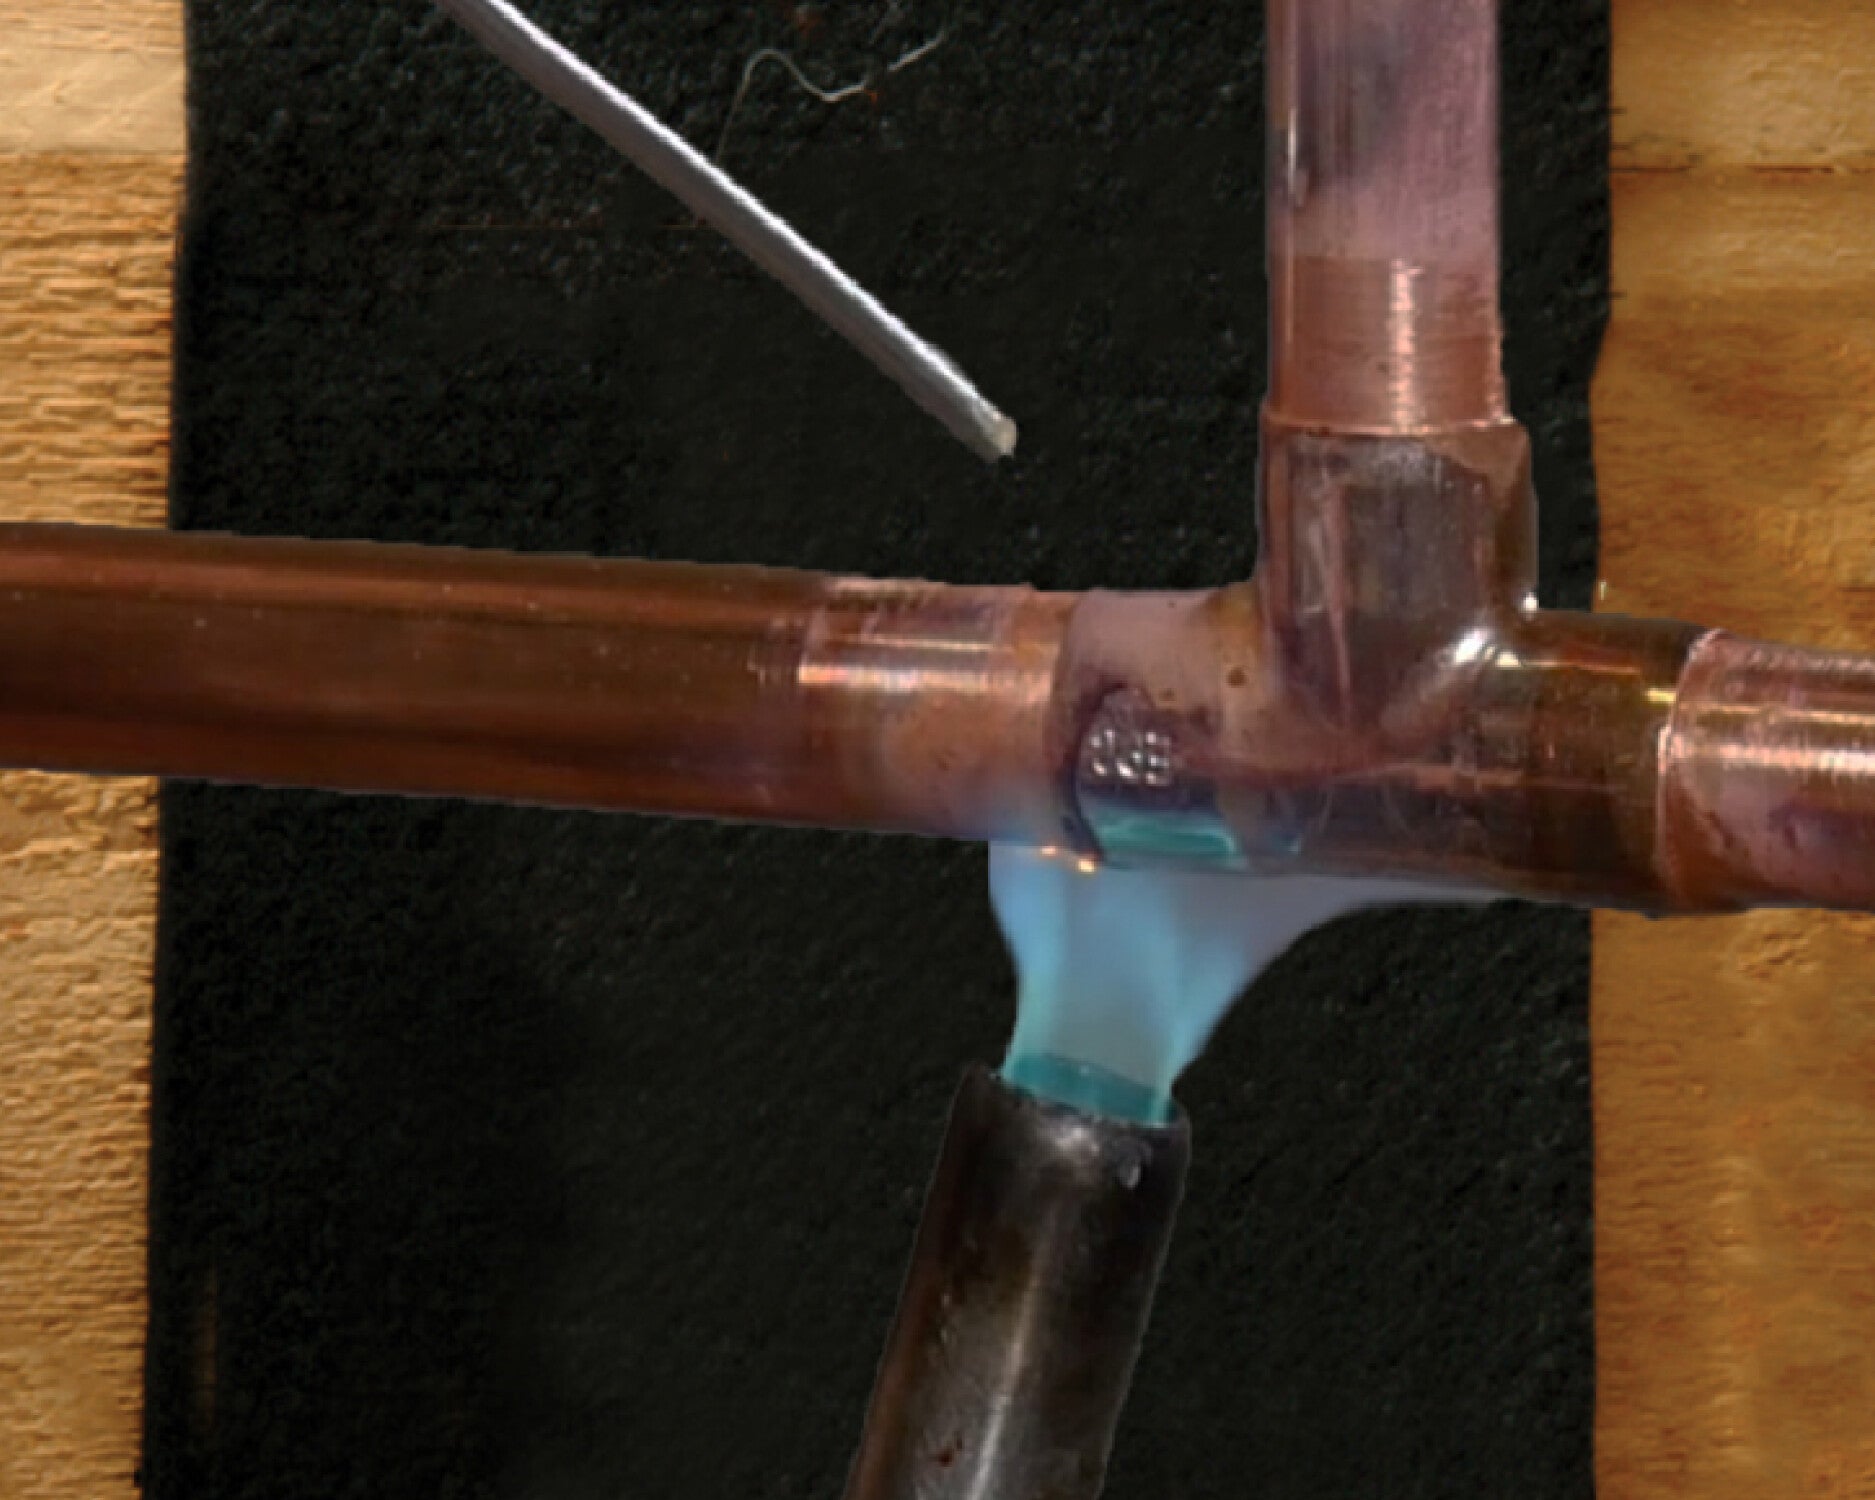
Applying Solder
Applying solder is a key step in joining copper pipes securely. The solder melts and bonds the pipe and fitting together.
Proper technique ensures a strong, leak-free joint that lasts a long time in plumbing systems.
Melting Solder Evenly
Heat the copper joint evenly with your torch before applying solder. Uneven heat causes poor bonding and weak joints.
- Move the flame around the joint to warm all sides equally.
- Watch the color of the copper; it should glow slightly but not burn.
- Touch the solder to the joint, not the flame, to melt it properly.
- Allow the solder to flow smoothly into the joint by capillary action.
Ensuring A Secure Seal
A secure seal stops leaks and keeps water flowing safely through the pipes. Clean, dry surfaces help solder stick well.
| Tip | Why It Matters |
|---|---|
| Use flux before heating | Flux cleans and prepares metal for solder |
| Keep solder moving | Prevents buildup and uneven joints |
| Let joint cool naturally | Stops cracks and weak seals |
| Wipe excess flux after cooling | Prevents corrosion over time |
Cooling And Inspecting
After soldering copper joints in plumbing, it is important to let them cool properly. This helps the joint become strong and safe to use.
Once cooled, you should carefully check the joints for any leaks or problems. This ensures your plumbing works well without water damage.
Allowing Proper Cooling Time
Let the copper joint cool naturally without touching it. Moving it too soon can cause weak joints and leaks.
Cooling usually takes a few minutes, depending on the size of the joint and the room temperature.
- Do not use water or any cooling spray on the joint.
- Keep the pipe steady until it is cool to the touch.
- Allow at least 3 to 5 minutes for small joints to cool.
Checking For Leaks
After the joint cools, check it for leaks by turning the water supply back on slowly.
Look for any drops of water or damp spots around the joint. These signs show the joint is not sealed well.
- Use a dry cloth to wipe the joint and watch for wet spots.
- Check the joint under pressure to be sure it holds water.
- If you see leaks, the joint may need to be reheated and soldered again.
Credit: www.oatey.com
Common Mistakes To Avoid
Soldering copper joints in plumbing needs care and skill. Avoiding common mistakes saves time and prevents leaks.
Learn what errors to watch for when soldering copper pipes. Fixing these helps create strong, lasting joints.
Overheating Pipes
Heating pipes too much can damage them. It can also burn off the protective coating on copper pipes.
Overheated pipes may weaken and cause leaks later. Use a moderate flame and move the torch evenly around the pipe.
- Keep the flame moving to avoid hot spots
- Stop heating once the solder melts and flows
- Use a heat shield if nearby parts are sensitive
Insufficient Cleaning
Dirty or greasy pipes stop solder from sticking well. Always clean the copper surfaces before soldering.
Use a wire brush or sandpaper to remove dirt and oxidation. Apply flux after cleaning to help solder flow smoothly.
- Clean inside and outside of pipe ends
- Remove all old solder and corrosion
- Apply enough flux for full coverage
Using Wrong Solder Types
Not all solder works for plumbing pipes. Using the wrong solder can cause weak joints or health risks.
Use lead-free solder made for plumbing. Avoid electrical solder because it melts at the wrong temperature.
- Choose solder labeled for copper plumbing
- Use lead-free types for safe water systems
- Check the melting point matches your torch
Tips For Long-lasting Joints
Soldering copper joints in plumbing needs care and attention. Good joints last longer and stop leaks.
Using the right tools and following steps helps create strong, durable connections.
Proper Maintenance
Keep your copper joints clean and dry. Dirt and moisture can weaken soldered joints over time.
Check joints regularly for signs of wear or leaks. Early fixes stop bigger problems later.
- Wipe joints to remove dust and grime
- Dry joints after plumbing work or leaks
- Inspect joints every 6 months for damage
- Tighten loose fittings gently if needed
When To Replace Joints
Replace joints if you see cracks, corrosion, or persistent leaks. These signs show the joint is weak.
Old joints may fail even without visible damage. Replace them to avoid sudden plumbing issues.
- Replace joints with green or white corrosion
- Change joints if solder cracks or peels
- Replace if leaks reoccur after repair
- Consider replacement for joints over 10 years old
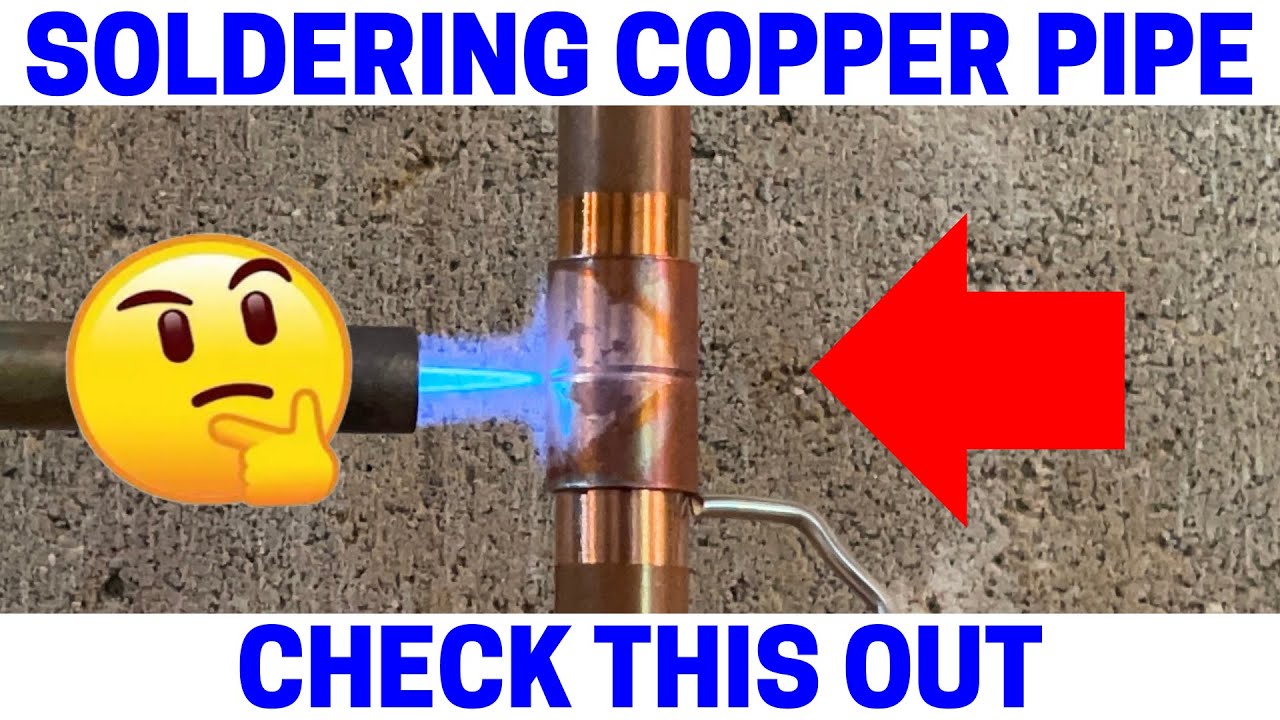
Credit: www.youtube.com
Frequently Asked Questions
What Tools Are Needed To Solder Copper Joints?
You need a propane torch, solder, flux, wire brush, and pipe cutter. These tools ensure a clean, strong joint for plumbing.
How Do You Prepare Copper Pipes Before Soldering?
Clean pipes with a wire brush and apply flux evenly. Proper preparation prevents leaks and ensures a solid bond.
How Long Should You Heat Copper Joints For Soldering?
Heat the joint for about 10-15 seconds until flux bubbles. Avoid overheating to prevent pipe damage.
What Type Of Solder Is Best For Plumbing Joints?
Use lead-free, rosin-core solder designed for potable water systems. It is safe and creates durable joints.
Conclusion
Mastering soldering copper joints boosts your plumbing skills. It ensures leak-free connections and efficient water flow. Clean surfaces and proper heat application are key. Choose the right solder and flux for best results. Practice makes perfect. With time, your confidence will grow.
No need for professional help every time. Tackle small plumbing projects yourself. Save money and gain valuable skills. Remember, safety first. Wear protective gear and work in a well-ventilated area. Happy soldering!
