Are your hammers always scattered, making it hard to find the right one when you need it? Imagine a simple way to keep all your hammers organized, easy to grab, and safely stored.
Storing hammers in a rack isn’t just about tidiness—it saves you time, protects your tools, and makes your workspace more efficient. You’ll discover practical tips and smart ideas to create the perfect hammer rack that fits your needs. Keep reading, and you’ll never waste time hunting for your hammer again.
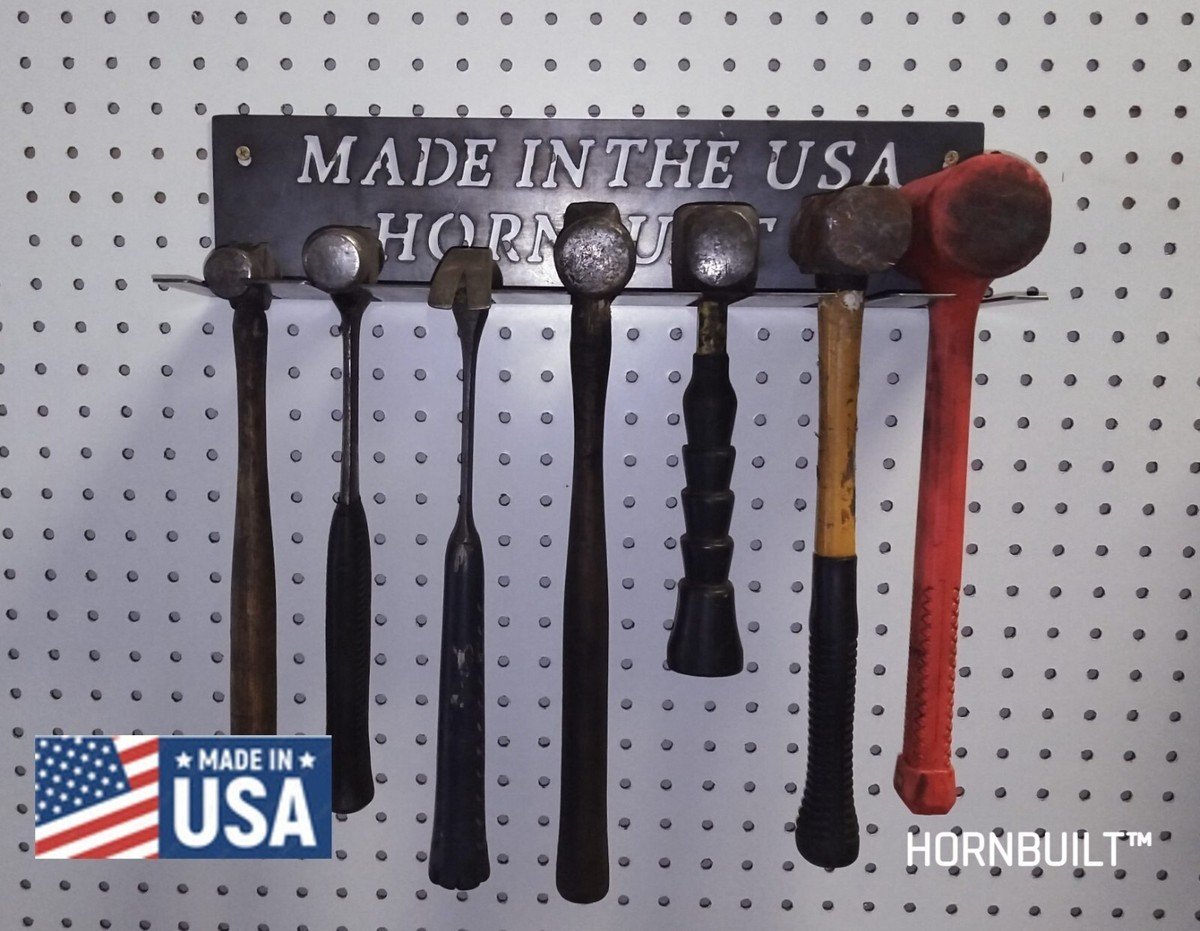
Choosing The Right Hammer Rack
Keeping your hammers organized helps you work faster and stay safe. A good hammer rack keeps your tools in one place. It also protects the hammer heads and handles from damage.
Choosing the right hammer rack depends on the material, size, and how you want to mount it. Each factor affects the rack’s use and durability.
Materials And Durability
Hammer racks come in different materials. Some common options include wood, metal, and plastic. Each material lasts for a different time and holds up under different conditions.
- Wood:Strong and classic look but can wear out with moisture.
- Metal:Very durable and holds heavy hammers well.
- Plastic:Lightweight and resistant to rust but less strong.
Size And Capacity
Measure the space where you want to place the rack. The size and capacity depend on how many hammers you own. Choose a rack that fits your tools without crowding.
| Rack Size | Hammer Capacity |
| Small (12-18 inches) | 2 to 4 hammers |
| Medium (18-24 inches) | 5 to 8 hammers |
| Large (24+ inches) | 9 or more hammers |
Mounting Options
Hammer racks can be mounted in various ways. Choose mounting that fits your workspace and keeps the rack stable.
- Wall-mounted racks save space and keep hammers visible.
- Freestanding racks can be moved around easily.
- Magnetic racks offer quick access but may not hold heavy hammers well.

Credit: www.reddit.com
Preparing Your Workspace
Getting your workspace ready is key to storing hammers safely. A clean, organized area helps you work faster and avoid accidents.
Focus on choosing the right spot and clearing the space before installing your hammer rack.
Selecting The Ideal Location
Pick a location that is easy to reach and has enough space for your hammer rack. Avoid damp or cluttered areas to keep tools in good shape.
- Choose a dry, well-lit spot
- Place the rack near your workbench or tool area
- Ensure the wall or surface can hold the rack’s weight
- Keep the area away from children’s reach
Clearing And Cleaning The Area
Clear out any clutter or dust where the hammer rack will go. This helps secure the rack firmly and keeps your hammers clean.
| Cleaning Task | Tools Needed | Purpose |
| Remove items from the wall | Gloves, screwdriver | Prepare surface for rack installation |
| Dust and wipe the area | Cloth, mild cleaner | Keep hammers free from dirt |
| Check for damage | Flashlight | Ensure wall strength and safety |
Organizing Hammers By Type
Storing hammers properly keeps your workspace tidy and tools easy to find.
Organizing hammers by type helps you grab the right one fast. It also protects the tools from damage.
Grouping By Function
Group hammers based on their use. Keep framing hammers together and finishing hammers in another spot.
- Claw hammers for general use
- Ball-peen hammers for metalwork
- Rubber mallets for gentle tapping
- Sledgehammers for heavy-duty jobs
Arranging By Size
Arrange hammers by size to save space and improve safety. Place smaller hammers on top shelves.
| Hammer Type | Small Size | Medium Size | Large Size |
| Claw Hammer | 8 oz | 16 oz | 20 oz |
| Ball-Peen Hammer | 4 oz | 8 oz | 12 oz |
| Sledgehammer | 2 lbs | 4 lbs | 8 lbs |
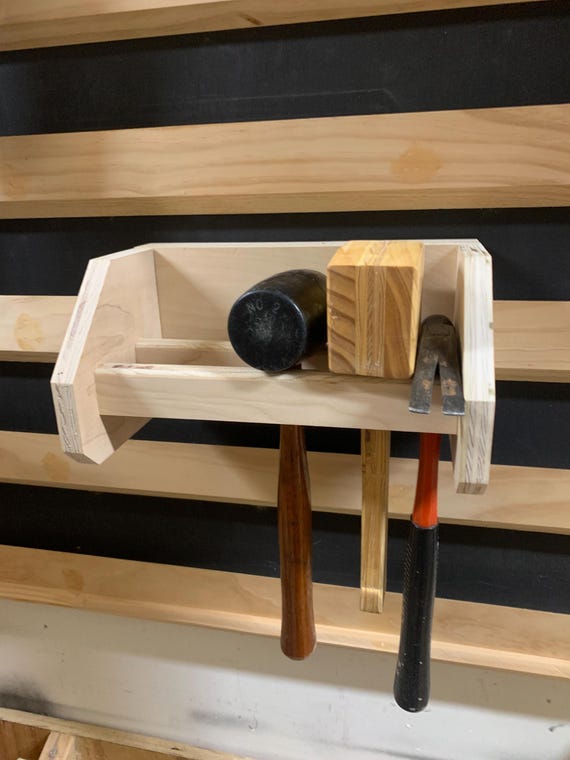
Credit: www.etsy.com
Installing The Hammer Rack
Storing hammers properly keeps your workspace safe and organized. Installing a hammer rack makes it easy to find your tools quickly.
This guide shows you how to install a hammer rack on your wall step-by-step. Follow the instructions to mount it securely.
Tools Needed For Installation
Gather these tools before starting the installation. Having everything ready makes the process faster and smoother.
- Hammer rack kit (rack and mounting hardware)
- Drill with drill bits
- Screwdriver (manual or electric)
- Measuring tape
- Level tool
- Pencil or marker
- Wall anchors (if mounting on drywall)
Step-by-step Mounting Guide
Follow these steps to mount your hammer rack securely on the wall. Take your time to ensure it is level and stable.
- Choose a wall spot that is easy to reach and has enough space.
- Use the measuring tape and pencil to mark where the rack holes will go.
- Check the marks with the level tool to keep the rack straight.
- Drill holes at the marked spots. Use wall anchors if needed.
- Align the rack holes with the drilled holes on the wall.
- Insert screws through the rack into the wall or anchors.
- Tighten screws using the screwdriver until the rack is firm.
- Hang your hammers on the rack and check stability.
Space-saving Storage Techniques
Keeping hammers organized saves space and protects tools. A good rack helps store them safely.
Using the right technique makes your workspace clean. It also makes finding hammers easier and faster.
Vertical Vs Horizontal Placement
Vertical placement means hanging hammers with handles down or up. It uses less shelf space.
Horizontal placement lays hammers flat on a rack or shelf. It keeps them steady and easy to grab.
- Vertical saves floor or shelf space
- Horizontal prevents hammers from falling
- Vertical works well for narrow spaces
- Horizontal is better for heavy or large hammers
Using Magnetic Strips And Hooks
Magnetic strips hold hammers by their metal parts. They attach to walls and save bench space.
Hooks hang hammers by their handles or heads. They fit well on racks or pegboards.
- Magnetic strips keep hammers visible and easy to take
- Hooks can hold multiple hammers at once
- Both save counter and drawer space
- Use sturdy magnets and strong hooks for safety
Maintaining Your Hammer Rack
Keeping your hammer rack in good shape helps your tools last longer. A clean and sturdy rack makes it easy to store and find hammers.
Regular care prevents damage and keeps your workspace safe. Small checks and cleanups go a long way.
Regular Cleaning Tips
Dust and dirt can build up on your hammer rack over time. Cleaning it regularly keeps the rack looking good and working well.
Use a soft cloth or brush to remove dirt. Wipe metal parts with a damp cloth to stop rust from forming.
- Remove all hammers before cleaning
- Use a dry or slightly damp cloth
- Clean corners and joints carefully
- Dry the rack fully after cleaning
- Apply light oil to metal parts if needed
Inspecting For Wear And Damage
Look over your hammer rack often to check for cracks or loose parts. Damage can make the rack unsafe and cause hammers to fall.
Fix small problems quickly to stop bigger damage. Tighten screws and replace worn parts as needed.
- Check wood or plastic for cracks
- Inspect metal for rust or bends
- Ensure all fasteners are tight
- Test that hammer holders hold tools firmly
- Replace broken parts immediately

Credit: www.reddit.com
Frequently Asked Questions
How Do I Organize Hammers In A Rack?
Organize hammers by size and type for easy access. Use labeled sections or hooks to separate claw, sledge, and ball-peen hammers. Ensure the rack is sturdy to prevent accidents. This method keeps your workspace tidy and efficient.
What Is The Best Rack For Hammer Storage?
Choose a rack made of durable materials like metal or wood. It should have multiple slots or hooks to accommodate various hammer sizes. Wall-mounted racks save space and provide easy access. Ensure it is securely anchored to handle the weight.
Can I Store Hammers Vertically In A Rack?
Yes, storing hammers vertically in a rack maximizes space. Use a rack with adjustable dividers or hooks to hold handles securely. Ensure the heads are supported to prevent tipping. This method keeps hammers organized and readily available.
Why Use A Rack For Hammer Storage?
Using a rack for hammer storage keeps tools organized and prevents damage. It enhances safety by reducing clutter and minimizing the risk of accidents. A rack also prolongs the life of your hammers by preventing rust and wear.
Conclusion
Storing hammers in a rack keeps your workspace neat and safe. It saves time by making tools easy to find. A well-organized rack also protects hammers from damage. Choose a rack that fits your space and tool size. Regularly check and clean your rack to keep it sturdy.
Good storage helps your tools last longer. Simple steps make a big difference in tool care. Keep your hammers ready for the next job. Easy, smart storage brings peace of mind.
