Are you tired of rummaging through a cluttered workshop looking for the right sanding disc? Imagine being able to find the perfect one in seconds, saving you time and frustration.
Storing sanding discs properly not only keeps your workspace tidy but also extends the life of your tools, ensuring that every project you tackle is a success. In this guide, you’ll discover simple yet effective ways to organize your sanding discs in boxes, making your DIY projects smoother and more efficient.
Ready to transform your workspace into a haven of order and productivity? Keep reading to unlock the secrets of perfect organization.

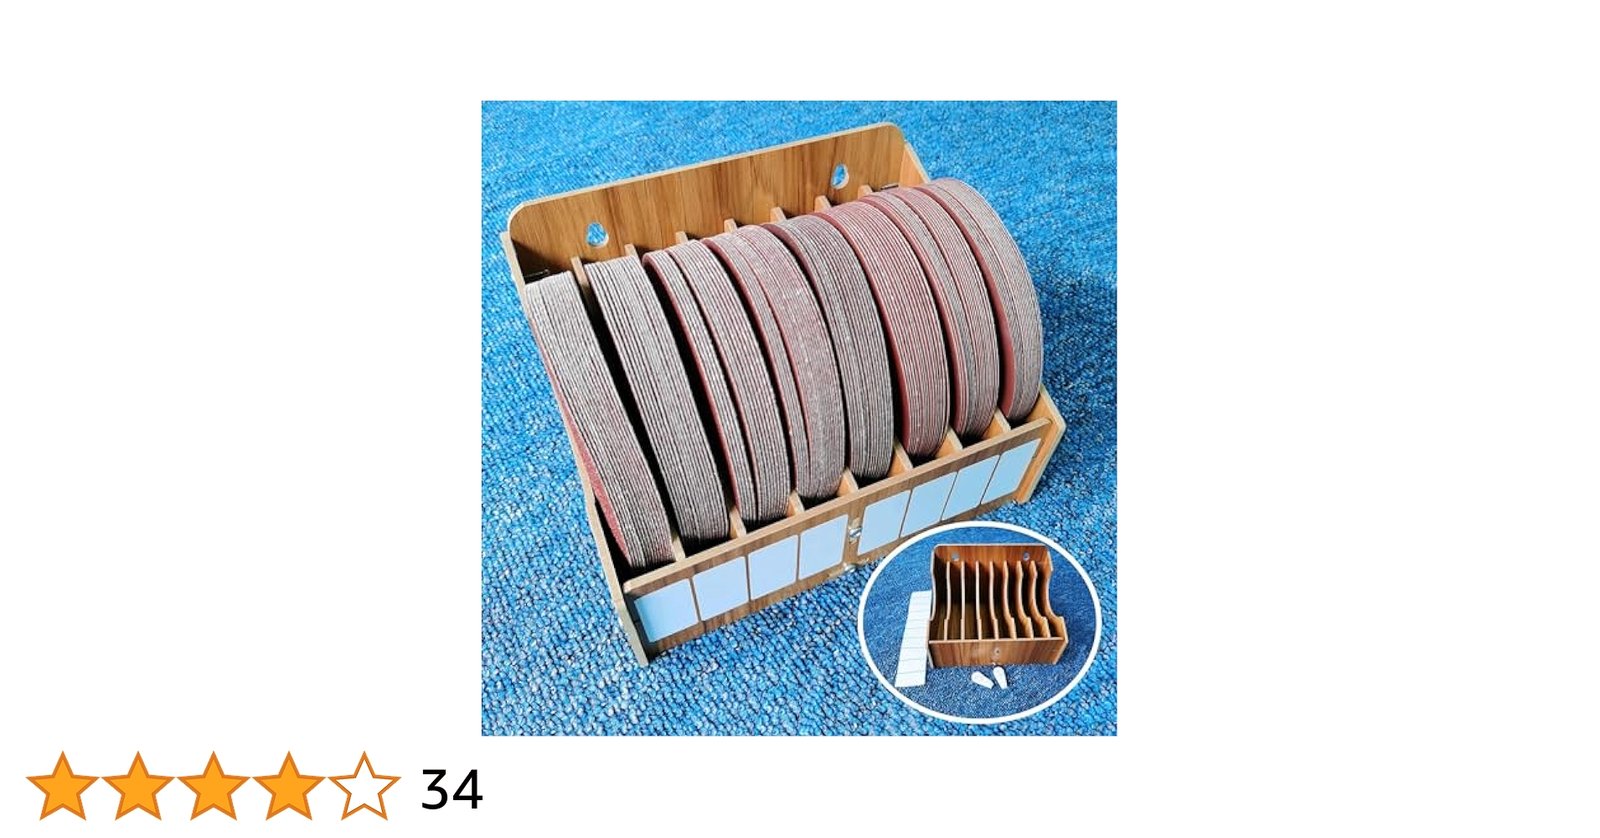
Credit: www.amazon.ca
Choosing The Right Storage Boxes
Storing sanding discs properly keeps them safe and ready to use. Choosing the right storage boxes is important to protect the discs.
The right box helps organize discs and stops damage from dust or moisture. This guide explains what to look for in storage boxes.
Materials To Consider
Storage boxes come in many materials. Some protect better and last longer than others.
Plastic boxes are common. They keep dust and moisture out and are easy to clean. Metal boxes are strong but can rust. Cardboard boxes are cheap but less durable.
- Plastic: waterproof and dustproof
- Metal: very durable but may rust
- Cardboard: affordable but less protective
Size And Shape Matters
Choose boxes that fit your sanding discs well. Too big boxes let discs move and get damaged. Too small boxes can bend or break discs.
Round or flat boxes work best depending on disc shape. Stackable boxes save space and keep discs neat.
- Match box size to disc diameter
- Use shallow boxes for flat discs
- Pick stackable boxes for easy storage
Durability And Protection
The box must protect discs from impact and moisture. Durable boxes last longer and keep discs safe.
Look for boxes with secure lids. Some have foam inside to cushion discs. Water-resistant boxes stop rust and damage.
- Strong lids prevent dust and water entry
- Foam padding protects discs from shocks
- Water-resistant materials stop rust

Credit: www.amazon.co.uk
Preparing Sanding Discs For Storage
Proper storage of sanding discs keeps them clean and ready to use. Preparing discs correctly helps extend their life.
Storing discs in boxes protects them from dust, moisture, and damage. Follow simple steps to prepare them well.
Cleaning And Drying Discs
Remove dust and debris from sanding discs before storage. Clean discs last longer and perform better.
- Use a soft brush to clear loose dust
- Wipe with a dry cloth to remove fine particles
- Do not use water or liquids that can damage the disc
- Allow discs to air dry if damp
Sorting By Grit And Type
Sort sanding discs by grit size and type before placing them in storage boxes. This makes finding the right disc easier.
| Grit Size | Recommended Storage | Disc Type |
| Coarse (40-60) | Separate compartments | Aluminum Oxide |
| Medium (80-120) | Stack flat | Silicon Carbide |
| Fine (150-220) | Use labeled dividers | Ceramic |
| Very Fine (240+) | Store in sealed boxes | Specialty Discs |
Organizing Sanding Discs Efficiently
Keeping sanding discs in order helps you work faster and avoid damage. Proper storage saves space and protects discs.
Using boxes to store sanding discs makes sorting and finding them easier. You can use simple tools to keep them neat.
Stacking Techniques
Stack sanding discs by size and grit to keep them organized. Place the largest discs at the bottom to prevent bending.
Avoid stacking too many discs to stop them from sticking or tearing. Light pressure keeps discs flat and ready to use.
- Sort discs by grit number before stacking
- Place discs flat in small stacks
- Keep stacks low to avoid damage
- Use a clean surface inside the box
Using Dividers And Labels
Dividers separate sanding discs by grit or type. They keep discs from rubbing and make it easy to find what you need.
Labels on each section help you spot the right disc fast. Use clear writing or printed labels for better visibility.
- Use cardboard or plastic dividers inside boxes
- Label each section with grit size or disc type
- Keep labels simple and easy to read
- Change labels as your collection grows
Maximizing Space Inside Boxes
Storing sanding discs properly saves space and protects the discs. Using the right method helps keep your work area tidy. Boxes are great for organizing discs of different sizes.
This guide explains two storage styles: vertical and horizontal. It also shows how to layer discs without causing damage.
Vertical Vs. Horizontal Storage
Vertical storage means standing sanding discs on their edges inside the box. Horizontal storage means stacking them flat. Each style uses space in a different way.
- Vertical Storage:Saves floor space and makes it easy to see discs.
- Horizontal Storage:Allows stacking but can use more space.
- Vertical storage:Helps air flow between discs, reducing moisture.
- Horizontal storage:Can cause discs to stick if stacked too tightly.
Choose vertical storage for quick access and better space use. Use horizontal storage if your box is shallow or discs are fragile.
Layering Without Damage
Layering sanding discs inside boxes needs care to avoid scratches or warping. Use soft materials to separate layers and keep discs flat.
| Layering Tip | Reason |
|---|---|
| Place thin paper or cloth between layers | Prevents scratches and rubbing |
| Do not stack too many discs | Stops warping under weight |
| Keep discs flat and aligned | Maintains disc shape and balance |
| Store in dry place | Avoids moisture damage |
Protecting Discs From Environmental Damage
Sanding discs need proper storage to keep them in good shape. Environmental factors like moisture and dust can harm the discs. Storing them correctly helps keep their performance high and extends their life.
This guide explains how to protect sanding discs from moisture, dust, and temperature changes. Follow these tips to keep your discs ready for use.
Avoiding Moisture And Dust
Moisture can cause sanding discs to warp or lose grit. Dust can clog the surface, lowering their effectiveness. Keep discs in sealed boxes or containers to block moisture and dust.
- Use airtight plastic or metal boxes for storage
- Place silica gel packs inside boxes to absorb moisture
- Keep boxes off the floor to avoid dust and dirt
- Store discs in a clean, dry area away from water sources
Temperature Considerations
Extreme temperatures can damage sanding discs. High heat may soften the adhesive, while cold can make discs brittle. Store discs in areas with stable, moderate temperatures.
| Temperature Range | Effect on Discs |
| Below 32°F (0°C) | Discs become brittle and may crack |
| 32°F to 77°F (0°C to 25°C) | Ideal storage range for best disc condition |
| Above 77°F (25°C) | Adhesive may soften, causing disc damage |

Credit: www.reddit.com
Diy Storage Solutions
Keeping sanding discs organized helps you find the right one fast. It also protects the discs from damage.
Using simple storage ideas saves space and keeps your workshop neat. Boxes are great for storing sanding discs safely.
Repurposing Household Items
Many household items can hold sanding discs well. Using what you already have cuts costs and reduces waste.
- Old DVD or CD cases hold discs flat and separate.
- Plastic jars keep discs dust-free and visible.
- Cardboard boxes can be divided with paper or foam pieces.
- Shoe boxes work well if lined with soft fabric.
- Ice cube trays separate small discs by size.
Custom Inserts For Better Fit
Custom inserts make sanding discs fit snugly inside boxes. Inserts protect discs and keep them from shifting.
| Insert Type | Material | Benefit |
| Foam Cutouts | Soft foam | Cushions discs and stops movement |
| Cardboard Dividers | Thick cardboard | Simple and cheap way to separate discs |
| Plastic Trays | Hard plastic | Durable and easy to clean |
| Felt Liners | Felt fabric | Prevents scratches and adds grip |
Maintenance Tips For Stored Discs
Proper care helps sanding discs last longer. Good storage keeps them clean and safe.
Regular checks and smart use prevent damage and waste. Follow these tips to maintain your discs.
Regular Inspection
Check sanding discs often for wear and damage. Look for tears, cracks, or clogging.
- Remove dust and debris before storage
- Discard discs with visible damage
- Keep discs dry to avoid moisture damage
- Store discs flat to prevent warping
Rotating Stock For Longevity
Use older discs first to keep all discs fresh. Rotate stock to avoid letting discs expire.
| Tip | Reason |
| Label boxes by purchase date | Helps identify oldest stock |
| Place newest discs at back | Use older discs before new ones |
| Check stock regularly | Prevents keeping damaged discs |
| Store discs in original packaging | Protects from dirt and moisture |
Frequently Asked Questions
How Should Sanding Discs Be Organized In Boxes?
Sanding discs should be sorted by grit size and type before storing. Use dividers or labeled sections within boxes to keep them organized and easy to find.
What Is The Best Way To Protect Sanding Discs In Storage?
Store sanding discs in a dry, cool place inside sturdy boxes. Avoid humidity and direct sunlight to prevent damage or loss of abrasive quality.
Can Sanding Discs Be Stored Flat Or Upright In Boxes?
Sanding discs are best stored flat in boxes to avoid warping. Keep them stacked evenly without pressing too hard to maintain their shape.
How Often Should Sanding Discs Be Checked When Stored?
Check stored sanding discs every few months for moisture or damage. Replace any discs that show signs of wear or deterioration to ensure quality results.
Conclusion
Storing sanding discs in boxes keeps them neat and safe. It stops dust and moisture from damaging discs. Organizing by size and grit saves time during projects. Use sturdy boxes that protect discs from bending or breaking. Label each box clearly for quick access every time.
Proper storage helps sanding discs last longer and work better. Simple steps make your workspace cleaner and more efficient. Keep your sanding discs ready to use whenever you need them. Good storage makes your work easier and more enjoyable.