Are you struggling to figure out if your circuit is working properly? Testing a circuit with a multimeter might sound tricky, but it’s simpler than you think.
Knowing how to use a multimeter can save you time, money, and frustration by helping you find problems quickly and fix them with confidence. In this guide, you’ll learn clear, step-by-step instructions to test your circuits like a pro—even if you’re just starting out.
Keep reading, and by the end, you’ll have the skills to check voltage, current, and resistance with ease. Your next successful repair or project is just a few clicks away!
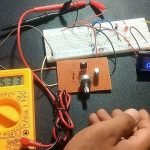
Credit: www.kynix.com
Preparing Your Multimeter
Testing a circuit with a multimeter needs some preparation. You must get your device ready before starting.
This guide helps you prepare your multimeter safely and correctly for accurate results.
Choosing The Right Multimeter
Select a multimeter that fits your needs. Consider what you want to measure and your skill level.
- Pick a digital multimeter for easy reading.
- Choose a device with a suitable voltage and current range.
- Check if it measures resistance, continuity, and capacitance.
- Look for features like auto-ranging for convenience.
Setting Up The Device
Before use, set your multimeter correctly. This helps prevent errors and damage.
| Setting | Purpose |
| Voltage (V) | Measure electrical potential difference |
| Current (A) | Measure flow of electric charge |
| Resistance (Ω) | Check resistance in a circuit |
| Continuity | Test if a circuit is complete |
Connect the test leads to the right ports. Usually, black goes to COM and red to VΩ or A.
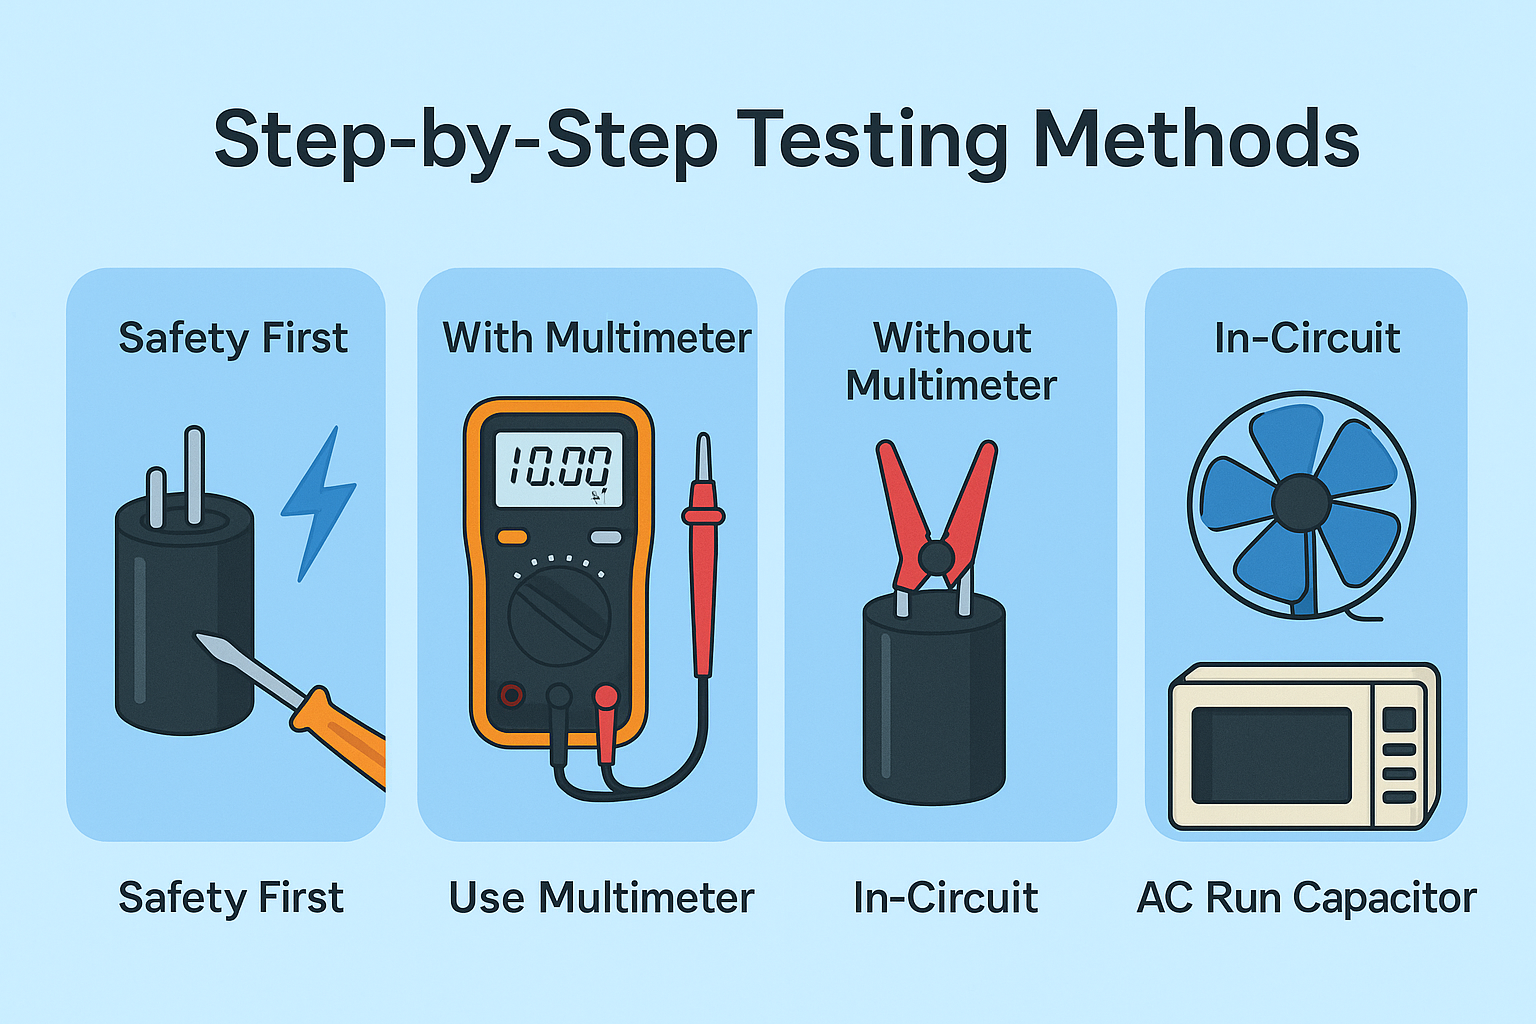
Safety Precautions
Safety is key when using a multimeter. Follow these rules to avoid harm and damage.
- Turn off power before connecting your multimeter.
- Use insulated test leads to avoid shocks.
- Do not touch metal parts during measurement.
- Check your multimeter’s fuse and battery before use.
- Never measure resistance on a live circuit.
Credit: www.ersaelectronics.com
Checking Continuity
Testing continuity with a multimeter helps find if a circuit is complete. It shows if electricity can flow through a wire or connection.
This test is simple and useful for fixing electrical problems. It saves time by checking parts before using power.
What Continuity Means
Continuity means a path is complete for electricity to flow. If the path is broken, there is no continuity.
A multimeter tests this by sending a small current. If the meter beeps or shows zero resistance, the path is good.
Testing Wires And Connections
To test wires, first turn off all power to the circuit. Touch the multimeter probes to each end of the wire.
If the multimeter beeps or shows a low number, the wire is good. No beep or high number means a break in the wire.
- Set the multimeter to continuity mode
- Touch probes to both ends of the wire
- Listen for a beep or look for zero resistance
- If no beep, check for breaks or loose connections
Measuring Voltage
Testing a circuit with a multimeter helps you find electrical problems. Measuring voltage shows the electric potential difference.
You can check voltage in two main types: AC and DC. Each type needs a different setting on your multimeter.
Selecting Voltage Type
Choose the right voltage type on your multimeter before testing. The two types are AC (alternating current) and DC (direct current).
Set the multimeter dial to ACV for AC voltage or DCV for DC voltage. This avoids wrong readings and protects your device.
- AC voltage changes direction regularly
- DC voltage flows in one direction
- Use correct setting for accurate results
Measuring Ac Voltage
To measure AC voltage, set your multimeter to ACV. This is common for household outlets and appliances.
Place the black probe on the neutral or ground point. Touch the red probe to the live wire or terminal. Read the voltage on the display.
- Always be careful with live wires
- Do not touch metal parts of probes
- Check multimeter limits for safety
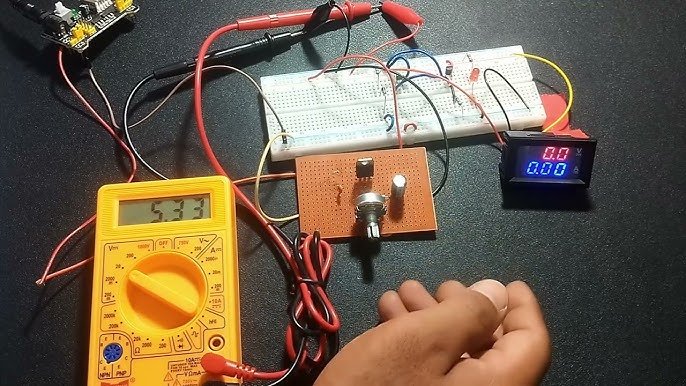
Measuring Dc Voltage
Set the multimeter to DCV to measure DC voltage. This is common in batteries, solar panels, and electronics.
Connect the black probe to the negative terminal. Touch the red probe to the positive terminal. The multimeter shows the voltage value.
- Check probe polarity before measuring
- Reverse probes if reading is negative
- Use proper range to get accurate numbers
Testing Current
Testing current in a circuit helps find electrical flow and check if devices work well. A multimeter is a useful tool for this task.
You must set the multimeter correctly before measuring current. Safety and accuracy depend on this step.
Setting The Multimeter For Current
Turn the dial on the multimeter to the current setting, often marked as “A” for amperes. Choose DC or AC current based on your circuit type.
- Insert the red probe into the port labeled for current measurement (usually “10A” or “mA”).
- Insert the black probe into the common (COM) port.
- Select the correct current range on the dial to avoid damaging the multimeter.
- Use the highest range first, then lower it for a better reading.
Measuring Circuit Current
To measure current, connect the multimeter in series with the circuit. This means opening the circuit and placing the meter leads so current flows through the meter.
| Step | Action | Note |
| 1 | Turn off power to the circuit. | Prevents shocks and damage. |
| 2 | Break the circuit where you want to measure current. | Current must flow through the meter. |
| 3 | Connect the red probe to the side with power input. | Ensures correct current flow direction. |
| 4 | Connect the black probe to the other side. | Completes the circuit. |
| 5 | Turn on the power and read the current on the display. | Watch the value carefully. |
| 6 | Turn off power and remove the multimeter. | Rebuild the circuit properly. |
Measuring Resistance
Resistance is a key property in electrical circuits. It controls the flow of electric current through components.
A multimeter helps measure resistance to check if parts work well or if circuits are broken.
How Resistance Affects Circuits
Resistance limits the current that flows in a circuit. High resistance means less current. Low resistance means more current.
- Too much resistance can stop devices from working.
- Too little resistance can cause parts to overheat.
- Resistors control voltage and current in circuits.
- Broken wires or parts may show infinite resistance.
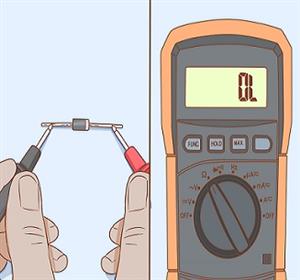
Using The Multimeter To Test Resistance
Set the multimeter to the resistance mode, often marked with the omega symbol (Ω). Connect the probes across the component.
The multimeter shows the resistance value. Use this to check if the component matches its specification or if it is damaged.
| Multimeter Setting | What to Do | Expected Reading |
| Low resistance range | Test wires or metal parts | Close to 0 Ω |
| Mid resistance range | Test resistors or coils | Specified resistor value |
| High resistance range | Test insulators or broken parts | Infinite or OL (open loop) |

Credit: support.ecobee.com
Troubleshooting Common Issues
Testing a circuit with a multimeter helps find problems quickly. It shows if parts work or need fixing.
Knowing how to read your multimeter and spot bad parts saves time and effort in repairs.
Identifying Faulty Components
Check parts like resistors, capacitors, and wires for damage or failure. A multimeter can test if they carry current correctly.
Look for parts that show no reading or values far from the expected numbers. These parts often cause circuit problems.
- Test resistors by measuring resistance; it should match the color code.
- Check capacitors for shorts or open circuits using the capacitance mode.
- Inspect wires for continuity to see if current flows through them.
- Measure voltage across parts to confirm they receive power.
Interpreting Multimeter Readings
Multimeter readings show voltage, resistance, or current in numbers. Knowing what these numbers mean helps you find problems.
Low or zero resistance means a short circuit. Very high or infinite resistance means an open circuit or broken part.
| Reading Type | Normal Value | Problem Indicated |
|---|---|---|
| Voltage | Expected supply voltage | Low or no voltage means power issue |
| Resistance | Matches component rating | Too low or too high means faulty part |
| Continuity | Beep or zero resistance | No beep means broken wire or connection |
Tips For Accurate Measurements
Using a multimeter correctly helps you test circuits safely and precisely.
Follow these tips to avoid errors and keep your tool in good shape.
Avoiding Common Mistakes
Many errors come from wrong settings or poor connection. Check the multimeter mode before testing.
- Set the multimeter to the correct measurement type (voltage, current, resistance).
- Use the right range if your meter does not auto-range.
- Make sure test leads touch the circuit firmly without slipping.
- Never touch metal parts of the probes during testing.
- Disconnect power when measuring resistance or continuity.
Maintaining Your Multimeter
Keeping your multimeter clean and in good condition ensures reliable readings.
| Maintenance Task | Reason | Frequency |
| Check battery | Low power affects accuracy | Before each use |
| Clean test leads | Remove dirt for good contact | Weekly or after use |
| Inspect probes | Prevent breaks or shorts | Monthly |
| Store properly | Protect from damage | Always |
Frequently Asked Questions
How Do I Test Circuit Continuity With A Multimeter?
Set the multimeter to continuity mode. Touch probes to circuit ends. A beep or zero reading shows continuity, confirming no breaks.
Can A Multimeter Measure Voltage In A Live Circuit?
Yes, set the multimeter to the correct voltage range. Connect probes parallel to the circuit. Read the voltage value safely.
How To Check A Resistor Value Using A Multimeter?
Turn off power. Set the multimeter to resistance mode (ohms). Place probes on resistor leads. Read the resistance on the display.
What Safety Precautions Are Needed When Testing Circuits?
Always turn off power before testing resistance. Use insulated probes. Avoid touching live wires. Follow manufacturer instructions for safe multimeter use.
Conclusion
Testing a circuit with a multimeter helps find problems fast. Always check connections and power before measuring. Use the right setting on your multimeter for each test. Take safety steps to avoid shocks or damage. Practice regularly to get better and more confident.
This simple tool makes fixing circuits easier and clearer. Try these steps next time you work on electronics. You will save time and avoid mistakes. Testing circuits can be simple and useful for everyone.