
Are you struggling with loose compression fittings that cause leaks or reduce the efficiency of your plumbing? Knowing how to tighten compression fittings properly can save you time, money, and frustration.
In this guide, you’ll discover simple, step-by-step techniques to secure your fittings tightly without damaging them. Whether you’re a beginner or just need a quick refresher, this article will help you fix your plumbing problems confidently and quickly. Keep reading to learn the secrets that professionals use to get a perfect seal every time.
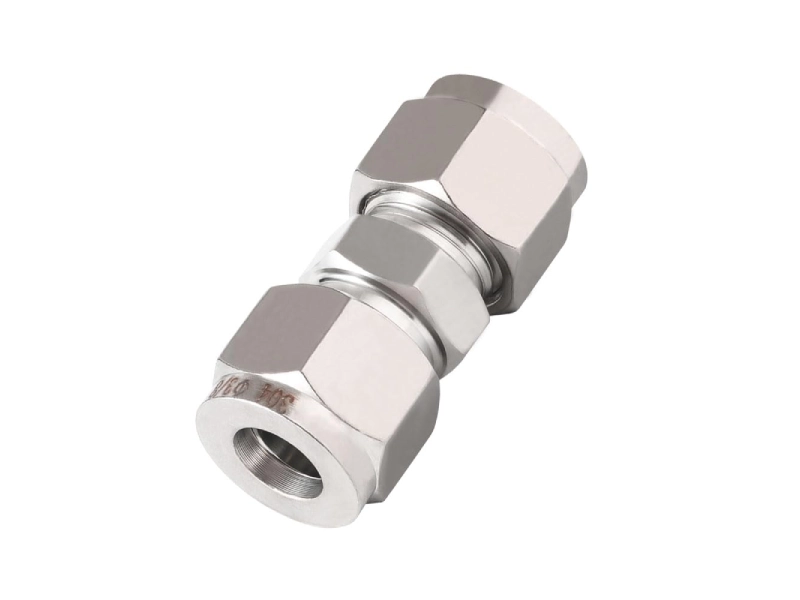
Types Of Compression Fittings
Compression fittings connect pipes and tubes without welding. They use a collar and a nut to create a tight seal.
There are different types of compression fittings. Each type fits a specific use or pipe material.
Standard Compression Fittings
Standard compression fittings work with copper, plastic, and steel pipes. They are common in plumbing and gas lines.
- Body: The main part that holds the pipe.
- Nut: Tightens around the pipe to hold it in place.
- Ferrule or Ring: Squeezes the pipe to make a seal.
To tighten these fittings, first hand-tighten the nut. Then use a wrench to turn it one-quarter to one-half turn. Do not over-tighten to avoid damage.
Swagelok And Specialty Fittings
Swagelok fittings are high-quality compression fittings. They use two ferrules for a stronger, leak-free seal.
| Part | Description |
| Front Ferrule | Grips the tube and forms a seal |
| Back Ferrule | Holds the front ferrule in place and adds strength |
| Nut | Compresses both ferrules onto the tube |
To tighten Swagelok fittings, hand-tighten the nut. Then use a wrench to turn it one and a quarter turns. This method ensures a secure seal without damage.
Specialty fittings include flare fittings and bite-type fittings. They serve specific needs like high pressure or vibration resistance.
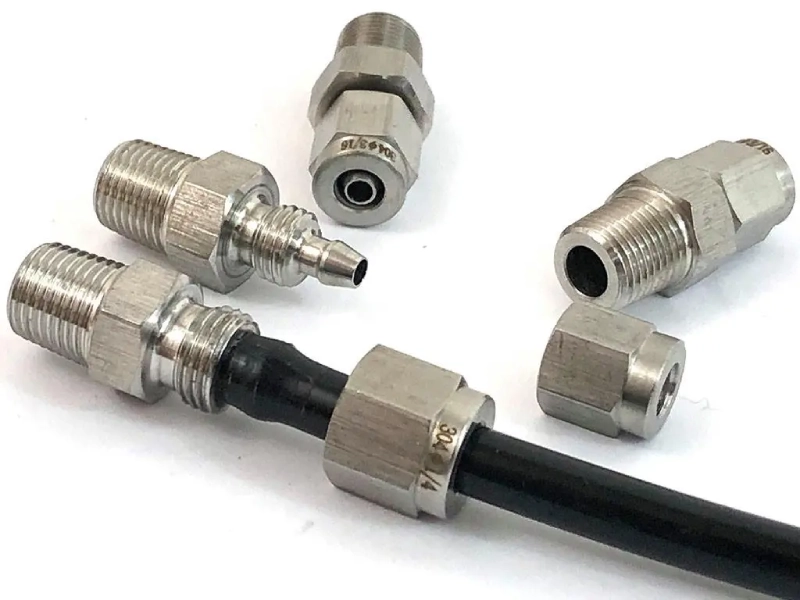
Tools Needed
Tightening compression fittings requires the right tools for a secure fit. Using proper tools helps avoid leaks and damage.
Here are essential tools to have ready before starting your work on compression fittings.
Wrenches And Pliers
You need wrenches and pliers to grip and tighten compression fittings correctly. An adjustable wrench fits most nut sizes. Slip-joint pliers help hold pipes steady during tightening.
- Adjustable wrench for nuts of different sizes
- Slip-joint pliers to hold pipes firmly
- Open-end wrench for a precise fit
- Channel-lock pliers for extra grip
Pipe Cutters And Deburring Tools
Cutting and preparing pipes is key before fitting. Pipe cutters make clean cuts. Deburring tools remove sharp edges for a smooth pipe end.
| Tool | Purpose |
|---|---|
| Pipe Cutter | Cut pipes cleanly and evenly |
| Deburring Tool | Remove sharp edges inside and outside pipe ends |
| Utility Knife | Trim excess material if needed |
Preparing The Tubing
Tightening compression fittings starts with good tubing preparation. Proper tubing helps create a strong seal.
Clean and smooth tubing makes it easier to tighten the fitting without leaks.
Cutting The Tube Cleanly
Use a sharp tube cutter for a straight, clean cut. Avoid crushing or bending the tube.
A clean cut helps the fitting grip the tube tightly and prevents leaks.
- Place the cutter square to the tube
- Rotate the cutter evenly around the tube
- Stop when the tube is cut through fully
Removing Burrs And Debris
Burrs are rough edges left after cutting. They can damage the fitting seal or block water flow.
Use a deburring tool or sandpaper to smooth the tube ends before fitting installation.
- Run a deburring tool inside and outside the tube
- Wipe the tube to remove dust and debris
- Check the tube end for smoothness by touch
Steps To Tighten Compression Fittings
Tightening compression fittings is important for leak-free connections. This guide explains the key steps for a secure fit.
Follow these instructions carefully to avoid damage and ensure the fitting works well.
Positioning The Nut And Ferrule
Start by sliding the nut onto the pipe or tubing. Then place the ferrule right behind the nut. Make sure both parts fit snugly around the pipe.
- Slide the nut onto the pipe with the threaded end facing the fitting body.
- Place the ferrule after the nut, ensuring it fits tightly around the pipe.
- Push the pipe into the fitting body until it stops.
Hand Tightening The Nut
Hand tighten the nut by turning it clockwise. This helps to seat the ferrule and start the seal.
- Turn the nut by hand until it feels snug against the fitting body.
- Do not force it; hand tightening prevents cross-threading and damage.
- Check that the ferrule stays in place while tightening.
Using Wrenches To Secure The Fitting
Use two wrenches to fully tighten the compression fitting. One wrench holds the fitting body, the other tightens the nut.
| Wrench | Action |
|---|---|
| First Wrench | Hold the fitting body steady to prevent turning |
| Second Wrench | Turn the nut clockwise 1/4 to 1/2 turn past hand tight |
Avoid overtightening to prevent damage to the fitting or pipe. Stop when you feel resistance and the fitting is secure.
Common Mistakes To Avoid
Tightening compression fittings is a task that needs care. Many errors can cause leaks or damage. Knowing what to avoid helps ensure a proper seal.
This guide covers two common mistakes: over-tightening and misalignment. Avoiding these will save time and prevent costly repairs.
Over-tightening Risks
Putting too much force on compression fittings can cause problems. It may crack parts or deform the fitting. This reduces its ability to seal properly.
- Damage to the compression ring or ferrule
- Cracking of plastic or metal fittings
- Stripped threads on nuts or pipes
- Leaks caused by crushed components
- Difficult future removal due to stuck fittings
Always tighten fittings by hand first, then use a wrench with small turns. Stop once you feel resistance and the fitting is snug.
Misalignment Issues
Fittings must align properly to work well. Misalignment can cause uneven pressure and leaks. It also wears out parts faster.
| Misalignment Problem | Effect |
| Pipe not centered in fitting | Weak seal, leaks |
| Fitting parts not flush | Uneven pressure, damage |
| Twisted or angled connections | Stress on pipes, cracks |
Check that pipes and fittings line up before tightening. Adjust carefully to avoid stress and ensure a tight seal.

Credit: www.youtube.com
Testing For Leaks
Checking for leaks after tightening compression fittings is important to ensure safety and proper function. Testing helps find weak points before full use.
This guide covers two main methods for testing leaks: visual inspection and pressure testing. Both methods help confirm the fitting is secure.
Visual Inspection
Visual inspection is the first way to check if a compression fitting is tight. Look closely at the joint for any signs of leaks.
- Check for water droplets or moisture around the fitting.
- Look for any discoloration or corrosion on the metal parts.
- Feel for dampness by running your fingers gently near the joint.
- Ensure the fitting’s nut is fully tightened and properly aligned.
- Watch for any movement or loosening when lightly touched.
Pressure Testing Methods
Pressure testing uses water or air to check the fitting’s strength. It helps find leaks that are not visible during visual inspection.
| Test Type | Description | Advantages |
| Water Pressure Test | Fill the pipe with water, then apply pressure using a pump. | Safe, easy to detect leaks by wet spots. |
| Air Pressure Test | Use compressed air to pressurize the pipe and listen for hissing sounds. | Quick and dry, good for detecting small leaks. |
| Soap Solution Test | Apply soapy water around the fitting and watch for bubbles. | Simple and effective for small leaks. |
Maintenance Tips
Tightening compression fittings helps prevent leaks and keeps systems safe. Regular care extends the life of your fittings and pipes.
Follow simple steps to check and maintain your compression fittings. This saves time and money on repairs later.
Regular Checks
Inspect your compression fittings often to spot wear or leaks early. Look for cracks, corrosion, and loose connections.
- Feel around fittings for moisture or drips.
- Listen for unusual sounds near joints.
- Check for rust or discoloration.
- Ensure fittings are tight but not over-tightened.
- Test water pressure to detect slow leaks.
When To Replace Fittings
Replace fittings if they show damage or fail to seal properly. Old or worn parts can cause leaks and damage.
| Condition | Action |
| Cracks or visible damage | Replace immediately |
| Persistent leaks after tightening | Replace fitting and check pipe |
| Corrosion or rust buildup | Replace to prevent failure |
| Fitting feels loose or slips | Replace or retighten properly |
Credit: dfhydraulics.com
Credit: dfhydraulics.com
Frequently Asked Questions
How Do You Properly Tighten Compression Fittings?
To tighten compression fittings, hand-tighten first, then use a wrench for an additional quarter turn. Avoid overtightening to prevent damage. Ensure the fitting is aligned correctly for a secure seal.
What Tools Are Needed To Tighten Compression Fittings?
You need two adjustable wrenches or spanners. One holds the fitting body steady, and the other tightens the compression nut. Using proper tools prevents leaks and damage.
How Tight Should Compression Fittings Be?
Compression fittings should be snug, tightened about one-quarter to one-half turn after hand-tightening. This ensures a leak-free seal without damaging the fitting or tubing.
Can Overtightening Damage Compression Fittings?
Yes, overtightening can crush the tubing or damage the fitting. This leads to leaks or permanent damage. Always tighten fittings just enough for a secure seal.
Conclusion
Tightening compression fittings doesn’t have to be difficult. Just follow the steps. Use the right tools for a snug fit. Check for leaks after tightening. Listen for any sounds indicating problems. If unsure, consulting a professional can help. Proper installation ensures your plumbing works efficiently.
It also prevents costly repairs later on. Always handle fittings with care. A little patience goes a long way. Keep practicing for better results each time. Your plumbing skills will improve. Remember, attention to detail is key. Stay diligent, and your fittings will remain secure.
