Are you ready to transform your old furniture into something smooth and stunning? Using a belt sander might sound tricky, but with the right steps, you can master it quickly.
This tool can save you hours of hard work and give your furniture a flawless finish. In this guide, you’ll learn exactly how to use a belt sander safely and effectively to bring out the best in your pieces. Stick with me, and by the end, you’ll feel confident tackling your next sanding project like a pro.
Let’s get started!

Credit: www.familyhandyman.com
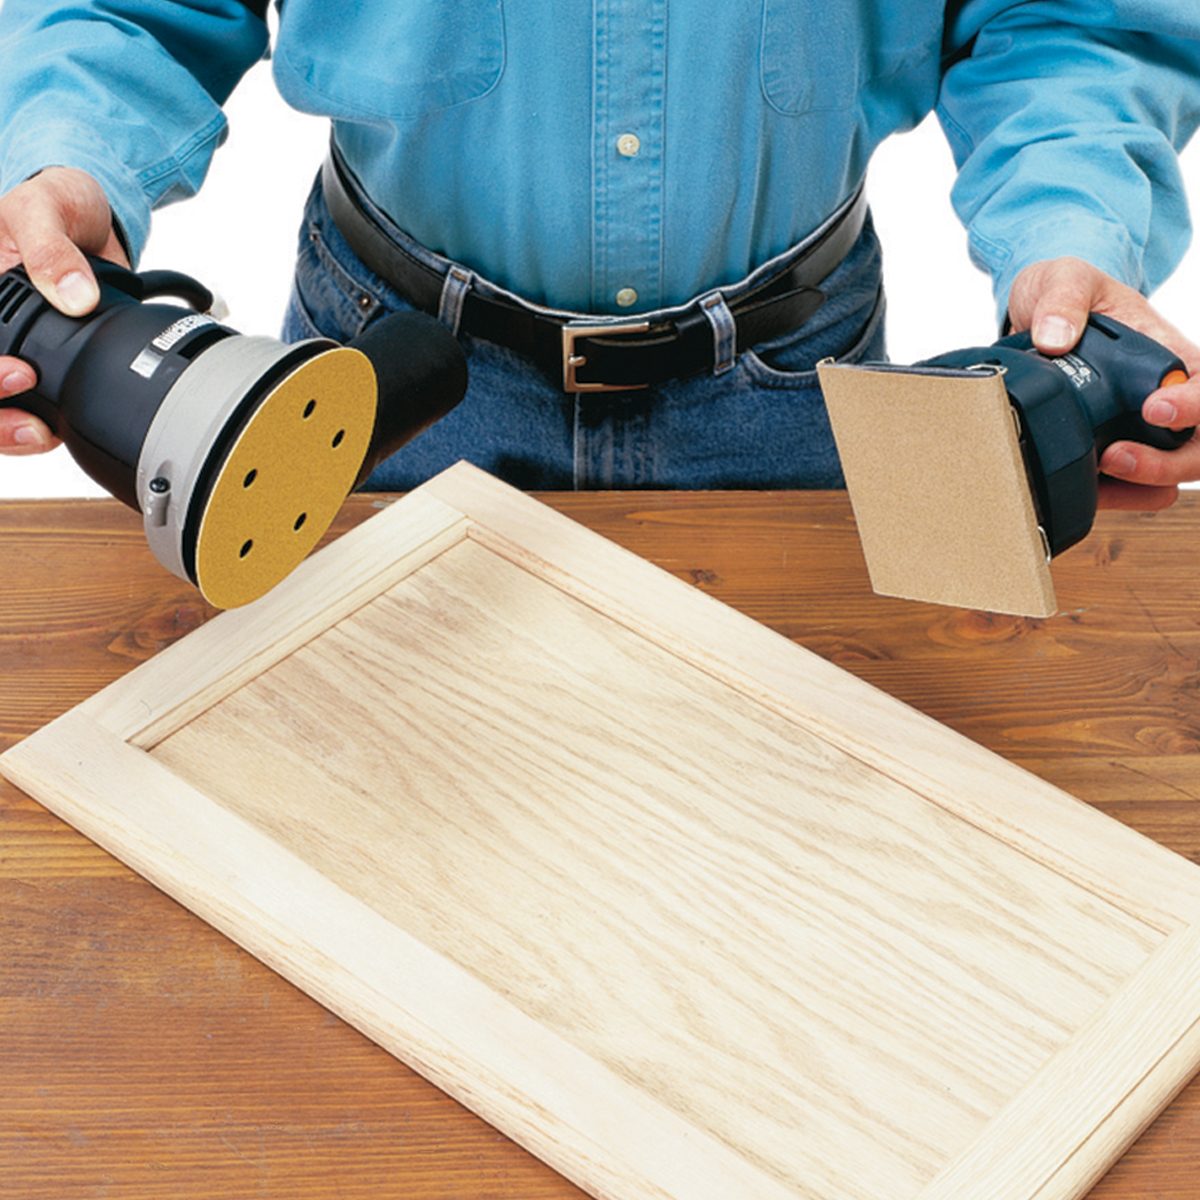
Choosing The Right Belt Sander
Using a belt sander on furniture can save time and effort. Picking the right sander helps you work safely and get smooth results.
There are different types of belt sanders and sanding belts. Each type fits different jobs and surfaces.
Types Of Belt Sanders
Belt sanders come in handheld and stationary styles. Handheld sanders are easy to move around furniture pieces.
Stationary belt sanders stay in one place. They work well for sanding small parts or edges.
- Handheld Belt Sander:Portable and good for large surfaces.
- Stationary Belt Sander:Fixed machine for detailed sanding.
- Detail Belt Sander:Small and used for tight spots.
Selecting The Correct Grit
Sanding belts come in different grits. The grit number shows how rough or smooth the belt is.
Start with a coarse grit to remove old finish or rough spots. Then use finer grits for smooth surfaces.
- Coarse Grit (40-60):Removes paint and rough wood.
- Medium Grit (80-120):Smooths wood and removes small scratches.
- Fine Grit (150-220):Prepares wood for finishing.
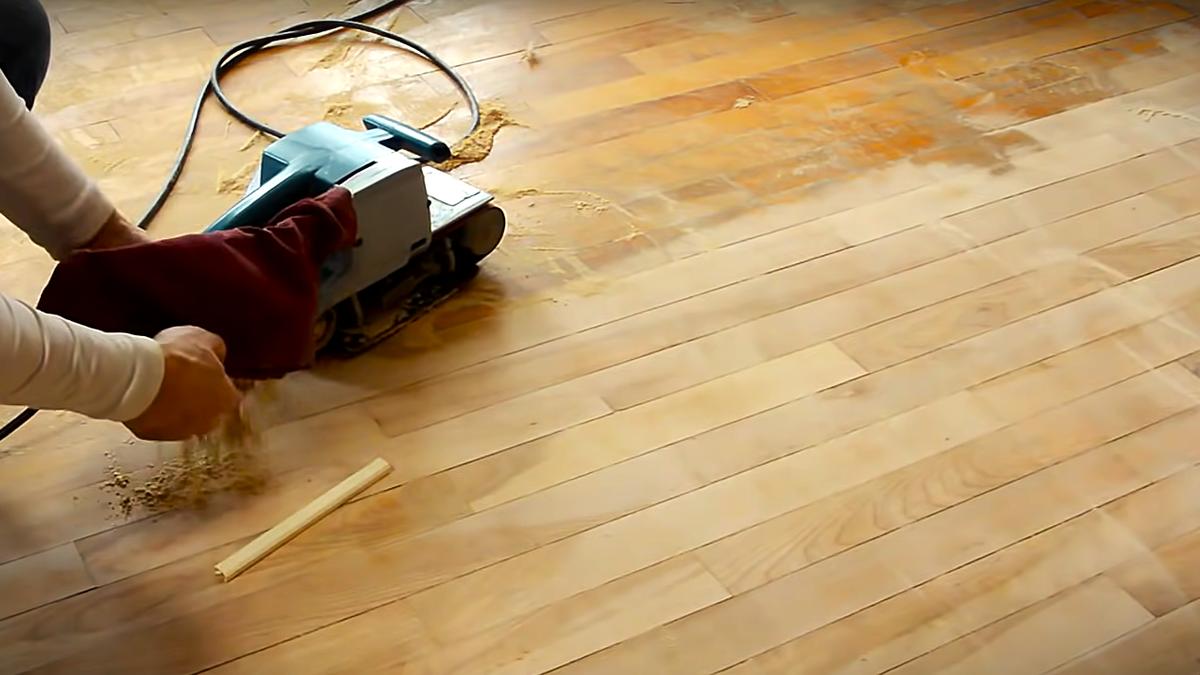
Credit: www.ecohome.net
Preparing Your Workspace
Before using a belt sander, set up a clean and safe workspace. A good area helps you work efficiently and avoid accidents.
Make sure you have enough room to move around the furniture. Good lighting is also important to see the surface clearly.
Safety Precautions
Protect yourself and your surroundings before starting. Safety reduces the risk of injuries and damage.
- Wear safety goggles to protect your eyes from dust and debris.
- Use a dust mask to avoid breathing in fine particles.
- Wear hearing protection to guard against noise from the sander.
- Remove loose clothing and tie back long hair to prevent entanglement.
- Keep the workspace free of clutter and flammable materials.
- Ensure the power cord is safely away from the sanding area to avoid tripping.
Setting Up The Furniture
Place the furniture on a stable surface before sanding. This helps you control the sander better and get smooth results.
| Furniture Type | Recommended Support | Notes |
|---|---|---|
| Small Chairs | Workbench or sturdy table | Use clamps to hold firmly |
| Large Tables | Sawhorses or floor space | Check stability to prevent wobbling |
| Cabinets | Flat floor or workbench | Remove doors for easier access |
Sanding Techniques
Using a belt sander properly helps you get smooth furniture surfaces. Learning good sanding techniques makes your work easier and safer.
This guide covers hand positioning, pressure control, and sanding direction. Follow these tips for better results.
Proper Hand Positioning
Hold the belt sander with both hands for control. Place one hand on the front handle and the other on the main handle.
Keep your grip firm but relaxed to avoid fatigue. This helps guide the sander smoothly across the surface.
Maintaining Consistent Pressure
Apply even pressure to the sander while moving it. Pressing too hard can damage the wood or wear the belt quickly.
Let the sander do the work by holding it gently but steadily. Keep pressure steady for smooth, uniform sanding.
- Too much pressure can cause uneven sanding
- Too little pressure may slow the work
- Consistent pressure helps avoid gouges
Sanding With The Grain
Always move the belt sander along the wood grain. Sanding against the grain can leave scratches and rough spots.
Follow the natural lines in the wood for a smooth finish. This technique helps the surface look clean and polished.
- Inspect the wood grain direction before sanding
- Keep the sander moving with the grain
- Stop sanding if you see scratches across the grain
Avoiding Common Mistakes
Using a belt sander on furniture can save time and effort. Many people make simple errors that damage the wood. Avoiding these mistakes helps you get a smooth finish.
Pay attention to how you handle the sander and clean up dust. This guide covers two key ways to prevent problems.
Preventing Gouges And Scratches
Gouges and scratches happen when the sander stays too long in one spot or is pushed too hard. Keep the sander moving evenly to avoid this damage.
- Hold the sander flat against the surface, not tilted.
- Move the sander in smooth, even strokes along the grain.
- Do not apply too much pressure; let the sander do the work.
- Check the sandpaper regularly and replace it when worn out.
- Start sanding with a coarse grit and finish with a fine grit for a smooth surface.
Managing Dust And Debris
Dust can build up and cause scratches or clog the sander. It also makes your workspace messy. Use these tips to control dust and keep your furniture clean.
| Tip | Why It Helps |
| Attach a vacuum to the sander | Removes dust as you sand |
| Wear a dust mask | Protects your lungs from fine particles |
| Clean the area often | Prevents dust from settling on furniture |
| Use tack cloth after sanding | Wipes off remaining dust before finishing |
Finishing Touches
Using a belt sander for furniture requires care in the final steps. These finishing touches help your project look smooth and ready for the next phase. Proper sanding ensures a clean surface for any paint or stain.
This guide covers switching to finer sanding grits and preparing your furniture for staining or painting. Follow these tips to get the best results with your belt sander.
Switching To Finer Grits
Start sanding with a coarse grit to remove rough spots. Then switch to finer grits to smooth the surface. This process reduces scratches and creates an even finish.
- Begin with 80-grit sandpaper to shape the wood.
- Move to 120-grit to remove deeper scratches.
- Use 180-grit for a smooth surface.
- Finish with 220-grit for fine polishing.
Always sand in the direction of the wood grain to avoid marks. Change sanding belts regularly for consistent results.
Preparing For Staining Or Painting
Before staining or painting, clean the surface to remove dust. Dust can cause uneven color and texture. Use a tack cloth or vacuum to clear all particles.
| Preparation Step | Purpose |
|---|---|
| Clean sanding dust | Ensure smooth finish |
| Check for rough spots | Prevent visible flaws |
| Test stain or paint | See final color effect |
| Apply primer (if painting) | Improve paint adhesion |
Following these steps helps your furniture look its best. Take your time to prepare well before applying any finish.
Maintaining Your Belt Sander
Keeping your belt sander in good shape helps it last longer. Regular care improves its work on furniture.
Cleaning and storing your sander right prevents damage. Changing sanding belts often keeps it working well.
Cleaning And Storage Tips
After using your belt sander, remove dust and debris. Use a brush or compressed air to clean it carefully.
Store the sander in a dry place. Avoid damp areas to stop rust and electrical problems.
- Unplug the sander before cleaning
- Brush off dust from the sanding belt and rollers
- Wipe the body with a dry cloth
- Keep it away from moisture and extreme temperatures
- Store in a case or on a shelf
Replacing Sanding Belts
Change sanding belts when they wear out or tear. A worn belt reduces sanding quality and can harm the sander.
To replace a belt, release the tension lever first. Remove the old belt, then slide on a new one. Make sure it fits tight.
- Turn off and unplug the sander
- Release the belt tension lever
- Remove the worn sanding belt
- Place the new belt with the arrows matching rotation direction
- Tighten the tension lever to secure the belt
- Check the belt alignment before use
Credit: www.familyhandyman.com
Frequently Asked Questions
How Do I Choose The Right Belt Sander?
Choosing the right belt sander depends on your project’s size and material. For furniture, a medium-sized sander with variable speed is ideal. Ensure it has a comfortable grip for ease of use. Check online reviews and compare features to find one that suits your needs.
What Grit Sandpaper Should I Use First?
Start with a coarse grit, like 60 or 80, to remove rough surfaces or old finishes. Gradually move to finer grits, such as 120 or 150, for a smoother finish. Always sand in the direction of the wood grain to avoid scratches.
How Do I Avoid Sanding Marks?
To avoid sanding marks, keep the sander moving consistently and avoid staying in one spot too long. Always sand with the grain and use progressively finer grits. Regularly check your work to ensure an even finish and adjust pressure as needed.
Is It Safe To Use A Belt Sander Indoors?
Yes, it’s safe, but ensure proper ventilation to manage dust. Use a dust mask and goggles for personal safety. Consider using a dust collection system to minimize mess. Always follow the manufacturer’s safety instructions for indoor use.
Conclusion
Using a belt sander can make furniture sanding faster and smoother. Always keep the sander moving to avoid marks. Choose the right grit sandpaper for each step. Wear safety gear to protect your eyes and hands. Practice on scrap wood before working on your project.
Clean the surface well after sanding for the best finish. With care and patience, your furniture will look great. Try these tips and enjoy a nice, even surface every time. Keep sanding simple and safe for best results.