If you want to make precise marks on wood, metal, or other materials, mastering the combination square is a game-changer. This simple tool can help you achieve perfect angles, straight lines, and accurate measurements every time.
Whether you’re a beginner or looking to sharpen your skills, knowing how to use a combination square will save you time and frustration. Keep reading, and you’ll discover easy steps to turn this tool into your new best friend for any project.

Credit: www.youtube.com
Choosing The Right Combination Square
A combination square helps you measure and mark accurately in woodworking and metalworking. Picking the right one makes your work easier and more precise.
There are different types, materials, and sizes. Knowing these details helps you choose the best tool for your needs.
Types Of Combination Squares
Combination squares come in a few main types. Each type fits different tasks and preferences.
- Standard combination square with a ruler and adjustable head
- Center head square for finding center points on round objects
- Protractor head square that measures angles besides 90 degrees
- Depth gauge type for measuring depth or steps
Materials And Durability
The material affects how long the tool lasts and how well it holds measurements. Choose a material that fits your work environment.
| Material | Benefits | Drawbacks |
| Steel | Strong and durable | Can rust if not cared for |
| Stainless Steel | Rust-resistant and sturdy | Usually more expensive |
| Aluminum | Lightweight and rust-proof | Less durable, can bend |
| Plastic | Very light and cheap | Not durable, less precise |
Size And Measurement Units
Choose a size that fits your usual projects. Measurement units also matter depending on your region or work type.
- Common ruler lengths: 6 inches, 12 inches, and 24 inches
- Measurement units: inches, millimeters, or both on one ruler
- Smaller sizes suit detailed work
- Larger sizes help with big projects

Credit: www.youtube.com
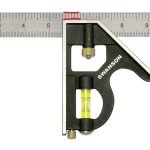
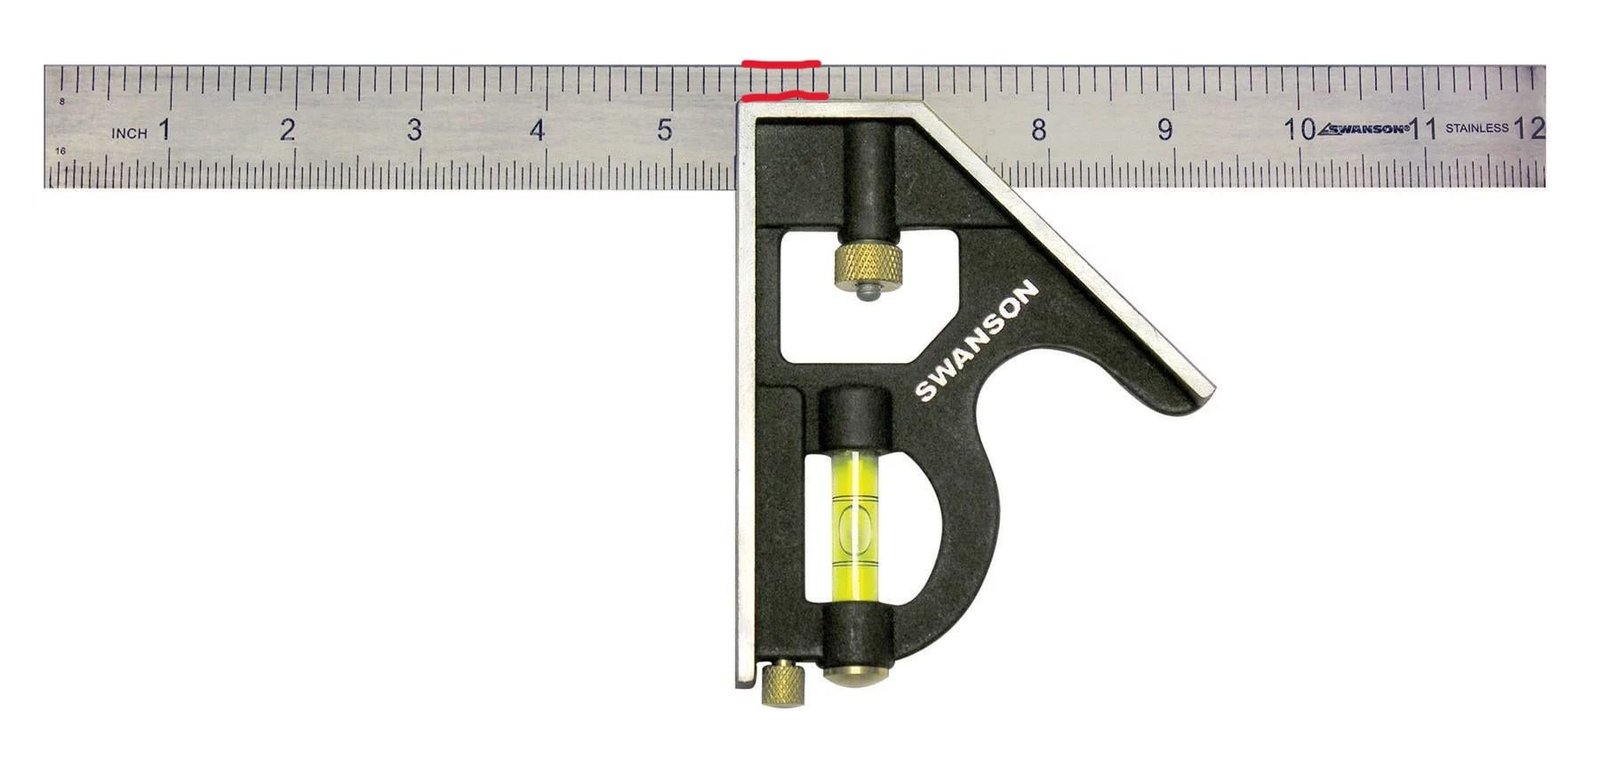
Parts Of A Combination Square
A combination square is a useful tool for measuring and marking wood or metal. It helps you make accurate lines and check angles. Knowing its parts makes it easier to use.
This tool has four main parts. Each part has a special job that helps you measure and mark correctly.
Blade And Ruler
The blade is a long, flat piece of metal. It usually has measurement marks on it, like a ruler. You use it to measure lengths and mark straight lines.
The blade slides through the handle and locks in place. You can adjust it to different lengths for your work.
Stock And Handle
The stock is the thick part at the end of the blade. It acts as a handle for the tool. It holds the blade at a right angle, usually 90 degrees.
The stock helps you draw perfect square lines and check if corners are true. It gives stability to the blade while marking.
Bubble Level
The bubble level is a small glass tube filled with liquid and an air bubble. It is built into the stock. It helps check if a surface is perfectly horizontal or vertical.
When the bubble is centered between the lines, the surface is level. This is useful for making sure your work is straight and even.
Scriber
The scriber is a small pointed metal pin stored in the stock. It is used to mark fine lines on wood or metal. This helps you cut or drill in the right place.
You can remove the scriber when you need to make marks and put it back safely inside the stock when done.
Setting Up The Combination Square
A combination square is a useful tool for marking and measuring in woodworking and metalworking. Proper setup ensures accurate results.
This guide explains how to adjust the blade, use the locking mechanism, and calibrate your tool for the best accuracy.
Adjusting The Blade
To adjust the blade, first loosen the lock nut. Slide the blade to the desired length or angle. Then tighten the nut to hold the blade in place.
- Loosen the lock nut by turning it counterclockwise.
- Slide the blade to the needed measurement or angle.
- Check the blade position against your workpiece.
- Tighten the lock nut firmly to secure the blade.
Locking Mechanism
The locking mechanism holds the blade steady during use. Ensure it is clean and free from debris to work smoothly.
| Locking Part | Function |
|---|---|
| Lock Nut | Secures the blade position |
| Thumb Screw | Allows easy tightening and loosening |
| Spring Mechanism | Helps keep the blade from slipping |
Calibrating For Accuracy
Calibration ensures your combination square gives correct measurements. Use a known straight edge or reference tool to check the blade.
- Place the square against a flat surface.
- Check if the blade lines up exactly at 90 degrees.
- Adjust the blade if there is any gap or misalignment.
- Repeat the test until the blade is perfectly square.
Marking Straight Lines
A combination square helps you mark straight lines on wood, metal, or other materials. It ensures your lines are accurate and straight.
Using a combination square is simple once you know how to align it and measure correctly. This guide will show you the basics.
Aligning The Square
Place the combination square’s stock firmly against the edge of your workpiece. This keeps the ruler at a perfect right angle to the edge.
Make sure the stock sits flat and does not move. This alignment helps you draw straight lines across the surface.
Using The Ruler For Measurements
Slide the ruler to the measurement you need. The ruler has clear markings in inches or millimeters.
Lock the ruler in place using the square’s locking screw. This keeps your measurement steady while marking.
- Check the ruler scale for accuracy
- Adjust the ruler to the exact length
- Tighten the lock to prevent movement
Scoring The Surface
Use a sharp pencil or marking knife to score along the ruler edge. Press firmly for a clear, straight line.
Scoring helps guide saws or other tools. It also improves accuracy in cutting or drilling.
Marking 90-degree Angles
A combination square is a useful tool for marking perfect 90-degree angles on wood or metal. It helps you draw precise lines for cutting and assembling.
Using the right technique with the combination square ensures your work pieces fit well and look professional.
Positioning The Stock
Place the stock of the combination square firmly against the edge of your workpiece. The stock must sit flat and not wobble.
Hold the stock tight to keep the ruler steady. This prevents errors in marking the angle.
Drawing Perpendicular Lines
Use the ruler part of the combination square to draw the 90-degree line from the stock. Keep the ruler pressed against the stock as you mark.
- Ensure the ruler is straight and does not tilt.
- Draw a clear, thin line for accuracy.
- Mark both ends of the workpiece for better guidance.
- Double-check the line looks perpendicular to the edge.
Double-checking Angles
| Check Method | Description |
| Flip the Square | Turn the square to the opposite side and check the angle again. |
| Use a Carpenter’s Square | Compare your marked angle with a known square tool. |
| Measure the Triangle | Measure sides to confirm a right triangle if applicable. |
| Visual Inspection | Look closely for any gaps or misalignment between lines. |
Marking 45-degree Angles
A combination square is a handy tool for marking precise angles. It helps you draw 45-degree lines quickly and accurately. This guide shows how to use it for marking 45-degree angles.
Using the combination square correctly improves your woodworking and metalworking projects. Follow the steps below to mark a perfect 45-degree angle.
Adjusting The Blade To 45 Degrees
First, loosen the knob on the combination square to move the blade. Slide the blade until the angle matches the 45-degree mark on the ruler. Tighten the knob to fix the blade in place. Make sure the blade does not move while marking.
Tracing The Angle
Place the stock of the square against the edge of the material. Hold it firmly to avoid slipping. Use a pencil to draw a line along the blade edge. This line will be at a 45-degree angle to the material’s edge.
- Ensure the stock is flush with the edge
- Hold the tool steady with one hand
- Draw the line slowly and clearly
- Check the line before cutting or shaping
Common Applications
| Task | Use of 45-Degree Mark |
| Picture Frames | Cut corners for miter joints |
| Wooden Boxes | Join edges at angled corners |
| Trim Work | Create angled cuts for molding |
| Metal Fabrication | Mark precise bends and cuts |
Using The Combination Square For Depth And Height
The combination square is a useful tool for measuring and marking wood or metal. It helps with tasks that need exact depth and height measurements.
In this guide, we explain how to use the combination square to measure depths, set heights, and transfer measurements accurately.
Measuring Depths
To measure depth, place the ruler part of the combination square into the hole or slot you want to check. Adjust the head until it touches the surface.
Read the measurement on the ruler to know the exact depth. This helps to check grooves, drill holes, or recesses.
- Place the blade into the depth area
- Slide the head until it rests on the surface
- Read the depth measurement on the ruler
Setting Heights
Use the combination square to set a height for marking or cutting. Lock the ruler at the desired height using the head’s locking screw.
Hold the tool against the edge of the material. Mark along the ruler to create a straight line at the set height.
- Unlock and slide the ruler to the needed height
- Tighten the locking screw to fix the position
- Place the head against the material’s edge
- Draw a line along the ruler’s edge
Transferring Measurements
The combination square can copy measurements from one piece to another. Set the ruler to the measurement you want to transfer.
Lock the ruler and use the square to mark the same height or depth on the new material.
- Adjust the ruler to the needed measurement
- Lock the ruler in place
- Use the head to hold the square against the material
- Mark the measurement on the new piece
Tips For Accurate Marking
Using a combination square helps you make precise marks on wood or metal. Accurate marking leads to better cuts and fits.
Follow some simple tips to keep your markings exact and consistent every time you use the tool.
Maintaining Tool Cleanliness
Keep your combination square clean to avoid wrong measurements. Dirt or dust can change how the tool sits on the workpiece.
Wipe the ruler and the head with a dry cloth after each use. Avoid using oil or grease near marked surfaces.
- Remove sawdust and debris regularly
- Use a soft brush for tight spots
- Store the tool in a dry place
Proper Hand Positioning
Hold the combination square firmly but not too tight. This keeps the tool steady while marking.
Place your hand where it supports the head and ruler evenly. Avoid shifting the tool as you draw lines.
- Use your thumb to press the head against the edge
- Rest fingers along the ruler for balance
- Keep the tool flat on the work surface
Avoiding Measurement Errors
Check the ruler’s zero mark before starting to mark. Small errors at the start affect the whole measurement.
Double-check your measurements before drawing the line. Measure twice to mark once.
- Align the ruler carefully with the workpiece edge
- Use a sharp pencil for clear marks
- Do not tilt the ruler while marking
Common Mistakes To Avoid
Using a combination square correctly is key to accurate marking. Many beginners make avoidable errors that affect their work.
This guide highlights common mistakes. Fixing these helps you get better results every time.
Loose Blade Adjustments
One frequent mistake is not tightening the blade properly. A loose blade moves during marking, causing wrong lines.
- Always tighten the locking screw firmly before use.
- Check the blade is straight and secure.
- Retighten if the blade shifts while marking.
Misreading Measurements
Errors often come from reading the scale incorrectly. The combination square has both imperial and metric marks.
| Mistake | Tip to Avoid |
| Confusing inches and millimeters | Focus on one unit system per project |
| Reading from wrong scale edge | Use the scale side that matches your ruler |
| Ignoring small increments | Check the smallest lines for precise marking |
Ignoring Tool Calibration
Many users forget to check if the tool is square. A misaligned tool gives wrong angles and measurements.
To check calibration:
- Place the square against a known straight edge.
- Draw a line along the blade.
- Flip the square and draw another line on the same edge.
- If lines do not match, adjust or replace the tool.
Maintaining Your Combination Square
Keeping your combination square in good shape helps you measure and mark accurately. Regular care extends its life and ensures reliability.
This guide covers cleaning, storage, checking for damage, and replacing worn parts.
Cleaning And Storage
Clean your combination square after each use. Dirt and rust can reduce its accuracy and damage the tool.
- Wipe the blade and head with a dry cloth to remove dust and debris.
- Use a soft brush to clear hard-to-reach areas.
- Apply a light coat of machine oil to metal parts to prevent rust.
- Store the tool in a dry place, away from moisture.
- Keep it in a protective case to avoid knocks and scratches.
Checking For Wear And Tear
Inspect your combination square regularly for signs of damage or wear. This helps you catch problems early and maintain accuracy.
| Part | Signs of Wear | Check Frequency |
| Blade | Scratches, bends, rust | Before each use |
| Head | Loose fitting, cracks | Monthly |
| Locking Mechanism | Slipping or stiffness | Monthly |
Replacing Parts When Needed
Replace worn or damaged parts to keep your square working well. Using faulty parts affects your measurements.
- Buy replacement blades or heads from trusted suppliers.
- Check that new parts fit tightly and securely.
- Replace the locking screw if it does not hold the blade firmly.
- Keep spare parts handy for quick fixes.

Credit: www.wikihow.com
Frequently Asked Questions
What Is A Combination Square Used For In Marking?
A combination square helps mark precise lines and angles on materials. It ensures accuracy in woodworking and metalworking projects. You can measure 90 and 45-degree angles easily. It also serves as a ruler and depth gauge for versatile use.
How Do You Adjust A Combination Square For Marking?
Loosen the locking nut to slide the ruler along the head. Align the ruler to the desired measurement or angle. Tighten the nut to secure the ruler in place. This adjustment allows precise marking according to your project needs.
Can A Combination Square Measure Angles Besides 90 Degrees?
Yes, it measures both 90 and 45-degree angles accurately. The tool’s head is designed to mark these common angles effortlessly. This feature is essential for creating accurate joints and cuts in your workpieces.
How Do You Use A Combination Square For Depth Marking?
Set the ruler to the needed depth measurement by sliding it. Lock the ruler in place using the locking nut. Use the ruler’s edge to mark or gauge the depth on your material. This ensures consistent and accurate depth control.
Conclusion
Mastering the combination square boosts your woodworking skills. It’s simple yet effective. Accurate marking ensures precise cuts and fits. Practice regularly to gain confidence. Keep the tool clean for best results. Experiment with different projects. The more you use it, the better you’ll get.
A reliable combination square makes your work easier. It saves time and reduces mistakes. Invest in a good quality tool for long-term use. Happy woodworking with your combination square!