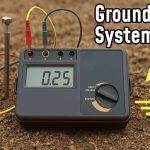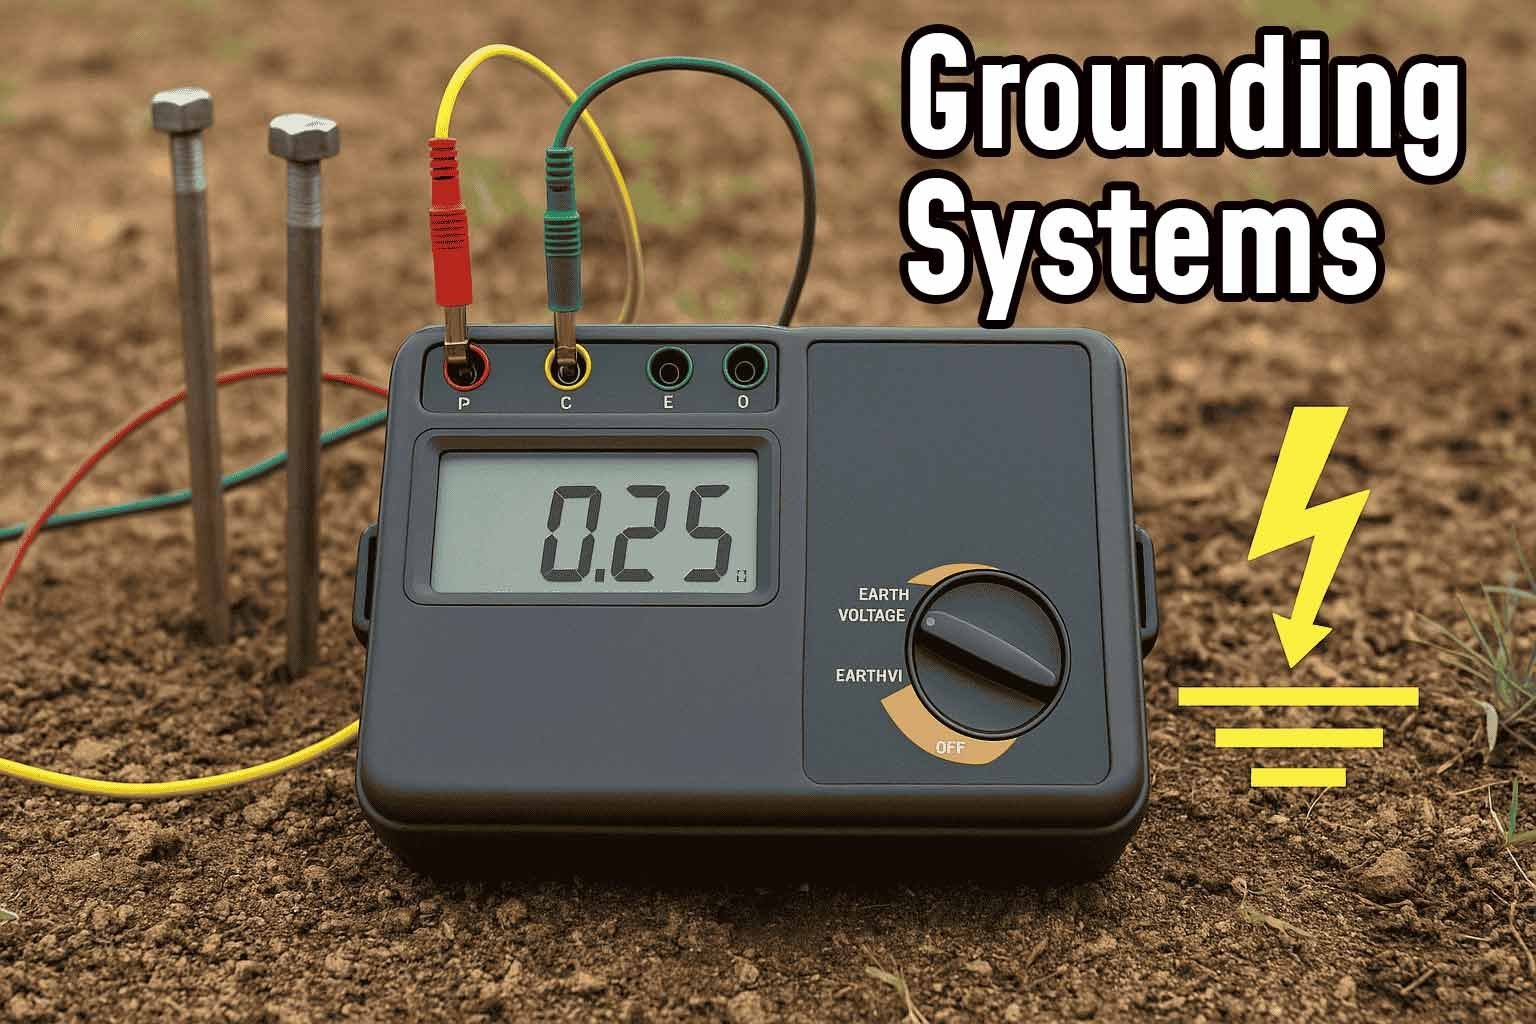
Are you unsure if your electrical system is safe and properly grounded? Using a grounding tester can give you the confidence you need to protect your home and loved ones from electrical hazards.
In this guide, you’ll learn exactly how to use a grounding tester step-by-step, so you can quickly check your grounding system without any guesswork. Keep reading, and by the end, you’ll feel empowered to ensure your electrical setup is secure and reliable.
Choosing The Right Grounding Tester
Grounding testers check how well electrical systems connect to the earth. Choosing the right tester helps keep people safe and machines working well.
Different testers suit different jobs. You need to know what type fits your needs and what features matter most.
Types Of Grounding Testers
There are several types of grounding testers. Each type works best in certain situations.
- Clamp Meter Testers:These measure resistance without digging or disconnecting wires.
- 3-Point Testers:These use three stakes to measure ground resistance accurately.
- Soil Resistivity Testers:These check the resistance of soil, helping design grounding systems.
- Digital Ground Testers:These show readings on a screen and may store data.
Key Features To Consider
Pick a grounding tester with features that match your work style. These features make testing easier and safer.
- Measurement Range:Choose a tester that covers the resistance values you expect.
- Accuracy:High accuracy ensures reliable test results.
- Display:Clear screens help read results quickly, even in low light.
- Portability:Lightweight testers are easier to carry on site.
- Battery Life:Long battery life prevents interruptions during tests.
- Data Storage:Some testers save results for review and reporting.
Safety Certifications
Safety certifications show that a grounding tester meets industry rules. These protect you and your equipment.
- CE Mark:Shows compliance with European safety standards.
- UL Certification:Means the tester meets safety standards in the United States.
- IEC Standards:International rules for electrical equipment safety.
- CAT Ratings:Indicates the tester’s protection level for different electrical environments.
Preparing For The Test
Using a grounding tester helps check if electrical systems are safe. Preparing for the test is important to get correct results.
Before starting, you must gather tools, check the area, and follow safety rules.
Gathering Necessary Equipment
Collect all tools needed for the grounding test. This saves time and avoids mistakes during testing.
- Grounding tester device
- Test leads and probes
- Insulated gloves
- Safety glasses
- Multimeter (optional)
- Notebook and pen for results
Inspecting The Testing Area
Look at the place where you will test the grounding. The area should be safe and clear of hazards.
Check for wet floors, loose wires, or damaged equipment. Remove any obstacles that block your work.
- Ensure dry and clean surface
- Check for exposed wires or metal parts
- Clear away tools or debris
- Confirm proper lighting
Ensuring Proper Safety Measures
Safety is key when using a grounding tester. Use protective gear and follow safety rules to avoid accidents.
Turn off power to the system before testing. Keep others away from the test area to prevent injuries.
- Wear insulated gloves and safety glasses
- Switch off power supply to the circuit
- Use warning signs if needed
- Keep your hands dry and steady
- Follow device instructions carefully
Setting Up The Grounding Tester
Setting up a grounding tester correctly is important for safe and accurate readings. Follow simple steps to prepare your device before testing.
This guide explains how to connect test leads, select the test mode, and calibrate the grounding tester.
Connecting Test Leads
Start by connecting the test leads to the grounding tester. Use the correct ports to avoid errors.
Make sure the leads are in good condition and fully inserted into the tester.
- Attach the green lead to the earth terminal
- Connect the red lead to the test terminal
- Plug the black lead into the common terminal
- Check for loose or damaged wires
Selecting The Correct Test Mode
Choose the right test mode based on what you want to measure. Different modes check different grounding properties.
Use the tester’s dial or buttons to pick the correct mode before starting the test.
- Resistance mode to measure ground resistance
- Continuity mode to check if connections are complete
- Voltage mode to detect stray voltages
Calibrating The Device
Calibrate the grounding tester to ensure accurate results. Calibration adjusts the device for correct readings.
Follow the instructions in the user manual for calibration steps. Some testers have automatic calibration features.
- Turn on the device
- Connect test leads as directed
- Press the calibration button or follow manual steps
- Wait for the device to confirm calibration

Credit: homlyns.com
Performing The Grounding Test
Performing a grounding test helps check the safety of electrical systems. It measures the resistance of the grounding connection.
Accurate testing needs careful setup and clear understanding of the results. Follow the key steps to get correct readings.
Placing Electrodes Correctly
Correct placement of electrodes is crucial to get reliable test results. Place them in the right spots around the grounding system.
- Insert the ground electrode into the soil near the system under test.
- Place the auxiliary electrode about 5 to 10 meters away in a straight line.
- Set the potential electrode between the ground and auxiliary electrodes.
- Make sure electrodes have good soil contact and are secure.
Taking Multiple Measurements
Take several readings to ensure accuracy. This helps spot any errors or irregularities in the test.
- Measure the resistance between the ground and auxiliary electrode first.
- Move the potential electrode to different points along the line.
- Record the resistance value at each position carefully.
- Calculate the average resistance from the collected values.
Interpreting Test Results
Understanding the results is key to assessing grounding safety. Compare your readings to standard resistance values.
| Resistance Value (Ohms) | Safety Status |
| Below 1 | Excellent grounding |
| 1 to 5 | Good grounding |
| 5 to 10 | Acceptable, but check conditions |
| Above 10 | Poor grounding, needs improvement |
Troubleshooting Common Issues
Using a grounding tester helps check if your electrical system is safe. Sometimes the tester shows problems that need fixing. Knowing how to solve these common issues saves time and keeps you safe.
This guide covers three common problems: inconsistent readings, poor electrode contact, and device malfunctions. Each section explains how to identify and fix these issues.
Inconsistent Readings
Inconsistent readings happen when the grounding tester shows different results for the same test. This can make it hard to know if the ground is safe.
Check the test setup. Make sure all connections are tight and the cables are not damaged. Test again in a dry area to avoid moisture affecting the results.
- Verify cable connections are secure
- Inspect cables for cuts or wear
- Test in dry, clean conditions
- Repeat the test to confirm results
Poor Electrode Contact
Poor electrode contact means the metal parts touching the ground do not connect well. This causes weak or false readings.
Clear away dirt, rust, or paint from the electrode points. Push the electrodes firmly into the soil. Use a metal brush to improve contact if needed.
- Clean electrode surfaces
- Remove paint or rust
- Press electrodes firmly into soil
- Use a metal brush for better contact
Device Malfunctions
Sometimes the grounding tester itself has problems. This can cause wrong readings or no readings at all.
Check the battery level and replace if low. Inspect the device for damage. Reset or calibrate the tester following the user manual instructions.
- Replace weak or dead batteries
- Look for cracks or broken parts
- Reset the device as per manual
- Calibrate the tester if needed

Credit: homlyns.com
Maintaining Your Grounding Tester
Keeping your grounding tester in good shape helps it work correctly. Regular care makes sure your tester gives accurate results.
This guide covers how to maintain your grounding tester for the best performance and long life.
Regular Calibration
Calibration checks if the tester measures correctly. It adjusts the device to meet standard values.
Regular calibration prevents wrong readings and keeps your work safe.
- Follow the manufacturer’s calibration schedule.
- Use a certified calibration service.
- Record calibration dates and results.
- Do not use the tester if calibration is overdue.
Proper Storage Tips
Store your grounding tester in a dry and clean place. Avoid extreme temperatures and moisture.
Proper storage protects the tester from damage and extends its life.
- Keep the tester in its case when not in use.
- Store away from direct sunlight.
- Avoid dusty or damp areas.
- Do not place heavy objects on the tester.
Cleaning And Inspection
Clean your grounding tester regularly to remove dirt and dust. Check for any signs of damage.
Inspect cables, connectors, and the display for wear or cracks.
- Use a soft cloth and mild cleaner for cleaning.
- Do not use harsh chemicals or water inside the tester.
- Check cables for cuts or bends.
- Replace damaged parts immediately.

Credit: www.amazon.com
Frequently Asked Questions
What Is A Grounding Tester And Why Use It?
A grounding tester measures electrical grounding resistance. It ensures safety by verifying proper earth connections. Using it prevents electrical shocks and equipment damage. Regular testing maintains electrical system reliability and compliance with safety standards.
How Do You Use A Grounding Tester Correctly?
Connect the tester’s leads to ground rods and electrodes. Follow the manufacturer’s instructions for setup. Activate the tester to measure resistance. Record the readings and compare them to safety thresholds for proper grounding.
What Safety Precautions Are Needed When Testing Grounding?
Wear insulated gloves and avoid wet conditions. Ensure power is off before connecting the tester. Use the tester as directed to prevent electric shock. Always follow standard electrical safety protocols during testing.
How Often Should Grounding Tests Be Performed?
Grounding tests should be done annually or after electrical system changes. Frequent testing ensures ongoing safety and system performance. Timely tests help detect corrosion or damaged grounding components early.
Conclusion
Using a grounding tester ensures electrical safety. It’s simple and effective. Understand the steps and follow them closely. Consistent checks prevent accidents and equipment damage. Remember, safety comes first. Learning the basics can save time and money. Practice using the tester regularly.
Confidence grows with experience. Share these tips with others. Everyone benefits from safe practices. Grounding testers are essential tools. Make them part of your routine. It’s a smart choice for safety.