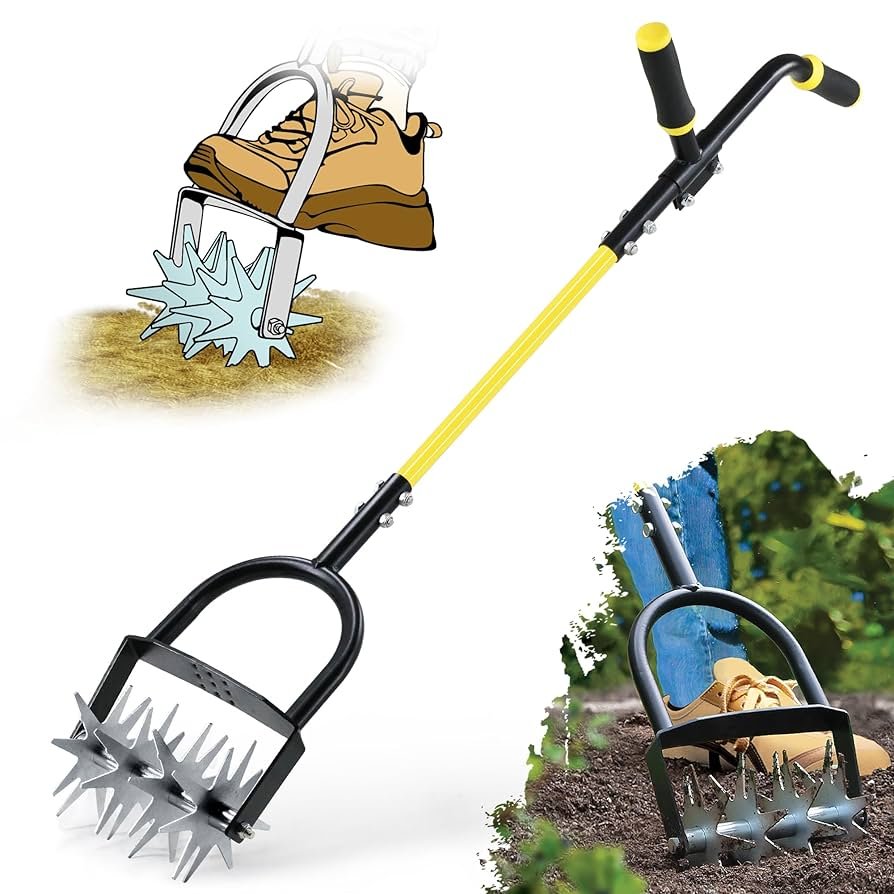
Are you looking to breathe new life into your garden soil? A hand cultivator might be just the tool you need.
Imagine having a lush, thriving garden where plants grow strong and healthy. The secret lies in proper soil aeration, and learning how to use a hand cultivator can make all the difference. This simple tool can transform compacted soil into a loose, nutrient-rich foundation for your plants.
But how exactly does it work, and how can you use it effectively? Stick around to discover the step-by-step guide that will empower you to master the art of soil aeration with a hand cultivator. Your garden will thank you!

Credit: www.temu.com
Choosing The Right Hand Cultivator
Using a hand cultivator can improve soil aeration and help your plants grow. Picking the right tool makes the job easier and more efficient.
Consider the type, material, and handle comfort before buying a hand cultivator. These factors affect how well it works and how long it lasts.
Types Of Hand Cultivators
There are different kinds of hand cultivators. Each type suits certain soil and gardening tasks.
- Three-prong cultivator:Has three metal tines. Good for breaking up hard soil and removing weeds.
- Four-prong cultivator:Offers more coverage. Useful for loosening larger soil areas.
- Rotary cultivator:Features rotating blades. Best for mixing soil and aerating deeply.
Material And Durability
Choose a cultivator made of strong materials. It should resist rust and wear over time.
| Material | Strength | Rust Resistance |
| Stainless Steel | High | Excellent |
| Carbon Steel | Very High | Good (needs care) |
| Aluminum | Moderate | Good |
| Plastic | Low | Excellent |
Handle Comfort And Grip
A comfortable handle reduces hand fatigue. Look for grips that fit your hand well and prevent slipping.
- Wood handles offer natural comfort but need care to avoid splinters.
- Rubber grips provide good traction and soften the hold.
- Plastic handles are lightweight but may feel hard over time.
- Ergonomic designs reduce strain during long use.

Credit: www.amazon.com
Preparing The Soil
Using a hand cultivator helps improve soil health by making it easier for air and water to reach plant roots. Preparing the soil correctly is important before you start aerating.
This section explains how to clear the soil, check moisture, and mark the area for aeration.
Clearing Debris And Weeds
Remove leaves, sticks, and stones from the soil surface. Clear out weeds and old plant roots to avoid blocking the cultivator.
- Pick up large debris by hand
- Use a rake to gather smaller materials
- Pull out weeds gently to keep soil loose
- Dispose of all removed material away from the garden
Moisture Levels For Aeration
Soil should be moist but not wet before aerating. Wet soil sticks to the cultivator and clumps together. Dry soil is hard and difficult to work.
| Soil Condition | How to Check | Why It Matters |
| Too Wet | Soil feels sticky and clumps | Clogs cultivator and compacts soil |
| Ideal Moisture | Soil feels damp but crumbles | Easy aeration and good root growth |
| Too Dry | Soil is dusty and hard | Hard to break and uneven aeration |
Marking The Area
Mark the parts of your garden you want to aerate. This helps keep your work organized and ensures you cover the whole area.
Use simple tools like:
- Garden string to outline the area
- Wooden stakes at the corners
- Spray paint or chalk for visible lines
Using The Hand Cultivator
A hand cultivator helps loosen soil and improve air flow. It is a simple tool for garden soil aeration.
Using it correctly makes your soil healthier for plants. Learn how to hold and use it well.
Proper Grip And Posture
Hold the cultivator firmly but not too tight. Use both hands if the tool is large.
Stand with your feet shoulder-width apart. Keep your back straight to avoid strain.
- Grip the handle near its end for better control
- Bend your knees slightly to lower yourself
- Keep your elbows close to your body
Techniques For Effective Aeration
Push the cultivator tines into the soil gently. Twist or pull to break up hard soil clumps.
Work in small sections and move evenly. Avoid digging too deep at once.
- Insert tines vertically for deep aeration
- Use a twisting motion to loosen compacted soil
- Cover the entire soil surface in rows
Depth And Frequency Of Cultivation
Aerate soil about 2 to 4 inches deep. This level improves air flow without harming roots.
Cultivate soil before planting and during growing season. Avoid overworking the soil to keep it healthy.
- Aerate once every few weeks during growth
- Increase frequency in heavy or clay soils
- Reduce cultivation when soil is very wet
Maintaining Your Hand Cultivator
Taking care of your hand cultivator keeps it working well. Regular maintenance helps it last longer.
Clean, sharpen, and store your tool properly to keep it ready for soil aeration.
Cleaning After Use
Remove dirt and debris from the cultivator after each use. This stops buildup that can damage the tool.
Use water and a brush to clean the tines. Dry the tool fully to avoid rust.
- Scrape off soil with a stiff brush
- Rinse with water if needed
- Dry thoroughly with a cloth
Sharpening And Rust Prevention
Keep the tines sharp for easier soil penetration. Use a metal file or sharpening stone to sharpen edges.
Apply light oil to the metal parts after cleaning. This stops rust and keeps the tool smooth.
- Sharpen tines at a 45-degree angle
- Wipe off metal dust after sharpening
- Use machine oil or vegetable oil to coat metal
Storage Tips
Store your hand cultivator in a dry place to avoid rust and damage. Hang it or keep it off the ground.
Cover the tool if possible. This protects it from dust and moisture.
- Hang on a wall hook or pegboard
- Keep in a tool shed or garage
- Use a cloth or plastic cover
Benefits Of Soil Aeration
Soil aeration helps plants grow better by loosening the soil. It lets air, water, and nutrients reach the roots easily.
Using a hand cultivator is an easy way to aerate small garden areas. It improves soil health and plant strength.
Improved Root Growth
Aerated soil allows roots to spread and grow without resistance. This helps plants get more nutrients and water.
Enhanced Water Absorption
Loosened soil absorbs rain and watering better. This prevents water from pooling on the surface and reduces runoff.
- Water reaches deeper layers of soil
- Plants stay hydrated longer
- Less water waste during irrigation
Increased Microbial Activity
Good soil aeration boosts tiny organisms that help break down organic matter. These microbes improve soil fertility.
| Microbe Type | Benefit to Soil |
| Bacteria | Breaks down nutrients for plants |
| Fungi | Helps roots absorb minerals |
| Earthworms | Mix soil and create air channels |
Common Mistakes To Avoid
Using a hand cultivator can improve soil health and plant growth. Avoiding common mistakes helps you get the best results. Knowing what to watch out for saves time and effort in your garden.
Here are some common errors when using a hand cultivator for soil aeration. Understanding these will keep your soil healthy and ready for planting.
Over-aerating The Soil
Too much aeration can harm soil structure. It may destroy beneficial microbes and cause soil to dry out quickly. This reduces soil fertility and plant growth.
- Aerate only the top few inches of soil.
- Limit cultivation to once or twice a season.
- Avoid working soil when it is very wet or very dry.
- Watch for signs of soil damage like crumbling or dustiness.
Using The Wrong Tool
Not all hand cultivators work well for aeration. Some tools are better for breaking weeds or mixing soil. Using the wrong tool wastes effort and can harm soil layers.
| Tool | Best Use | Not Recommended For |
| Hand Cultivator with Tines | Soil aeration and loosening | Heavy digging or breaking roots |
| Garden Hoe | Weed removal and surface scraping | Deep aeration |
| Spade or Shovel | Digging and turning soil | Light aeration around plants |
Ignoring Soil Conditions
Soil type and moisture affect how you should aerate. Hard or clay soils need gentler work. Sandy or loose soils may not need much aeration at all. Ignoring conditions can cause damage.
- Touch the soil to feel its moisture.
- Look for compacted or cracked areas.
- Check if soil crumbles easily when squeezed.
- Avoid aerating frozen or very wet soil.

Credit: www.temu.com
Frequently Asked Questions
What Is A Hand Cultivator Used For?
A hand cultivator loosens and aerates soil around plants. It improves soil drainage and root growth. It also helps remove weeds and mix nutrients into the soil.
How Do You Aerate Soil With A Hand Cultivator?
Insert the cultivator’s tines into the soil and gently lift or twist. This breaks compacted soil, allowing air and water to reach roots. Repeat across the area for even aeration.
When Is The Best Time To Use A Hand Cultivator?
Use a hand cultivator during early spring or after rain. Soil should be moist but not waterlogged for easy aeration. Avoid using it in dry, hard soil to prevent damage.
Can A Hand Cultivator Improve Plant Growth?
Yes, it promotes better root development by increasing oxygen and water flow. Aerated soil helps plants absorb nutrients efficiently. Healthier roots lead to stronger, more productive plants.
Conclusion
Using a hand cultivator helps air reach plant roots easily. It breaks up hard soil and improves water flow. Your plants will grow stronger and healthier. Spend a few minutes each week working the soil. You will see better garden results over time.
Healthy soil makes gardening more enjoyable and productive. Try using a hand cultivator in your garden today. Small steps can lead to big changes in soil health. Keep your garden soil loose and full of life.
