Are you tired of struggling with split wood or misaligned screws in your DIY projects? The simple solution is learning how to use a hand drill for pilot holes.
Creating pilot holes can make your woodworking tasks smoother and more precise. Imagine the satisfaction of watching your projects come together perfectly, without the frustration of cracked materials. In this guide, we’ll walk you through each step of using a hand drill to create pilot holes effortlessly.
By the end, you’ll have the confidence and skills to tackle any project with ease. Ready to transform your DIY experience? Let’s dive in and discover the power of pilot holes!
Credit: www.anikasdiylife.com
Choosing The Right Hand Drill
A hand drill helps you make small holes called pilot holes. These holes guide screws and nails. Picking the right hand drill makes your work easier and safer.
This guide explains types of hand drills and how to pick drill bits for pilot holes. Use this info to choose tools that fit your project.
Types Of Hand Drills
Hand drills come in different styles. Each style fits certain jobs and user needs. Here are common types you should know.
- Manual Hand Drill:Uses a crank or handle to turn the drill bit. Good for small, precise holes.
- Brace Drill:A U-shaped handle that gives more power. Best for wood and larger holes.
- Eggbeater Drill:Has a gear system for steady turning. Ideal for light woodwork and craft projects.
- Electric Hand Drill:Battery or cord powered. Fast and good for many materials, but heavier.
Selecting Drill Bits For Pilot Holes
Choosing the right drill bit is key for pilot holes. The bit size should match the screw size. The material of the bit matters too.
| Bit Type | Use | Material |
| Twist Bit | Most common pilot holes in wood and metal | High-speed steel |
| Brad Point Bit | Clean holes in wood with less splintering | Carbon or high-speed steel |
| Spade Bit | Large pilot holes in soft wood | Steel |
| Masonry Bit | Drilling into brick or concrete | Tungsten carbide tip |
Preparing Your Workspace
Using a hand drill for pilot holes needs a safe and organized workspace. This helps you work faster and avoid mistakes.
Clear your area of clutter and gather all tools before you start drilling. Good lighting is important to see your marks clearly.
Securing The Material
Hold your material firmly to stop it from moving while drilling. This keeps your hole accurate and protects your hands.
- Use clamps to hold wood or metal on a stable surface.
- Place a scrap piece of wood under the material to avoid damage.
- Check that the clamps do not block the drill path.
- Wear gloves if needed to improve grip and safety.
Marking Drill Points
Mark the exact spots for your pilot holes before drilling. Clear marks help you drill straight and in the right place.
| Tool | Purpose |
| Pencil or Marker | Make visible marks on wood or metal |
| Center Punch | Create a small dent to guide the drill bit |
| Ruler or Tape Measure | Measure exact distances between holes |
| Square | Keep marks aligned and square to edges |
Setting Up The Hand Drill
Using a hand drill for pilot holes helps guide screws and prevents wood from splitting. Setting up the hand drill correctly makes drilling easier and safer.
Before you start drilling, you need to insert the drill bit and adjust the speed and grip. These steps ensure the drill works well for your project.
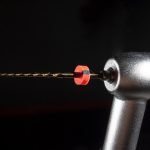
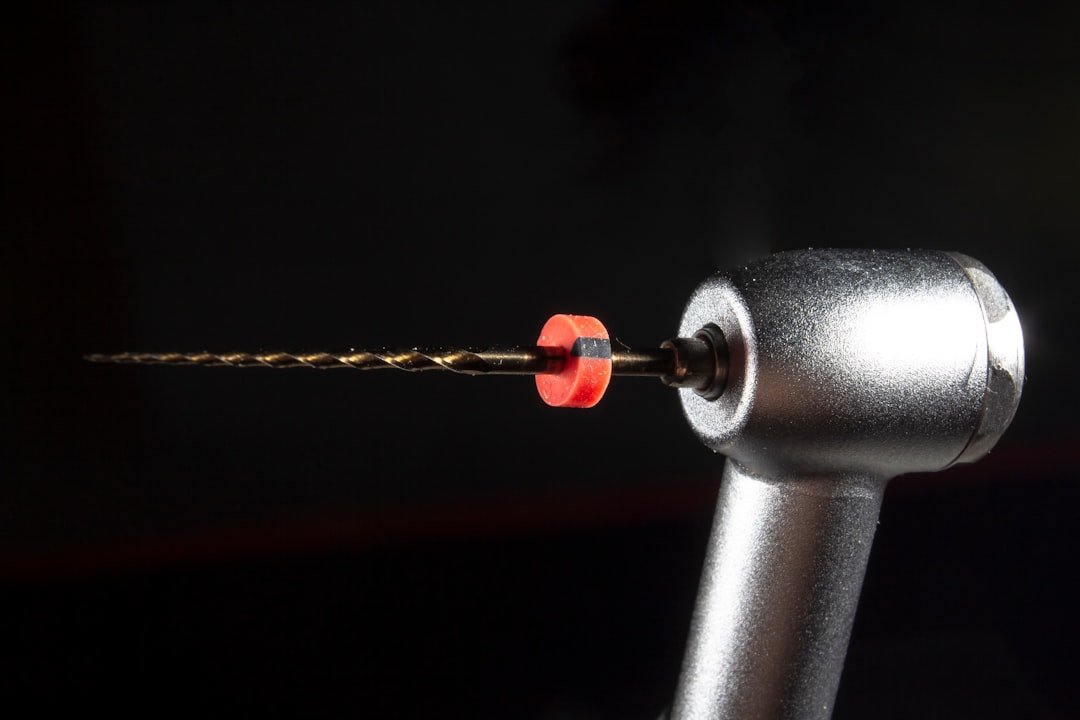
Inserting The Drill Bit
First, choose the right drill bit size for the pilot hole. It should be slightly smaller than the screw you plan to use. This helps the screw fit tightly.
Open the chuck by turning it counterclockwise. Insert the drill bit straight into the chuck. Tighten the chuck by turning it clockwise until the bit is secure.
- Choose a drill bit smaller than your screw
- Turn chuck counterclockwise to open it
- Insert drill bit straight into chuck
- Tighten chuck clockwise to hold bit firmly
Adjusting Drill Speed And Grip
Set the drill speed based on the material you are drilling. Use a slower speed for hard materials and a faster speed for soft materials. This keeps the drill bit from overheating.
Hold the drill with a firm grip. Use both hands if possible. Keep your wrist straight and apply steady pressure while drilling. This helps control the drill and keeps the hole straight.
- Use slow speed for hard materials like metal
- Use faster speed for soft materials like wood
- Hold drill firmly with both hands
- Keep wrist straight and apply steady pressure

Credit: www.familyhandyman.com
Drilling Pilot Holes Step-by-step
Using a hand drill to make pilot holes helps guide screws and prevents wood from splitting. It makes the job easier and results cleaner.
Follow these simple steps to drill pilot holes safely and accurately with a hand drill.
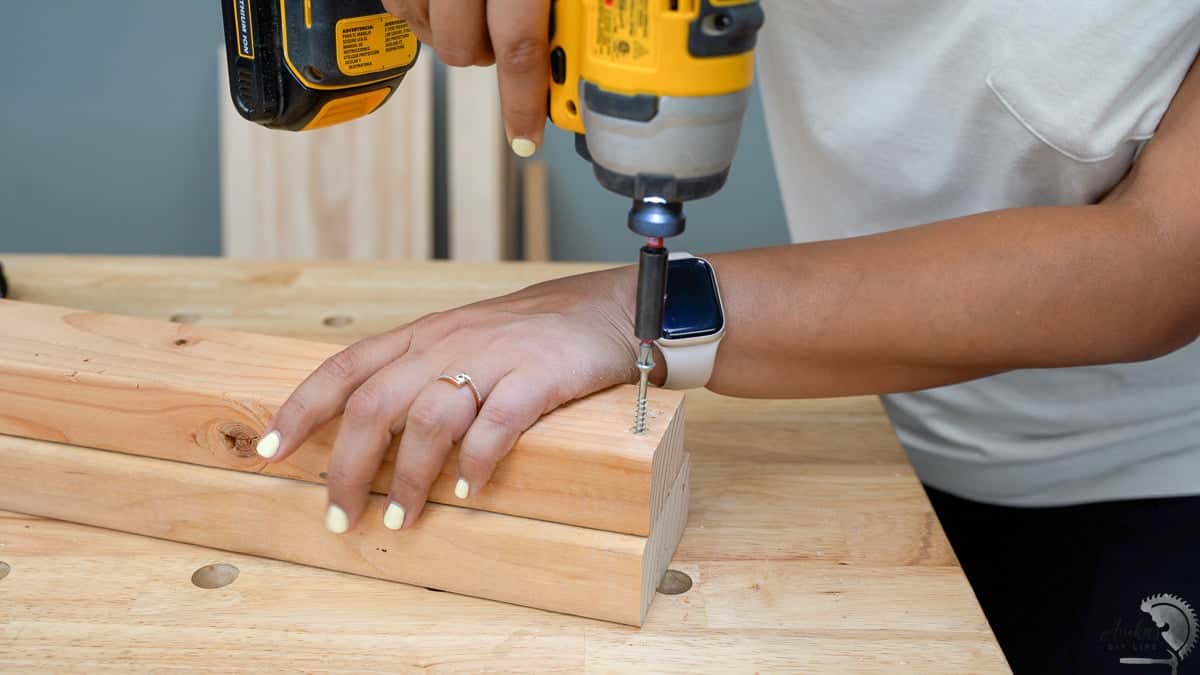
Positioning The Drill
Place the drill bit where you want the hole. Make sure the mark is clear and easy to see.
Hold the drill steady before starting to avoid slipping or making the hole in the wrong spot.
- Check that the bit matches the screw size
- Align the drill bit with your mark
- Hold the drill firmly with both hands
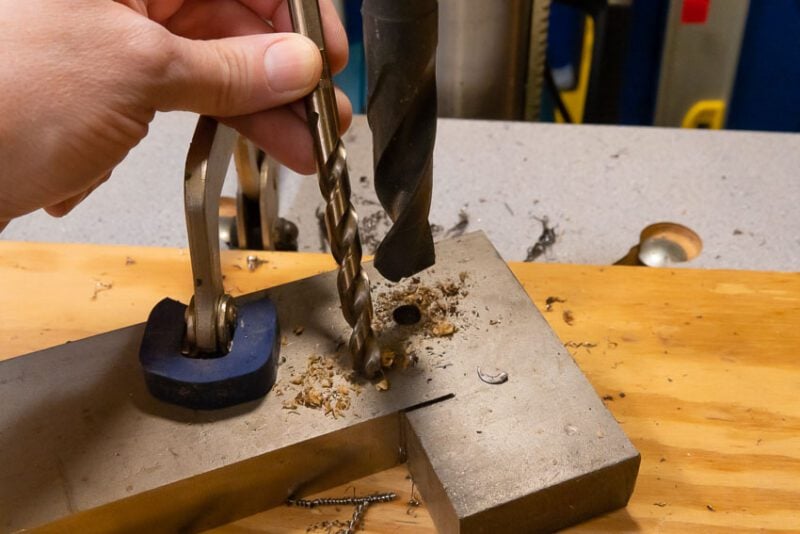
Applying Steady Pressure
Push the drill gently but firmly into the wood. Too much force can break the bit or damage the wood.
Keep the pressure even as you drill. Let the bit do the work, turning it slowly and steadily.
- Start drilling at low speed
- Increase speed as the bit bites into the wood
- Do not push too hard or force the drill
Maintaining Drill Angle
Hold the drill straight to make a clean pilot hole. Tilting can cause the hole to be uneven or too large.
Check your angle often and adjust your grip if needed to keep the drill bit perpendicular to the surface.
- Keep the drill at 90 degrees to the surface
- Use a square or guide if needed
- Stop and adjust if the drill starts to tilt
Safety Tips While Drilling
Using a hand drill to make pilot holes is a common task in woodworking. Safety is important to avoid injuries and damage.
Knowing how to protect yourself and avoid mistakes helps you drill safely and correctly.
Using Protective Gear
Always wear protective gear to keep yourself safe while drilling. Safety glasses protect your eyes from flying debris.
Wear gloves to protect your hands from slips and rough surfaces. Use ear protection if the drilling noise is loud.
- Safety glasses or goggles
- Protective gloves
- Earplugs or earmuffs
- Dust mask if needed
Avoiding Common Mistakes
Start drilling with the correct drill bit size for the pilot hole. Using the wrong size can damage the material or bit.
Keep the drill steady and straight. Tilting the drill can cause the hole to be uneven or the bit to break.
- Check drill bit size before starting
- Secure the workpiece firmly
- Hold the drill straight and steady
- Apply gentle pressure, do not force
- Remove debris from the hole often
Finishing Touches
After drilling pilot holes with a hand drill, some final steps help improve your work. These finishing touches ensure clean, accurate holes for your project.
Take time to clean and check each hole before moving on. This prevents problems during assembly or installation.
Cleaning The Hole
Remove any wood chips or dust inside the hole. Clean holes let screws or nails fit better and hold stronger.
- Use a small brush or compressed air to clear debris.
- Check for any rough edges around the hole.
- Sand the edges lightly if needed to smooth the surface.
- Blow out the hole again to remove sanding dust.
Checking Accuracy
Confirm the hole is in the right place and the correct size. Accurate holes keep your project aligned and strong.
| Check | How to Verify | Why It Matters |
| Position | Measure from edges or marks | Ensures parts fit properly |
| Depth | Use a depth gauge or ruler | Prevents screws from splitting wood |
| Diameter | Compare drill bit size and hole | Allows screws to grip firmly |
Credit: www.protoolreviews.com
Frequently Asked Questions
What Is The Purpose Of A Pilot Hole?
A pilot hole guides screws or nails, preventing wood from splitting. It ensures accurate placement and easier insertion of fasteners.
How Do You Choose The Right Drill Bit Size?
Select a drill bit slightly smaller than the screw’s diameter. This ensures a snug fit and prevents wood damage.
Can I Use A Hand Drill For Metal Pilot Holes?
Yes, use a hand drill with a metal-appropriate bit. Drill slowly and apply steady pressure for clean holes.
How Deep Should A Pilot Hole Be Drilled?
Drill pilot holes as deep as the screw length. This allows screws to fully embed without resistance.
Conclusion
Using a hand drill for pilot holes makes your work easier and neater. Start with the right drill bit size for your screws. Hold the drill steady and drill slowly to avoid mistakes. Pilot holes help prevent wood from splitting and guide screws better.
Practice a few times to gain confidence and skill. With patience, you can improve your drilling technique quickly. A simple tool, but very useful. Try it on your next project and see the difference yourself.