If you’ve ever found yourself grappling with the complexities of construction layouts, you’re not alone. The good news?
There’s a tool that can transform your work process. Enter the laser distance measurer—a device that promises precision and efficiency at your fingertips. Imagine cutting down the time you spend on measurements while increasing accuracy. Sounds like a win-win, right?
But how do you actually use this high-tech gadget to revolutionize your construction layouts? Stick around, because we’re about to dive into the nuts and bolts of mastering a laser distance measurer. You’ll soon discover how this tool can save you time, reduce errors, and enhance your overall project quality. Ready to elevate your construction game? Let’s get started!
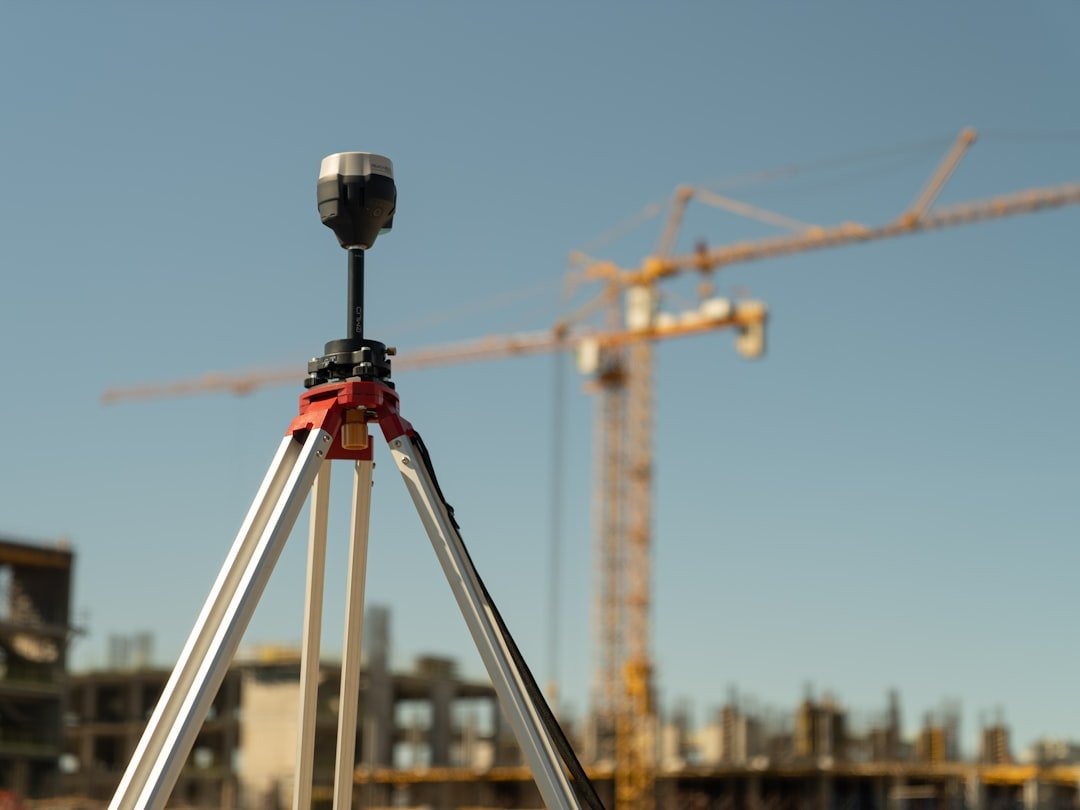
Credit: www.protoolreviews.com
Choosing The Right Laser Distance Measurer
Using a laser distance measurer can make construction layouts faster and more accurate. Picking the right tool for your needs helps save time and reduce errors.
Before buying, consider factors like features, type, and budget. These help you find a device that fits your work style and project demands.
Key Features To Consider
Look for features that improve ease and accuracy. Some important ones include distance range, accuracy level, and measurement modes.
- Distance Range:Choose a device that can measure the longest distances you need.
- Accuracy:Check the margin of error. Smaller error means better precision.
- Measurement Modes:Modes like area, volume, and continuous measurement add versatility.
- Display:A clear screen helps read measurements on site.
- Durability:Look for water and dust resistance for tough environments.
Types Suitable For Construction
There are different types of laser distance measurers. Some fit construction work better than others based on features and use cases.
| Type | Description | Best For |
| Basic Laser Measurers | Simple distance measurements | Small projects, indoor use |
| Advanced Laser Measurers | Includes area, volume, and indirect measurement modes | Large projects, complex layouts |
| Bluetooth Enabled Devices | Send measurements to apps or software | Digital record keeping, team projects |
| Multi-Functional Tools | Combines laser with other tools like levels | Versatile construction work |
Budget Vs. Functionality
Price affects the features and quality of the laser distance measurer. Find a balance between cost and useful functions.
- Basic models cost less but have limited features.
- Mid-range devices offer more modes and better accuracy.
- High-end tools include smart features and rugged design.
- Consider how often and what you will measure.
- Choose the model that fits your work needs and budget.
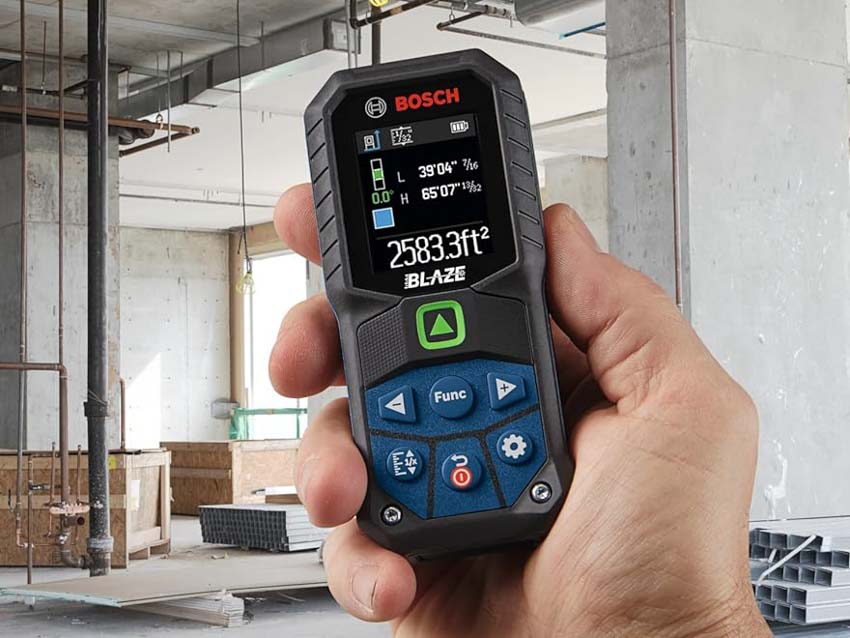
Credit: www.protoolreviews.com
Setting Up For Accurate Measurements
Using a laser distance measurer correctly is key to getting precise results. Proper setup helps avoid errors and saves time.
This guide covers important steps for setting up your device for construction layouts. Follow each carefully for best results.
Preparing The Worksite
Clear the area where you will take measurements. Remove obstacles that block the laser beam path.
- Check for dust or debris on surfaces
- Ensure stable ground for placing the device
- Mark key points clearly with tape or markers
- Keep the worksite well-lit to read the device screen easily
Calibrating Your Device
Calibration ensures your laser measurer gives accurate distance readings. Follow the device manual for calibration steps.
| Calibration Step | Description |
| Power on device | Turn on and allow to warm up for a few seconds |
| Check zero point | Set the device to zero at the measuring start point |
| Test measurement | Measure a known distance to verify accuracy |
| Adjust settings | Make small adjustments if readings are off |
Safety Precautions
Lasers can harm eyes and skin. Follow safety rules to protect yourself and others.
- Never point the laser at people or animals
- Use safety goggles if recommended by the device manual
- Keep the device away from children
- Work in a stable position to avoid falls or accidents
- Follow local safety regulations for construction sites
Basic Measurement Techniques
Using a laser distance measurer helps make construction layouts faster and more accurate. It sends a laser beam to measure distances quickly.
Learning basic techniques improves how you use the tool on site. These techniques include single distance, continuous mode, and area or volume measurements.
Single Distance Measurement
Single distance measurement is the simplest way to get a length. Point the laser at the target and press the measure button once.
The device will show the exact distance from you to the target point. Use this method for walls, floors, or any straight line measurement.
- Hold the laser steady
- Aim at a flat, reflective surface
- Press the button once to measure
- Read the distance on the screen
Continuous Measurement Mode
Continuous mode lets you measure changing distances in real time. The laser sends constant signals and updates the distance as you move.
This mode is useful for finding the shortest distance or checking level lines. You can stop and save the measurement anytime.
- Activate continuous mode on your device
- Move the laser slowly toward the target
- Watch the screen for distance changes
- Stop when you find the correct point
Using Area And Volume Functions
Some laser measurers calculate area and volume from multiple distance readings. This helps measure rooms or spaces without extra tools.
Measure length, width, and height by following the device prompts. The device then shows the total area or volume automatically.
- Measure length first
- Measure width next
- Measure height for volume
- Check the displayed area or volume
Advanced Layout Applications
Laser distance measurers help with precise measurements on construction sites. They improve accuracy for complex layouts.
Using these tools for advanced tasks saves time and reduces mistakes. You can measure points, lines, and elevations easily.
Marking Points And Reference Lines
Marking exact points is key for building foundations and walls. Laser measurers help locate these spots quickly and accurately.
Reference lines guide workers during construction. Use the laser to set straight lines over long distances without error.
- Set the laser at a fixed point
- Use the device to measure distances to marks
- Mark points on the ground or structure
- Draw or snap chalk lines between points
- Double-check measurements for accuracy
Integrating With Blueprints
Blueprints show exact dimensions and layout plans. Laser measurers help bring these plans to life on the site.
Compare laser measurements to blueprint dimensions. This ensures the construction matches the design precisely.
- Read blueprint measurements carefully
- Use laser to measure distances on site
- Mark points according to blueprint specs
- Check angles and spacing with the device
- Adjust layout as needed to fit plans
Using Laser Measurers For Elevation Checks
Elevation checks make sure surfaces are level or at the correct height. Laser measurers can quickly measure vertical distances.
Use the laser to check floors, ceilings, and steps. This helps avoid problems from uneven surfaces.
- Place laser at a base level point
- Measure height to target points
- Compare heights to design requirements
- Note any height differences
- Make adjustments to achieve correct elevation
Troubleshooting Common Issues
Using a laser distance measurer on a construction site can sometimes lead to problems. Knowing how to fix these issues saves time and keeps your project on track.
This guide covers common problems you might face and how to solve them quickly and easily.
Dealing With Reflective Surfaces
Reflective surfaces like glass or shiny metal can confuse the laser measurer. The laser beam may bounce back incorrectly, causing wrong readings.
Try aiming the laser at a different angle or use a matte target to improve accuracy. Avoid pointing the device directly at reflections.
- Avoid direct reflection by changing the measuring angle
- Use a non-reflective target like a piece of cardboard
- Measure from a different surface if possible
Handling Measurement Errors
Measurement errors can happen due to environmental factors or device settings. Wind, dust, or obstacles can block the laser beam.
Double-check your measurements and repeat them if the results look wrong. Use the device’s calibration feature if available.
- Clear any obstacles between the device and the target
- Hold the device steady during measurement
- Check for any dirt on the laser lens and clean it
- Use calibration to reset the device if errors continue
Battery And Maintenance Tips
Low battery power can cause the device to turn off or give weak signals. Always carry spare batteries or charge the device before use.
Regular cleaning and storing the device properly helps it last longer and work better on the job site.
- Replace or recharge batteries before starting work
- Clean the laser lens with a soft cloth regularly
- Store the device in a dry, safe place
- Avoid dropping or hitting the device to prevent damage
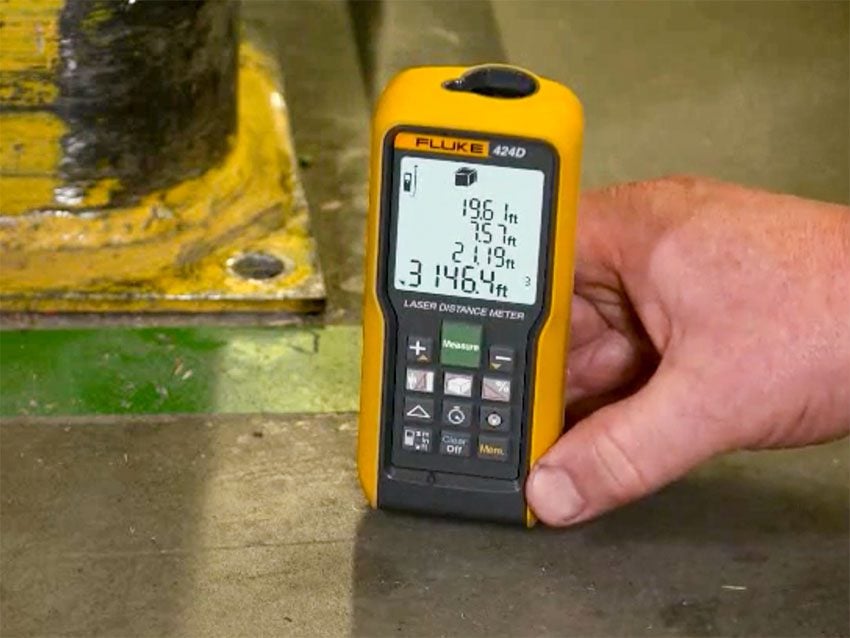
Credit: www.protoolreviews.com
Maximizing Efficiency On Site
Using a laser distance measurer speeds up construction layouts. It gives quick and accurate measurements.
To get the best results, learn how to use it well and combine it with other tools. This saves time and reduces mistakes.
Combining Tools For Better Accuracy
Use the laser measurer with traditional tools like tape measures and levels. This helps double-check measurements.
Combining tools reduces errors and improves layout precision on site. It helps confirm points quickly.
- Measure large distances with the laser measurer
- Check corners and angles with a level
- Use tape measure for short, detailed checks
- Mark points with chalk or markers for clear visibility
Training Your Team
Make sure everyone knows how to use the laser measurer correctly. Training helps avoid errors on site.
Teach the team about tool settings, reading measurements, and safety. Practice on small projects first.
- Explain basic functions of the laser measurer
- Show how to hold and aim the device
- Practice measuring different site areas
- Review common mistakes and how to fix them
Time-saving Tips
Plan your layout tasks to use the laser measurer efficiently. Prepare the area before measuring.
Use features like continuous measurement mode and memory storage to save time. Keep the device ready and clean.
- Clear obstacles from measuring paths
- Use tripod or stable support for steady shots
- Use continuous mode for quick multiple readings
- Save important measurements in the device memory
- Charge batteries before starting work
Frequently Asked Questions
What Is A Laser Distance Measurer Used For In Construction?
A laser distance measurer accurately measures distances, areas, and volumes. It speeds up layout tasks and improves precision on construction sites.
How Do You Operate A Laser Distance Measurer Safely?
Point the device steadily at the target. Avoid direct eye exposure to the laser beam. Follow manufacturer safety instructions to prevent accidents.
Can A Laser Distance Measurer Replace Traditional Measuring Tools?
Yes, it offers faster and more precise measurements compared to tape measures and rulers, making layout work easier and more efficient.
What Factors Affect Laser Distance Measurer Accuracy?
Surface reflectivity, distance, and environmental conditions like sunlight impact accuracy. Use proper settings and stable positioning for the best results.
Conclusion
Using a laser distance measurer speeds up construction layouts. It saves time and reduces errors on site. Always follow safety rules while working with tools. Practice measuring in different ways to get better results. Keep the device clean and store it properly after use.
This tool helps make your work more accurate and efficient. Try using it on your next project to see the difference. Simple steps lead to precise and easy layouts every time.