Are you struggling to fit your joints together without damaging the wood or your tools? Using a mallet for tapping joints is a simple skill that can make a huge difference in your woodworking projects.
With the right technique, you’ll join pieces smoothly and securely, avoiding cracks and dents. You’ll discover easy steps to master mallet tapping and get professional results every time. Keep reading to unlock the secret to perfect joints that hold strong and look great.
Credit: woodworkersinstitute.com
Choosing The Right Mallet
Using a mallet for tapping joints is a common task in woodworking. Picking the right mallet helps protect your wood and makes your work easier.
Different mallets suit different jobs. Knowing the types and materials will guide your choice.
Types Of Mallets
There are several mallet types used for tapping joints. Each type has a unique design for specific tasks.
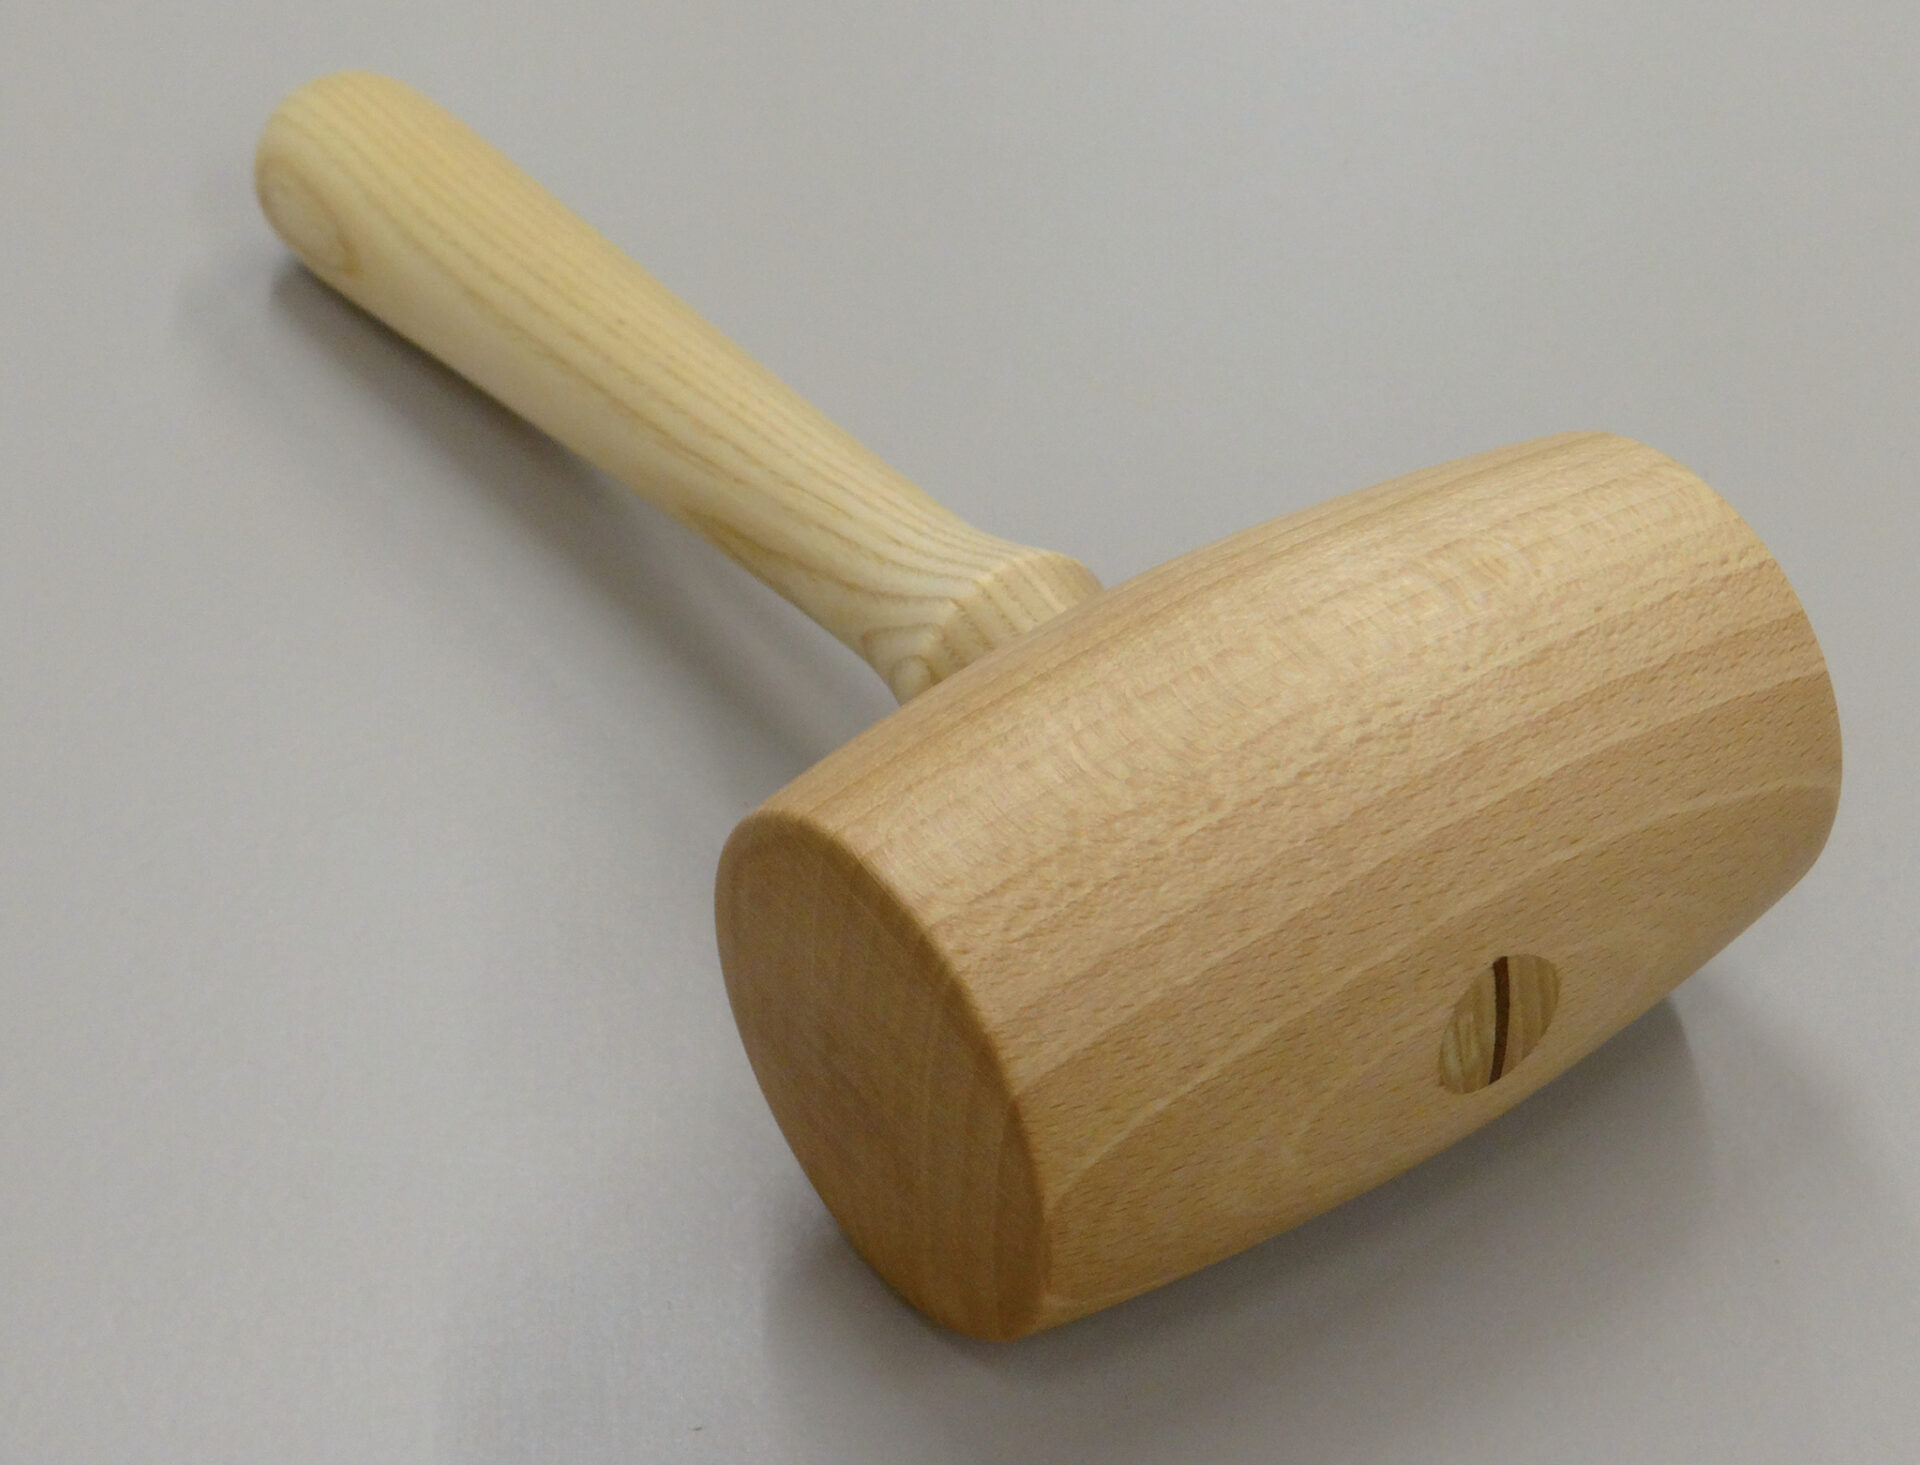
- Wooden Mallet:Made from hardwood, good for gentle tapping.
- Rubber Mallet:Soft head, prevents damage on delicate surfaces.
- Rawhide Mallet:Has a leather-covered head, useful for precise tapping.
- Plastic Mallet:Durable and lightweight, ideal for light jobs.
Material Considerations
The mallet’s material affects how it hits the joint. Choose materials that protect your wood.
Hard materials like wood or plastic give strong taps. Soft materials like rubber reduce marks on wood.
- Wood absorbs shock and is gentle on joints.
- Rubber lessens impact and protects surfaces.
- Rawhide offers firm but soft contact.
- Plastic lasts long and is easy to clean.
Selecting Size And Weight
The mallet size and weight affect control and power. Pick one that fits your strength and task.
Heavier mallets deliver strong taps but may tire your hand. Smaller mallets give better control for delicate work.
- Use a heavier mallet for tight joints.
- Choose a lighter mallet for soft woods.
- Medium weight suits most general tasks.
- Handle size should feel comfortable in your hand.

Credit: www.wikiwand.com
Preparing Joints For Tapping
Using a mallet to tap joints requires careful preparation. This ensures the pieces fit tightly without damage.
Proper preparation helps the joint hold firmly and lasts longer. It also makes tapping smoother and safer.
Cleaning And Aligning Surfaces
Start by cleaning the joint surfaces well. Remove dust, dirt, and old glue for a better bond.
- Use a brush or cloth to clear debris.
- Sand rough edges to smooth the surfaces.
- Check that surfaces are flat and even.
- Align the pieces carefully before tapping.
Applying Lubricants Or Adhesives
Lubricants can help joints slide together without damage. Adhesives make joints stronger after tapping.
| Type | When to Use | Benefit |
| Wax | Wood joints without glue | Reduces friction |
| Glue | Permanent joints | Holds pieces firmly |
| Soap | Temporary fits | Eases sliding |
Checking Joint Fit
Test the joint fit before tapping. It should be snug but not too tight.
- Place the pieces together without force.
- Look for gaps or misalignments.
- Adjust surfaces or apply more lubricant if needed.
- Ensure the joint slides in with a gentle tap.
Proper Tapping Techniques
Using a mallet to tap joints needs care and skill. It helps fit pieces tightly without damage.
Learn the right grip, control your force, and avoid common errors for best results.
Correct Grip And Stance
Hold the mallet handle firmly but not too tight. Stand with feet shoulder-width apart for balance.
Keep your wrist straight and use your arm to swing smoothly. This reduces strain and improves accuracy.
Controlling Force And Angle
Tap joints gently at first to check the fit. Increase force only if needed to avoid splitting wood.
- Position the mallet face flat against the joint.
- Swing the mallet in a controlled arc.
- Use steady, moderate taps rather than hard hits.
- Adjust the angle to keep contact even and prevent slipping.
Avoiding Common Mistakes
| Mistake | Effect | How to Fix |
|---|---|---|
| Gripping too tightly | Loss of control and fatigue | Relax your hand grip |
| Striking at a wrong angle | Damaged joint edges | Keep mallet face flat |
| Using too much force | Splitting or denting wood | Tap lightly, increase force gradually |
| Improper stance | Unsteady strikes | Stand balanced with feet apart |
Protecting Workpieces
Using a mallet to tap joints requires care to avoid damaging your workpieces. Protecting the surface helps keep your project looking good. Small steps can prevent dents, scratches, or cracks.
Below are ways to protect your workpieces while using a mallet. These tips focus on using pads, taping, and minimizing surface damage.
Using Protective Pads
Protective pads soften the impact between the mallet and the workpiece. They reduce the chance of marks and dents. Common pads include leather, rubber, or felt.
- Place a leather pad over the joint before tapping
- Use rubber pads for delicate wood surfaces
- Felt pads work well for light tapping tasks
- Replace worn pads to maintain protection
Taping Sensitive Areas
Taping sensitive parts of your workpiece adds a thin protective layer. Painter’s tape or masking tape works best. It sticks well and removes easily without damage.
- Clean the surface before applying tape
- Cover edges and corners where joints meet
- Press tape firmly to avoid lifting during tapping
- Remove tape slowly after tapping is done
Minimizing Surface Damage
To limit surface damage, use the right tapping technique and tools. Avoid hitting the workpiece too hard or at a bad angle. Adjust your mallet grip and force to control impact.
| Tip | Reason |
|---|---|
| Tap gently at first | Prevents sudden dents |
| Keep mallet face flat on surface | Distributes force evenly |
| Check joint alignment often | Reduces extra tapping needed |
| Use softer mallet heads for fragile wood | Lessens surface marks |
Maintenance And Care Of Mallets
Using a mallet for tapping joints needs care to keep it in good shape. Regular maintenance helps the mallet last longer and work well.
Proper cleaning, checking for damage, and storing the mallet right are key tasks. These simple steps protect your tool and improve safety.
Cleaning After Use
Clean your mallet after every use to remove dirt and wood chips. Use a dry cloth to wipe the head and handle.
If the mallet is sticky or has resin, use a cloth dampened with mild soap and water. Dry it completely before storing.
Inspecting For Wear
Look over your mallet often to find cracks or dents. Check the head and handle for any damage that may affect use.
Replace the mallet if the head is loose or the handle is split. Using a damaged mallet can hurt your project or cause injury.
- Check the mallet head for cracks or deep dents
- Make sure the handle is tight and not loose
- Look for splits or splinters on the handle
- Stop using the mallet if damaged
Storage Tips
Store your mallet in a dry place to stop moisture damage. Avoid leaving it outside or in damp areas.
Hang the mallet or keep it in a toolbox to protect it from drops or knocks. Proper storage keeps it ready for use.
- Keep the mallet away from water and damp spots
- Store it on a hook or in a toolbox
- Do not put heavy items on top of the mallet
- Check mallet condition before each use

Credit: woodworkersinstitute.com
Advanced Tips For Complex Joints
Using a mallet for tapping joints can be tricky with complex woodworking projects. This guide shares tips to handle tight, delicate joints and different materials safely. These advanced methods improve fit without damage.
Follow these techniques to combine mallets with other tools and adjust your approach based on the wood or material type.
Tapping Tight Or Delicate Joints
When joints fit very tightly or are made from soft wood, use a gentle tapping method. Avoid strong hits that can split the wood or damage the joint edges.
- Use a mallet with a softer head, like rawhide or rubber
- Tap lightly and gradually increase force if needed
- Place a thin piece of scrap wood between the mallet and joint to protect surfaces
- Check alignment often to avoid forcing parts incorrectly
Using Mallets With Other Tools
Combining a mallet with other tools can improve precision and reduce damage. Use wedges, clamps, or blocks alongside your mallet for better control.
| Tool | Purpose | How to Use with Mallet |
| Wedges | Create small gaps or adjust tightness | Tap wedges gently with mallet to open joints slightly |
| Clamps | Hold parts steady during tapping | Secure clamp before tapping to keep alignment |
| Scrap Wood Blocks | Protect joint surfaces | Place block between mallet and joint for soft impact |
Adjusting Techniques For Different Materials
Hardwood, softwood, and composite materials need different tapping styles. Adjust your mallet type and tapping strength to match the material’s hardness and brittleness.
- Use heavier mallets for hardwood to deliver stronger taps
- Choose softer mallets for softwood or veneer to avoid dents
- Tap slowly on composite materials to prevent cracking
- Test taps on scrap material to find the right force
Frequently Asked Questions
What Is The Best Mallet Type For Tapping Joints?
A rubber or wooden mallet is ideal for tapping joints. These mallets prevent damage and provide controlled force. Avoid metal mallets, as they can damage the wood or joint surfaces.
How Do You Hold A Mallet When Tapping Joints?
Hold the mallet firmly near the end of the handle. This grip maximizes control and force. Keep your wrist relaxed and swing smoothly for precise tapping without damaging the joint.
Why Is Tapping Joints With A Mallet Important?
Tapping joints ensures snug, secure fits without damaging wood. It helps align parts properly for strong, lasting connections. Using a mallet prevents splitting or denting that a hammer might cause.
How Much Force Should I Use When Tapping Joints?
Use gentle, controlled taps initially to avoid damaging the wood. Increase force gradually if the joint resists. Always prioritize precision over power to maintain joint integrity.
Conclusion
Tapping joints with a mallet is simple and effective. It ensures precise connections in woodworking projects. Start with light taps, increasing force gradually. This prevents wood damage and ensures a snug fit. Always hold the mallet comfortably. This improves control and accuracy.
Choose the right mallet for your material. Rubber or wooden mallets work well for most tasks. Practice makes perfect, so keep refining your technique. By using these tips, you can create strong, reliable joints. Enjoy the satisfaction of well-crafted work.
Happy woodworking!