When working with wooden joints, using the right tool can make all the difference. A mallet is your best friend for tapping pieces together without causing damage.
But are you sure you’re using it correctly? Knowing how to use a mallet properly can save you time, prevent mistakes, and keep your wood looking flawless. You’ll discover simple, effective techniques to master mallet tapping and take your woodworking skills to the next level.
Stick with me, and you’ll soon handle wooden joints like a pro.
Choosing The Right Mallet
Using a mallet for tapping wooden joints needs the right tool. Picking the correct mallet helps avoid damage and makes work easier.
Consider the type, material, size, and weight of the mallet before starting your project. These factors affect the control and force you apply.
Types Of Mallets
There are several mallet types. Each suits different woodworking tasks. Knowing them helps you pick the right one.
- Wooden mallets: Traditional and gentle on wood.
- Rubber mallets: Soft and good for delicate joints.
- Rawhide mallets: Flexible and prevent dents.
- Plastic mallets: Durable with moderate force.
Material Matters
The mallet’s material affects its impact and durability. Soft materials protect the wood, while hard ones deliver stronger hits.
| Material | Use | Benefits |
| Wood | General woodworking | Gentle, traditional, lightweight |
| Rubber | Delicate surfaces | Soft strike, prevents damage |
| Rawhide | Fine joinery | Flexible, less marking |
| Plastic | Heavy tapping | Durable, firm hits |
Size And Weight Considerations
Size and weight change how the mallet feels and works. Choose a mallet that fits your hand and task.
- Lighter mallets give more control for small joints.
- Heavier mallets add power for tight fits.
- Handle length affects swing and comfort.
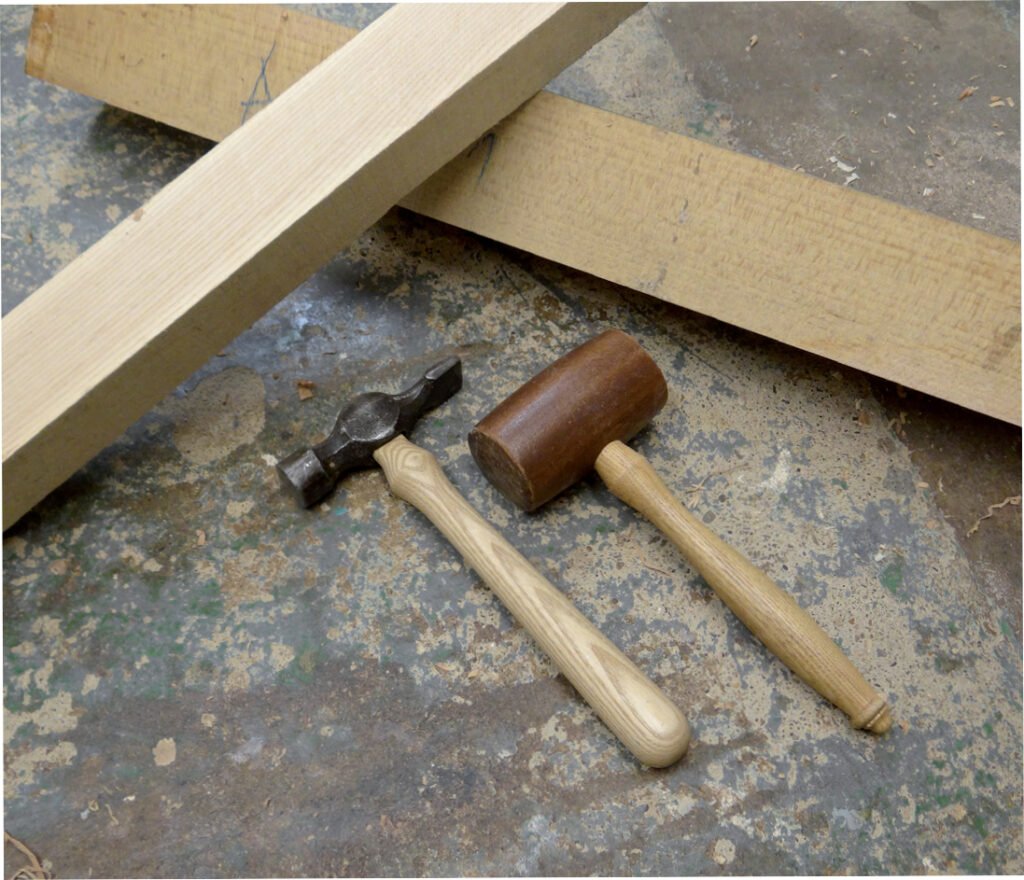
- Try different sizes to find what suits you best.

Credit: woodworkersinstitute.com
Preparing Wooden Joints
Using a mallet to tap wooden joints needs careful preparation. Proper preparation helps the joints fit tightly and last longer.
Take your time to clean, check, and apply glue if needed. This makes the tapping process smooth and effective.
Cleaning And Aligning
Start by cleaning the joint surfaces. Remove dust, dirt, and old glue for a good fit.
Make sure both parts line up correctly. Proper alignment stops damage when tapping with the mallet.
- Use a soft brush or cloth to clean surfaces
- Check edges for chips or cracks
- Place the parts together without force to see alignment
Checking For Fit
Test the joint by gently tapping the parts without glue. They should fit snugly but not too tight.
If the fit is too loose, the joint may need adjustment. Too tight means you risk splitting the wood when tapping.
- Try dry fitting the joint several times
- Look for gaps or uneven contact
- Sand rough areas lightly if needed
Applying Adhesive If Needed
Use wood glue if the joint needs extra strength. Apply a thin, even layer on the surfaces to join.
Avoid using too much glue. Excess glue can cause mess and weaken the joint.
- Spread glue with a small brush or finger
- Cover all contact areas without flooding
- Wipe off extra glue before tapping
Proper Tapping Techniques
Using a mallet to tap wooden joints requires care and skill. Proper tapping helps fit pieces tightly without damage.
This guide covers how to hold the mallet, control force and angle, and avoid harming the wood.
Holding The Mallet Correctly
Hold the mallet handle near the end for good control. Grip it firmly but not too tight. Keep your wrist straight and relaxed.
- Use your dominant hand for better accuracy
- Wrap your fingers around the handle
- Keep your thumb along the handle for stability
- Maintain a loose grip to avoid fatigue
Controlling Force And Angle
Tap the joint with gentle, steady taps. Too much force can split the wood. Aim the mallet face flat against the wood surface.
| Force Level | Use Case |
| Light Taps | Aligning joints |
| Medium Taps | Fitting joints together |
| Strong Taps | Final adjustments (use carefully) |
Avoiding Damage To Wood
Protect wood by tapping on a block or scrap wood piece. This absorbs shock and prevents dents.
Tips to avoid damage:
- Do not hit edges directly
- Use a wooden or rubber mallet, not metal
- Check for cracks before tapping
- Tap slowly to feel resistance

Credit: www.tilemountain.co.uk
Common Mistakes To Avoid
Using a mallet to tap wooden joints needs care. Small errors can harm your wood or tools.
Avoid mistakes to keep your joints strong and your work neat. Here are key errors to watch out for.
Using Excessive Force
Hitting too hard can damage wood joints or split the wood. Gentle taps are usually enough.
Start with light taps and increase force only if needed. This helps keep the wood safe.
- Excess force may crack or dent the wood.
- It can also damage the mallet head.
- Use steady, controlled tapping instead of hard hits.
Ignoring Joint Alignment
Forcing misaligned joints damages both wood pieces. Always check alignment before tapping.
Proper fit saves time and keeps joints strong. Adjust the parts until they line up well.
- Misaligned joints cause gaps and weak connections.
- Check both sides before applying force.
- Use clamps to hold pieces in place if needed.
Using The Wrong Mallet Type
Not all mallets suit wooden joints. Choose one that fits your wood type and task.
Hard mallets can leave marks. Soft mallets give better control and protect the wood.
- Rubber or rawhide mallets reduce damage risk.
- Wooden mallets work well for light tapping.
- A metal hammer can harm the wood and joint.
Maintenance And Care Of Your Mallet
Using a mallet for tapping wooden joints needs care to keep it working well. Regular maintenance helps your mallet last longer.
Proper cleaning, storage, and knowing when to replace your mallet protect your tools and improve your work.
Cleaning Tips
Clean your mallet after each use. Remove dust and wood chips to prevent damage. Use a soft cloth or brush for cleaning.
- Wipe the head and handle with a dry cloth
- Use mild soap and water if needed, then dry immediately
- Avoid soaking the mallet to protect the wood
- Remove any glue or sticky residue carefully
Storage Recommendations
Store your mallet in a dry place to avoid warping or cracking. Keep it away from direct sunlight and heat sources.
| Storage Tip | Reason |
|---|---|
| Hang the mallet on a pegboard | Keeps it off surfaces and prevents damage |
| Store in a toolbox with padding | Protects from knocks and moisture |
| Keep away from damp areas | Prevents wood swelling and mold |
When To Replace Your Mallet
Check your mallet for damage before use. Replace it if you see deep cracks or a loose head.
- Look for major dents or splits on the head
- Test if the head feels loose on the handle
- Replace if the handle cracks or splinters
- Choose a new mallet if it no longer strikes evenly
Credit: woodworkersinstitute.com
Frequently Asked Questions
What Is The Purpose Of Using A Mallet On Wooden Joints?
A mallet gently taps wooden joints to fit them tightly without damage. It helps avoid splitting or denting wood during assembly. This ensures strong, precise connections in woodworking projects.
How Do I Choose The Right Mallet For Wood Tapping?
Select a wooden or rubber mallet with a comfortable grip. The mallet should be heavy enough to tap firmly but soft enough to protect the wood surface. Size depends on your project and control needs.
Can I Use A Metal Hammer Instead Of A Mallet?
Using a metal hammer risks damaging wooden joints by causing dents or splits. Mallets distribute force more evenly and are safer for delicate woodwork. Always prefer a mallet for tapping wooden joints.
How Do I Tap Wooden Joints Without Causing Damage?
Tap gently and gradually increase force if needed. Use a soft-faced mallet and strike the joint edges, not the wood surface. Support the joint firmly to prevent movement and reduce impact damage.
Conclusion
Using a mallet for wooden joints is simple and effective. Follow the steps, and your joints will fit snugly. Choose the right mallet size for your project. Practice will improve your tapping skills. Always hold the mallet firmly for better control.
Wooden joints need gentle, precise taps. Careful work avoids damage and ensures a tight fit. Remember, patience and practice make perfect. With these tips, your woodworking projects will improve. Keep practicing, and soon you’ll see great results. Your wooden joints will be strong and durable.
Enjoy the satisfaction of a job well done!
