Are you struggling to make perfect bevel cuts with your miter saw? You’re not alone.
Bevel cuts can be tricky, but mastering them will take your woodworking skills to the next level. Imagine creating clean, precise angled cuts every time, saving you time and frustration. In this guide, you’ll discover simple, step-by-step tips to use your miter saw for bevel cuts accurately.
Keep reading, and you’ll soon feel confident tackling any project with sharp, professional results.

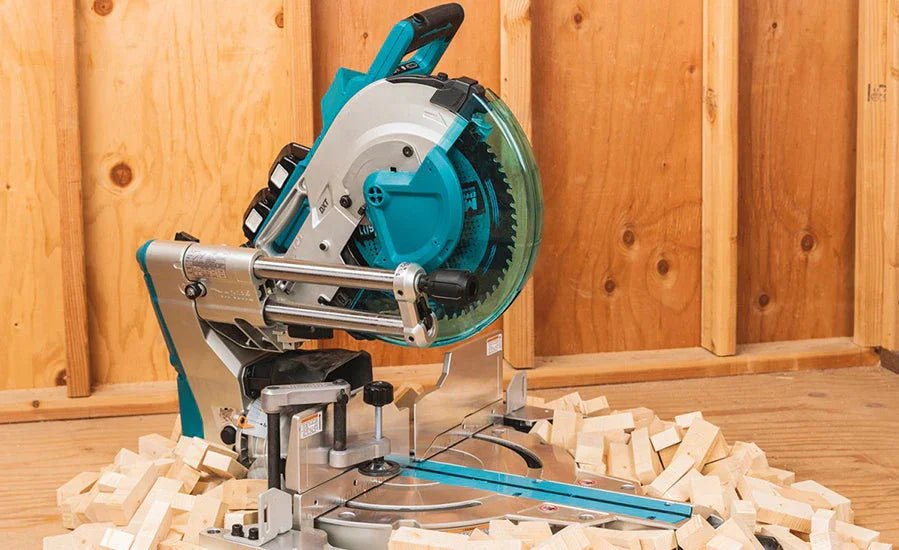
Credit: www.youtube.com
Choosing The Right Miter Saw
Using a miter saw for bevel cuts needs the right tool. Picking the right saw helps you cut angles accurately and safely.
Not all miter saws are good for bevel cuts. Knowing the types and features helps you choose the best one for your work.
Types Of Miter Saws
Miter saws come in three main types. Each type offers different cutting abilities and sizes.
- Basic Miter Saw:Cuts only at a fixed 90-degree angle or preset angles left and right.
- Compound Miter Saw:Cuts angles across the board and tilts to make bevel cuts.
- Sliding Compound Miter Saw:Has a sliding arm to cut wider boards and also makes bevel cuts.
For bevel cuts, compound and sliding compound saws are best. They allow tilting the blade to cut angles on the wood’s edge.
Features For Bevel Cuts
Some features make bevel cuts easier and more accurate. Look for these when choosing your miter saw.
- Bevel Adjustment:Allows the blade to tilt left or right for angled cuts.
- Positive Stops:Set common bevel angles quickly and accurately.
- Clear Scale Markings:Easy-to-read numbers help you set precise bevel angles.
- Laser Guide or LED Light:Shows the exact cut line for better accuracy.
- Sliding Arm:Lets you cut wider boards with bevel angles.
Choosing a saw with these features improves your bevel cutting results. It saves time and makes your cuts look professional.

Credit: www.findbuytool.com
Setting Up Your Miter Saw
Using a miter saw for bevel cuts needs careful setup. Proper setup helps you cut at the right angle.
Follow these steps to position the saw, adjust the bevel angle, and secure your workpiece.
Positioning The Saw
Place your miter saw on a flat, stable surface. This keeps the saw steady while cutting.
Make sure the saw base is clear of debris. Check that the saw blade has enough space to move freely.
Adjusting The Bevel Angle
Find the bevel adjustment knob or lever on your saw. Loosen it to change the blade angle.
Set the blade to the desired bevel angle using the saw’s angle scale. Tighten the knob to lock the angle.
- Check the angle with a protractor if needed
- Adjust slowly to avoid mistakes
- Ensure the blade is locked firmly
Securing The Workpiece
Place your wood or material flat on the saw base. Align the cut mark with the saw blade.
Use clamps or the saw’s built-in clamp to hold the workpiece. Keep it tight to avoid movement during the cut.
- Double-check the workpiece is stable
- Keep fingers away from the blade path
- Use supports for long pieces
Techniques For Accurate Bevel Cuts
Bevel cuts require careful setup and control for precise angles. Using a miter saw correctly helps you get clean and accurate cuts every time.
This guide covers key techniques to improve your bevel cut accuracy. These include marking, testing, and securing your workpiece.
Marking The Cut Line
Clear and precise marking is essential for accurate bevel cuts. Use a pencil and a square to draw the cut line on your material.
Mark both sides of the board if you can. This helps you see the line from different angles and avoid mistakes.
- Use a sharp pencil for thin, clear lines
- Double-check the angle with a protractor or bevel gauge
- Mark the waste side lightly to avoid confusion
Making Test Cuts
Test cuts on scrap wood help you check the saw angle and blade position. This step saves your material from errors.
Adjust the bevel angle on your saw and make a cut on a scrap piece. Measure the cut to see if it matches your desired angle.
- Cut small pieces of scrap wood first
- Measure the angle with a bevel gauge or angle finder
- Adjust the saw settings until the test cut fits your needs
Using Clamps And Supports
Clamping the workpiece prevents movement and ensures safety. Use clamps and supports to hold your material steady.
Supports keep long boards level and reduce vibration. This makes the cut smoother and more accurate.
- Use clamps to hold the material firmly against the fence
- Place supports under long boards to keep them level
- Check that clamps do not block the saw blade path
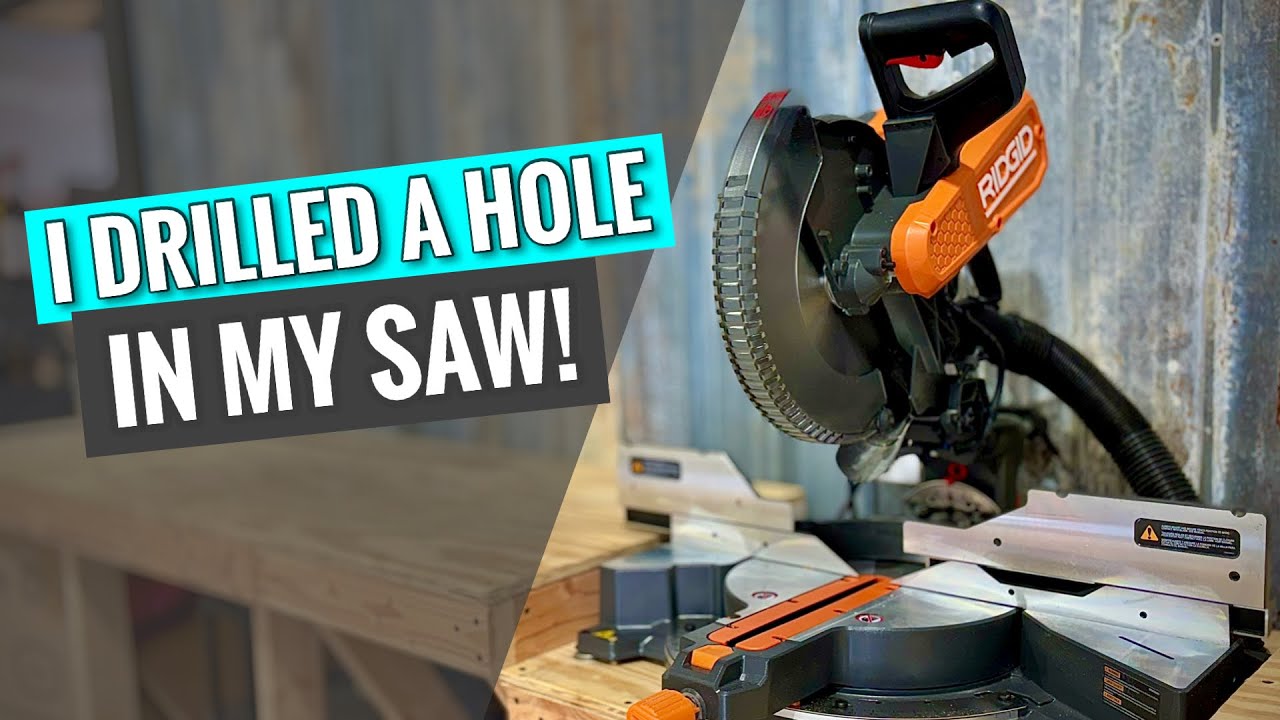
Credit: www.youtube.com
Safety Tips For Bevel Cutting
Using a miter saw for bevel cuts can be dangerous without proper care. Safety is important to avoid accidents and injuries.
Follow these safety tips to protect yourself and make accurate cuts every time.
Protective Gear
Wear the right protective gear before starting your bevel cuts. This gear helps keep you safe from flying debris and dust.
Always wear safety glasses to protect your eyes. Use ear protection to guard against loud noise. Wear gloves to protect your hands.
- Safety glasses or goggles
- Ear plugs or ear muffs
- Cut-resistant gloves
- A dust mask to avoid breathing sawdust
Safe Saw Operation
Follow safe steps to operate your miter saw. Check the saw before use to make sure it works well.
Keep your hands away from the blade. Use clamps to hold your workpiece steady. Never reach under the blade while it is moving.
- Inspect the saw blade for damage
- Keep the blade guard in place
- Use clamps to hold wood securely
- Keep hands at least 6 inches from the blade
- Wait for the blade to stop before removing wood
Handling Common Issues
Be aware of common problems that may happen during bevel cutting. Fix issues before they cause accidents.
If the saw blade binds or does not cut smoothly, stop and check for problems. Clean sawdust build-up and check blade sharpness.
- Stop the saw if it binds or stalls
- Clean dust from the blade and saw base
- Sharpen or replace dull blades
- Check bevel angle settings before cutting
- Make test cuts on scrap wood first
Maintaining Your Miter Saw
Keeping your miter saw in good shape helps you make clean and accurate bevel cuts. Regular care saves you time and money in the long run.
Simple maintenance tasks can improve your saw’s performance and extend its life. Focus on blade care, calibration, and cleaning.
Blade Selection And Care
Choose the right blade for bevel cuts to get smooth and precise results. Keep blades sharp and replace them when they get dull.
- Select blades with fine teeth for clean bevel cuts.
- Check the blade for damage before each use.
- Sharpen or replace blades regularly to avoid rough cuts.
- Store blades in a dry place to prevent rust.
Calibration And Alignment
Correct calibration ensures your bevel angles are accurate. Check the saw’s alignment often to maintain precision.
| Calibration Item | How to Check | Adjustment Tip |
| Bevel Angle | Use a protractor on the blade | Adjust the bevel stop or scale |
| Miter Angle | Use a square against the fence | Adjust the miter gauge or fence |
| Blade Square to Fence | Check with a combination square | Tighten or loosen bolts to align |
Regular Cleaning
Dust and debris can affect your saw’s function and accuracy. Clean it after each use to keep it working well.
- Remove sawdust from the blade and table.
- Use compressed air to clear tight spaces.
- Wipe the fence and bevel scale with a dry cloth.
- Lubricate moving parts to prevent rust and sticking.
Frequently Asked Questions
What Is A Bevel Cut On A Miter Saw?
A bevel cut on a miter saw involves tilting the saw blade at an angle. It is used for creating angled edges on materials. This is different from miter cuts, which angle the blade horizontally. Bevel cuts are often used in trim work and crown molding installations.
How Do You Set A Miter Saw For Bevel Cuts?
To set a miter saw for bevel cuts, first unlock the bevel adjustment lever. Tilt the saw blade to the desired angle, usually between 0 and 45 degrees. Lock the lever back in place to secure the angle. Ensure the material is properly clamped before making the cut.
Why Are Bevel Cuts Important In Woodworking?
Bevel cuts are crucial in woodworking for creating smooth, angled edges. They provide a clean finish and enhance the structural integrity of joints. Bevel cuts also add aesthetic value, allowing for creative design and precision in projects like furniture, cabinetry, and trim work.
Can Beginners Make Bevel Cuts Accurately?
Yes, beginners can make bevel cuts accurately with practice and the right setup. Start by understanding your miter saw’s settings and safety features. Practice on scrap materials to gain confidence. Always ensure the workpiece is securely clamped and follow the saw’s guidelines for precision and safety.
Conclusion
Using a miter saw for bevel cuts takes practice and care. Always measure twice to avoid mistakes. Adjust the saw’s angle slowly and check your settings. Keep your hands clear and work steadily for safety. Clean cuts come from sharp blades and steady pressure.
Follow these steps, and your bevel cuts will look clean and precise. With time, your confidence and skill will grow. Remember, patience makes a big difference in woodworking.