Imagine this: you’re trying to close a door, but it just won’t budge because it’s rubbing against the frame. Frustrating, right?
That’s where a power planer comes to the rescue. If you’re eager to solve this common household issue with a touch of DIY flair, you’ve come to the right place. In this guide, you’ll discover how to use a power planer to trim doors with precision and ease.
You’ll no longer have to endure the annoyance of a sticking door. Instead, you’ll feel the satisfaction of watching it swing smoothly on its hinges. Get ready to unlock a new skill that not only saves you money but also gives you the joy of fixing things yourself. Keep reading to find out exactly how you can achieve this with confidence and accuracy.
Choosing The Right Power Planer
Using a power planer can make door trimming easier and faster. Picking the right tool is key for good results and safety.
This guide covers the types of power planers, key features to watch for, and important safety tips.
Types Of Power Planers
Power planers come in different styles for various tasks. Knowing these types helps you choose one that fits your door trimming needs.
- Handheld Planers:Small and easy to control, good for light trimming and detailed work.
- Benchtop Planers:Larger and stationary, used for smoothing large boards, less common for doors.
- Corded Planers:Provide consistent power without battery limits but need a power outlet nearby.
- Cordless Planers:Offer freedom of movement but require charging and may run out of power.
Key Features To Look For
Choosing a power planer means looking at features that make the job easier and safer.
| Feature | Why It Matters |
| Adjustable Depth | Controls how much wood is removed in one pass. |
| Ergonomic Grip | Reduces hand fatigue during use. |
| Dust Collection | Keeps your workspace clean and improves visibility. |
| Power | Stronger motors handle tougher wood and bigger jobs. |
| Weight | Lighter planers are easier to handle for detailed trimming. |
Safety Considerations
Power planers can be dangerous if not used properly. Keep safety in mind to avoid injuries.
- Always wear safety glasses to protect your eyes from wood chips.
- Use hearing protection to guard against loud noise.
- Keep hands away from the blade while operating the tool.
- Check that the blade is sharp and securely fastened before use.
- Work on a stable surface to prevent slips and accidents.
- Disconnect power before changing blades or making adjustments.

Credit: www.youtube.com
Preparing The Door For Trimming
Before trimming a door with a power planer, you need to prepare it carefully. Proper preparation makes the trimming process safe and accurate.
This guide covers measuring and marking, securing the door, and checking the planer setup.
Measuring And Marking
Measure the door edge to find out how much needs trimming. Use a tape measure to get exact numbers.
- Mark the trimming line with a pencil or chalk.
- Check the line is straight and even all around.
- Mark both sides of the door for clear guidance.
- Double-check measurements before moving on.
Securing The Door
Secure the door to keep it stable during trimming. A moving door can cause mistakes or injury.
- Place the door on a flat, stable surface like saw horses.
- Use clamps to hold the door firmly in place.
- Make sure the door cannot shift or tilt while planing.
- Clear the area around the door for easy movement.
Checking The Planer Setup
Check your power planer to ensure it is ready for use. A wrong setup can damage the door or the tool.
| Check Point | What to Do |
| Blade Sharpness | Ensure blades are sharp and clean |
| Depth Setting | Set depth to remove small amounts of wood |
| Power Cord | Inspect for damage and ensure enough length |
| Handle Grip | Make sure the handle is secure and comfortable |
Step-by-step Trimming Process
Using a power planer to trim doors helps achieve a smooth and even finish. This guide walks you through the key steps.
Follow the right setup and planing techniques to avoid mistakes and ensure safety.
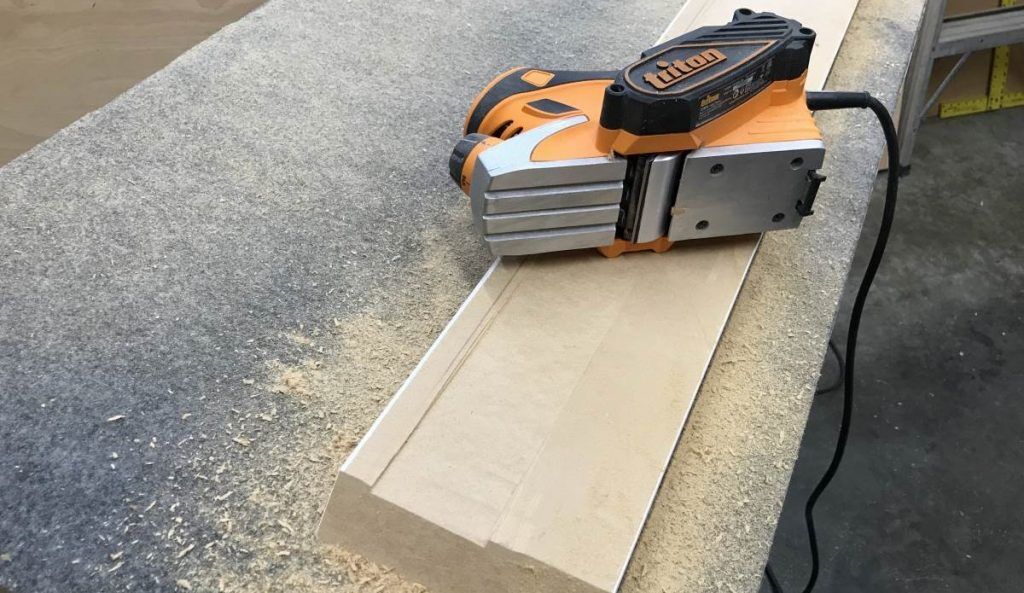
Setting The Depth Of Cut
Adjusting the depth of cut is important for controlled material removal. Set it too deep, and you risk damage; too shallow, and trimming takes longer.
- Turn off and unplug the planer before adjustments.
- Locate the depth adjustment knob or lever on the tool.
- Start with a shallow setting, about 1/32 inch (0.8 mm).
- Test on scrap wood to check the cut depth.
- Increase gradually if more material needs removal.
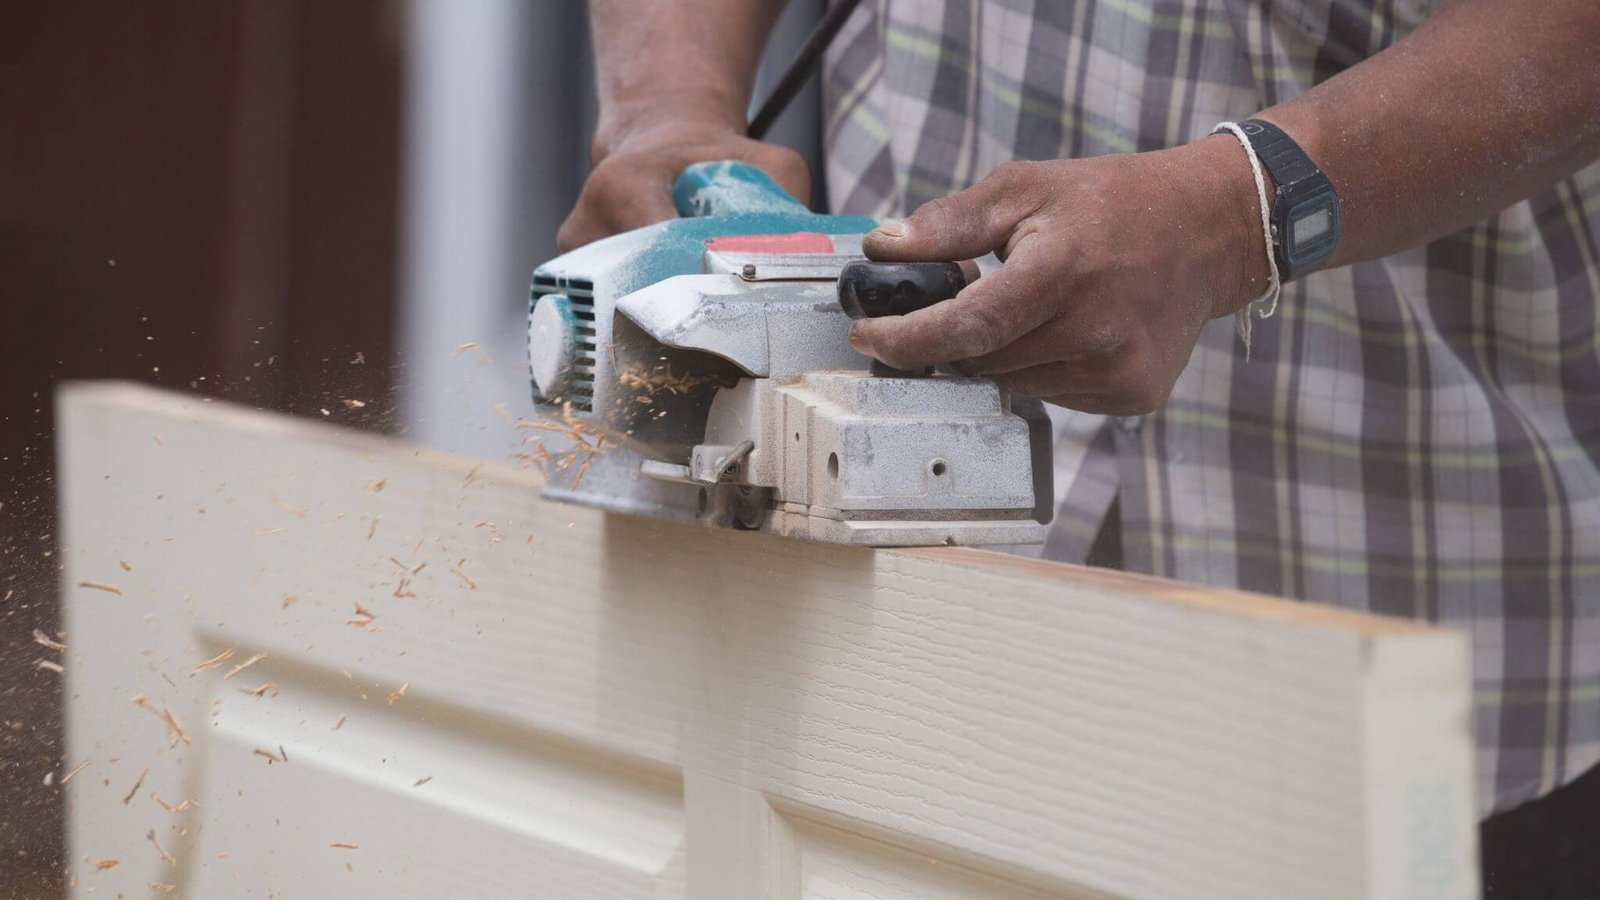
Planing Technique Tips
Correct technique makes trimming smooth and prevents damage to the door or tool.
- Hold the planer firmly with both hands.
- Start planing at one edge of the door.
- Move the planer in a steady, slow motion along the wood grain.
- Keep the base flat against the surface at all times.
- Avoid stopping mid-cut to prevent gouges.
Maintaining Control And Stability
Maintaining control and stability improves accuracy and safety while trimming doors.
| Tip | Details |
|---|---|
| Secure the Door | Clamp the door firmly to a stable work surface. |
| Use Both Hands | Grip the planer handles tightly for better control. |
| Stand Properly | Position feet shoulder-width apart for balance. |
| Check Power Cord | Keep the cord clear of the cutting path. |
Finishing Touches
Using a power planer for trimming doors requires care and precision. The finishing touches help the door fit well and look smooth. This guide covers sanding, checking the fit, and adjusting alignment.
Follow these steps to ensure your door trims cleanly and operates smoothly without gaps or rough edges.
Sanding The Edges
After trimming the door with a power planer, the edges may feel rough. Sanding helps smooth these edges for a clean finish. Use fine-grit sandpaper to avoid removing too much material.
- Start with 120-grit sandpaper for rough edges
- Use 220-grit sandpaper to smooth the surface
- Sand along the grain to prevent scratches
- Wipe dust off with a clean cloth after sanding
Checking The Fit
Proper fit ensures the door closes easily and seals well. Check the gaps around the door frame and test the door’s movement. Small gaps can cause drafts or noise.
| Check Point | What to Look For | Action Needed |
| Top Edge | Even gap along the frame | Trim more if gap is too tight |
| Sides | Consistent clearance without rubbing | Sand or plane edges if needed |
| Bottom Edge | Gap for floor clearance | Adjust height or plane bottom |
Adjusting For Perfect Alignment
If the door does not align correctly, adjust the hinges or the trimmed edges. Proper alignment prevents sticking and improves door function.
Tips for alignment adjustments:
- Loosen hinge screws slightly
- Shift door up, down, or sideways as needed
- Tighten screws and recheck fit
- Plane edges again if door still sticks
Common Mistakes To Avoid
Using a power planer for trimming doors needs care and attention. Mistakes can cause damage or injury.
Learn what errors to avoid to get clean results and stay safe while working.
Overcutting The Door
Cutting too deep can ruin the door’s fit and waste material. Avoid pushing the planer too hard or moving it too slowly.
- Mark the cut area clearly before starting.
- Make shallow passes instead of one deep cut.
- Check your progress often to avoid removing too much wood.
Ignoring Safety Protocols
Skipping safety steps can lead to serious injuries. Always prepare and protect yourself before using the power planer.
| Safety Step | Reason |
| Wear safety goggles | Protect eyes from flying wood chips |
| Use ear protection | Reduce hearing damage from noise |
| Secure the door | Prevent slipping during planing |
| Keep hands away from blades | Avoid cuts and injuries |
Incorrect Planer Handling
Holding the planer wrongly causes uneven cuts and can tire your hands quickly. Learn the right way to hold and move the tool.
- Hold the planer firmly with both hands.
- Keep the base flat on the door surface.
- Move the planer in a smooth, even motion along the grain.
- Do not tilt or angle the planer while cutting.
Credit: plumbandlined.com
Maintenance For Your Power Planer
Keeping your power planer in good shape helps it work better and last longer. Regular care prevents damage and keeps the blades sharp.
Follow simple maintenance steps to ensure your tool stays safe and ready for trimming doors or other projects.
Blade Care And Replacement
Sharp blades make clean cuts and reduce effort. Check blades often for dullness or chips. Replace blades if they are damaged or worn out.
- Turn off and unplug the planer before changing blades.
- Use the correct wrench to remove the blade screws.
- Handle blades carefully to avoid cuts.
- Install new blades with the cutting edge facing the right direction.
- Tighten screws securely to prevent blade movement.
Cleaning And Storage Tips
Keep your power planer clean and dry to avoid rust and dirt buildup. Proper storage protects it from damage and dust.
| Task | How to Do It |
|---|---|
| Cleaning | Brush away wood chips and dust after each use. Use a soft cloth to wipe the body. |
| Lubrication | Apply light oil to moving parts monthly to keep them smooth. |
| Storage | Store in a dry place. Use a case or cover to protect from dust. |
| Inspection | Check power cord and plug for damage before storage. |

Credit: www.amazon.co.uk
Frequently Asked Questions
What Safety Gear Is Essential When Using A Power Planer?
Always wear safety goggles, ear protection, and a dust mask. Gloves protect your hands. Ensure your workspace is clear and well-lit to prevent accidents.
How Do I Adjust The Depth On A Power Planer?
Most power planers have a depth adjustment knob. Turn it to set the blade depth. Start with a shallow cut and increase gradually for best results.
Can A Power Planer Trim Door Edges Evenly?
Yes, a power planer trims door edges smoothly and evenly. Move it steadily along the edge to avoid gouges or uneven surfaces.
How To Prevent Tear-out When Planing Doors?
Use sharp blades and a slow, steady feed rate. Always plane in the wood grain direction to minimize tear-out and achieve a clean finish.
Conclusion
Using a power planer makes trimming doors easier and faster. Always keep the tool steady and move it slowly. Check your progress often to avoid cutting too much. Safety matters—wear goggles and work in a clear space. With practice, your door will fit perfectly every time.
Enjoy the smooth finish and clean edges from your effort. Keep your power planer sharp and clean for best results. Small steps lead to great improvements in your woodworking skills.