Are you facing the tricky task of lifting floorboards without causing damage? Using a pry bar the right way can make this job much easier and safer for you.
Whether you’re fixing something underneath or replacing old boards, knowing how to handle a pry bar will save you time and frustration. In this guide, you’ll discover simple, step-by-step tips that anyone can follow to lift floorboards smoothly and effectively.
Keep reading, and you’ll gain the confidence to tackle this project like a pro.
Choosing The Right Pry Bar
Using a pry bar helps lift floorboards safely and easily. Picking the right pry bar makes the job better and faster.
There are many types and sizes of pry bars. Knowing which one to use can save you time and effort.
Types Of Pry Bars
Pry bars come in different shapes and styles. Each type fits certain jobs better than others.
- Flat Pry Bars:Thin and flat, good for sliding under boards.
- Cat’s Paw:Curved end with a sharp tip, ideal for pulling nails and lifting tight boards.
- Wonder Bar:Long and sturdy, useful for heavy lifting and leverage.
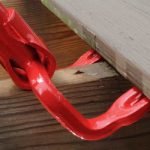
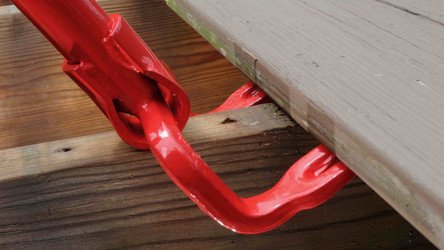
- Gooseneck Pry Bar:Has a curved end for better grip and leverage in tight spaces.
Choose a pry bar type based on the floorboard size and how tight the boards are.
Size And Material Considerations
Pick a pry bar size that fits the space under the floorboards. Too big or small can cause damage.
Look for pry bars made from strong materials like steel. A good material lasts longer and works better.
- Length:Short bars give control in small spaces.
- Length:Longer bars offer more lifting power.
- Material:Steel is strong and durable.
- Material:Some pry bars have rubber handles for better grip.
Credit: www.spicsoft.com
Preparing The Work Area
Before using a pry bar to lift floorboards, prepare the work area carefully. A clean and safe space helps prevent accidents and makes the job easier.
Focus on clearing the floor and wearing the right safety gear. These steps protect you and protect your home.
Clearing The Floor
Remove any furniture, rugs, or objects from the floor. This gives you room to work and stops damage to your belongings.
- Move chairs, tables, and other furniture to another room.
- Roll up and take away carpets or rugs.
- Clear small items like toys, tools, and cords.
- Sweep or vacuum the floor to remove dust and dirt.
Safety Gear Essentials
Wear the right safety gear before lifting floorboards. This protects your hands, eyes, and body from injuries.
| Gear | Purpose | Tips |
|---|---|---|
| Gloves | Protect hands from splinters and sharp edges | Use thick, durable gloves for better grip |
| Safety Glasses | Shield eyes from dust and flying debris | Choose glasses with side protection |
| Knee Pads | Support knees while kneeling on hard floors | Adjust straps to fit snugly |
| Dust Mask | Prevent inhaling dust and particles | Use a mask rated for fine dust |
Locating Floorboard Nails
Before lifting floorboards, you need to find the nails holding them down. Nails keep the boards in place. Finding them helps avoid damage.
There are simple ways to spot these nails. You can look closely or use tools to find them.
Visual Inspection Techniques
Look carefully at the floorboard surface for small nail heads. Nails often create tiny bumps or dark spots. Shine a light at an angle to see them better.
Check along the edges of each floorboard. Nails usually sit near the board seams. Use your fingers to feel for raised areas or rough spots.
- Look for small metal dots or round marks
- Shine a flashlight across the floor
- Feel edges for bumps or rough spots
- Check where floorboards meet each other
Using A Hammer To Detect Nails
Tap the floorboard gently with a hammer handle or wood end. Nails create a solid sound. Empty spots sound hollow or soft.
Move the hammer slowly along the board. Listen carefully for changes in sound. Mark nail locations with chalk or pencil.
- Use the hammer’s wooden handle to tap lightly
- Listen for a sharp, solid sound
- Ignore hollow or dull sounds
- Mark spots where nails are detected
Proper Pry Bar Positioning
Using a pry bar to lift floorboards needs careful positioning. Correct placement helps avoid damage and makes the job easier.
This guide covers tips on lever placement and protecting nearby surfaces while working.
Lever Placement Tips
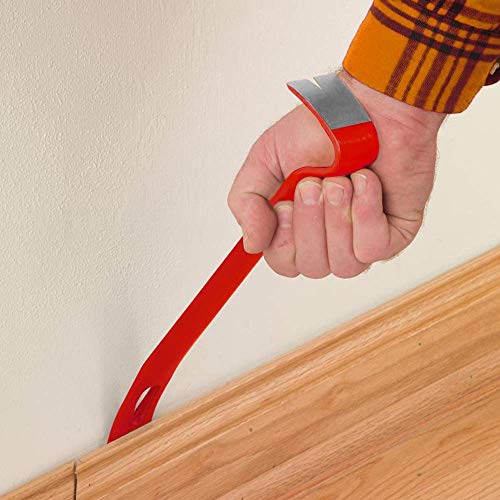
Place the pry bar close to the edge of the floorboard. This gives better leverage and reduces the risk of breaking the board.
- Slide the flat end of the pry bar under the floorboard edge.
- Position the fulcrum point on a solid, stable surface.
- Apply steady pressure to lift the board slowly.
- Adjust the bar position as the board rises to keep leverage.
Protecting Surrounding Surfaces
Prevent scratches and dents on floors or walls near the working area. Use padding or blocks to shield these surfaces from the pry bar.
| Surface | Protection Method |
| Wooden floor | Place thin wood or cardboard under the pry bar |
| Walls | Use painter’s tape or soft cloth on edges |
| Furniture | Move away or cover with a blanket |
Lifting Floorboards Safely
Lifting floorboards can be tricky without causing damage. Using the right tools and methods helps keep boards intact.
A pry bar is a useful tool for lifting floorboards carefully. It lets you apply force where needed without breaking the wood.
Applying Controlled Force
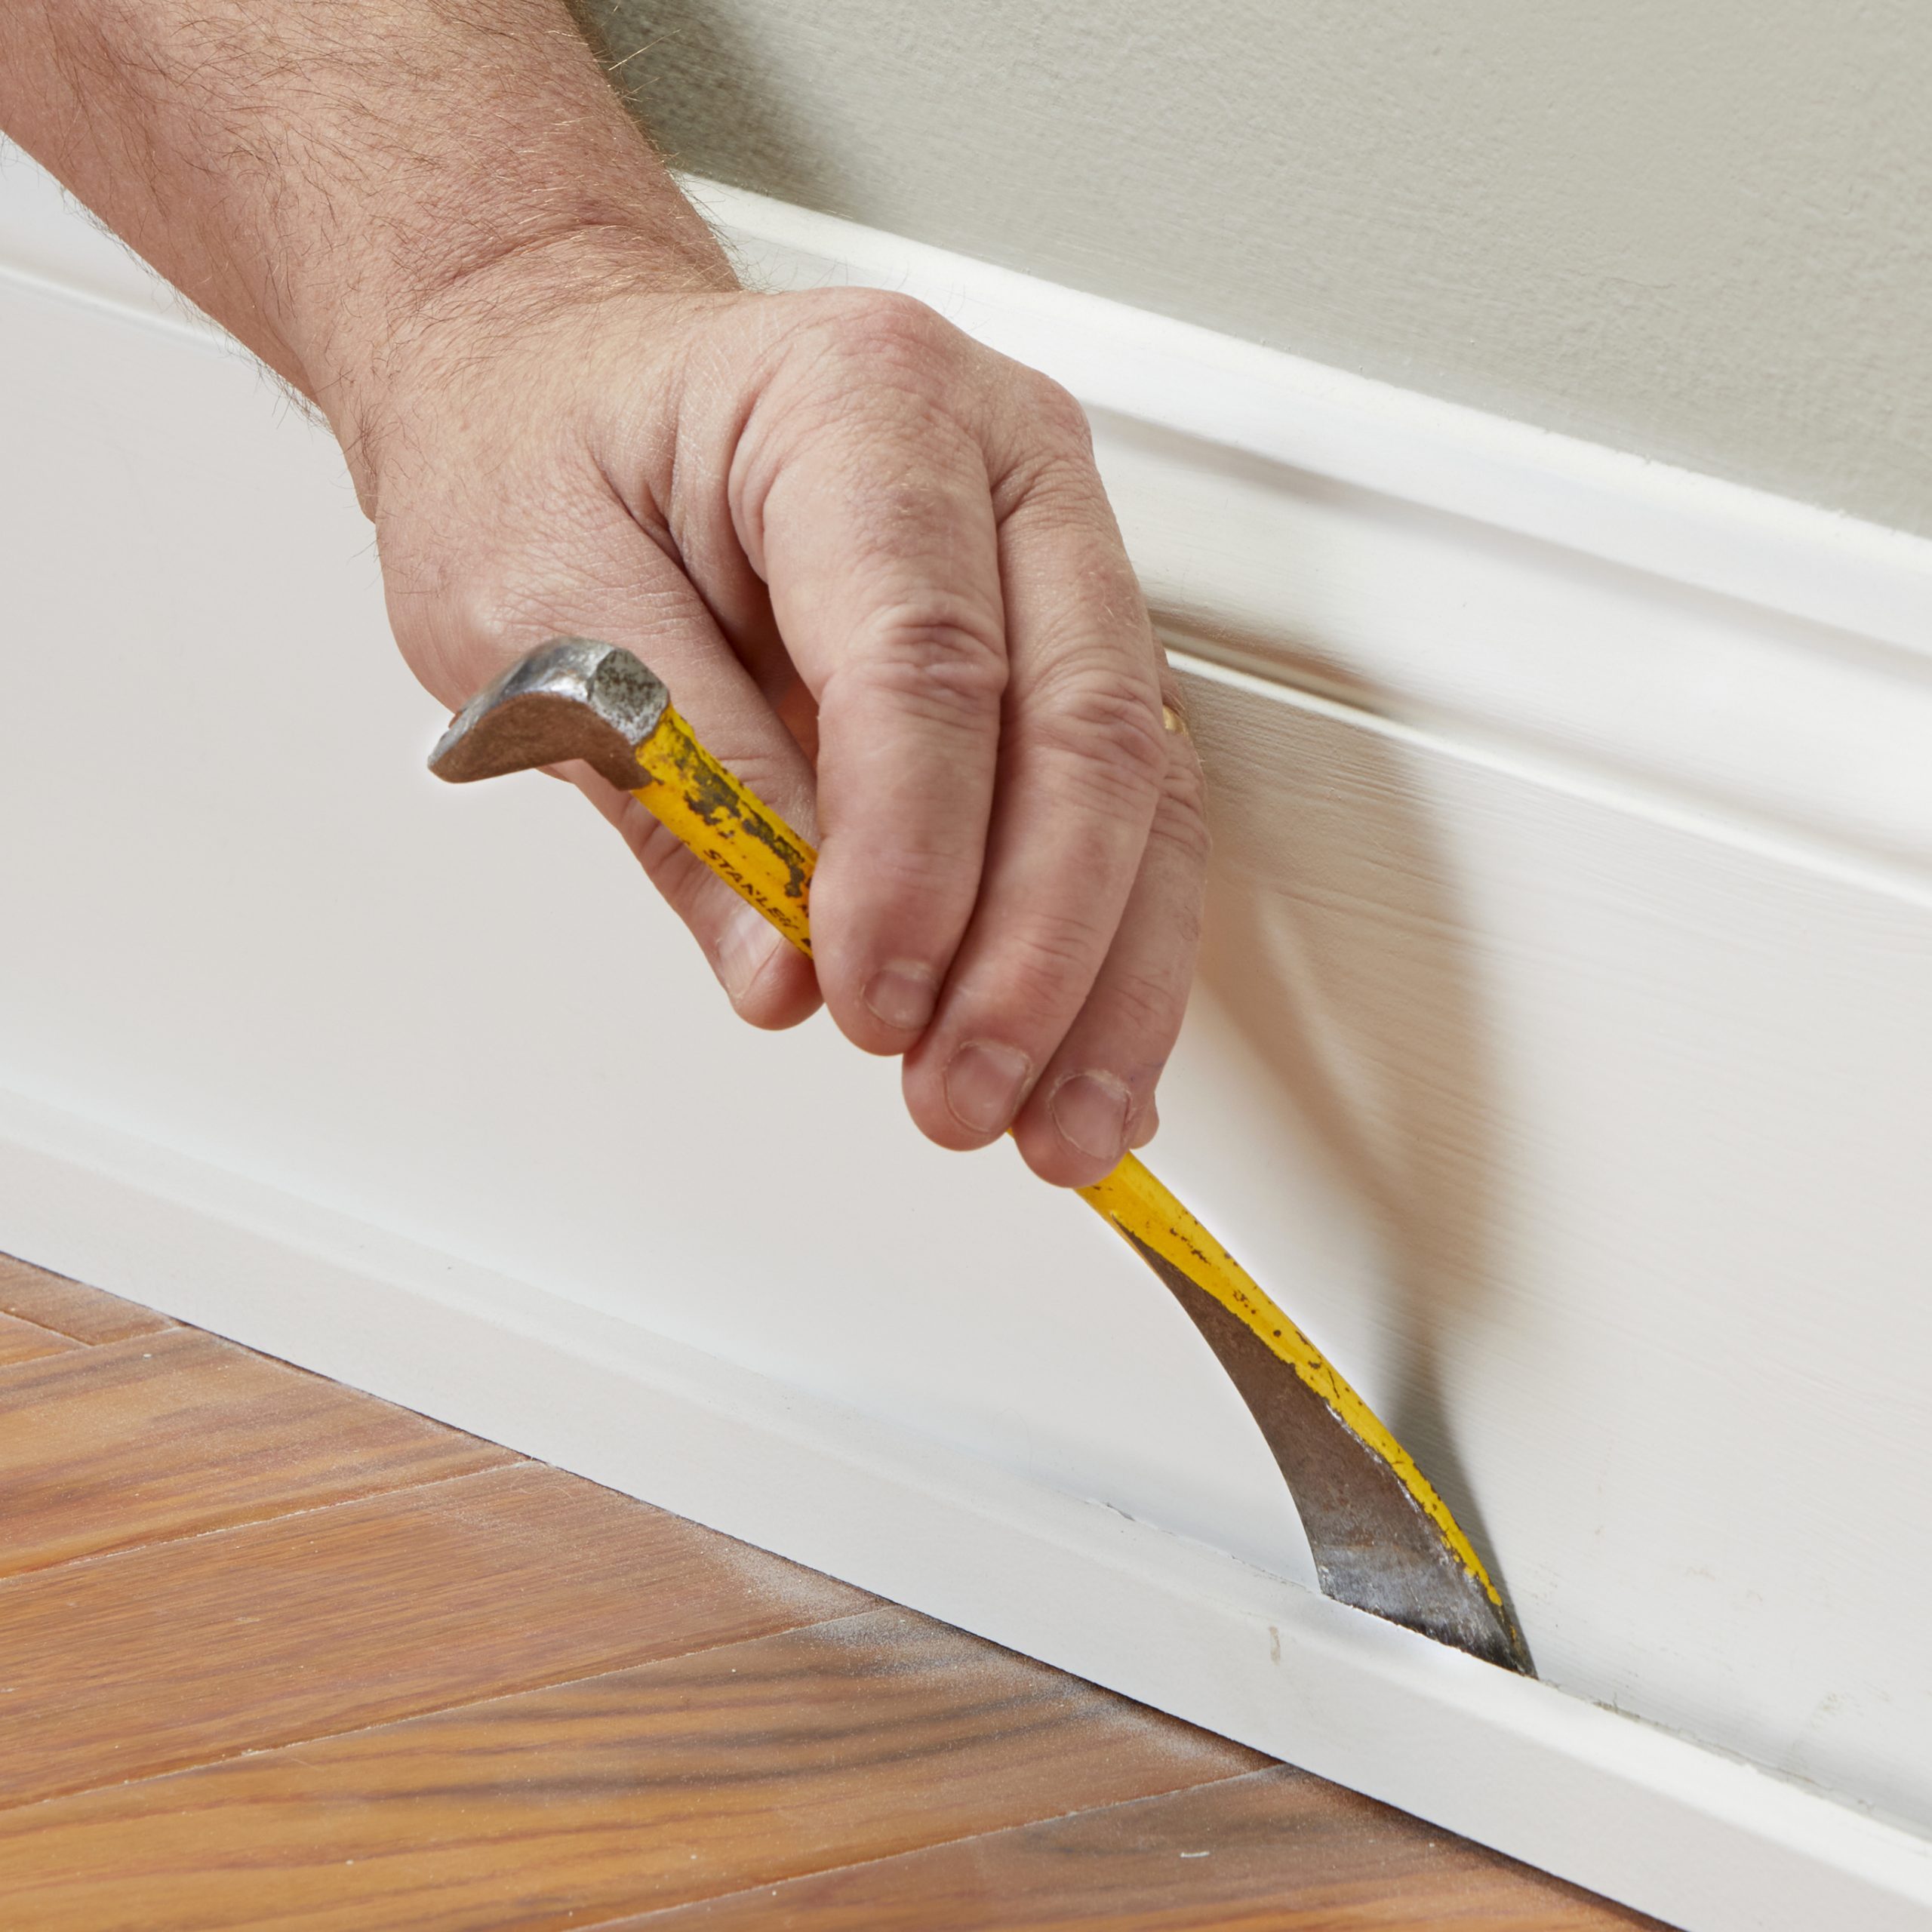
Apply slow, steady pressure with the pry bar. Avoid quick or sharp movements that can crack the boards.
- Place the pry bar’s tip under the edge of the floorboard.
- Push down gently on the handle to lift the board slightly.
- Move the pry bar along the board’s edge, lifting a little at a time.
- Use a block of wood under the pry bar to spread the force evenly.
- Lift the board fully once it is loose enough.
Avoiding Damage To Boards
Protecting the floorboards from dents and splits is important. Use padding and check for nails before lifting.
| Tip | Reason |
|---|---|
| Place a thin piece of wood under the pry bar | Prevents dents and scratches on floorboards |
| Check for nails or screws before prying | Avoids sudden resistance that can crack boards |
| Lift boards slowly and evenly | Reduces risk of splitting or warping |
| Wear gloves to protect hands | Improves grip and safety during lifting |
Handling Stubborn Nails And Boards
Using a pry bar to lift floorboards can be tough when nails hold the boards tightly. Stubborn nails and boards need careful handling to avoid damage.
Knowing the right ways to deal with stuck nails and boards makes your work easier and safer. This guide covers helpful tips and tools.
Techniques For Stuck Nails
Stuck nails can block your progress when lifting floorboards. Use slow, steady pressure with the pry bar to loosen them.
If nails bend or break, try rocking the pry bar back and forth to free them. Avoid pulling too hard to stop wood from splitting.
- Push the pry bar under the board near the nail
- Lift gently to wiggle the nail loose
- Use the curved end of the bar for better leverage
- Work nails free one at a time
Using Additional Tools
Sometimes a pry bar alone is not enough. Other tools help remove stuck nails and lift boards safely.
Claw hammers, nail pullers, and pliers work well to pull out nails. A rubber mallet can tap boards gently to loosen them.
- Claw hammer: Pulls nails with its curved claw
- Nail puller: Grips and pulls deep or bent nails
- Pliers: Good for small nails or holding nails steady
- Rubber mallet: Taps boards without damage
Post-lifting Floorboard Care
After lifting floorboards with a pry bar, it is important to care for them properly. This helps keep the boards in good shape for reuse or storage.
Taking time to check and store the boards correctly prevents damage and makes reinstalling easier later.
Inspecting For Damage
Look closely at each floorboard for cracks, splits, or warping. Check both sides and edges carefully.
Also, check for any nails or screws left in the boards. Remove them to avoid injury or damage later.
- Check for cracks and splits
- Look for warping or bending
- Remove any nails or screws
- Note any boards that need repair
Storing Or Reinstalling Boards
If you plan to reuse the boards soon, keep them flat and clean. Avoid stacking them unevenly to prevent warping.
For long-term storage, store boards in a dry place. Use spacers between boards to allow air circulation.
- Keep boards flat to avoid bending
- Store in a dry, well-ventilated area
- Use spacers for airflow between boards
- Label boards if needed for easy reinstallation

Credit: www.ebay.ca
Credit: www.familyhandyman.com
Frequently Asked Questions
How Do You Use A Pry Bar Safely?
To use a pry bar safely, always wear gloves and safety goggles. Ensure your footing is stable and apply force gradually. Position the pry bar at the edge of the floorboard and use leverage to lift gently. Avoid sudden movements to prevent damage or injury.
What Type Of Pry Bar Is Best For Floorboards?
A flat pry bar is best for lifting floorboards. Its thin, flat design allows it to slide under floorboards easily. This type of pry bar provides the leverage needed without causing excessive damage to the wood. Ensure the pry bar is sturdy and rust-free for effective use.
Can A Pry Bar Damage Floorboards?
Yes, a pry bar can damage floorboards if used improperly. Applying too much force can cause cracks or splintering. Always use a gentle, steady motion when lifting. Position the pry bar correctly to minimize the risk of damage. Practice patience and care to keep floorboards intact.
How Do You Prevent Floorboard Splintering?
Prevent floorboard splintering by using a thin pry bar and working slowly. Insert the pry bar at the floorboard’s edge and apply gentle pressure. Shift leverage points gradually to minimize strain. Avoid prying too quickly or forcefully to maintain the floorboard’s integrity.
Conclusion
Using a pry bar to lift floorboards is simple and effective. Always work slowly to avoid damage. Keep safety in mind and wear gloves for protection. Start at a corner or edge for easier lifting. Take breaks if the boards feel stuck or tight.
With practice, the task becomes easier and quicker. Remember, patience helps prevent mistakes. This tool makes your floor repair or inspection tasks easier. Try these tips next time you need to lift floorboards safely.