Looking to add a personal touch to your small craft projects? A rotary tool can be your secret weapon.
It’s easy to use, versatile, and perfect for detailed work. Whether you want to carve, sand, polish, or drill, this tool can help you bring your ideas to life quickly and neatly. In this guide, you’ll discover simple steps to master your rotary tool and create crafts that stand out.
Ready to turn your creativity up a notch? Let’s dive in and make your next project truly shine.
Credit: diyprojects.com
Choosing The Right Rotary Tool
A rotary tool is useful for many small craft projects. It can cut, carve, sand, and polish materials.
Picking the right rotary tool helps you work better and faster. You should think about the tool’s type, attachments, and safety features.
Types Of Rotary Tools
Rotary tools come in different shapes and sizes. Some are small and light, while others are heavy-duty.
Choosing the right type depends on your project and how often you use it.
- Corded rotary tools offer constant power. They are good for long projects.
- Cordless rotary tools are easy to carry. They work well for quick tasks.
- Variable speed tools let you control how fast the tool spins.
Essential Attachments For Crafts
Attachments help your rotary tool do many jobs. Different tips fit different materials and tasks.
Having the right attachments makes your craft work neat and easy.
- Cutting wheels cut wood, plastic, and metal.
- Sanding drums smooth rough surfaces.
- Grinding stones sharpen or shape hard materials.
- Polishing pads shine surfaces for a clean look.
- Drill bits make small holes in soft materials.
Safety Features To Look For
Safety features protect you while using the rotary tool. Look for tools with these features for safe crafting.
- Speed control to avoid accidents from high speeds.
- Comfortable grip to reduce hand fatigue.
- Safety guards to protect from flying debris.
- Automatic shut-off to prevent overheating.
- Lock-on switch to keep the tool running without holding the button.
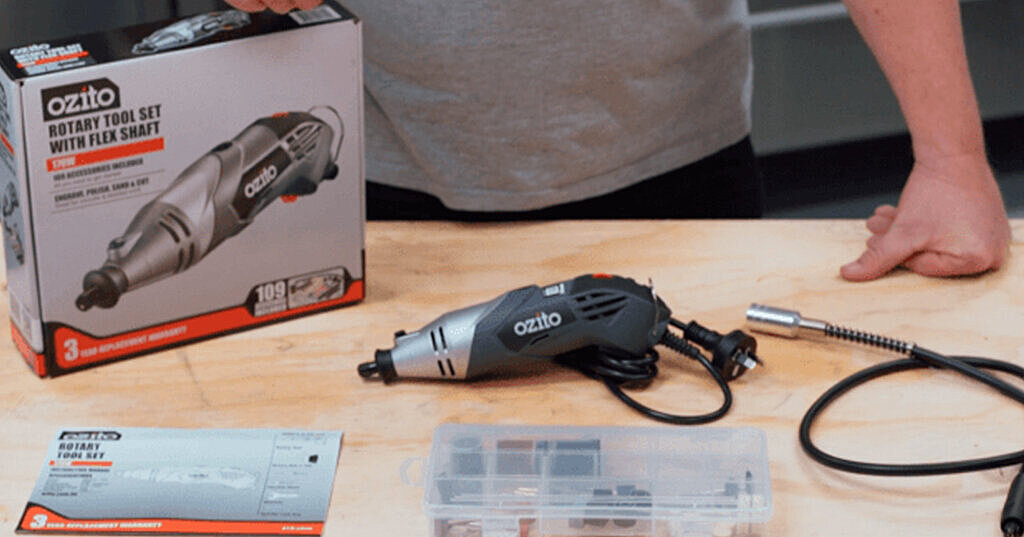
Credit: www.ozito.com.au
Setting Up Your Workspace
Using a rotary tool needs a clean and safe workspace. Setting up right helps you work faster and safer.
Organize your tools, check lighting, and take safety steps before starting your craft project.
Organizing Tools And Materials
Keep all your rotary tool bits and craft materials close. Group similar items together for easy access.
Use small containers or trays to hold screws, bits, and small pieces. This prevents losing parts and saves time.
- Sort drill bits, sanding drums, and cutting wheels separately
- Place materials near your workspace but out of the way
- Keep a clean cloth or paper towel handy for quick cleaning
Ensuring Proper Lighting
Good lighting helps you see details clearly and avoid mistakes. Use bright, direct light on your work area.
A desk lamp with adjustable brightness and angle works well. Natural light is great but may change during the day.
- Place the lamp so it shines on your project without shadows
- Use daylight bulbs for clear, white light
- Keep extra bulbs nearby to replace if one burns out
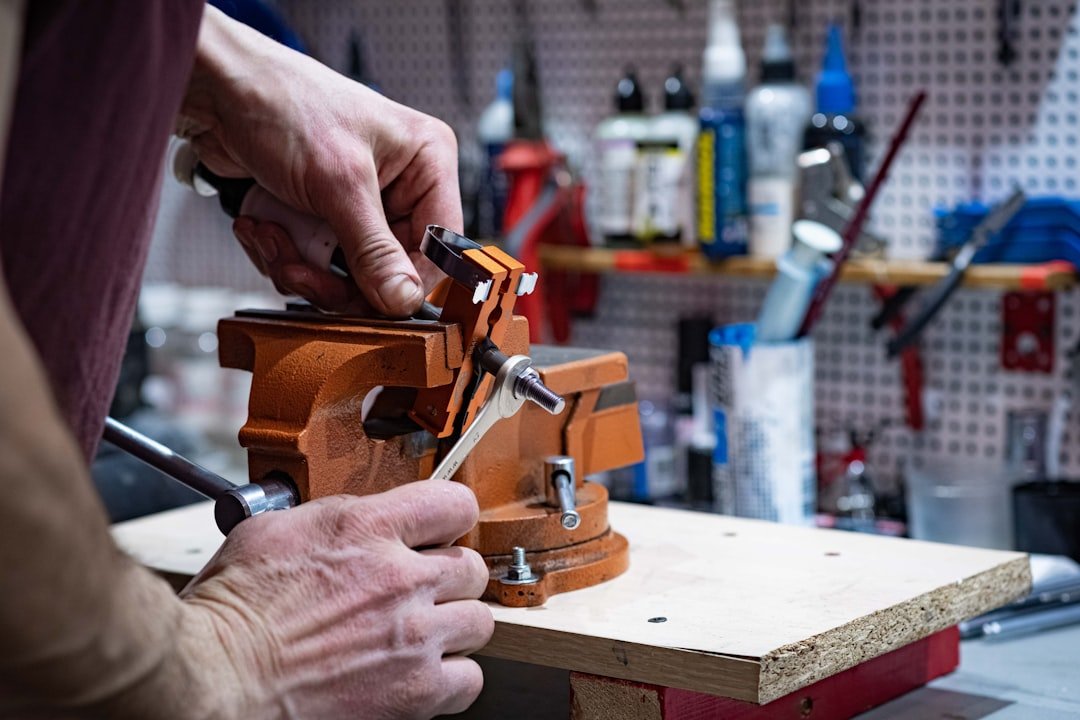
Safety Precautions
Safety is important when using a rotary tool. Always protect your eyes, hands, and lungs from harm.
Wear safety glasses and gloves. Use a dust mask if your project makes dust or fumes.
- Clear the workspace of clutter to avoid accidents
- Secure your project with clamps or a vise
- Keep cords away from your work area to prevent tripping
- Turn off and unplug the tool before changing bits
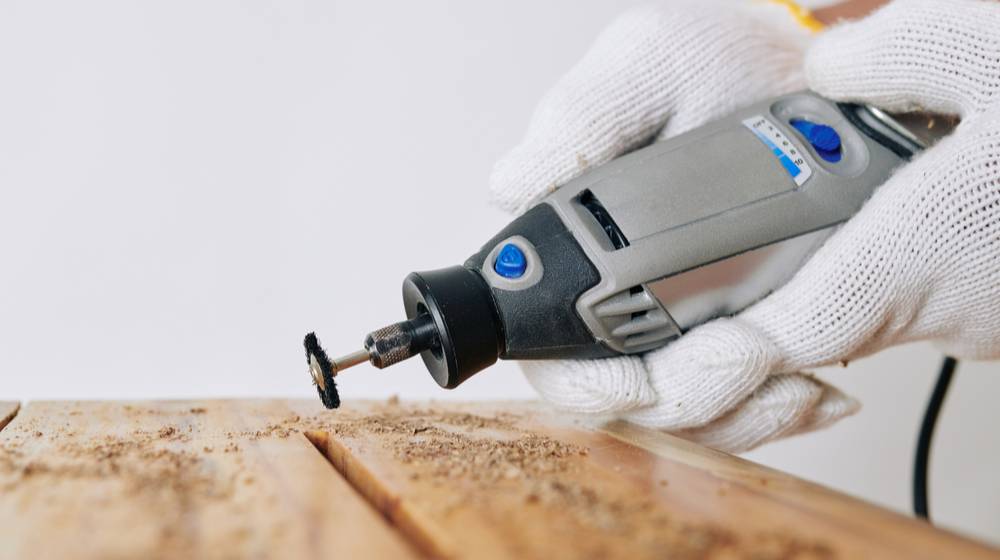
Basic Rotary Tool Techniques
Rotary tools help you work on small craft projects with ease. They are great for detailed and precise tasks. Learning basic techniques makes your work cleaner and faster.
This guide covers cutting, sanding, and engraving. Each technique uses different attachments and speeds. Safety and control are important when using a rotary tool.
Cutting And Trimming
Use cutting wheels or discs to cut thin materials. Keep the tool steady and move slowly for better control. Always wear safety glasses to protect your eyes.
- Choose the right cutting disc for your material
- Start the tool before touching the material
- Cut along marked lines carefully
- Do not apply too much pressure
- Let the tool do the work
Sanding And Smoothing
Sanding drums and discs smooth rough edges and surfaces. Use light pressure and keep the tool moving to avoid gouges. Sand in small sections for even results.
| Material | Recommended Speed | Attachment Type |
| Wood | 5,000 – 10,000 RPM | Sanding drum |
| Plastic | 5,000 – 8,000 RPM | Sanding disc |
| Metal | 10,000 – 15,000 RPM | Sanding disc or flap wheel |
Engraving And Carving
Small burrs and engraving bits help create designs on wood, glass, and metal. Hold the tool like a pen and move slowly. Practice on scrap material before working on your project.
- Choose the correct bit for your material
- Use low speed for glass and soft metals
- Keep a steady hand and slow movements
- Wear a dust mask to avoid inhaling particles
- Clean the surface after engraving
Project Ideas For Beginners
Rotary tools are great for small craft projects. They can cut, carve, and polish many materials.
This guide shows easy project ideas for beginners. Each idea uses a rotary tool to create something special.
Customized Jewelry
Use a rotary tool to carve or engrave designs on metal or wood pieces. You can make rings, pendants, or bracelets.
- Engrave initials on metal pendants
- Carve patterns on wooden bangles
- Polish stones for a shiny finish
- Drill holes for beads or chains
Decorative Wood Crafts
Rotary tools help shape and decorate wood pieces. You can create small signs, coasters, or ornaments.
| Project | Material | Tool Use |
| Wooden coaster | Soft wood | Engraving patterns |
| Mini sign | Pine board | Carving letters |
| Holiday ornament | Wood slice | Detail sanding and drilling |
Personalized Gifts
Make gifts stand out by adding personal touches with a rotary tool. Use it on glass, wood, or leather.
Try these ideas for gifts:
- Etch names on glass jars
- Carve messages on wooden photo frames
- Engrave initials on leather keychains
Maintaining Your Rotary Tool
Keeping your rotary tool in good shape helps it work better and last longer. Regular care prevents problems during small craft projects.
Learn easy ways to clean, store, replace parts, and fix common issues. These tips save time and keep your tool safe.
Cleaning And Storage Tips
Clean your rotary tool after each use. Remove dust and debris to stop damage. Store it in a dry place away from heat.
- Use a soft brush to clear dust from vents and attachments
- Wipe the tool with a dry cloth; avoid water or cleaning liquids
- Keep the tool in its case or a protective box
- Store attachments separately to prevent loss or damage
- Check for worn parts before storing
Replacing Attachments
Attachments wear out or break over time. Replacing them keeps your tool working safely and well. Always unplug the tool before changing parts.
- Turn off and unplug the rotary tool.
- Use the wrench or tool key to loosen the collet nut.
- Remove the old attachment carefully.
- Insert the new attachment fully into the collet.
- Tighten the collet nut securely but avoid over-tightening.
- Test the attachment at low speed before starting work.
Troubleshooting Common Issues
Sometimes rotary tools stop working or act oddly. Use this table to check problems and fixes before calling for help.
| Problem | Possible Cause | Solution |
| Tool won’t start | Power cord unplugged or broken | Check cord and plug securely |
| Tool runs slowly | Dirty motor vents or worn brushes | Clean vents; replace brushes if needed |
| Strange noises | Loose parts or damaged bearings | Tighten parts; replace bearings |
| Overheating | Blocked vents or long use without breaks | Clean vents; rest tool regularly |
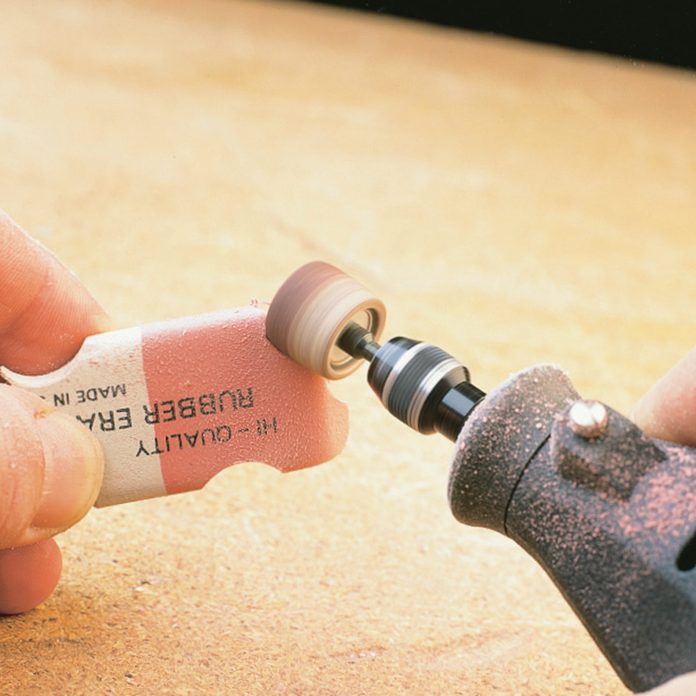
Credit: www.familyhandyman.com
Frequently Asked Questions
What Is A Rotary Tool Used For In Crafts?
A rotary tool is versatile for cutting, sanding, and engraving. It’s ideal for small craft projects. You can use it on wood, metal, and plastic. Its precision makes it perfect for detailed work. This tool can significantly enhance your crafting efficiency and outcomes.
How Do You Safely Use A Rotary Tool?
Always wear protective eyewear and gloves when using a rotary tool. Secure your material firmly to prevent slipping. Start with a low speed to maintain control. Follow the manufacturer’s safety instructions. Keep the tool away from children and ensure proper ventilation in your workspace.
Can Beginners Use A Rotary Tool Easily?
Yes, beginners can easily use a rotary tool with practice. Start with simple projects to gain confidence. Read the manual thoroughly to understand its functions. Watch tutorial videos for guidance. Gradually increase your skills and take safety precautions. With time, you’ll master the tool’s versatility.
What Materials Can A Rotary Tool Cut?
A rotary tool can cut wood, plastic, metal, and glass. It’s ideal for detailed and precise cuts. Ensure you use the correct attachment for the material. This ensures efficient and safe operation. Always follow the manufacturer’s guidelines for the best results.
Conclusion
Using a rotary tool can make small craft projects easier and more fun. Start slow and choose the right bit for each task. Always wear safety gear to protect your eyes and hands. Practice on scrap pieces before working on your main project.
Keep your workspace clean and organized to avoid mistakes. With patience and care, your crafts will look neat and professional. Enjoy the process and watch your skills improve over time. Small steps lead to great results. Keep creating and experimenting with your rotary tool.
