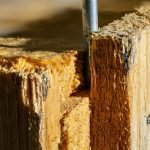
Are you ready to take your woodworking skills to the next level? Learning how to use a wood router can open up a world of creative possibilities for your projects.
Whether you want smooth edges, decorative patterns, or precise cuts, mastering this tool will make your work look professional and polished. In this guide, you’ll discover simple steps and insider tips that make using a wood router easy and safe.
Stick with me, and by the end, you’ll feel confident to create stunning wood designs that impress every time. Let’s get started!
Choosing The Right Router
Using a wood router is easier when you pick the right tool. Different routers fit different jobs. This guide helps you choose the right one for your woodworking.
Think about your project and skill level. The right router makes cutting and shaping wood smooth and safe.
Types Of Wood Routers
There are three main types of wood routers. Each type works best for certain tasks and users.
- Fixed-Base Router:Good for straight cuts and trimming edges. The base does not move.
- Plunge Router:Allows the bit to move up and down. Useful for making holes inside wood.
- Combo Router:Offers both fixed and plunge bases. It is versatile but can be more expensive.
Selecting Router Bits
Router bits shape the wood in different ways. Picking the right bit depends on the cut you want.
- Straight Bits:Cut straight grooves or dados.
- Round-Over Bits:Round the edges of wood pieces.
- Chamfer Bits:Cut a beveled edge.
- Flush-Trim Bits:Trim edges to match another surface.
- V-Groove Bits:Create decorative V-shaped cuts.
Power And Speed Considerations
Wood routers come with different power levels. More power helps cut harder woods easily. Speed affects how clean the cut is.
Look for a router with adjustable speed. Lower speed works well for large bits. Higher speed fits small bits and detailed cuts.

Credit: www.youtube.com
Setting Up Your Router
Using a wood router starts with proper setup. Setting up your router right helps you get clean cuts and stay safe.
This guide covers installing the bit, adjusting depth and speed, and important safety gear and precautions.
Installing The Bit
First, unplug the router to avoid accidents. Choose the right bit for your project.
Loosen the collet nut with a wrench. Insert the bit fully, then pull it out slightly to avoid tight spots.
- Tighten the collet nut firmly with the wrench.
- Check the bit is secure by giving it a gentle pull.
- Never use a damaged or dull bit.
Adjusting Depth And Speed
Adjust the depth to control how deep the bit cuts into the wood. Use the depth adjustment ring or knob.
Set the speed based on the bit size and material. Slower speeds work better for large bits and hard wood.
- Use shallow cuts for better control.
- Increase speed for small bits and soft wood.
- Lower speed for bigger bits and hard wood.
Safety Gear And Precautions
Wear safety glasses to protect your eyes from flying wood chips. Use ear protection to reduce noise.
Keep your hands away from the bit. Make sure your workpiece is clamped tightly before starting.
- Always unplug the router before changing bits.
- Wear a dust mask if working with dusty materials.
- Work in a clean, well-lit area.
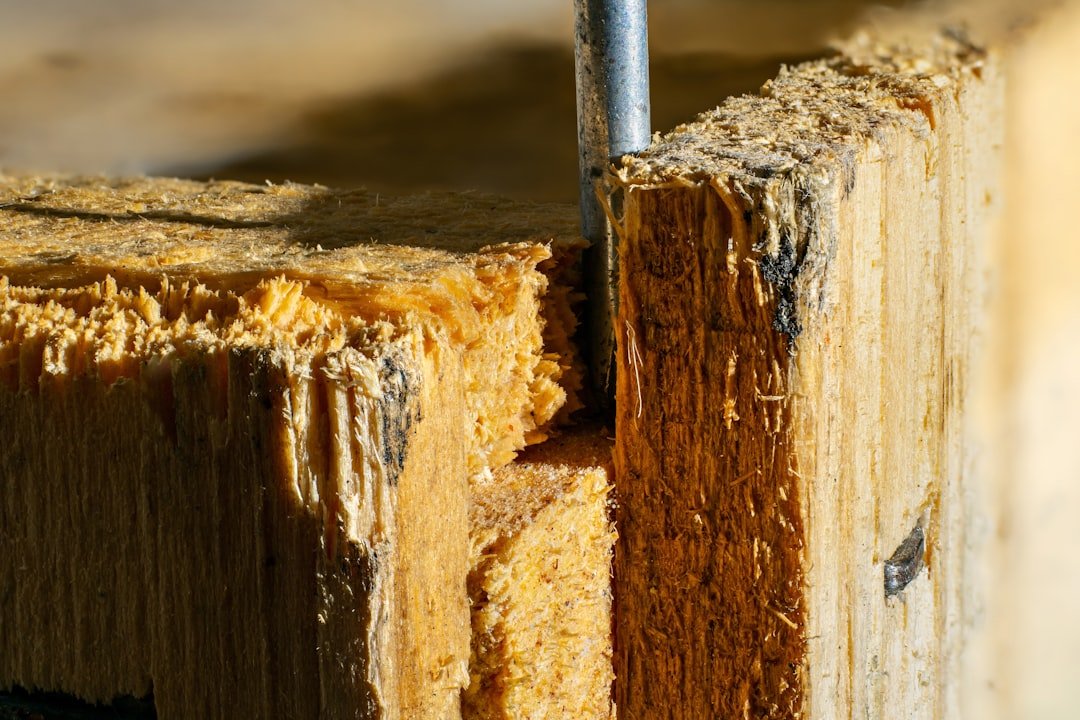
Basic Routing Techniques
Using a wood router can help you shape and smooth wood edges. It is a useful tool for many woodworking projects.
Learning basic routing techniques makes your work safer and more precise. Start with simple moves and control your tool well.
Guiding The Router
Hold the router firmly with both hands. This helps you keep it steady as you move along the wood.
Use a straight edge or guide fence to follow a line. This keeps your cuts clean and straight.
- Keep the router base flat on the wood surface
- Move the router against the bit’s rotation
- Walk the router slowly and smoothly
- Use clamps to hold guides securely
Controlling Speed And Pressure
Set the router speed based on the wood type and bit size. Higher speeds work well for soft wood and small bits.
Apply steady pressure without forcing the router. Let the bit do the cutting to avoid damage and burn marks.
- Start with a slower speed if unsure
- Increase speed for harder woods or bigger bits
- Push the router evenly along the cut
- Avoid pushing too fast or slow
Common Routing Patterns
Try basic patterns like edge trimming, rabbeting, and grooving to add style and function to your projects.
Practice these patterns on scrap wood before working on your final piece. This builds confidence and skill.
- Edge Trimming: smooth or shape wood edges
- Rabbeting: cut a step-shaped recess along edges
- Grooving: cut a slot along the wood surface
- Chamfering: make angled cuts on edges

Credit: m.youtube.com
Advanced Routing Tips
Using a wood router can improve your woodworking projects. Advanced tips help you get clean and precise results.
Learn how to use templates, create decorative edges, and route joinery like a pro.
Using Templates And Jigs
Templates and jigs guide your router to cut accurate shapes and patterns. They keep your work consistent and safe.
- Choose a template made from durable material like MDF or acrylic.
- Secure the template firmly to the workpiece to avoid movement.
- Use a guide bushing or bearing to follow the template edge.
- Practice on scrap wood before routing the final piece.
- Keep the router speed steady to avoid burning the wood.
Creating Decorative Edges
Decorative edges add style to furniture and trim work. Choose the right bit for the look you want.
| Bit Type | Edge Style | Use |
| Round-over | Soft, curved | Table edges, shelves |
| Beading | Small rounded bead | Frames, panels |
| Ogee | Classic S-shape | Cabinet doors, furniture |
| Chamfer | Angled bevel | Modern trims, accents |
Routing Joinery
Routing joinery creates strong, clean joints for your wood projects. Use the router to cut slots, dados, and rabbets.
Follow these tips for better joinery:
- Mark your cut lines clearly on the wood.
- Use a straight bit for clean, square cuts.
- Adjust the router depth carefully before cutting.
- Make multiple shallow passes instead of one deep cut.
- Test the joint fit on scrap wood before final cuts.
Maintaining Your Router
Keeping your wood router in good shape helps it work well for a long time. Regular care stops damage and ensures smooth cuts every time.
Follow simple steps to clean, sharpen, and fix common problems. These tips save you time and money.
Cleaning And Lubrication
Remove dust and wood chips from your router after each use. Use a brush or compressed air to clean tight spots.
- Unplug the router before cleaning
- Wipe the body with a dry cloth
- Use light machine oil on moving parts
- Do not over-lubricate to avoid attracting dirt
- Check vents to keep airflow clear
Bit Sharpening And Replacement
Dull bits cause poor cuts and strain the motor. Sharpen bits regularly or replace them if needed to keep performance high.
| Bit Condition | Action |
| Lightly dull | Use sharpening stone |
| Heavily worn | Replace with new bit |
| Chipped or broken | Discard immediately |
Troubleshooting Common Issues
If your router vibrates or cuts unevenly, check the bit tightness and cleanliness. Loose or dirty bits cause problems.
- Turn off and unplug the router.
- Inspect the bit for damage or dullness.
- Clean the collet and bit shank.
- Tighten the bit securely using the wrench.
- Test the router on scrap wood before use.

Credit: www.gz-supplies.com
Frequently Asked Questions
What Is A Wood Router Used For?
A wood router shapes edges, grooves, and joints in wood. It creates decorative patterns and smooth finishes. This tool enhances woodworking precision and creativity.
How Do You Choose The Right Router Bit?
Select bits based on your project’s needs. Consider bit shape, size, and material. Quality bits ensure clean cuts and longer tool life.
What Safety Precautions Should I Follow Using A Wood Router?
Always wear eye and ear protection. Secure your workpiece firmly. Keep hands clear of the bit and work at a steady pace.
How Do I Maintain My Wood Router For Longevity?
Clean the router regularly and check for wear. Lubricate moving parts and replace dull bits promptly. Proper storage prevents damage and ensures performance.
Conclusion
Using a wood router can enhance your woodworking projects. It allows for precise cuts and creative designs. Always prioritize safety by wearing protective gear. Practice makes perfect, so start with small projects. Gradually work your way up to more complex tasks.
Understanding your router’s functions is key. Explore various router bits for different finishes. Keep your workspace organized and well-lit. This ensures a smooth workflow. Remember to maintain your router regularly. This prolongs its life and performance. With patience and practice, your skills will grow.
Happy woodworking!