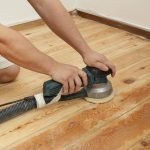
Are you looking to achieve a flawless finish on your floors? An orbital sander might just be your new best friend.
With its ability to deliver a smooth and even surface, this tool can transform your sanding tasks from daunting to delightful. Whether you’re a seasoned DIY enthusiast or a curious beginner, learning how to use an orbital sander can save you time and effort while delivering professional results.
Imagine walking across your living room and feeling the perfectly smooth surface underfoot, knowing you did it yourself. Intrigued? Let’s dive into the simple steps that will help you master the art of floor finishing with an orbital sander, ensuring your floors look stunning and feel luxurious.
Choosing The Right Orbital Sander
Using an orbital sander helps finish floors smoothly and evenly. Picking the right one makes the job easier and better.
Consider the type, grit, and safety features before buying an orbital sander for floor work.
Types Of Orbital Sanders
There are several kinds of orbital sanders. Each fits different floor finishing needs.
- Random Orbital Sanders:Move in small circles and orbits. They leave fewer marks.
- Finishing Sanders:Small and light. Best for smooth finishing on small areas.
- Detail Sanders:Fit tight corners and edges. Good for edges of floors.
Selecting The Appropriate Grit
Grit size affects how much wood is removed and how smooth the floor becomes.
| Grit Size | Use |
| 40-60 | Remove old finish or rough wood |
| 80-100 | Smooth the floor after rough sanding |
| 120-150 | Prepare floor for finishing coats |
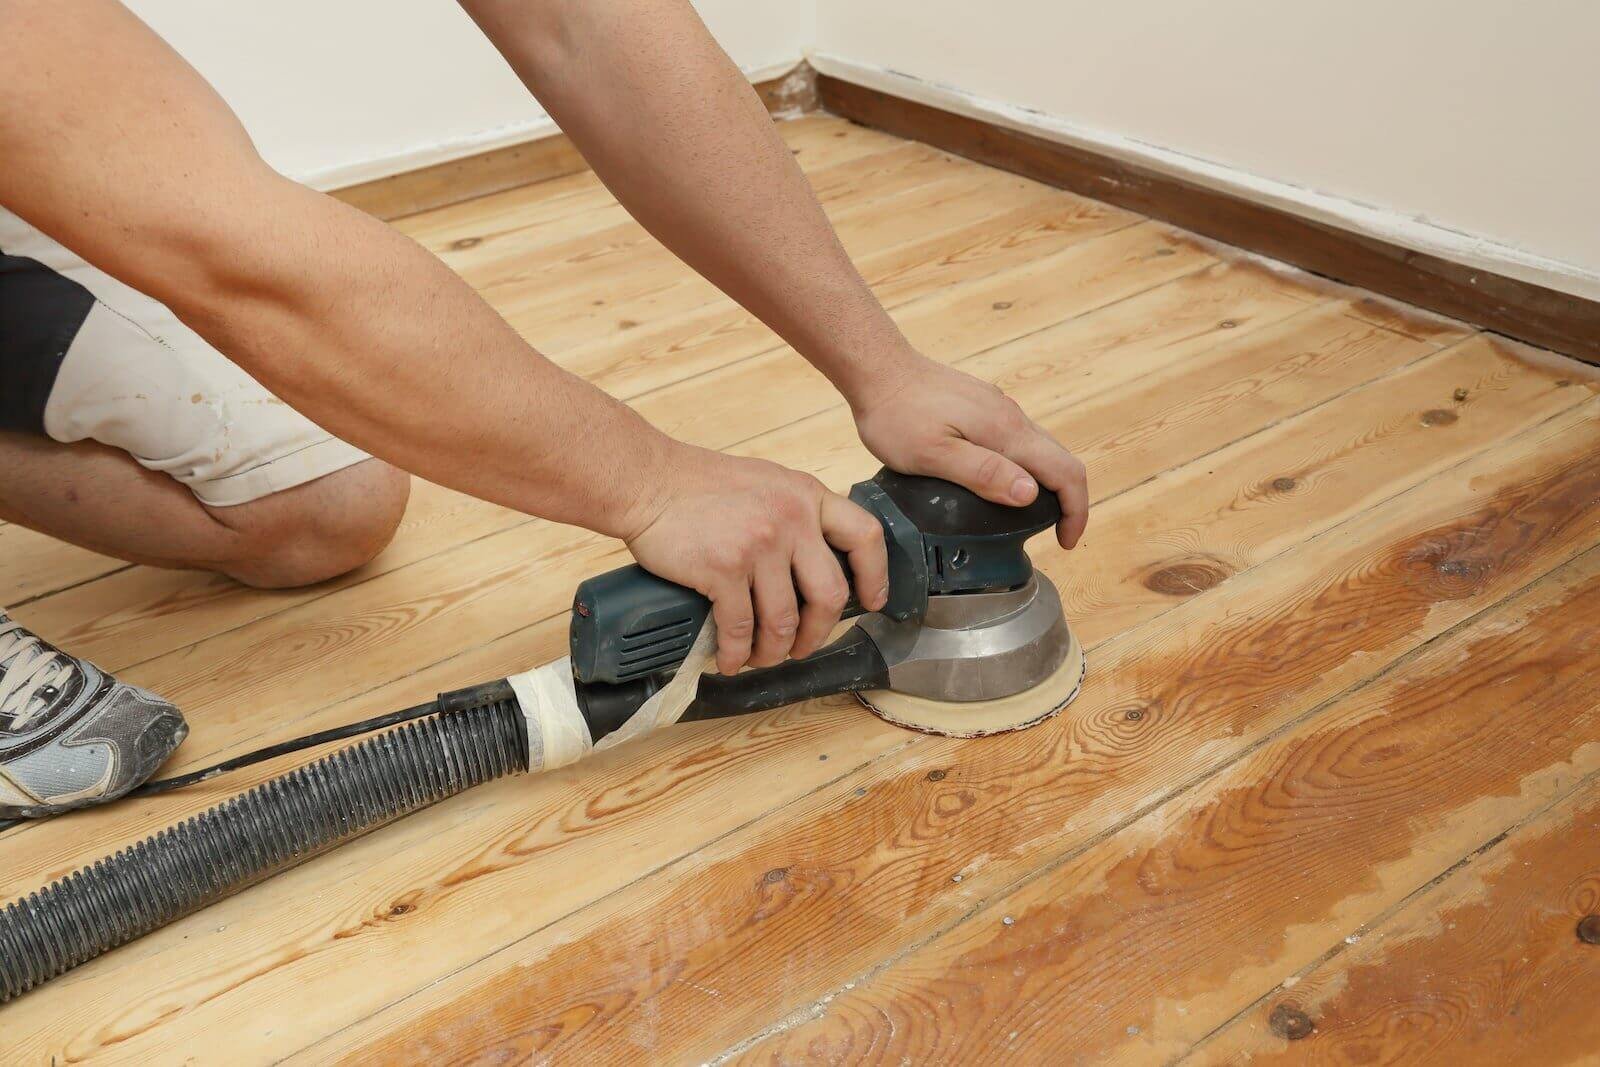
Safety Features To Consider
Safety features protect you and improve control while sanding floors.
- Dust Collection:A good system keeps dust away from your face and lungs.
- Ergonomic Handles:Comfortable grip reduces hand fatigue.
- Variable Speed Control:Lets you adjust speed for different floor types.
- Safety Switch:Prevents accidental starts for safer use.
Credit: www.ecohome.net
Preparing The Floor
Before using an orbital sander on floors, proper preparation is key. A clean and smooth surface helps achieve the best finish.
Take time to prepare the floor well. This will make sanding easier and safer.
Cleaning And Clearing The Area
Remove all furniture and objects from the floor. This clears space for sanding without obstacles.
Sweep and vacuum the floor to remove dust, dirt, and debris. A clean surface prevents scratches during sanding.
- Clear all items from the room
- Sweep loose dirt and dust
- Vacuum corners and edges
- Check for sticky spots or residue
Checking For Nails And Imperfections
Look for nails sticking out of the floor. These can damage the sander or cause injury.
Hammer down any loose nails or remove them. Fill holes or deep cracks with wood filler for a smooth surface.
- Scan the floor for raised nails
- Hammer nails flush or pull them out
- Fill holes and cracks with wood filler
- Let filler dry before sanding
Setting Up Proper Ventilation
Sanding creates dust that can harm breathing. Open windows and doors to let fresh air in.
Use fans to improve air flow. Wear a dust mask to protect your lungs while sanding.
- Open windows and doors
- Place fans to push dust outside
- Wear a dust mask or respirator
- Turn off air conditioners to avoid spreading dust
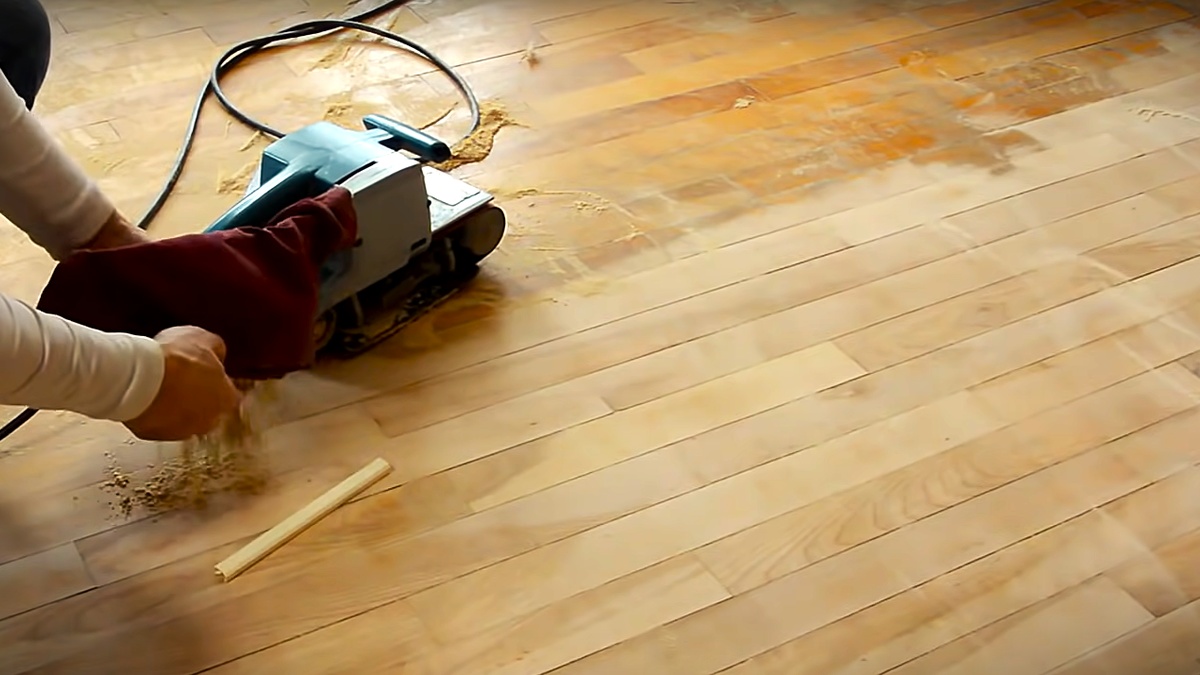
Sanding Techniques
Using an orbital sander properly helps finish floors smoothly. Good sanding makes floors look even and clean.
This guide explains key sanding techniques. Follow these to avoid damage and get a great finish.
Starting With Coarse Grit
Begin sanding with coarse grit sandpaper. This removes old finish and smooths rough spots. It prepares the floor for finer sanding.
Change to finer grits after the coarse sanding. This step removes scratches left by coarse grit and polishes the floor surface.
Using Consistent, Overlapping Strokes
Keep your sanding strokes steady and even. Move the sander in overlapping paths to cover all areas.
- Hold the sander flat against the floor
- Use slow, steady motions
- Overlap each pass by about half the width of the sander
- Keep the sander moving to avoid uneven spots
Avoiding Gouges And Swirls
Too much pressure can cause gouges. Moving the sander too fast can create swirl marks. Both damage the floor’s surface.
| Common Mistakes | How to Avoid |
| Pressing down hard | Let the sander’s weight do the work |
| Stopping in one spot | Keep the sander moving continuously |
| Using worn sandpaper | Replace sandpaper when it clogs or tears |
| Skipping grit steps | Sand progressively from coarse to fine grits |
Progressing Through Grits
Using an orbital sander on floors requires changing sandpaper grit in stages. This helps smooth the surface evenly.
Start with coarse grit and move to finer grits to get a clean, polished finish.
Transitioning To Medium Grit
After sanding with coarse grit, switch to medium grit paper. Medium grit removes the scratches left by the coarse paper.
Use medium grit to smooth the floor and prepare it for the final sanding stage.
- Coarse grit is usually 40-60 grit
- Medium grit ranges from 80-120 grit
- Move to medium grit after the floor looks even
Finishing With Fine Grit
Fine grit sandpaper gives the floor a smooth and polished look. It removes small scratches left from medium grit sanding.
Use fine grit before applying any finish to the floor for the best results.
- Fine grit ranges from 150 to 220 grit
- Sand lightly with fine grit to avoid damage
- Check the floor’s smoothness after sanding
When To Change Sandpaper
Change sandpaper when it wears out or clogs with dust. Worn sandpaper loses its sanding power.
Check the paper often to keep the sanding effective and smooth.
- Change if sanding feels slow or uneven
- Replace when paper looks torn or clogged
- Keep extra sandpaper ready for quick changes
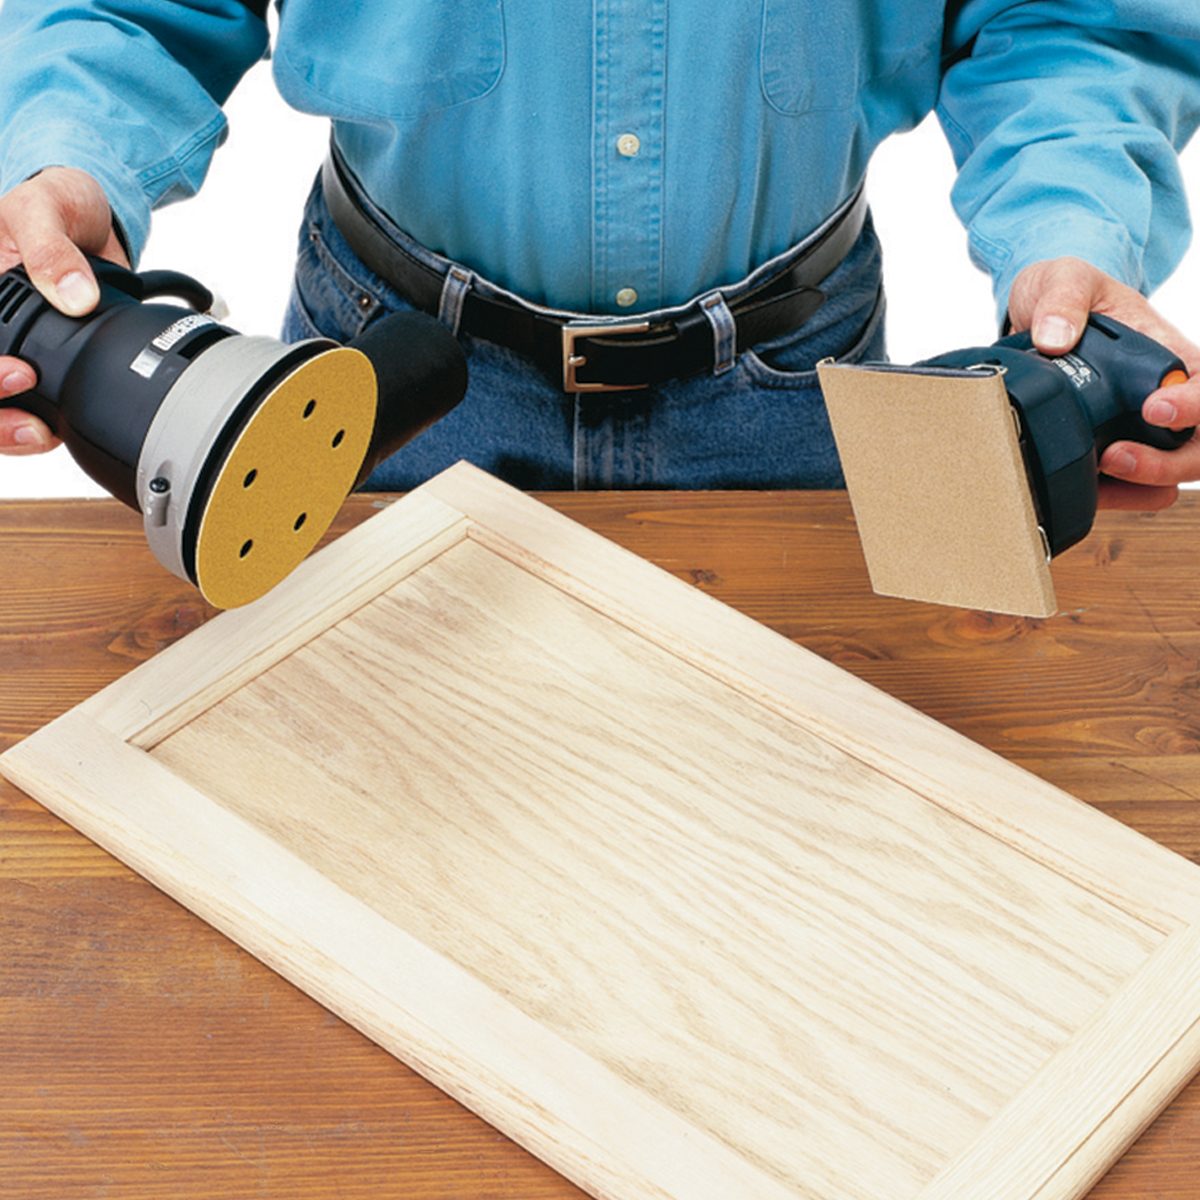
Handling Edges And Corners
Finishing floors with an orbital sander requires care around edges and corners. These areas need special attention to avoid damage.
Using the right tools and techniques helps to get a smooth, even finish near walls and trim.
Using Edge Sanders
Edge sanders are smaller tools designed to reach tight spaces. They fit well against walls and in corners.
These sanders use narrow pads to work close to baseboards without damaging them.
Manual Sanding Tips
Some edges and corners need sanding by hand. Manual sanding helps to control pressure and avoid over-sanding.
- Use fine-grit sandpaper folded to fit corners.
- Sand gently along the grain of the wood.
- Work in small sections to maintain control.
- Check your progress often to avoid sanding too deep.
- Wear a mask to avoid inhaling dust.
Protecting Baseboards And Trim
| Protection Method | Description |
|---|---|
| Painter’s Tape | Apply tape along baseboards to shield from scratches and dust. |
| Plastic Sheeting | Cover trim with plastic to protect from sanding debris. |
| Cardboard Guards | Use cardboard strips to block edges during sanding. |
| Remove Trim | Take off trim pieces if possible for full access and protection. |

Credit: romerohardwoodfloor.com
Post-sanding Cleanup
Cleaning after using an orbital sander is important for a smooth floor finish. Proper cleanup removes dust that can ruin the next steps.
Take your time with cleanup to ensure the floor is ready for staining or sealing. Dust left behind can cause problems later.
Removing Dust Effectively
Start by vacuuming the floor with a brush attachment to pick up loose dust. Then, use a damp cloth to wipe the surface clean.
- Vacuum all corners and edges carefully
- Wipe floor with a microfiber cloth slightly dampened
- Change cloth frequently to avoid spreading dust
- Allow the floor to dry completely before the next step
Inspecting For Missed Spots
After cleaning, check the floor under strong light for any areas with dust or sanding marks. Use your hand to feel for rough spots.
If you find missed spots, lightly sand those areas again with fine grit sandpaper. Then repeat the cleaning process to remove dust.
Preparing For Staining Or Sealing
Before applying stain or sealer, make sure the floor is free from dust and completely dry. Use this checklist:
- Floor is clean and dust-free
- No rough or uneven patches remain
- Surface is dry to touch
- Work area is well ventilated
- All tools and materials ready
Maintenance And Care For Your Sander
Taking care of your orbital sander helps it last longer and work better. Good maintenance keeps the tool safe and efficient.
Regular care prevents damage and saves money on repairs. Follow simple steps to keep your sander in top shape.
Cleaning The Tool After Use
Clean your orbital sander after every use to remove dust and debris. Dust can clog the motor and reduce performance.
Use a soft brush or compressed air to clean hard-to-reach parts. Wipe the outside with a dry cloth to keep it clean.
- Unplug the sander before cleaning
- Remove sanding pads before cleaning
- Use compressed air to blow out dust
- Wipe surfaces with a soft, dry cloth
- Check vents and motor area for buildup
Replacing Pads And Parts
Change sanding pads when they wear out to keep sanding smooth. Worn pads reduce quality and can damage floors.
Inspect other parts like the power cord and switches. Replace damaged parts to avoid accidents and maintain tool function.
- Check pads for tears or heavy wear
- Use correct replacement pads for your model
- Inspect power cords for cuts or frays
- Replace loose or broken switches
- Follow manufacturer instructions for part changes
Storage Tips For Longevity
Store your orbital sander in a dry, cool place. Avoid damp areas that can cause rust or electrical problems.
Keep the sander in its case or cover it to protect from dust. Proper storage helps keep the tool ready for the next job.
- Unplug and clean before storage
- Store in a dry, ventilated area
- Use original case or cover
- Keep away from direct sunlight and heat
- Do not stack heavy items on top
Credit: www.familyhandyman.com
Frequently Asked Questions
How Do I Prepare The Floor Before Using An Orbital Sander?
Clean the floor thoroughly by removing all dust and debris. Repair any cracks or holes. Sand any glossy surfaces lightly for better sanding results.
What Grit Sandpaper Should I Use For Finishing Floors?
Start with medium grit (80-100) to remove old finish. Progress to finer grits (120-150) for a smooth finish. Always finish with the finest grit recommended for your floor type.
How Do I Control Dust While Sanding Floors?
Use a sander with a dust collection system or connect it to a shop vacuum. Wear a dust mask and ventilate the room well to minimize dust inhalation.
Can I Use An Orbital Sander On Hardwood Floors?
Yes, orbital sanders are ideal for hardwood floor finishing. They provide smooth, swirl-free surfaces without damaging the wood grain when used correctly.
Conclusion
Using an orbital sander can make floor finishing easier and faster. Start with the right grit sandpaper and move evenly across the floor. Keep the sander moving to avoid marks and scratches. Always wear safety gear to protect your eyes and lungs.
Clean the floor well before and after sanding for the best results. With practice, your floors will look smooth and beautiful. Take your time, and enjoy the process of improving your space. Small steps lead to great finishes.