If you want your woodworking projects to look professional, learning how to use an orbital sander is a must. This tool can help you achieve smooth, even surfaces without much effort.
But using it the wrong way can leave scratches or uneven spots that ruin your finish. You’ll discover simple, step-by-step tips to master your orbital sander and get flawless results every time. Whether you’re a beginner or just want to improve your skills, this guide is made for you.
Keep reading to transform your sanding process and create beautiful, smooth finishes you’ll be proud of.
Credit: www.familyhandyman.com
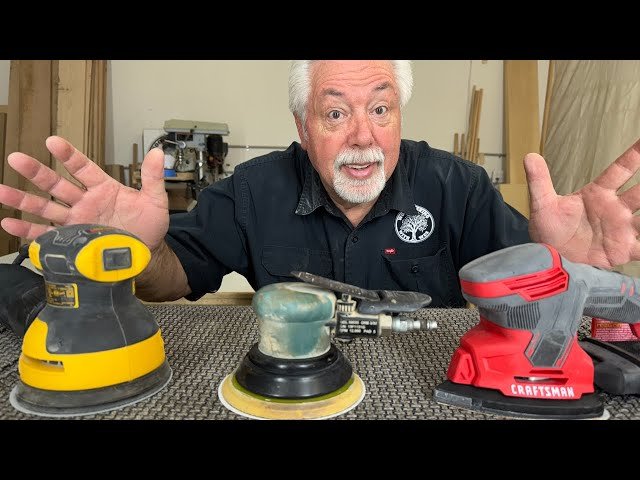
Choosing The Right Orbital Sander
Using an orbital sander helps create smooth finishes on wood and other materials. Picking the right sander makes your work easier and better.
This guide covers the main types of orbital sanders, how to select the correct grit, and what to look for in power and speed.
Types Of Orbital Sanders
There are several types of orbital sanders. Each one suits different tasks and materials.
- Random Orbital Sander:Moves in a random pattern to avoid swirl marks. Good for general sanding.
- Finishing Sander:Smaller and lighter. Best for smooth finishes on flat surfaces.
- Detail Sander:Has a triangular pad. Ideal for corners and tight spaces.
- Orbital Palm Sander:Compact and easy to hold. Works well for small projects.
Selecting The Correct Grit
Sanding grit affects how smooth your surface becomes. Use the right grit for the best results.
| Grit Number | Use |
| 40-60 | Remove old paint or rough surfaces |
| 80-120 | Smooth wood and remove small scratches |
| 150-180 | Final sanding before finishing |
| 220+ | Very fine sanding for a polished look |
Power And Speed Considerations
Power and speed affect how well the sander works on different materials. Choose based on your project needs.
- Power:More power means the sander can handle tougher jobs.
- Speed:Variable speed helps control the sanding process for delicate or rough work.
- Weight:Lighter sanders are easier to use for long times.
- Ergonomics:Comfortable grips reduce hand fatigue.
Preparing Your Workspace
Using an orbital sander needs a clean and safe workspace. Prepare well to get smooth finishes and avoid accidents.
Organize your area before starting. This helps you work faster and better with the sander.
Safety Precautions
Wear safety gear to protect yourself while sanding. Keep your workspace free of hazards.
- Wear safety glasses to protect your eyes
- Use a dust mask to avoid breathing dust
- Wear ear protection to reduce noise
- Keep loose clothes and hair away from the sander
- Ensure good lighting in your workspace
Cleaning And Securing The Surface
Remove dirt and old paint from the surface before sanding. Secure the item to stop it from moving during work.
| Task | Details |
| Cleaning | Use a damp cloth to wipe off dust and debris |
| Check for nails | Remove or hammer down any nails or screws |
| Secure surface | Use clamps or a vise to hold the item steady |
| Inspect surface | Look for cracks or holes to avoid damage while sanding |
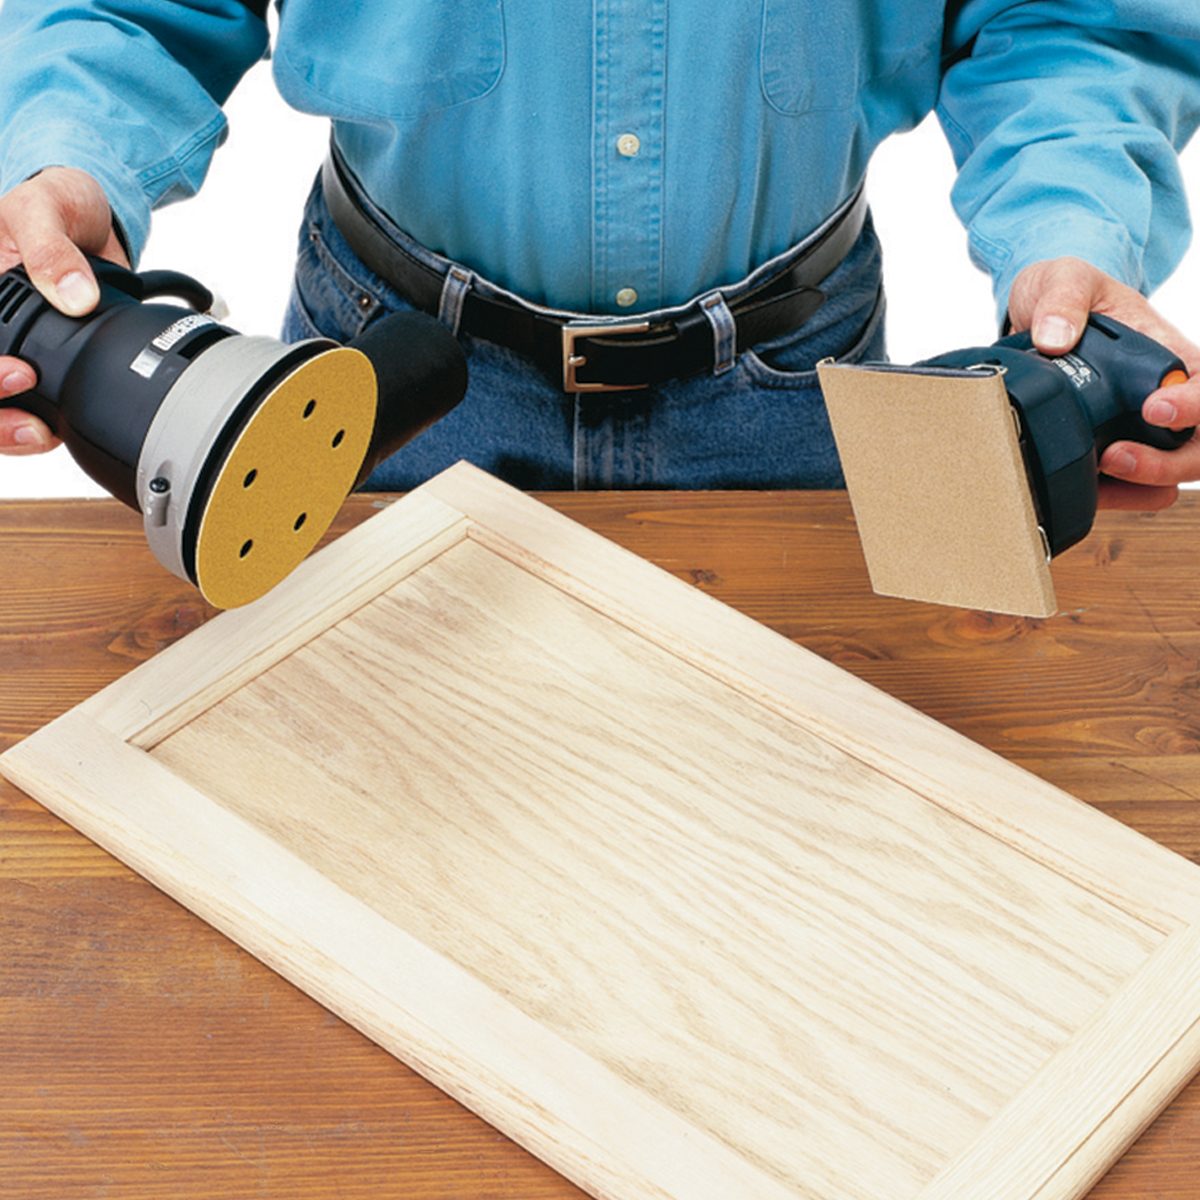
Gathering Necessary Materials
Prepare all tools and materials needed before you start sanding to avoid interruptions.
- Orbital sander with the correct sanding pads
- Different grit sandpapers for various sanding stages
- Protective gear: gloves, mask, glasses, and earplugs
- Clamps or vise to hold your workpiece
- Cleaning cloths and a vacuum or brush for dust
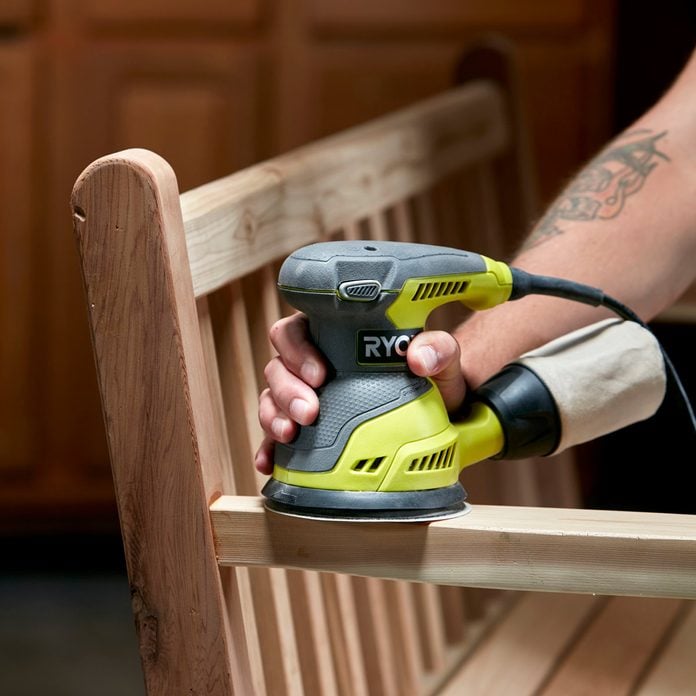
Sanding Techniques For Smooth Finishes
Using an orbital sander correctly helps create smooth surfaces on wood or other materials. Good sanding techniques prevent scratches and uneven areas.
Focus on hand positioning, pressure, and movement to get the best results from your orbital sander.
Proper Hand Positioning
Hold the sander firmly with both hands for better control. Place one hand on the handle and the other on top of the sander to guide it smoothly.
- Keep your grip relaxed but steady to avoid fatigue
- Position your body to support smooth, even movements
- Keep your wrists straight to reduce strain
- Make sure the sander stays flat on the surface at all times
Maintaining Consistent Pressure
Apply even pressure while sanding to avoid gouges or uneven spots. Too much pressure can damage the surface and the sander.
| Pressure Level | Effect |
| Light | May not remove enough material |
| Moderate | Best for smooth, even sanding |
| Heavy | Can cause scratches or gouges |
Using Circular And Linear Motions
Move the sander in both circular and straight lines to cover the surface evenly. This helps avoid visible sanding marks.
Try alternating your sanding pattern:
- Start with circular motions to break up uneven areas.
- Follow with linear motions along the grain for a smooth finish.
- Keep the sander moving constantly to prevent burns or dips.
Avoiding Common Mistakes
Using an orbital sander can give you smooth finishes on wood and other surfaces. Many people make simple mistakes that cause problems. Avoiding these mistakes helps you get better results.
This guide covers key tips to prevent swirl marks, manage dust, and handle edges well. Follow these steps to improve your sanding work.
Preventing Swirl Marks
Swirl marks happen when the sander moves in circles without enough pressure. They leave visible scratches on the surface. To stop this, keep the sander moving evenly and do not press too hard.
Use a sanding pad with the right grit for your project. Start with a coarse grit and finish with a fine grit to get a smooth surface.
- Keep the sander flat on the surface
- Move the sander in slow, even motions
- Do not stay in one spot too long
- Use the correct sandpaper grit
Managing Dust And Debris
Dust and debris make sanding harder and can damage your finish. Always use a vacuum or dust bag with your orbital sander. This keeps the work area clean and the sander working well.
Wear a mask to protect your lungs from fine dust. Clean the sanding surface often to remove dust build-up.
- Attach a dust collection bag or vacuum
- Wear a protective mask
- Wipe or blow off dust from the surface
- Clean sanding pads regularly
Handling Edges And Corners
Edges and corners are tricky to sand with an orbital sander. The round pad can remove too much material or cause damage if not careful. Use light pressure and short strokes on edges.
For tight corners, use sanding blocks or hand sanding to avoid gouges. Take your time and check your work often to keep edges smooth and even.
- Apply light pressure near edges
- Use hand sanding for tight corners
- Move the sander gently along edges
- Check edges frequently for damage
Finishing Touches
Using an orbital sander properly helps create a smooth surface. The finishing touches are key to perfect results. They include checking evenness, using finer grits, and cleaning well.
These steps prepare your wood or surface for painting or staining. They remove imperfections and dust, making your work look professional.
Checking For Evenness
After sanding, inspect the surface carefully. Run your hand over the wood to feel for bumps or rough spots. Look closely in good light to spot uneven areas.
- Use a straight edge or ruler to check flatness.
- Mark any high or low spots with a pencil.
- Sand problem areas gently to level the surface.
Switching To Finer Grits
After the surface feels even, change to a finer grit sandpaper. This step smooths the wood and removes scratches from coarser grit.
| Grit Size | Purpose |
| 80-100 | Remove old finish and shape surface |
| 120-150 | Smooth rough areas and prepare for finish |
| 180-220 | Final sanding for a smooth surface |
Use light pressure and move the sander evenly. Always sand with the grain if possible to reduce marks.
Cleaning After Sanding
Cleaning removes dust that can spoil your finish. Dust can cause bumps or bubbles in paint or stain.
Follow these cleaning tips:
- Use a vacuum with a brush attachment to lift dust.
- Wipe the surface with a damp cloth or tack cloth.
- Let the wood dry fully before applying any finish.
Credit: www.familyhandyman.com
Maintaining Your Orbital Sander
Keeping your orbital sander in good shape helps it work well. Regular care makes the tool last longer.
Simple maintenance tasks protect the sander from damage and improve its performance.
Cleaning The Tool
After each use, clean dust and debris from the sander. Dust can block vents and slow the motor.
Use a brush or compressed air to remove dust from tight spots. Wipe the outside with a dry cloth.
- Turn off and unplug the sander before cleaning
- Remove sanding pads to clean underneath
- Keep vents clear to avoid overheating
Replacing Sanding Pads
Check sanding pads often for wear or damage. Worn pads reduce sanding quality and can harm surfaces.
Replace pads when they are torn or no longer stick well. Use pads that fit your sander model.
- Remove the old pad carefully
- Attach the new pad firmly to avoid slipping
- Match the grit size to your project needs
Storage Tips
Store your orbital sander in a dry place to prevent rust and damage. Avoid damp or dusty areas.
Keep the sander in its case or on a shelf to protect it from knocks and falls.
- Unplug and clean before storing
- Keep sanding pads separate to avoid damage
- Store away from direct sunlight and moisture

Credit: www.youtube.com
Frequently Asked Questions
What Is An Orbital Sander Used For?
An orbital sander is used for smoothening surfaces. It efficiently removes paint, varnish, and imperfections. This tool is great for wood, plastic, and metal surfaces. It’s ideal for preparing surfaces for painting or finishing. Its random orbit motion ensures a swirl-free finish.
How To Choose The Right Sandpaper Grit?
Choose sandpaper grit based on the material and task. For coarse sanding, use 40-60 grit. For smoothing surfaces, select 80-120 grit. For fine sanding and finishing, opt for 180-220 grit. Always start with a lower grit and progress to a higher one for the best results.
Can I Use An Orbital Sander On Wood?
Yes, an orbital sander is excellent for wood. It smooths wooden surfaces effectively without leaving marks. Use the correct sandpaper grit for the desired finish. It’s perfect for furniture, cabinetry, and flooring projects. Always sand along the wood grain for optimal results.
How To Maintain An Orbital Sander?
To maintain an orbital sander, clean it regularly. Remove dust from the sander’s pad and vents. Check and replace worn-out sandpaper. Store the sander in a dry place. Lubricate moving parts as needed. Proper maintenance ensures longevity and optimal performance.
Conclusion
Using an orbital sander can make your projects look smooth and neat. Start with the right sandpaper grit for the best results. Move the sander evenly across the surface without pressing too hard. Keep the sander in motion to avoid marks or scratches.
Clean the area after sanding to see the true finish. Practice a bit to feel confident and steady. With patience and care, you will get a smooth finish every time. Simple steps lead to great results. Try these tips on your next sanding job!