Imagine transforming your cluttered garage or workspace into an organized haven where every tool has its place and is easily accessible. A compact tool wall can be your secret weapon to achieve just that.
But how do you create one that maximizes space without sacrificing functionality? You might be wondering what the best strategies are to keep your tools tidy, visible, and within arm’s reach. Don’t worry; you’re in the right place. You’ll discover simple yet effective tips that will help you design a tool wall that’s not only practical but also a joy to use.
Ready to take control of your workspace and enhance your productivity? Let’s dive in and unlock the secrets to creating your perfect compact tool wall.
Choosing The Right Wall
Creating a compact tool wall starts with picking the perfect wall. The right wall helps you organize tools efficiently. It also saves space and makes tools easy to reach.
Look at your workspace carefully. Think about space, wall type, and where you often work. These points guide your choice and setup.
Assessing Available Space
Measure the wall space you want to use. Check height and width to know how many tools fit. Consider leaving space for future tools or changes.
- Use a tape measure to get exact dimensions
- Note any obstacles like windows or switches
- Think about how much space you need to work comfortably
- Leave room for tool handles or hooks
Considering Wall Material
Wall material affects what hooks or mounts you can use. Some walls hold heavy tools better than others. Choose a wall that supports your tool weight.
| Wall Type | Mount Options | Weight Capacity |
| Drywall | Anchors, pegboards | Light to medium |
| Concrete or Brick | Concrete screws, heavy-duty hooks | Heavy |
| Wood Panel | Screws, nails, pegboards | Medium to heavy |
Identifying High-traffic Areas
Place your tool wall where you work most. Avoid walls near doors or walkways that block movement. Pick a spot that makes tools easy to grab quickly.
- Near your main workbench or table
- Out of direct sunlight to protect tools
- Avoid damp areas to prevent rust
- Keep clear of areas with heavy foot traffic

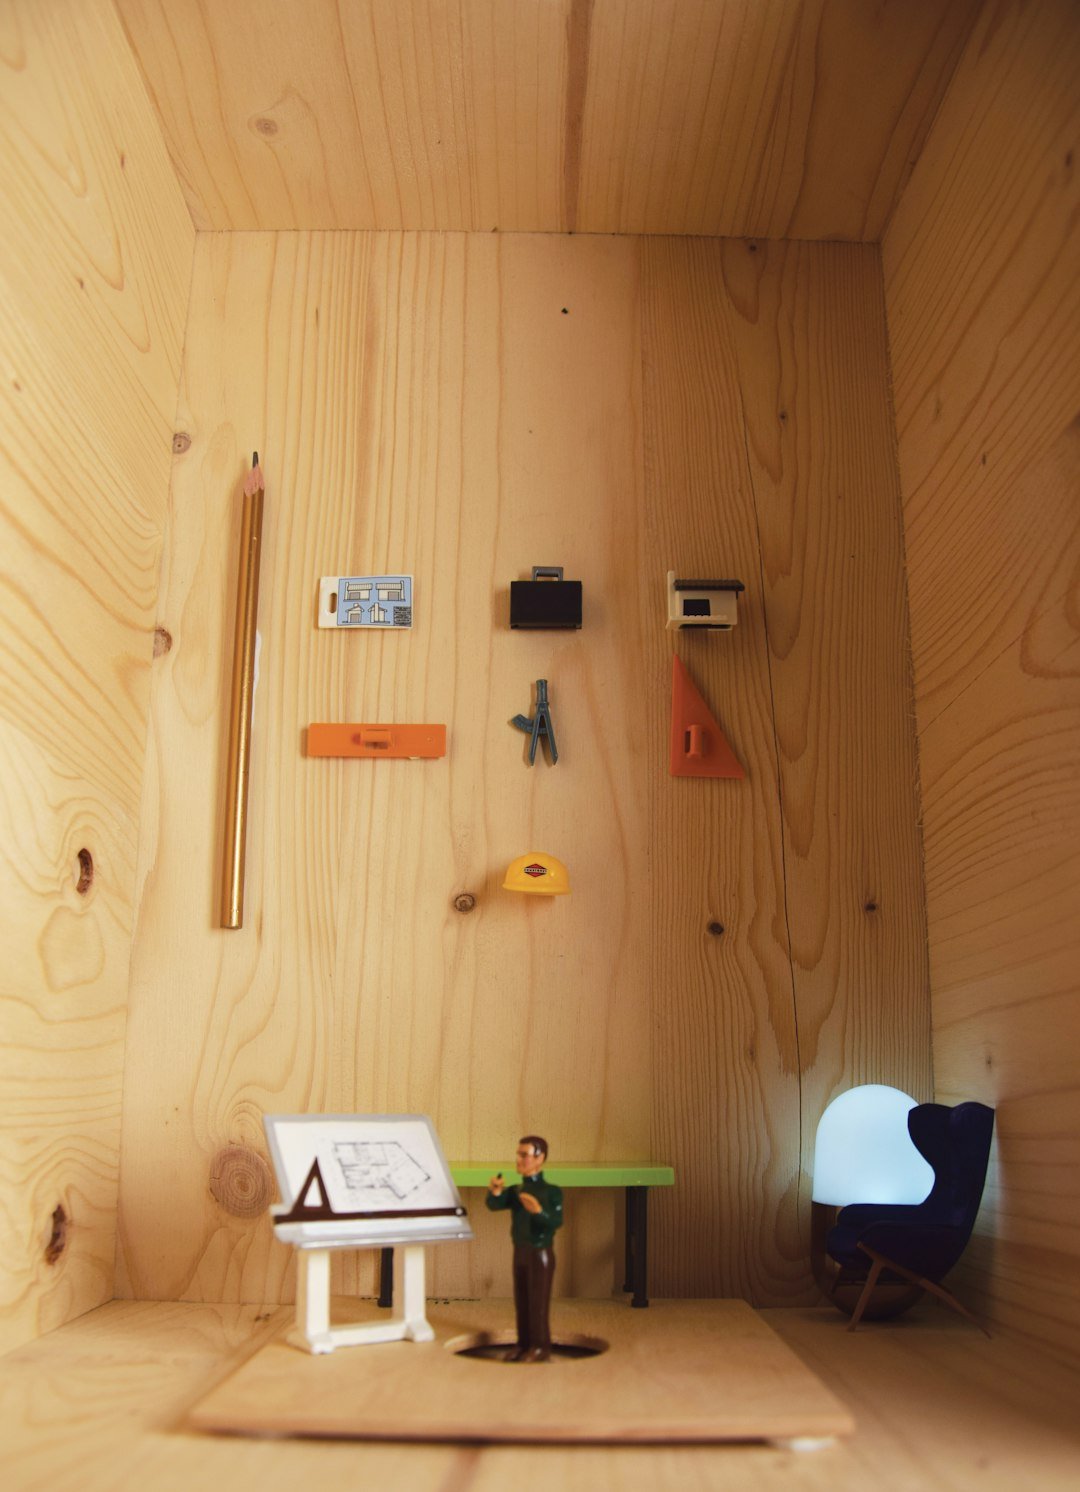
Credit: www.makingathome.com
Selecting Compact Storage Solutions
Creating a compact tool wall saves space and keeps tools organized. Choosing the right storage solutions helps you work efficiently. Small spaces need smart ideas to hold many tools safely.
Focus on storage that fits your wall size and tool types. This guide covers three popular options for compact tool walls. Each option offers unique benefits for your workspace.
Magnetic Strips And Hooks
Magnetic strips hold metal tools like screwdrivers and wrenches. Hooks hang items such as hammers and tape measures. These options keep tools visible and easy to grab.
- Use strong magnets for heavier tools
- Place hooks at different heights for variety
- Keep frequently used tools within arm’s reach
- Install strips horizontally or vertically to fit space
Pegboards And Custom Panels
Pegboards offer flexible storage with hooks and holders. Custom panels can be designed to match your tool collection exactly. Both options allow easy rearrangement as your needs change.
| Feature | Pegboards | Custom Panels |
| Material | Hardboard or metal | Wood or metal |
| Flexibility | High, easy to move hooks | Custom layout, less flexible |
| Installation | Simple wall mounting | May require professional help |
| Best For | Variety of hand tools | Specialized tool sets |
Shelves And Small Cabinets
Shelves and small cabinets store tools that do not hang well. They keep clutter off the work surface and protect tools from dust. Choose units that fit your wall space tightly.
- Select shelves with adjustable heights
- Use small cabinets with clear doors for visibility
- Label shelves or drawers for quick tool finding
- Stackable units save vertical space
Organizing Tools Efficiently
Creating a compact tool wall helps keep your workspace neat. It saves time by making tools easy to find.
Organize tools well to increase productivity and reduce clutter. Good planning makes your tool wall effective.
Grouping By Function
Arrange tools by their purpose. Keep similar tools together to find them quickly.
- Hand tools like hammers and screwdrivers in one area
- Power tools grouped separately
- Measuring tools placed close to each other
- Safety gear stored near the entrance
Prioritizing Frequently Used Tools
Put tools you use most often at eye level or within easy reach. This saves time during work.
| Tool Type | Placement Suggestion |
| Hammer | Center at eye level |
| Screwdrivers | Right side, easy reach |
| Drill | Lower shelf, quick grab |
| Measuring Tape | Near workbench |
Labeling For Quick Access
Use clear labels on shelves and hooks. Labels help you return tools to the right place fast.
- Use large, easy-to-read fonts
- Color code labels by tool type
- Place labels directly below or above tools
- Update labels when adding new tools

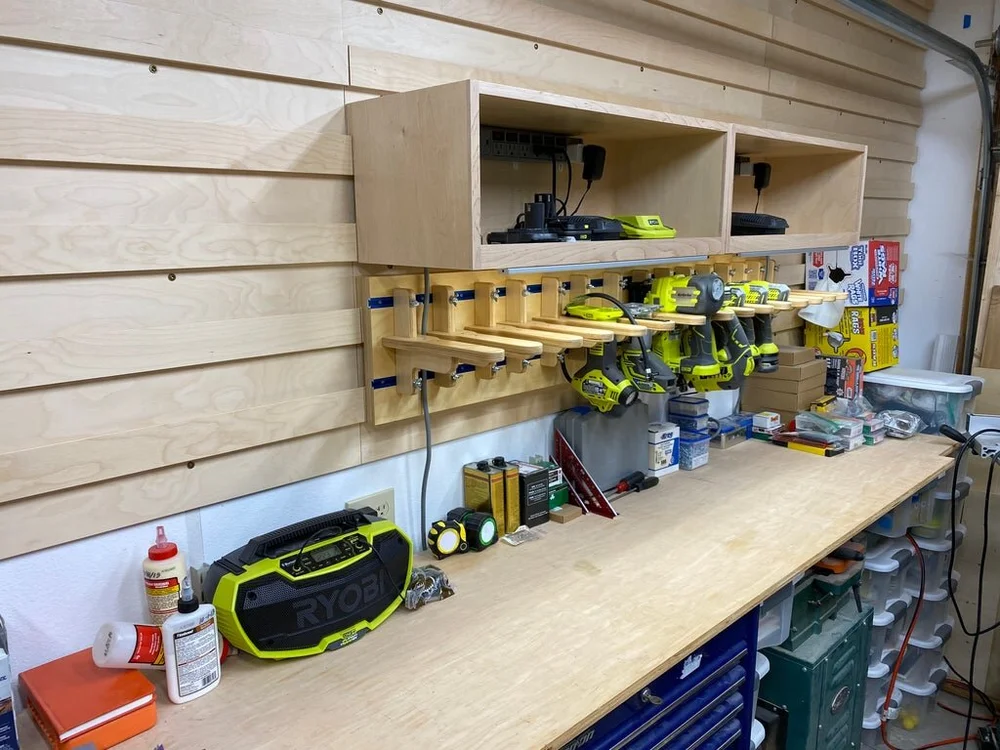
Credit: www.reddit.com
Maximizing Vertical Space
Creating a compact tool wall means using every inch of your vertical space. This helps keep tools organized and easy to reach.
Smart designs can make your tool wall both practical and neat. Use these tips to stack, adjust, and fold your storage.
Stacking And Layering Techniques
Stacking tools vertically saves space and keeps them visible. Layering smaller items in front of larger ones maximizes storage.
- Use pegboards to hang tools in vertical rows
- Place frequently used tools on top layers
- Stack toolboxes or bins securely to add height
- Layer small hooks for items like screwdrivers or pliers
Using Adjustable Components
Adjustable parts let you change the layout as your tool collection grows. This keeps the wall flexible and efficient.
| Component | Benefit |
| Sliding rails | Move hooks side to side easily |
| Adjustable shelves | Change height to fit different tools |
| Modular bins | Rearrange to hold various items |
| Magnetic strips | Shift magnets for odd-shaped tools |
Incorporating Foldable Elements
Foldable parts save space when not in use. They add extra storage without crowding your work area.
- Fold-down workbenches for quick tool use
- Hinged shelves that tuck away flat
- Foldable hooks that swing out when needed
- Collapsible tool racks for easy storage
Maintaining A Clutter-free Wall
A compact tool wall helps keep your workspace neat. Keeping it clutter-free makes finding tools easier.
Regular care and organization prevent mess and save time. Use simple methods to maintain order daily.
Regular Tool Inventory
Check your tools often to know what you have. This prevents duplicates and frees up space for needed items.
- Set a weekly or monthly tool check schedule
- Sort tools by type or use
- Remove broken or unused tools immediately
- Label spots for each tool
Replacing Or Repairing Tools
Fix tools that have minor damage to extend their life. Replace tools that no longer work well or are unsafe.
| Condition | Action |
| Minor rust or dirt | Clean and lubricate |
| Loose handles or parts | Tighten or repair |
| Broken or missing parts | Replace tool |
| Worn out or unsafe | Dispose properly |
Updating Layout For New Tools
Add new tools by adjusting your wall layout. Keep the design flexible to fit different tool sizes and shapes.
Try these tips to update your tool wall layout:
- Group similar tools together
- Use adjustable hooks or shelves
- Leave space for future tools
- Keep frequently used tools at eye level
Credit: www.makingathome.com
Safety And Accessibility Tips
Creating a compact tool wall helps keep your workspace organized and safe. It also makes tools easy to find and use.
Follow simple safety and accessibility tips to avoid accidents and improve your workflow.
Securing Heavy Items
Heavy tools and equipment can cause injuries if they fall. Secure these items properly to keep your area safe.
- Use strong hooks or brackets designed for heavy weights.
- Place heavy items at lower heights for easier reach.
- Check mounts regularly to ensure they stay tight.
- Avoid stacking heavy tools on top of each other.
- Label storage spots to remind users where heavy tools belong.
Ensuring Proper Lighting
Good lighting lets you see tools clearly and prevents accidents. Bright light helps you work faster and safer.
| Lighting Type | Best Use | Notes |
| LED Strip Lights | Under shelves and cabinets | Energy-efficient and bright |
| Adjustable Task Lights | Focused work areas | Can be moved to where needed |
| Overhead Fluorescent Lights | General lighting | Good for large spaces |
Keeping Emergency Tools Handy
Emergency tools like fire extinguishers and first aid kits must be easy to reach. Place them where anyone can access them quickly.
Emergency Tool Placement Tips
- Mount fire extinguishers near exits and tool entry points.
- Keep first aid kits visible and unlocked.
- Regularly check expiration dates and replace items as needed.
- Train all users on the location and use of emergency tools.
Frequently Asked Questions
What Are The Best Materials For A Compact Tool Wall?
Wood and metal are ideal materials for a compact tool wall. Wood offers sturdiness and ease of customization. Metal provides durability and a sleek look. Both materials support heavy tools and allow for easy installation of hooks and holders.
How Do I Maximize Space On A Small Tool Wall?
Use vertical storage by installing pegboards or slat walls. Group tools by type for quick access. Utilize hooks, magnetic strips, and shelves to keep tools organized. Keep frequently used tools within arm’s reach to save time and maintain efficiency.
What Tools Should I Prioritize On A Compact Tool Wall?
Prioritize frequently used tools like screwdrivers, hammers, pliers, and measuring tapes. Include power tool accessories and safety gear. Keep smaller items in labeled containers to prevent clutter. This ensures quick access and keeps the workspace tidy.
How Can I Keep My Tool Wall Organized Long-term?
Regularly sort and return tools to their designated spots. Label hooks and containers for easy identification. Periodically assess and remove unused items. Consistent maintenance helps keep your tool wall efficient and clutter-free.
Conclusion
Creating a compact tool wall saves space and keeps tools organized. Use hooks and shelves to fit all your tools neatly. Arrange items by size and frequency of use for quick access. Keep the wall tidy to find tools easily every time.
Regularly check and adjust your setup to suit your needs. A well-planned tool wall makes work faster and less stressful. Small changes can make a big difference in your workspace. Start building your compact tool wall today for better tool management.
