
Cutting curves in wood can seem tricky, but with the right tips, you’ll find it easier than you think. Whether you’re working on a small project or a big one, getting smooth, clean curves can make all the difference.
You might be wondering how to avoid rough edges or keep your cuts precise. This guide will help you master the skills you need, so you feel confident and get great results every time. Ready to turn those tricky curves into your next woodworking success?
Let’s dive in.
Choosing The Right Tools
Cutting curves in wood needs the right tools for good results. Picking the right tool makes your work easier and cleaner.
Each tool has strengths and limits. Knowing these helps you choose the best one for your project.
Jigsaws Vs Scroll Saws
Jigsaws are handheld tools that cut curves fast. They work well for rough cuts and bigger curves.
Scroll saws are stationary and offer precise cuts. They are great for small, detailed curves and tight turns.
- Jigsaws are portable and easy to use
- Scroll saws provide smooth, detailed cuts
- Jigsaws can handle thicker wood
- Scroll saws use thin blades for fine work
Using Band Saws For Curves
Band saws have a continuous blade that moves in one direction. They cut curves smoothly and quickly.
They work well on medium to large wood pieces. Band saws let you cut wide or tight curves with control.
- Good for thick wood and large projects
- Blade tension affects cut quality
- Use narrow blades for tight curves
- Keep steady speed for smooth cuts
Hand Tools For Detailed Cuts
Hand tools like coping saws and carving knives work well for small, detailed cuts. They give you control over the shape.
These tools need patience and steady hands. They are best for delicate or artistic woodwork.
- Coping saws cut thin, tight curves
- Carving knives refine edges and shapes
- Hand tools are quiet and simple to use
- They work well on soft to medium wood
Preparing Your Wood
Cutting curves in wood needs careful preparation. Getting your wood ready helps you cut smoothly and safely.
Good preparation means marking your curves clearly and holding the wood steady. These steps make your work easier and more accurate.
Marking Curves Accurately
Mark your curves with a pencil or marker that shows well on wood. Use a flexible curve ruler or a template to get smooth lines.
Draw the curve lightly first. Check the shape from different angles to avoid mistakes. Darken the line once you are sure it is right.
- Use a flexible ruler or stencil for smooth curves
- Draw light lines before making them darker
- Check curves from different viewpoints
Securing Wood For Stability
Hold the wood firmly to stop it from moving while cutting. Use clamps to fix the wood to your workbench or a stable surface.
Make sure clamps do not cover the curve line. The wood should not wobble or shift during cutting to keep the curve smooth.
- Use clamps to hold wood in place
- Avoid placing clamps on your curve lines
- Check wood stability before cutting
Cutting Techniques
Cutting curves in wood requires careful skill and attention. You need the right methods to keep your cuts smooth and accurate.
Using proper techniques helps avoid mistakes and keeps the wood from splintering. Let’s explore key ways to improve your curve cutting.
Following The Line Smoothly
Keep your eye on the cutting line at all times. Use slow, steady movements and guide the saw carefully along the curve.
- Mark the curve clearly before cutting
- Use a sharp blade for cleaner cuts
- Hold the saw firmly but not too tight
- Let the saw do the work without forcing it
Controlling Speed And Pressure
Adjust your cutting speed based on the wood type and curve sharpness. Slow down on tight curves to avoid mistakes.
| Wood Type | Recommended Speed | Pressure Level |
| Softwood | Medium | Light |
| Hardwood | Slow | Medium |
| Plywood | Medium | Light to Medium |
Making Relief Cuts
Relief cuts help reduce tension and prevent wood from splitting. They let you turn tight corners more easily.
Use relief cuts like this:
- Make short cuts from the outside edge toward the main curve
- Space them evenly about an inch apart
- Stop each cut just before reaching the curve line
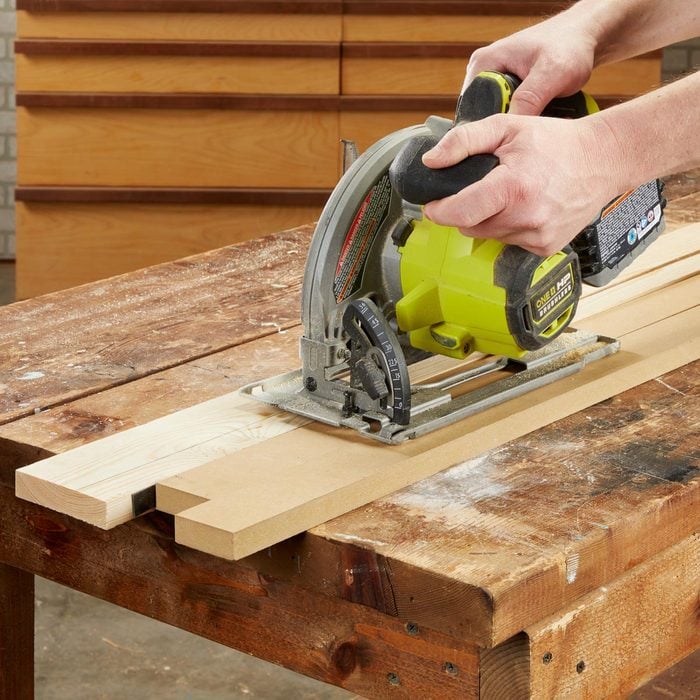
Credit: www.familyhandyman.com
Finishing Curved Edges
Cutting curves in wood is just the first step. Finishing curved edges well makes your project look smooth and professional. The right tools and techniques help you get soft, even curves.
Taking time to finish the curves properly also protects the wood. It prevents splinters and damage from moisture or wear. Use sanding, filing, and finishing to complete your curved edges.
Sanding Methods For Smoothness
Sanding helps remove rough spots and evens out curves. Start with coarse sandpaper to shape the curve. Then use finer grits to smooth the surface.
Wrap sandpaper around a sanding block or a sponge to keep an even pressure on curves. Move the sandpaper along the curve gently in one direction.
- Use 80-grit sandpaper for rough shaping
- Switch to 120-grit for smoothing
- Finish with 220-grit or higher for a soft feel
Using Files And Rasps
Files and rasps help shape curves before sanding. A rasp removes wood fast, good for big curves. Files give finer control for detailed areas.
Choose a round or half-round rasp for curved edges. Work slowly and check your progress often. Clean the tool teeth to avoid clogging.
- Use coarse rasp for rough shaping
- Use fine file for detailed smoothing
- Work along the curve, not against it
Applying Sealants And Finishes
Sealants protect wood from moisture and dirt. Apply a thin coat after sanding and filing. Let it dry fully before adding more layers.
Finish with paint, varnish, or oil depending on the look you want. Use a small brush to follow the curve smoothly. Multiple thin coats work better than one thick coat.
- Apply sealant to protect from water and stains
- Use a brush or cloth for even coverage
- Sand lightly between coats for smooth finish
- Choose finish type based on wood use and look
Common Mistakes To Avoid
Cutting curves in wood can be tricky. Many woodworkers make simple mistakes that cause problems. Avoiding these errors helps you get smooth, clean curves.
Understanding common errors helps you improve your skills. Focus on key areas to get better results every time.
Overcutting And Undercutting
Overcutting happens when you cut too far outside the line. Undercutting means not cutting enough inside the line. Both cause poor fitting pieces and uneven edges.
- Use a sharp blade to keep control.
- Follow the marked line carefully.
- Cut slowly, especially around tight curves.
- Check your progress often with a square or template.
- Practice on scrap wood before the final piece.
Ignoring Tool Maintenance
Dirty or dull tools cause rough cuts and increase mistakes. Regular cleaning and sharpening keep tools working well and safe.
| Tool | Maintenance Tip |
| Jigsaw Blade | Replace when dull or bent |
| Router Bit | Clean resin buildup after use |
| Band Saw Blade | Tighten and align properly |
| Chisels | Sharpen edges regularly |

Credit: www.youtube.com

Credit: www.youtube.com
Frequently Asked Questions
What Tools Are Best For Cutting Curves In Wood?
Jigsaws and band saws are ideal for cutting curves in wood. They offer precision and control for smooth, accurate cuts. Scroll saws also work well for intricate curves. Always use sharp blades designed for wood to ensure clean edges and reduce splintering.
How Can I Prevent Wood Splintering When Cutting Curves?
Use a sharp blade and cut slowly to minimize splintering. Applying painter’s tape over the cutting line helps keep wood fibers intact. Cutting on the backside of the wood also reduces visible splinters. Sand edges gently after cutting for a smooth finish.
What Techniques Improve Accuracy When Cutting Wood Curves?
Mark your curve clearly with a pencil or template for guidance. Secure wood firmly to avoid movement during cutting. Use steady, controlled movements and follow the line closely. Practice on scrap wood to build confidence before cutting your final piece.
How Do I Choose The Right Blade For Curved Cuts?
Select blades with fine, closely spaced teeth for smooth curved cuts. Narrow blades are better for tight curves as they maneuver easily. Blades labeled for woodcutting reduce tear-out and improve finish quality. Regularly check blade sharpness to maintain cutting efficiency.
Conclusion
Mastering wood curves requires patience and practice. Start with simple tools. Progress to more advanced techniques as you gain confidence. Safety should always be a priority. Wear protective gear and follow guidelines. Use the right tools for each job. Sharp blades make cutting easier and safer.
Practice on scrap pieces before starting a real project. Keep refining your skills over time. Enjoy the process of creating unique designs. With each project, your skills will grow. Soon, cutting curves will become second nature. Enjoy your woodworking journey!
