Cutting hardwood with a table saw can seem tricky, especially if you want clean, precise cuts every time. But with the right tips, you can make your projects easier and safer.
Imagine finishing your woodworking task faster, with less effort and no frustrating mistakes. You’ll discover simple tricks that professionals use to get perfect cuts on hardwood. Keep reading, and you’ll learn how to take control of your table saw and boost your confidence in every cut you make.
Choosing The Right Blade
Cutting hardwood with a table saw requires the correct blade. The blade affects the cut quality and tool performance.
Choosing a blade depends on the wood type and the finish you want. This guide covers blade types, tooth count, and blade materials.
Blade Types For Hardwood
There are different blade types for cutting hardwood. The main types include ripping blades, crosscut blades, and combination blades.
- Ripping Blades:Designed to cut along the wood grain. They have fewer teeth and remove wood faster.
- Crosscut Blades:Made to cut across the grain. They have more teeth for a smoother finish.
- Combination Blades:Can rip and crosscut. They offer versatility for various cuts.
Tooth Count And Configuration
Tooth count affects cut speed and smoothness. More teeth give a cleaner cut but cut slower. Fewer teeth cut faster but rougher.
| Tooth Count | Cut Type | Best Use |
|---|---|---|
| 24-30 teeth | Ripping | Fast cuts with rough finish |
| 60-80 teeth | Crosscut | Smooth finish, slower cut |
| 40-50 teeth | Combination | Versatile for ripping and crosscut |
Blade Material And Coating
Blade material affects durability and cutting quality. Carbide-tipped blades last longer than steel blades.
- Steel Blades:Cheaper but dull quickly.
- Carbide-Tipped Blades:Stay sharp longer and cut cleaner.
- Coated Blades:Have special coatings to reduce heat and friction.
Credit: homenias.com
Setting Up Your Table Saw
Setting up your table saw correctly helps you cut hardwood safely and accurately. Take time to prepare before starting your cut.
Proper setup reduces mistakes and keeps your work steady. Focus on the blade, fence, and work surface.
Adjusting Blade Height
Set the blade height so it is just above the thickness of the hardwood. This helps you make cleaner cuts and reduces kickback.
Raise the blade about 1/8 inch above the wood surface. Avoid setting it too high or too low for safety and precision.
- Turn off the saw before adjusting the blade
- Use the blade height wheel or lever to raise or lower the blade
- Check that the blade teeth clear the wood by a small margin
Aligning The Fence
The fence guides your hardwood for straight cuts. Make sure it is parallel to the blade to avoid binding.
Check the fence distance from the blade at both the front and back. Adjust if the measurements are not equal.
- Unlock the fence and slide it to the desired measurement
- Measure from the blade to the fence at two points
- Tighten the fence once it is parallel and secure
Ensuring Stable Work Surface
A stable work surface prevents movement during cutting. This helps keep your cuts straight and safe.
Clear the table saw top of debris. Use supports for longer hardwood pieces to keep them steady.
- Keep the table saw on a flat, level floor
- Remove dust and scraps before cutting
- Use outfeed tables or roller stands for long wood
- Clamp wood if needed to reduce movement
Preparing Hardwood For Cutting
Cutting hardwood with a table saw needs good preparation. This makes the work safer and more accurate.
Before cutting, check the wood carefully. Measure and mark it clearly. Secure the wood to avoid slips. Look for any defects that could cause trouble.
Measuring And Marking
Use a tape measure to find the exact length needed. Mark the cut line with a pencil. A square tool helps keep lines straight and square to the edge.
- Measure twice to avoid mistakes
- Mark the cut line clearly
- Use a square for straight lines
- Check marks from different angles
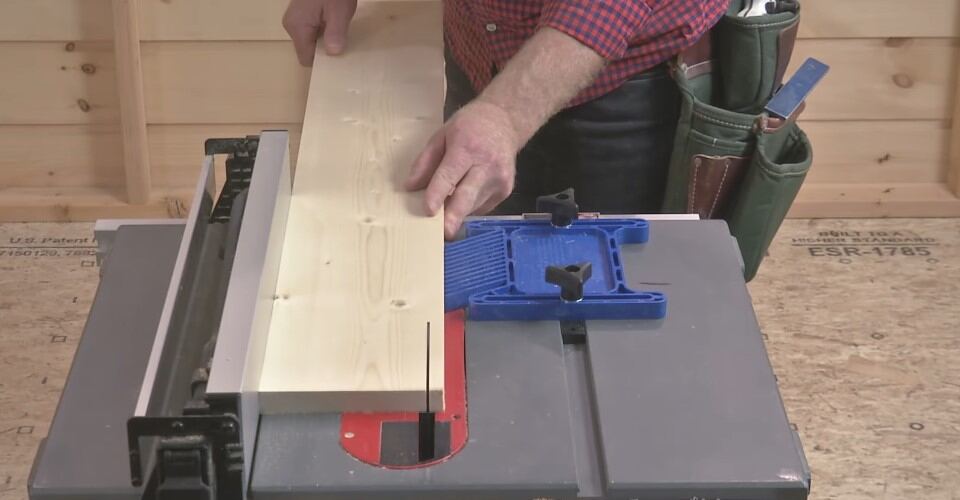
Securing The Wood
Hold the wood firmly to keep it from moving. Use clamps or a fence guide. This stops the wood from shifting during the cut. A steady board gives a cleaner cut.
| Tool | Purpose |
| Clamps | Hold wood tightly on the table |
| Fence guide | Keep wood aligned for straight cuts |
| Push stick | Push wood safely past the blade |
| Non-slip mat | Stop wood from sliding |
Checking For Defects
Look for knots, cracks, or warping. These can cause kickback or blade damage. Avoid cutting near defects. Remove loose bark or debris before cutting.
Checklist before cutting:
- Inspect wood surface for cracks or splits
- Check for knots that could catch the blade
- Ensure wood is flat and not warped
- Clean off any dirt or bark
Cutting Techniques For Precision
Cutting hardwood with a table saw needs focus and care. Using the right techniques helps you get clean, accurate cuts.
Following simple tips can improve your cutting precision and keep you safe while working.
Proper Feed Rate
Feed the wood steadily into the blade. Moving too fast can cause rough cuts or kickback.
Going too slow may burn the wood or dull the blade. Find a balanced speed for smooth cutting.
- Keep a steady, moderate speed
- Let the blade do the cutting, avoid forcing
- Watch the wood for signs of burning or chipping
Maintaining Steady Pressure
Hold the wood firmly but without pushing too hard. Steady pressure helps the wood stay against the fence.
Uneven pressure can cause the wood to twist or shift, ruining the cut and risking injury.
- Use both hands to control the wood
- Press the wood against the fence consistently
- Keep your body balanced and steady
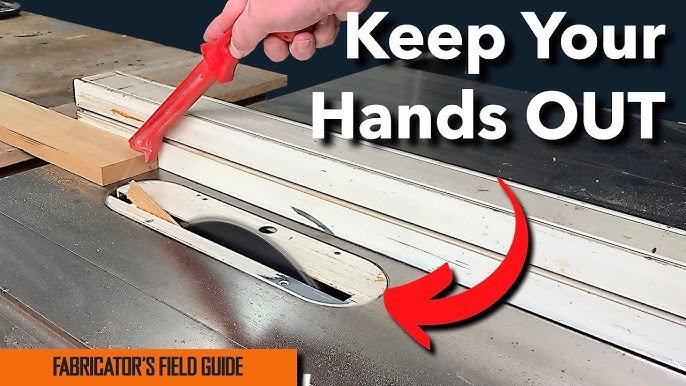
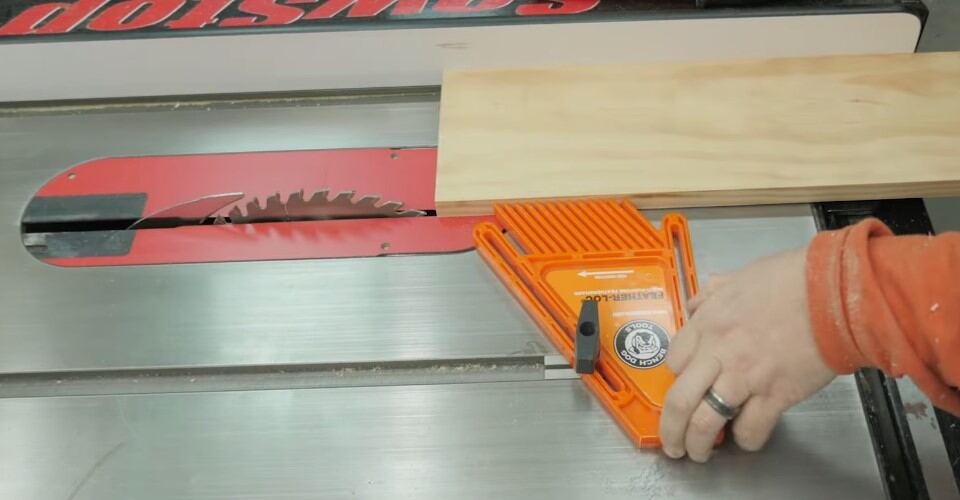
Using Push Sticks Safely
Push sticks keep your hands away from the blade. Always use them when cutting small or narrow pieces.
Choose a push stick that fits well in your hand and applies steady pressure on the wood.
- Use push sticks for cuts under 6 inches wide
- Keep the push stick flat against the wood
- Never reach over the blade to adjust the wood
Handling Different Hardwood Types
Cutting hardwood with a table saw needs care. Different hardwood types behave in unique ways.
Knowing how to handle these woods helps you get clean cuts and stay safe.
Soft Vs. Hard Species
Soft hardwoods are easier to cut but can dent or splinter. Hard hardwoods need stronger blades.
Use a sharp blade with more teeth for hard woods. Slow the feed rate for tough species.
- Soft species: cherry, walnut, maple
- Hard species: oak, hickory, ebony
- Hard woods need slower cuts and sharper blades
- Soft woods require less pressure but watch for tear-out
Moisture Content Impact
Wet wood cuts differently than dry wood. High moisture can cause blade drag and splintering.
Dry wood cuts cleaner and is safer to work with. Check moisture levels before cutting.
- Wet wood needs slower feed speed
- Dry wood cuts faster and cleaner
- Use a sharp blade to reduce tear-out
- Consider drying wood before cutting for best results
Dealing With Grain Direction
Grain direction affects how the wood cuts. Cutting against the grain can cause splinters.
Cut with the grain for smoother edges. Adjust blade height and feed speed for tricky grain.
- Cutting with grain reduces tear-out
- Cutting against grain may need slower feed
- Use a zero-clearance insert to support wood fibers
- Take light passes on difficult grain

Credit: www.findbuytool.com
Safety Tips And Best Practices
Cutting hardwood with a table saw needs care and focus. Safety helps prevent injuries and makes work easier.
Follow these tips to use your table saw safely and get the best results.
Personal Protective Equipment
Wear the right gear to protect yourself from dust, noise, and sharp edges. Safety glasses shield your eyes from flying wood chips.
- Wear safety glasses or goggles
- Use hearing protection like earplugs or earmuffs
- Put on a dust mask to avoid breathing sawdust
- Wear gloves that fit well to protect your hands
- Use close-fitting clothing to avoid getting caught in the saw
Avoiding Kickback
Kickback happens when the wood is thrown back at you. It can cause serious injury. Use these practices to stay safe.
- Keep the blade sharp and clean
- Use a riving knife or splitter behind the blade
- Never stand directly behind the blade path
- Hold the wood firmly and feed it steadily
- Use push sticks or push blocks for small pieces
- Do not cut warped or twisted wood
Regular Maintenance Checks
Regular checks keep your table saw working well and safe to use. Look at parts and fix any problems fast.
| Maintenance Task | Frequency | Details |
| Blade Inspection | Before each use | Check for dullness or damage |
| Clean Sawdust | Weekly | Remove dust from motor and table |
| Lubricate Moving Parts | Monthly | Apply oil to gears and trunnions |
| Check Safety Features | Monthly | Test riving knife and blade guard |
| Inspect Power Cord | Monthly | Look for cuts or frays |
Troubleshooting Common Issues
Cutting hardwood with a table saw can be tricky. Sometimes problems like burn marks, dull blades, or inaccurate cuts occur.
Knowing how to fix these issues helps you get cleaner, safer cuts every time.
Burn Marks On Wood
Burn marks show as dark or black spots on your wood after cutting. They happen when the blade gets too hot or moves too slowly.
To avoid burn marks, keep the blade sharp and feed the wood steadily without stopping. Make sure the blade is clean and free of resin.
- Use a sharp blade designed for hardwood
- Feed the wood at a steady speed
- Clean the blade regularly to remove pitch buildup
- Check the blade height and set it correctly
Blade Dullness Signs
A dull blade cuts slowly and unevenly. It can cause burn marks and rough edges. You may also hear unusual noises or feel more resistance when cutting.
Replace or sharpen the blade if you see these signs. Using a sharp blade improves safety and cut quality.
- Wood splinters after the cut
- Blade requires extra force to push wood
- Burn marks appear on the cut edge
- Blade teeth look worn or rounded
Inaccurate Cuts Solutions
Inaccurate cuts can ruin your woodworking project. Causes include a misaligned fence, loose parts, or wrong blade height.
Check the fence alignment and tighten all screws. Adjust the blade height to match the wood thickness. Use a guide to keep cuts straight.
- Align the fence parallel to the blade
- Tighten loose screws and bolts
- Set blade height just above the wood thickness
- Use a push stick for better control
Credit: homenias.com
Frequently Asked Questions
How Do You Set Up A Table Saw For Hardwood?
Setting up a table saw for hardwood requires precision. Ensure the blade is sharp and aligned correctly. Adjust the blade height to slightly higher than the wood’s thickness. Use a rip fence for straight cuts. Always wear safety gear and double-check your setup before starting.
What Blade Is Best For Cutting Hardwood?
A high-tooth-count carbide-tipped blade is best for hardwood. It provides cleaner cuts and reduces splintering. A blade with 40-80 teeth is ideal for smooth finishes. Always ensure the blade is sharp for optimal performance. Regularly check and replace the blade if needed for the best results.
How Do You Prevent Wood Kickback On A Table Saw?
Preventing kickback requires careful attention. Always use a riving knife or splitter. Keep your rip fence parallel to the blade. Use push sticks for small pieces. Maintain firm control and stand to the side of the cutting line. Avoid cutting warped wood to minimize risks.
What Safety Gear Is Needed For Table Saw Use?
Safety gear is essential when using a table saw. Wear safety glasses to protect your eyes from debris. Use hearing protection to safeguard your ears from noise. Consider wearing a dust mask to avoid inhaling particles. Always ensure your clothing is tight-fitting and avoid wearing jewelry.
Conclusion
Cutting hardwood with a table saw takes care and focus. Always keep safety first and use the right blade. Measure twice to ensure accurate cuts every time. Steady hands and slow pushes help avoid mistakes. Regular maintenance keeps your saw working well.
With practice, your cuts will become cleaner and smoother. Follow these tips to enjoy your woodworking projects more. Remember, patience and practice build skill and confidence. Keep learning and improving with each cut you make.