
If you own a belt sander, you know how important sharp, well-maintained blades are for smooth and efficient work. But did you know that a little care can make your blades last longer and save you time and money?
You’ll discover simple, practical tips to keep your belt sander blades in top shape. By following these easy steps, you’ll improve your results and avoid frustrating breakdowns. Keep reading to unlock the secrets that every belt sander user should know!
Choosing The Right Blade
Choosing the correct belt sander blade affects how well your tool works. The blade type should match the task and material. This helps you get smooth results and extends blade life.
We will look at blade types and how to pick the best one for your sanding projects.
Types Of Belt Sander Blades
Belt sander blades come in different materials and grits. The right blade depends on what you want to sand and the finish you need.
- Aluminum Oxide:Good for wood and general use. It lasts long and works on many surfaces.
- Ceramic:Very durable. Best for heavy sanding and hard materials.
- Zirconia Alumina:Strong blade for metal and rough sanding jobs.
- Garnet:Soft blade for fine woodworking and finishing.
- Silicon Carbide:Great for sanding metal, plastic, and wet surfaces.
Matching Blades To Materials
Different materials need specific blades for the best results. Using the wrong blade can damage your project or the blade itself.
| Material | Recommended Blade Type | Grit Range |
|---|---|---|
| Soft Wood | Aluminum Oxide or Garnet | 80-120 grit for rough sanding, 150+ grit for finishing |
| Hard Wood | Ceramic or Aluminum Oxide | 60-100 grit for shaping, 120-180 grit for smooth finish |
| Metal | Zirconia Alumina or Silicon Carbide | 40-80 grit for heavy removal, 100+ grit for fine work |
| Plastic | Silicon Carbide | 100-150 grit for smooth sanding |
| Paint or Finish Removal | Ceramic or Zirconia Alumina | 40-60 grit for fast removal |
Credit: www.sumake.com
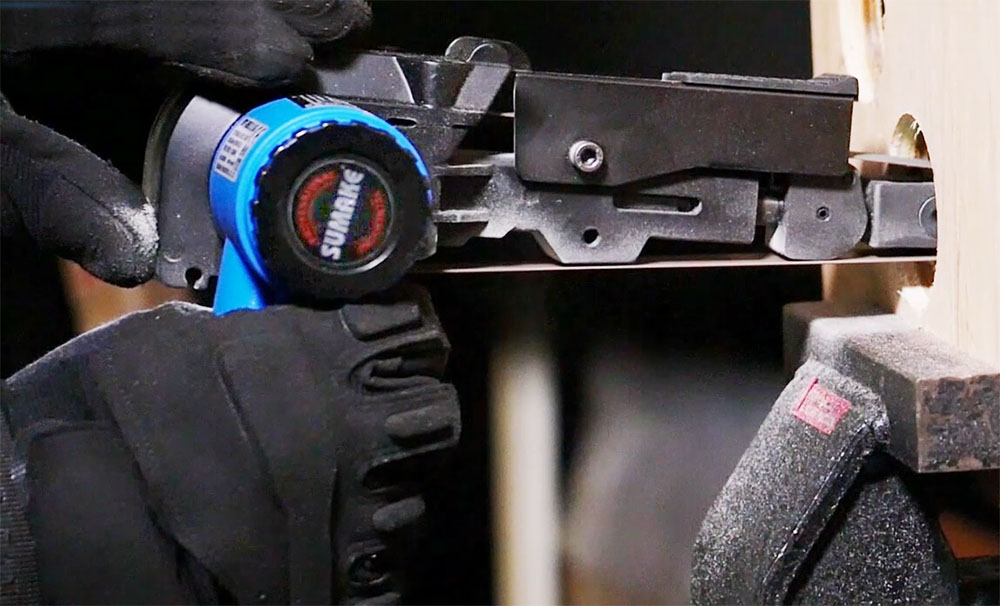
Proper Blade Installation
Installing belt sander blades correctly is key to safe and effective work. A poorly installed blade can cause damage and reduce tool life.
Focus on aligning the blade and setting the right tension. Both steps help the sander run smoothly and cut evenly.
Aligning The Blade Correctly
Check the blade’s alignment before use. A misaligned blade can slip or wear out fast. Make sure the blade runs straight and stays centered on the rollers.
- Place the blade on the sander with the abrasive side facing the drum.
- Center the blade on both rollers evenly.
- Rotate the rollers by hand to check if the blade tracks straight.
- Adjust the tracking knob slowly until the blade stays centered.
- Double-check the blade does not touch any part of the sander frame.
Tension Adjustment Tips
Proper tension keeps the blade tight and secure. Too loose, and the blade can slip off. Too tight, and it can stretch or damage the blade.
| Tension Level | Effect |
| Too Loose | Blade slips or moves during sanding |
| Proper | Blade stays firm and runs smoothly |
| Too Tight | Blade stretches or tears quickly |
Adjust tension using the sander’s tension lever or knob. Check the blade’s snugness by pressing it gently with your finger. It should feel firm but not overly tight.
Regular Cleaning Practices
Keeping belt sander blades clean is important. Dirt and dust can make blades wear out faster. Clean blades work better and last longer.
Regular cleaning removes buildup that slows down sanding. It also prevents damage to the blade and the sander.
Removing Debris And Dust
Debris and dust stick to the belt sander blades during use. This buildup can block the sanding surface. Remove debris after each use to keep blades sharp.
Use a stiff brush or a scraper to clear stuck particles. Work gently to avoid damaging the belt. Cleaning often keeps sanding smooth and even.
- Turn off and unplug the sander before cleaning
- Use a scraper to remove large debris
- Brush away smaller dust particles carefully
- Check for any damage while cleaning
Using Compressed Air And Brushes
Compressed air helps blow away fine dust that brushes cannot reach. Use short bursts of air to clear the blade surface and belt area.
Soft brushes work well to clean delicate parts. Combine brushes with compressed air for a thorough clean. This method keeps blades free from dust build-up.
- Wear safety glasses when using compressed air
- Hold the air nozzle at a safe distance
- Use a soft brush to avoid belt damage
- Clean both sides of the belt for best results
Sharpening And Replacing Blades
Keeping your belt sander blades sharp is important for smooth work. Sharp blades cut better and last longer. Sometimes blades need to be replaced to keep the tool safe and effective.
Knowing when to sharpen or replace your blades helps you save money and get better results. This guide explains how to spot signs for sharpening and when to get new blades.
Signs A Blade Needs Sharpening
A dull blade makes your belt sander work harder. It can slow down your project and cause rough surfaces. Watch for these signs to know if your blade needs sharpening.
- The sander takes more time to finish the job
- You feel more vibration or resistance
- The sanding surface looks uneven or rough
- Burn marks appear on the wood
- The blade edges look dull or rounded
When To Replace Blades
Blades wear out after long use and sharpening. Replacing blades keeps your sander safe and working well. Replace blades if damage or wear is beyond repair.
- Blade has deep cracks or chips
- Teeth are missing or broken
- Sharpening does not improve performance
- Blade bends or warps during use
- Blade is too thin from repeated sharpening
Safe Usage Techniques
Using a belt sander safely protects both you and the tool. Follow simple habits to keep the blades working well.
Proper care reduces risks and helps the sander last longer. Learn key tips for safe usage below.
Avoiding Overheating
Overheating can damage the belt and the work surface. It also makes the sander less effective and unsafe.
- Do not press the sander too hard on the surface.
- Keep the belt moving steadily to avoid heat buildup.
- Take breaks if the tool or belt feels very hot.
- Use the correct belt grit for the material you sand.
- Ensure the sander is clean and free from dust inside.
Maintaining Proper Pressure
Applying the right pressure helps the blade cut efficiently and prevents damage.
| Pressure Level | Effect on Blade and Surface |
| Too Light | Poor sanding, slow progress |
| Proper | Effective sanding, longer blade life |
| Too Heavy | Blade wear, overheating, surface damage |
Storage And Handling
Proper storage and handling keep belt sander blades sharp and safe. It helps the blades last longer and work better.
Taking care of blades stops damage and saves money on replacements. Follow simple steps for good blade care.
Preventing Moisture Damage
Moisture can cause belt sander blades to rust and weaken. Keep blades dry to avoid damage and dullness.
Store blades in dry places and use moisture-absorbing materials. Check blades often for any signs of rust.
- Use silica gel packs or dry cloths around blades
- Avoid storing blades in damp areas like basements
- Wipe blades dry before storage if they get wet
- Keep blades away from water and humidity sources
Storing Blades Properly
Store blades in a way that prevents bending or damage. Proper storage stops blades from getting dull or unsafe.
Use blade holders, racks, or containers to keep blades neat and secure. Separate blades to avoid scratches and nicks.
- Keep blades flat or hanging to avoid bending
- Use blade covers or sleeves for extra protection
- Label storage containers to find blades quickly
- Store blades where they will not be crushed or dropped
Troubleshooting Common Issues
Belt sander blades can face some common problems during use. Fixing these issues keeps your tool working well and extends blade life.
Knowing how to solve these problems helps you avoid damage and get smooth sanding results every time.
Fixing Tracking Problems
Tracking problems happen when the sanding belt moves off the rollers. This causes uneven sanding and can damage the belt.
To fix tracking issues, adjust the tracking knob slowly while the sander is running. The belt should stay centered on the rollers.
- Turn off the sander before making large adjustments
- Clean the rollers to remove dust and debris
- Check the belt for damage and replace if needed
- Make small turns on the tracking knob to prevent belt slipping
Dealing With Uneven Wear
Uneven wear on the sanding belt can reduce its effectiveness. This often happens from using too much pressure or sanding at wrong angles.
To avoid uneven wear, keep steady pressure and move the sander evenly over the surface. Check the belt often for worn spots.
- Replace belts when you see bald or rough patches
- Use consistent speed and pressure during sanding
- Clean the belt and rollers after each use to prevent build-up
- Store belts in a dry place to avoid damage
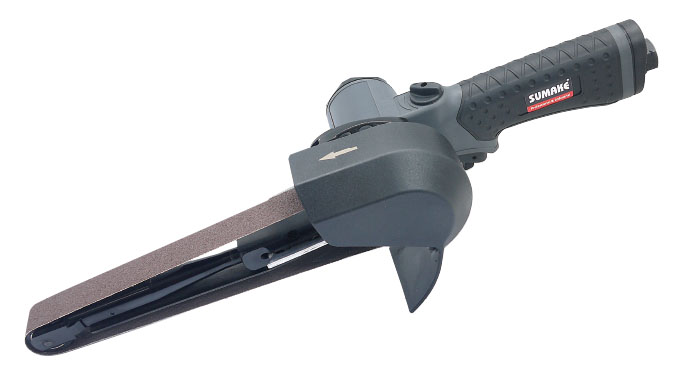
Credit: www.sumake.com

Credit: www.familyhandyman.com
Frequently Asked Questions
How Often Should I Replace Belt Sander Blades?
Replace blades when they show wear, tear, or reduced sanding efficiency. Regular checks every few uses help maintain performance. Sharp blades ensure smooth sanding and prevent damage to materials.
What Is The Best Way To Clean Belt Sander Blades?
Use a rubber belt cleaner or a soft brush to remove dust and debris. Avoid water or harsh chemicals. Regular cleaning extends blade life and keeps sanding consistent.
How Can I Prevent Belt Sander Blades From Overheating?
Ensure proper tension and avoid pressing too hard while sanding. Use slower speeds for tough materials. Overheating reduces blade lifespan and may cause warping or burning.
What Materials Damage Belt Sander Blades The Most?
Hard metals, nails, and grit embedded in wood can quickly dull blades. Avoid sanding materials with foreign objects to prolong blade sharpness and efficiency.
Conclusion
Keeping belt sander blades clean and sharp improves work quality. Check blades often to avoid damage or poor performance. Replace worn blades to save time and effort. Store blades in a dry place to stop rust. Regular care helps tools last longer and work better.
Small steps make a big difference in your projects. Stay safe and enjoy smoother sanding every time. Simple habits keep your belt sander ready for use.
