Marking perfect circles and arcs on wood can feel tricky, but it doesn’t have to be. Whether you’re working on a simple DIY project or crafting something more detailed, getting these shapes just right makes all the difference.
You’ll discover easy, practical tips that save you time and frustration. By following these steps, you’ll gain confidence and precision in your woodworking. Ready to transform your skills and create flawless curves every time? Let’s dive in.
Credit: www.familyhandyman.com
Choosing The Right Tools
Marking circles and arcs on wood needs the right tools. Using proper tools makes your work neat and accurate.
Selecting tools depends on the size of your circle and the precision you want. Different tools fit different tasks.
Compasses And Dividers
Compasses and dividers help draw small to medium circles with ease. A compass has one point and one pencil holder. A divider has two pointed ends for measuring.
- Use a compass for drawing circles up to 6 inches wide.
- Dividers help transfer measurements accurately on wood.
- Choose a compass with a sharp point for steady marking.
Beam Compasses For Larger Circles
Beam compasses are great for big circles over 6 inches. They have a long beam and adjustable points for wide ranges.
| Feature | Benefit |
| Long beam | Draws large circles easily |
| Adjustable points | Set exact radius sizes |
| Stable design | Prevents slipping on wood |
Templates And Stencils
Templates and stencils are ready-made shapes for quick marking. They work well for repeated circle sizes and arcs.
Use templates and stencils to:
- Save time on common sizes
- Keep shapes consistent
- Mark clean edges without measuring
Preparing The Wood Surface
Proper preparation of the wood surface is key to marking accurate circles and arcs. A smooth and clean surface helps your marking tools glide easily. This step reduces mistakes and improves the final results.
Taking time to prepare your wood ensures your marks will be clear and precise. Let’s look at two important parts: sanding and cleaning, and marking with pencils versus marking knives.
Sanding And Cleaning
Sanding removes rough spots and creates a flat surface. Cleaning clears dust and dirt that can block your marks. Both steps make it easier to see and follow your lines.
- Start sanding with medium grit sandpaper to smooth rough areas.
- Use fine grit sandpaper to finish for a smooth surface.
- Wipe the wood with a damp cloth to remove dust.
- Let the wood dry completely before marking.
- Check the surface under good light to spot any spots missed.
Marking With Pencils Vs. Marking Knives
Pencils are easy to use and erase, but their marks can be thick and less precise. Marking knives make fine, clean lines that show exactly where to cut. Choosing the right tool depends on your project needs.
| Tool | Advantages | Disadvantages |
| Pencil | Easy to see, simple to erase | Lines can be thick and smudge |
| Marking Knife | Sharp, precise lines, no smudging | Requires steady hand, harder to erase |
Marking Perfect Circles
Marking circles on wood can be tricky without the right tools. Using a compass helps you draw perfect circles and arcs.
Follow simple tips to set your compass and draw smooth, accurate curves every time.
Setting And Adjusting The Compass
Adjust your compass to the exact radius you need before marking the wood. Use a ruler to measure from the pivot point to the pencil tip.
Make small adjustments until the compass matches the circle size you want. Check the pencil lead is sharp for clear lines.
- Measure radius carefully with a ruler
- Adjust compass legs to the desired length
- Sharpen pencil tip for precise lines
Securing The Compass Pivot
Keep the compass pivot steady to avoid slips. Place the point firmly on the wood surface without pressing too hard.
If the wood is smooth or slippery, use a small nail or pin to hold the pivot in place. This helps keep your circle accurate.
- Hold the pivot point steady on the wood
- Avoid pressing too hard to prevent damage
- Use a nail or pin for extra grip if needed
Drawing Smooth Curves
Move the compass slowly and evenly around the pivot. Keep the pencil tip touching the wood lightly but firmly.
Try to draw in one smooth motion without stopping. This prevents uneven marks or breaks in the circle line.
- Move compass slowly and steadily
- Keep pencil tip in light contact with wood
- Draw in one smooth motion without stopping
Techniques For Arcs
Marking arcs on wood needs careful attention. Using the right tools helps make smooth curves.
Good arc marking improves woodwork shape and fit. It saves time when cutting or shaping.
Using Flexible Curves
Flexible curves are bendable rulers. They shape to any curve you want to mark on wood.
Bend the flexible curve to match your design. Then trace along it with a pencil for a smooth arc.
- Choose a flexible curve that holds shape well
- Bend it gently to avoid kinks
- Secure it on wood using clamps or hands
- Draw slowly to keep the line clean
Combining Straight Lines And Curves
Many wood projects mix straight edges and arcs. Marking both needs careful planning.
Start by marking straight lines with a ruler. Then add arcs using a compass or flexible curve.
- Mark straight lines first for reference
- Use a compass for perfect circles or arcs
- Connect lines and curves smoothly
- Check your marks before cutting
Adjusting For Accurate Angles
Accurate angles improve arc placement. Use protractors or angle guides to check angles.
Adjust your arc marks to fit the angle precisely. This helps joints and shapes fit better.
- Measure the angle where the arc meets a line
- Mark the angle with a protractor or bevel tool
- Adjust the arc shape to match the angle
- Double-check angles before cutting
Avoiding Common Mistakes
Marking circles and arcs on wood is a basic skill in woodworking. Mistakes can cause wasted material and frustration.
Learn how to avoid common errors to get cleaner and more accurate markings every time.
Preventing Compass Slippage
Compass slippage makes circles uneven or off-center. It happens when the point moves during drawing.
To stop this, press the compass point firmly into the wood. Use a sharp point for better grip.
- Hold the compass steady with your hand
- Keep the pivot point sharp and clean
- Draw slowly to maintain control
Avoiding Smudging
Smudging makes your marks unclear and messy. It happens when your hand or tools rub the pencil lines.
Use a hard pencil lead to reduce smudging. Keep your hand away from the drawn lines while marking.
- Use a 2H or harder pencil for fine lines
- Draw light lines first, then darken if needed
- Keep a clean work surface to avoid dirt marks
Correcting Measurement Errors
Measurement errors cause circles to be too big or too small. Double-check your measurements before marking.
Use a ruler or tape measure to verify radius length. Mark the compass carefully to match the exact size.
- Measure twice before setting the compass
- Check compass arms are tight and stable
- Test on scrap wood before marking the final piece

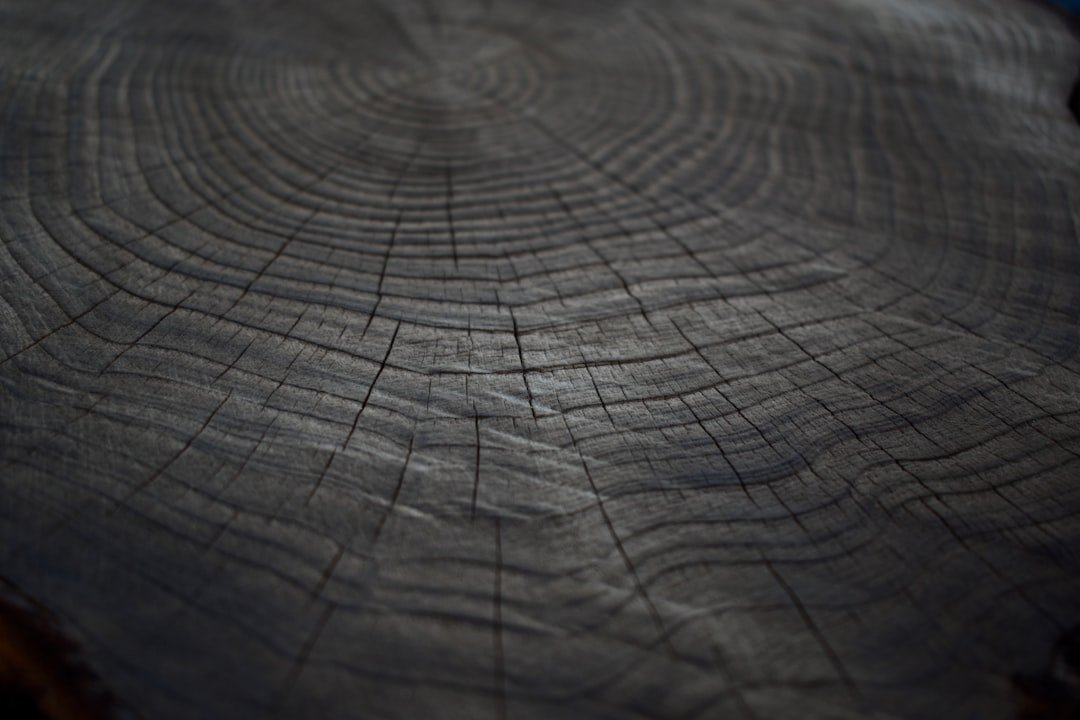
Credit: www.familyhandyman.com
Advanced Tips For Precision
Marking circles and arcs on wood needs accuracy for a clean cut. Using the right tools helps you draw perfect shapes every time. These tips focus on precision for your woodworking projects.
Small details in marking make a big difference in the final result. Learn how to use center punches, digital tools, and layering marks to improve your work.
Using Center Punches For Pivot Points
Center punches create a small dimple on the wood. This helps keep your compass or divider from slipping. Place the punch exactly where you want the circle’s center.
- Use a sharp center punch for a clear mark.
- Tap gently with a hammer to avoid deep dents.
- Check the mark before starting your arc or circle.
- Use the punch mark as the pivot point for your compass.
Employing Digital Measuring Tools
Digital tools help you measure and mark circles and arcs with high accuracy. Digital calipers and angle finders reduce errors in your layout.
| Tool | Purpose | Benefit |
| Digital Caliper | Measure radius and diameter | Exact measurements for circles |
| Digital Angle Finder | Set precise angles for arcs | Correct arc shapes every time |
| Laser Distance Meter | Measure long distances | Accurate large circle layouts |
Layering Marks For Depth And Visibility
Layer your marks to see them clearly on different wood types. Use different pencils or markers to add depth and contrast. This helps you follow the lines easily.
Try these layering techniques:
- Start with a light pencil line for layout.
- Trace over with a darker pencil or fine marker.
- Use chalk or colored pencils on dark wood.
- Apply a thin coat of chalk or graphite dust to highlight marks.

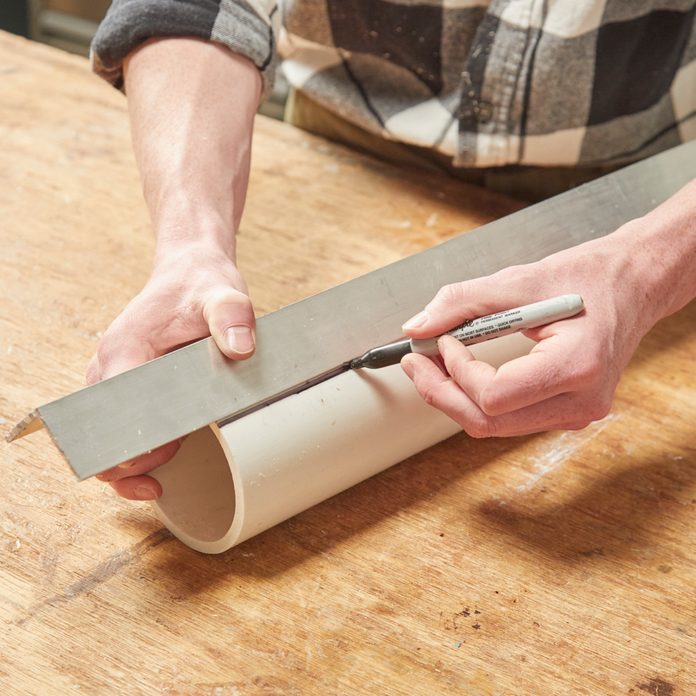
Credit: www.familyhandyman.com
Frequently Asked Questions
How Do I Mark A Perfect Circle On Wood?
To mark a perfect circle on wood, use a compass or a string with a pencil. Secure one end at the center point and rotate the pencil around. This ensures a precise and even circle every time.
What Tools Are Best For Marking Arcs?
For marking arcs, a flexible curve ruler or a beam compass is ideal. They allow you to adjust the radius easily and create smooth, accurate arcs on your wood project.
Can I Use Household Items For Marking Circles?
Yes, household items like bowls or lids work well for marking circles. Place the object on the wood, trace around it with a pencil, and you’ll have a perfect circle.
How Do I Find The Center Of A Circle?
To find the center, draw two chords across the circle and bisect them. The intersection of the bisectors is the center. This method is quick and ensures accuracy.
Conclusion
Marking circles and arcs on wood is simple with the right tips. Use sharp pencils and steady hands for clean lines. Measure carefully to keep shapes accurate and balanced. Practice often to improve your skills and speed. These small steps help make your woodworking projects better.
Keep tools in good shape for best results. Enjoy creating smooth curves and perfect circles every time.