Are you tired of drilling in the wrong spots and ruining your project? Marking drill points accurately on wood and metal is a simple step that can save you time, money, and frustration.
Whether you’re a beginner or have some experience, getting this right makes all the difference. You’ll discover easy and effective tips that will help you mark drill points with confidence and precision every time. Keep reading to make your next drilling job smooth and successful!
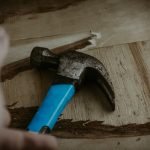
Credit: oukailuo.com
Choosing The Right Tools
Marking drill points accurately is vital for clean and precise work. Using the correct tools helps you mark wood and metal properly. This guide explains which tools work best for each material.
Picking the right tool reduces mistakes and saves time. Let’s explore tools for wood and metal marking.
Marking Tools For Wood
Wood is softer than metal and needs tools that create clear marks without tearing. Common tools include pencils and awls.
- Carpenter’s pencil:Easy to see and write on wood grain. It makes broad marks for rough work.
- Marking gauge:Helps score straight lines parallel to edges for drilling guides.
- Scratch awl:Makes small indentations to stop drill bits from slipping.
- Combination square:Useful for measuring and marking exact drill points.
Marking Tools For Metal
Metal is hard and smooth. Use tools that make fine, sharp marks that last through drilling and cutting.
| Tool | Purpose | Notes |
| Center punch | Creates a small dent to guide drill bits | Used with a hammer to prevent bit slipping |
| Permanent marker | Draws visible lines on metal surfaces | Good for temporary marks |
| Metal scribe | Scratches fine, clear lines | Best for accurate and lasting marks |
| Combination square | Measures and marks precise points | Works for both metal and wood |
Preparing The Surface
Marking drill points accurately depends on how well you prepare the surface. A clean, smooth base helps your marks stay clear and precise. This guide covers tips for both wood and metal surfaces.
Taking time to prepare ensures better drilling results. Below are key steps for cleaning and smoothing wood and prepping metal surfaces before marking drill points.
Cleaning And Smoothing Wood
Wood surfaces must be clean and free from dust or rough patches. Dirt or splinters can cause your markings to be inaccurate or hard to see. Sanding smooths the wood and creates a better surface for marking.
- Remove dust and dirt with a dry cloth or soft brush.
- Lightly sand the area using fine-grit sandpaper.
- Wipe away sanding dust with a tack cloth.
- Check the surface for any cracks or uneven spots.
- Fill small holes or gaps with wood filler if needed.
Prepping Metal Surfaces
Metal surfaces often have oils or rust that block accurate marking. Cleaning and smoothing metal ensures your marks will stay put and your drill hits the right spot.
| Cleaning Task | Recommended Method | Purpose |
| Remove oils and grease | Use a degreaser or rubbing alcohol | Prevents slipping of marking tools |
| Remove rust | Sand with fine steel wool or sandpaper | Creates a smooth surface for accurate marks |
| Clean dust and debris | Wipe with a clean cloth | Ensures clear visibility of marks |
| Apply a light coat of chalk or marker | Use a white or colored marker | Makes markings easier to see on metal |
Accurate Measurement Techniques
Marking drill points on wood and metal requires precise measurements. Accurate marks help prevent mistakes and save material.
Using the right tools and methods can improve your measurement accuracy. This guide explains two common techniques for marking drill points well.
Using Rulers And Tape Measures
Rulers and tape measures are basic tools for measuring distances. They help you find the right spot to drill by showing exact lengths.
Hold the ruler or tape firmly against the material. Use a sharp pencil or marking tool to make a small, clear mark at the measured point.
- Place the ruler flat on the surface for a straight line
- Check the measurement twice before marking
- Use the smallest unit on the ruler for better precision
- Keep the tape measure straight and tight to avoid errors
Employing Calipers And Squares
Calipers measure small distances and thicknesses very accurately. They are useful for marking drill points that need exact placement.
Squares help ensure your marks are at right angles. This is important for drilling holes in the correct alignment on wood or metal.
- Use calipers to measure the distance from edges precisely
- Check the drill point position with a combination square for right angles
- Mark the point lightly and adjust if needed before drilling
- Keep tools clean and calibrated for accurate readings
Marking Methods For Wood
Marking drill points on wood is important for accurate drilling. Clear marks help guide the drill bit.
Using the right tools makes marking easier and more precise. This prevents mistakes and saves time.
Pencil And Awl Techniques
A pencil is the simplest tool to mark drill points on wood. Use a sharp pencil for fine lines.
An awl can make small indentations. These help keep the drill bit from slipping.
- Draw a small dot with a pencil where you want to drill.
- Use an awl to press a shallow hole on the pencil mark.
- Check the mark to make sure it is clear and centered.
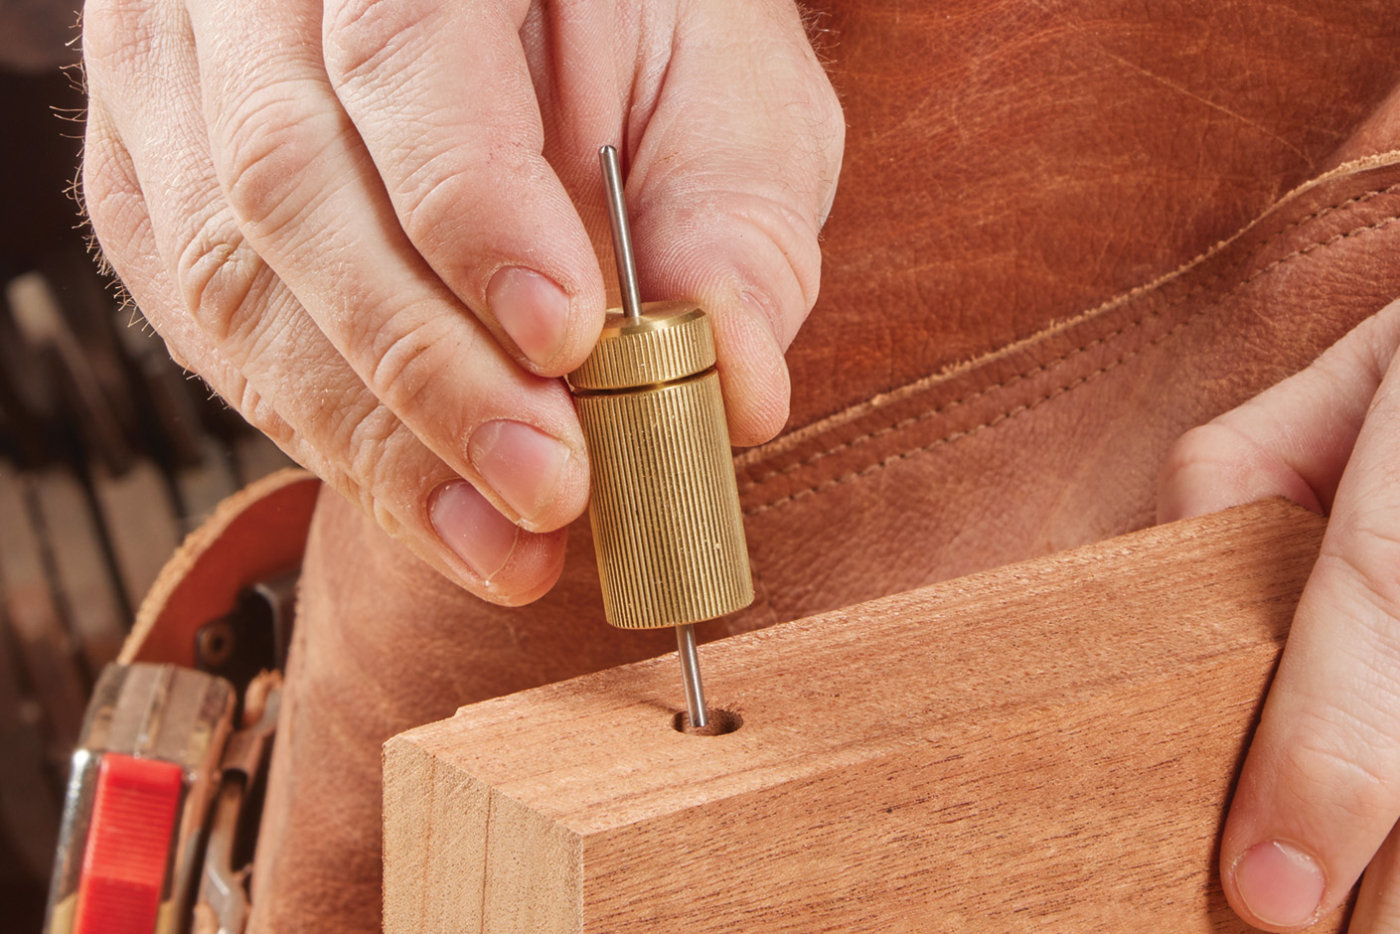
Center Punch Use On Wood
A center punch makes a small dent in wood. This dent guides the drill bit.
Using a center punch is helpful for hard or slippery wood surfaces. It prevents drill slippage.
- Place the punch on the drill point.
- Tap lightly with a hammer to make a shallow dent.
- Check the dent before drilling to ensure accuracy.
Marking Methods For Metal
Marking drill points on metal is important for accurate drilling. Clear marks help you drill in the right spot every time.
There are simple ways to mark metal that make drilling easier. Using the right tools keeps your work neat and precise.
Using A Center Punch
A center punch makes a small dent on the metal surface. This dent guides the drill bit and stops it from slipping.
Hold the punch on the mark, then tap it gently with a hammer. The dent shows exactly where to drill.
- Use a sharp center punch for clear marks
- Hold the punch steady and straight
- Tap lightly to avoid deep dents
- Check the mark before drilling
Scribing Lines On Metal
Scribing lines helps you mark straight drill points on metal. Use a sharp scribe or metal marker for this task.
Draw fine lines where you want to drill. These lines guide your drill bit and help keep holes aligned.
- Use a ruler or square to draw straight lines
- Keep the scribe sharp for clear lines
- Make shallow marks to avoid damaging the metal
- Double-check measurements before marking

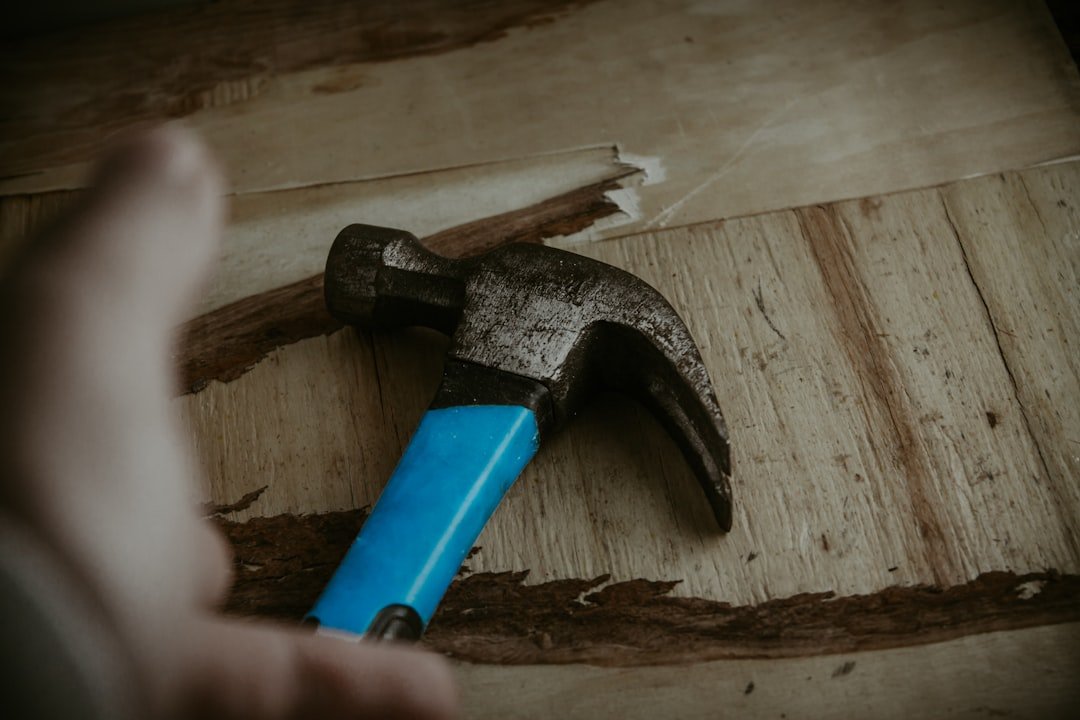
Credit: www.reddit.com
Ensuring Drill Point Precision
Marking drill points accurately is key for clean and precise holes. This helps your project look professional and fit together well.
Both wood and metal need careful marking to avoid mistakes. Use simple tools and check your work to keep points exact.
Double-checking Measurements
Measure twice before marking your drill points. This reduces errors and saves materials from waste.
Use a ruler or tape measure to check distances. Mark lightly at first, then confirm all points match your plan.
- Use a clear ruler with fine markings
- Check both length and width dimensions
- Compare marks with your design or drawing
- Make corrections before drilling
Using Templates And Jigs
Templates and jigs help keep drill points consistent. They are especially useful for repeated holes in wood or metal.
Make or buy a template that matches your hole pattern. Clamp it firmly to your workpiece before marking or drilling.
- Templates guide your drill bit for perfect alignment
- Jigs hold the drill steady at the correct angle
- Reuse templates for multiple identical parts
- Templates reduce measurement errors and save time
Preventing Drill Slippage
Drill slippage can ruin your project and cause injury. Marking drill points correctly helps avoid this problem.
Using simple techniques, you can keep the drill bit steady on wood and metal surfaces.
Creating Pilot Indentations
Make small indentations where you want to drill. These pilot marks guide the drill bit and stop it from slipping.
Use a center punch for metal and a nail or awl for wood to create these indentations.
- Hold the punch or nail steady on the mark
- Tap gently with a hammer to create a small dent
- Check the indentation before drilling
Clamping And Stabilizing Workpieces
Secure your workpiece firmly before drilling. This stops movement and reduces drill slippage.
Use clamps or a vise to hold wood or metal in place on a stable surface.
- Position clamps close to the drilling spot
- Check that the piece does not move when pressed
- Use padding to protect delicate surfaces from clamp marks
Common Mistakes To Avoid
Marking drill points on wood and metal needs care. Small mistakes can cause big problems.
Knowing common errors helps you make better marks. This saves time and material.
Misaligned Marks
Placing drill marks off target leads to crooked holes. This weakens your work and wastes resources.
Check your measurements twice before marking. Use a square or ruler for accuracy.
- Always measure from a fixed edge
- Use sharp pencils or scribes for clear marks
- Mark points lightly at first, then darken
- Double-check alignment before drilling
Using Incorrect Tools
Wrong tools make marks that are hard to see or inaccurate. This leads to mistakes during drilling.
Choose tools that fit the material and size of the drill bit. Avoid using pens or thick markers.
- Use a center punch for metal to prevent drill slip
- Sharp pencils work best for wood
- Measuring tape or rulers help place marks precisely
- Marking gauges can improve consistency
Maintenance Of Marking Tools
Keeping your marking tools in good shape helps you mark drill points accurately. Proper care saves money and time.
Regular maintenance prevents damage and keeps tools ready for use on wood and metal.
Sharpening And Cleaning
Sharp marking tools give clear and precise marks on any surface. Dull tools can cause mistakes.
Clean your tools after each use to remove dirt and metal or wood dust. This stops rust and wear.
- Use a fine file or sharpening stone to sharpen points.
- Wipe tools with a clean cloth to remove debris.
- Apply a light oil layer to metal parts to prevent rust.
- Check for damage or bending and fix it promptly.
Proper Storage Practices
Store marking tools in a dry and safe place. This protects them from damage and moisture.
A good storage spot keeps tools organized and easy to find when needed.
- Use a toolbox or container with separate slots for each tool.
- Avoid mixing tools with heavy objects that may cause damage.
- Keep tools away from humid areas to prevent rust.
- Label storage areas to find tools quickly.
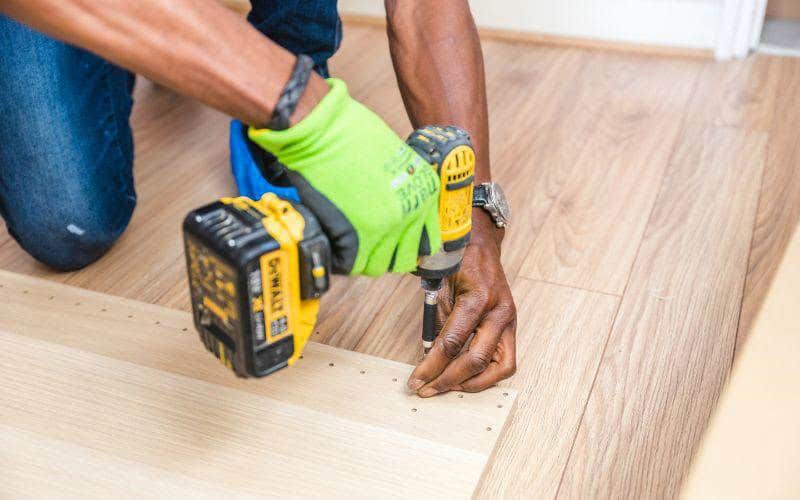
Credit: www.popularwoodworking.com
Frequently Asked Questions
How Do I Accurately Mark Drill Points On Wood?
Use a pencil or awl to mark drill points clearly on wood. Measure twice to ensure precision. An awl creates a small indentation, preventing drill bit slippage. This method improves accuracy and reduces errors during drilling.
What Tools Are Best For Marking Metal Drill Points?
Use a center punch and hammer to mark drill points on metal. The punch creates a small dimple, guiding the drill bit. This prevents wandering and ensures precise drilling. Always wear safety glasses when marking metal.
Can I Use A Pencil To Mark Metal For Drilling?
Pencils may not show clearly on metal surfaces. Use a permanent marker or scriber instead. These tools create visible marks that resist smudging. Clear marks help achieve accurate drill placements and improve overall results.
Why Is Measuring Important Before Marking Drill Points?
Measuring ensures drill points are placed accurately for fit and alignment. It prevents mistakes that lead to wasted materials and time. Use a ruler or tape measure for consistency. Accurate marking enhances project quality and efficiency.
Conclusion
Marking drill points accurately is essential for successful woodworking and metal projects. Use these tips for precise marking every time. Measure twice, mark once. This avoids errors. Choose the right tools for the job. Pencils, scribes, and markers all have their place.
Lightly tap a center punch on metal for better accuracy. On wood, use a bradawl for neat marks. Practice makes perfect. Over time, your skills will improve. Always prioritize safety. Wear safety glasses and gloves to protect yourself. With these tips, your projects will look professional and polished.
Happy drilling!