
When you need to drill into metal, getting your markings right is the first step to a perfect job. Imagine how frustrating it feels to drill in the wrong spot, wasting time and materials.
You want your holes to be precise, clean, and exactly where they should be. You’ll discover simple yet powerful tips to mark metal accurately every time. These easy tricks will save you effort, prevent costly mistakes, and boost your confidence in any metalworking project.
Keep reading, and you’ll learn how to make your drilling tasks smoother and more successful than ever before.
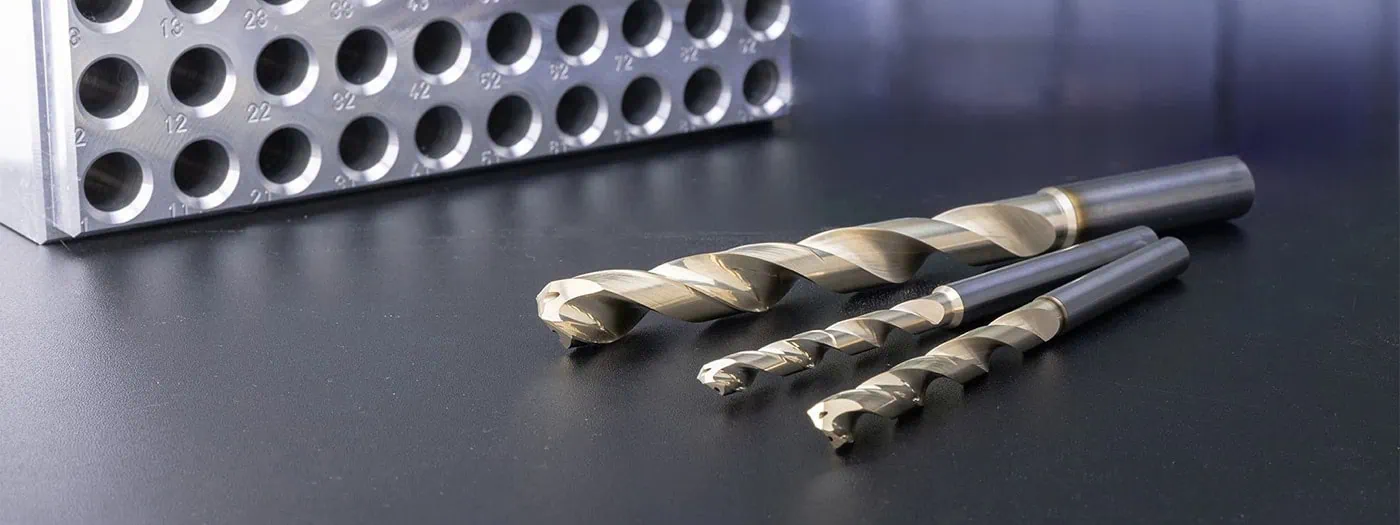
Credit: www.harveyperformance.com
Choosing The Right Tools
Marking metal accurately is important for clean drilling holes. Using the right tools helps you make clear and precise marks.
Different tools work better for different metals and thicknesses. Picking the right marker saves time and reduces mistakes.
Types Of Marking Tools
- Permanent markers are good for quick, visible lines on metal surfaces.
- Scriber tools create fine, scratch-like lines for precise guides.
- Center punches make small indentations to keep the drill bit from slipping.
- Soapstone pencils leave marks that resist heat and oil but can be wiped off easily.
- Chalk markers work well on rough or oily metals and wash off after work.
Choosing a tool depends on the metal type and the detail needed. For example, scribers are best for thin sheet metal.
Benefits Of Precision Markers
| Benefit | Explanation |
| Clear Marks | Helps you see exact drilling points easily. |
| Reduced Errors | Less chance of drilling in the wrong spot. |
| Better Fit | Holes align properly with bolts or screws. |
| Time Saving | Speeds up the drilling process with accurate guides. |
| Less Material Waste | Prevents drilling mistakes that ruin metal pieces. |
Preparing The Metal Surface
Marking metal accurately is important for precise drilling. The metal surface must be ready before you start marking. Proper preparation helps the marks stay clear and easy to see.
Cleaning and surface treatment improve the metal’s appearance and help your tools work better. These steps reduce mistakes and ensure a smooth drilling process.
Cleaning Techniques
Clean metal removes dirt, grease, and rust that hide marking lines. Use simple tools and materials to clean the surface well. This makes the marks more visible and long-lasting.
- Wipe the metal with a clean cloth to remove dust.
- Use a degreaser or mild soap with water for oily spots.
- Scrub rust gently with a wire brush or sandpaper.
- Dry the metal fully to avoid water spots.
- Use alcohol or acetone for stubborn grease or oil.
Applying Surface Treatments
Surface treatments help improve the contrast of your marks. They make lines easier to see and protect the metal from damage. Choose the right treatment for your metal type.
- Use a thin layer of marking blue or layout fluid to color the metal.
- Allow the surface treatment to dry before marking.
- Apply a light coat of oil to prevent rust after marking.
- For rough metal, smooth the surface with fine sandpaper first.
- Use permanent markers or scribes for sharp, clear lines.
Marking Methods For Accuracy
Marking metal accurately is important for clean, precise drilling. It helps you avoid mistakes and waste.
Using the right tools and methods makes your marks clear and exact. This guide covers three key ways.
Using Center Punches
Center punches create a small dent on the metal surface. This dent guides the drill bit to the right spot.
Hold the punch firmly and tap with a hammer to make a clear mark. This prevents the drill from slipping.
- Place punch at the drilling point
- Tap gently with a hammer
- Check the dent before drilling
Employing Scriber Tools
A scriber tool scratches fine lines on metal. These lines show exact drilling locations and cutting guides.
Scribers are sharp and precise. Use steady hands to draw clear, thin lines for better accuracy.
- Hold the scriber like a pen
- Draw lines following your measurements
- Keep lines thin and visible
Utilizing Templates And Jigs
Templates and jigs help mark several holes at once. They ensure equal spacing and perfect alignment.
Use a template made of plastic or metal. Place it on the workpiece and mark through the holes or guides.
- Select or create a template with correct hole spacing
- Secure template to metal with clamps
- Mark holes through template guides
- Remove template before drilling
Ensuring Precise Measurements
Marking metal correctly before drilling is key to getting accurate holes. Precise measurements help avoid mistakes and wasted material.
Using the right tools and techniques makes marking easier and more reliable. This guide shows how to measure and mark metal for drilling.
Measuring Tools To Use
Choose measuring tools that give clear and exact readings. Tools with fine markings help you find the right spot to drill.
- Steel rulers with millimeter marks
- Calipers for inside and outside measurements
- Combination squares to check angles
- Marking gauges for consistent lines
Always check your tools for damage before use. Clean tools give better results and reduce errors.
Tips For Consistent Marking
Mark metal in the same way each time. Consistency helps you drill holes in the right place every time.
- Use a sharp scribe or fine tip marker
- Make small, clear marks instead of large ones
- Double-check measurements before marking
- Hold the metal steady while marking
- Use clamps to keep the metal from moving
Use a punch to create a small dent on the mark. This guides the drill and stops it from slipping.
Preventing Common Mistakes
Marking metal accurately is important for drilling. Mistakes can cause wrong holes and wasted material.
Simple steps can stop common errors. These tips help keep your marks clear and in place.
Avoiding Slippage
Slippage happens when your marking tool moves while marking. This leads to wrong hole placement.
Use a center punch to make a small dent before marking. This holds the tool steady and stops sliding.
- Hold the metal firmly or clamp it down
- Use a sharp pencil or scribe for clear lines
- Make a small indentation to guide your mark
- Mark slowly and carefully to avoid slips
Double-checking Marks
Double-check your marks before drilling. Mistakes are easier to fix on paper than metal.
Measure twice using a ruler or caliper. Confirm marks are in the right spot on both sides.
- Use a measuring tape or caliper for accuracy
- Compare marks with your project plan
- Check alignment and spacing carefully
- Ask someone else to verify your marks
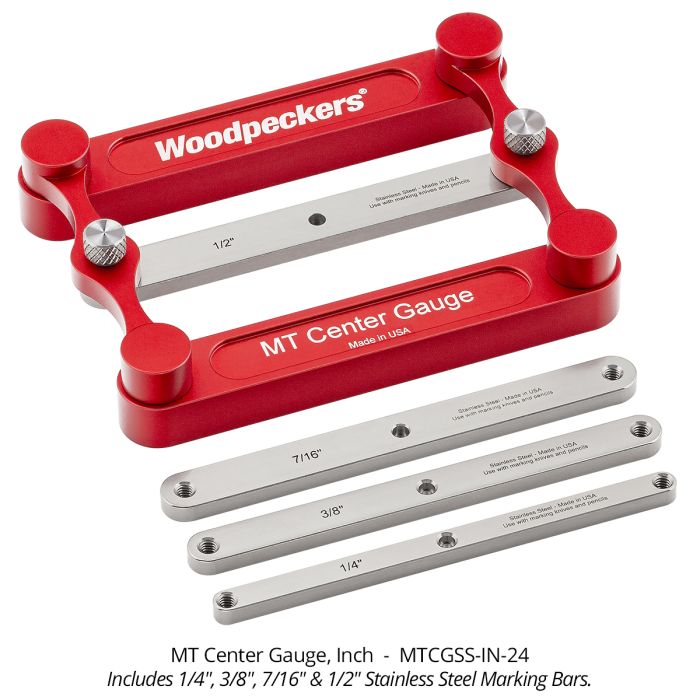
Credit: www.woodpeck.com
Advanced Techniques
Marking metal accurately is key for precise drilling. Advanced techniques help reduce errors.
Two useful methods are laser marking and digital measuring tools. They improve accuracy and speed.
Laser Marking Options
Laser marking uses focused light to create fine, clear marks on metal surfaces. It is fast and precise.
- CO2 lasers work well on non-metal materials but can mark metals with special coatings.
- Fiber lasers are ideal for metals because they produce sharp and durable marks.
- UV lasers create fine marks with minimal heat, reducing metal distortion.
- Laser marking is permanent and resists wear during drilling.
Using Digital Measuring Devices
Digital tools help measure and mark metal with high accuracy. They reduce human mistakes.
| Device | Use | Accuracy |
| Digital Calipers | Measure thickness and length | ±0.01 mm |
| Digital Micrometers | Measure small distances precisely | ±0.001 mm |
| Digital Height Gauges | Mark vertical distances on metal | ±0.02 mm |
| Coordinate Measuring Machines (CMM) | Measure complex 3D shapes | ±0.005 mm |
Maintaining Your Marking Tools
Keeping your marking tools in good shape helps you mark metal clearly. Clear marks make drilling more accurate and safer.
Regular care of your tools saves time and money by avoiding mistakes and tool damage.
Sharpening And Care
Sharp tips create clean lines on metal surfaces. Dull points cause smudges and errors.
- Use a fine file or sharpening stone to keep tips sharp.
- Sharpen tools gently to avoid changing their shape.
- Clean tools after use to remove metal dust and oil.
- Apply a light coat of oil to prevent rust.
- Inspect tips regularly for chips or wear.
Storage Tips
Proper storage protects tools from damage and keeps them ready to use.
| Storage Method | Benefit |
| Use a tool roll or pouch | Keeps tools organized and safe from bumps |
| Store in a dry place | Prevents rust and corrosion |
| Separate tools with padding | Avoids tip damage and dulling |
| Label storage areas | Makes finding tools faster |

Credit: www.amazon.com
Frequently Asked Questions
How Do I Mark Metal For Precise Drilling?
Use a center punch to create a small indentation. This guides the drill bit and prevents slipping during drilling. Always measure twice and mark with a fine-tip permanent marker or scribe for accuracy.
What Tools Help Mark Metal Accurately?
A combination of a center punch, scribe, ruler, and fine-tip marker works best. These tools ensure clear, precise marks, making drilling easier and reducing errors.
Can I Use A Pencil To Mark Metal For Drilling?
Pencils are not ideal for metal marking as their marks are faint and easily wiped off. Use a permanent marker, scribe, or chalk for clearer, longer-lasting marks.
Why Is Marking Metal Important Before Drilling?
Marking metal helps position holes accurately. It prevents mistakes that could damage the workpiece and ensures precise drilling, saving time and material.
Conclusion
Accurate metal marking ensures precise drilling. It’s crucial for quality results. Use the right tools for the job. Always measure twice before marking. This prevents costly mistakes. Practice boosts confidence and skill. A clean surface aids in clarity. Mistakes happen, but learning from them is key.
Consistent practice sharpens your technique over time. Remember to prioritize safety during every project. Proper marking saves time and resources. With these tips, enhance your metalworking projects. Keep improving and enjoy the process!
