Are you tired of wasting time and materials due to inaccurate markings on metal sheets? Precision is crucial when working with metal, and even the slightest error can lead to costly mistakes.
Whether you’re a seasoned metalworker or a DIY enthusiast, mastering the art of accurate marking is key to achieving professional results. In this guide, you’ll discover practical tips and techniques that will transform how you approach your metalwork projects. Imagine the satisfaction of seamless cuts and perfect fits every time.
Stay with us, and unlock the secrets to marking metal sheets with confidence and precision.

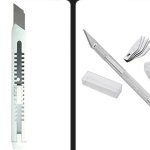
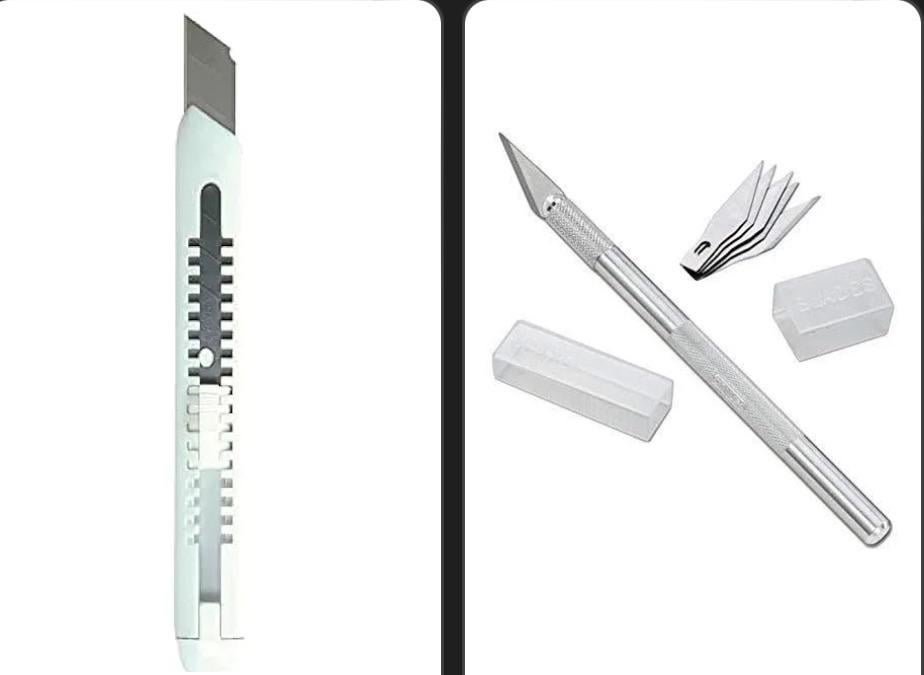
Credit: www.amazon.com
Choosing The Right Tools
Marking metal sheets accurately needs the right tools. Choosing tools helps you make clear and exact marks.
Using proper tools reduces mistakes and saves time in your metalworking projects.
Types Of Marking Tools
There are many tools to mark metal sheets. Each tool works best for different metals and tasks.
- Marking scribes for fine lines
- Permanent markers for quick marks
- Chalk or soapstone for temporary marks
- Laser markers for precise and fast marking
Using Scribes And Marking Pens
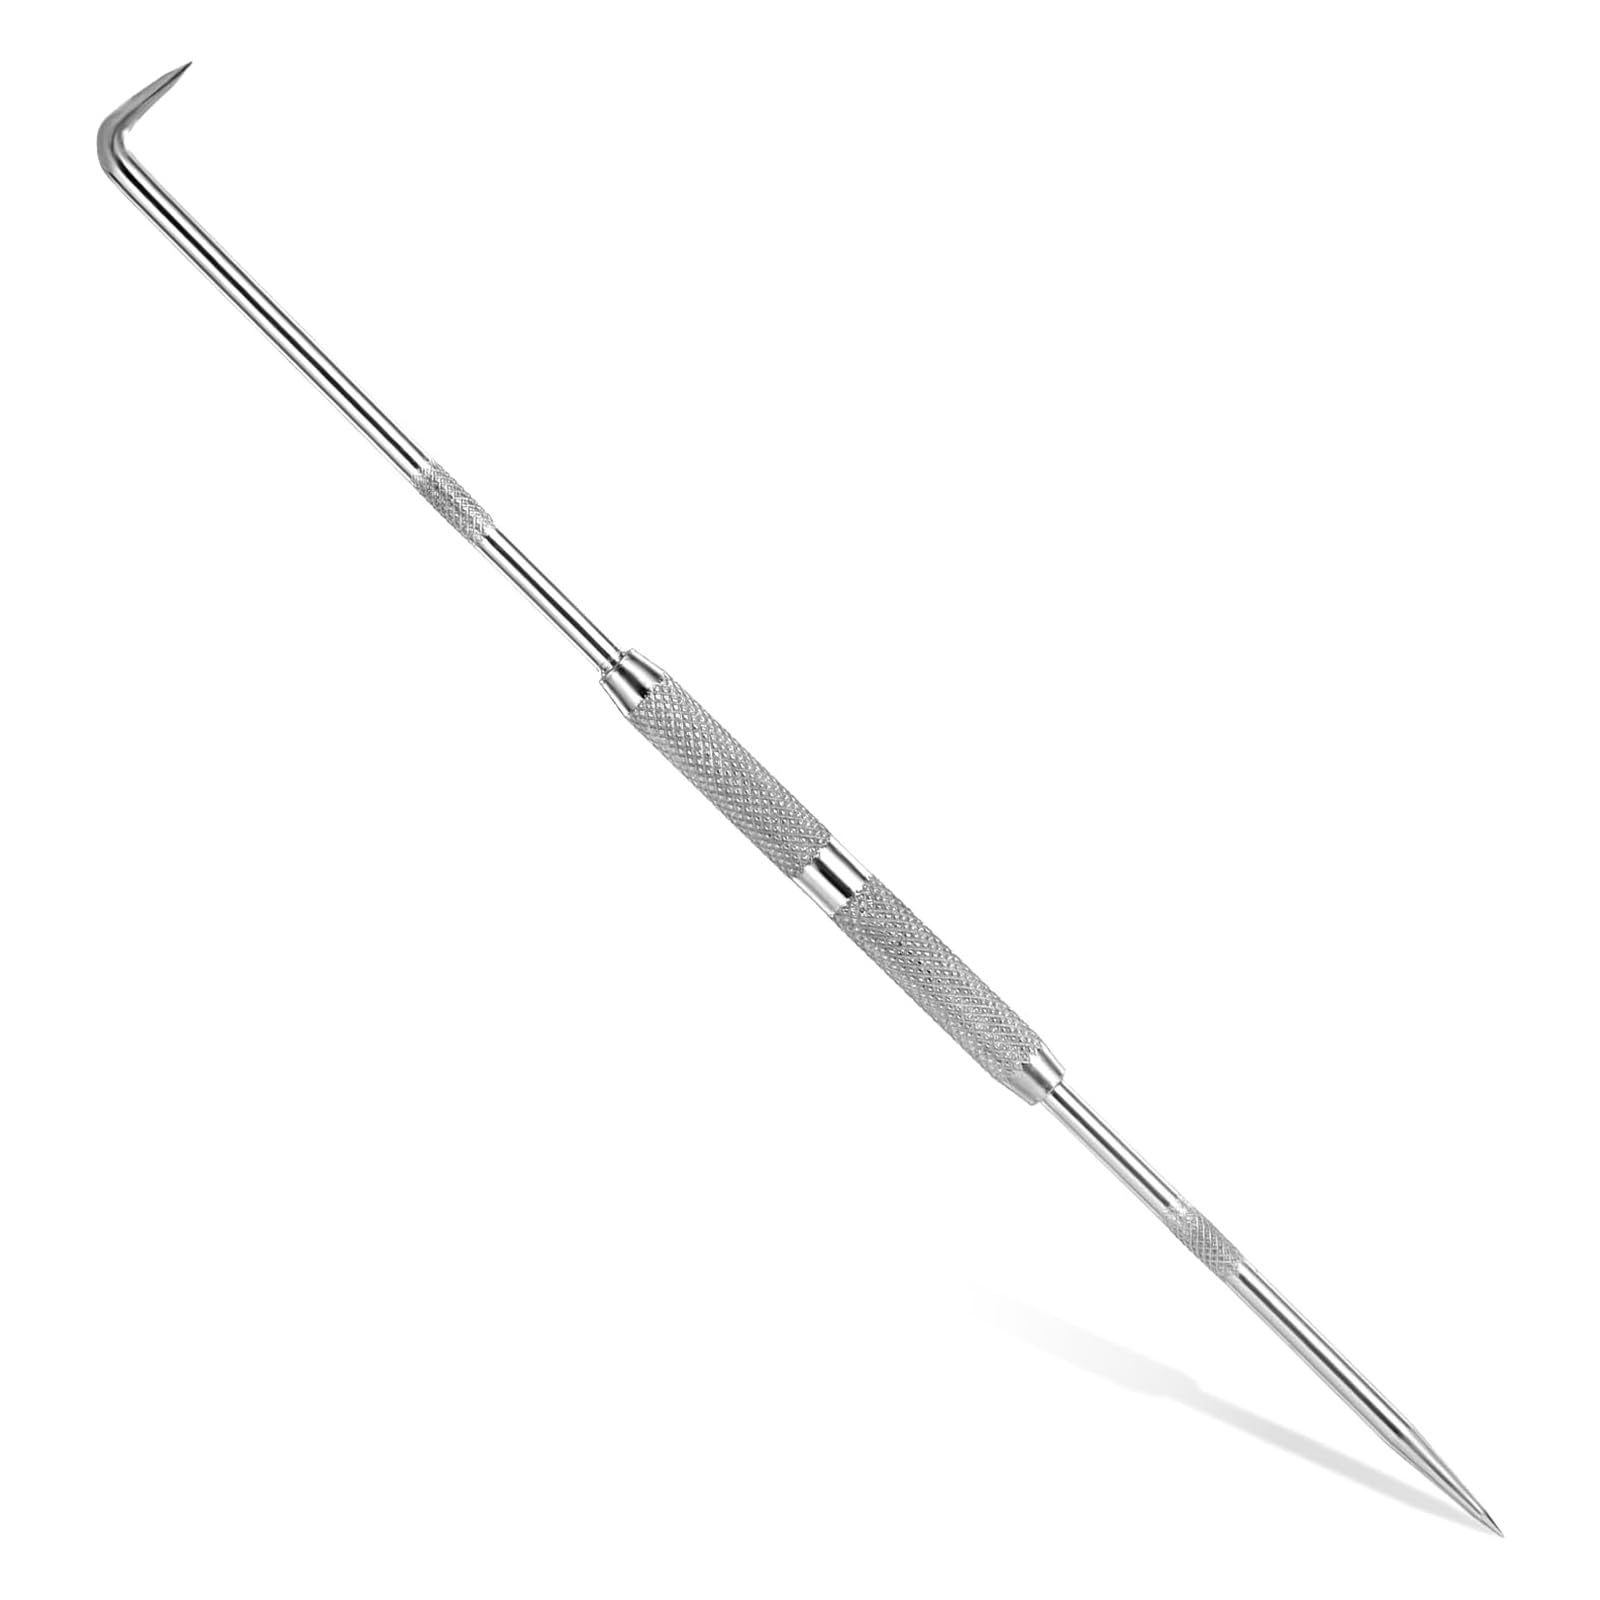
Scribes are sharp tools that scratch fine lines on metal. They give clear, lasting marks.
Marking pens use ink to draw on metal surfaces. They work well for quick and visible lines.
- Scribes work best on smooth, hard metals
- Marking pens suit rough or coated surfaces
- Both tools are easy to use and carry
- Use light pressure to avoid damage
Benefits Of Laser Markers
Laser markers use beams to make precise marks on metal sheets. They do not touch the surface.
They work fast and create clean lines. Lasers reduce errors and keep the metal intact.
- High accuracy for detailed designs
- Marks last long without fading
- No risk of scratching the metal
- Good for repetitive marking tasks
Preparing The Metal Surface
Marking metal sheets accurately needs a clean and smooth surface. Preparing the metal well helps lines stay clear and precise.
Proper preparation reduces mistakes and makes your work easier. Focus on cleaning, coating, and flattening the metal.
Cleaning And Degreasing
Remove dirt, grease, and oil from the metal surface. These substances can cause marking tools to slip or leave unclear lines.
Use a clean cloth with a degreasing solvent or mild detergent. Wipe the metal until it looks shiny and dry.
- Use a lint-free cloth to avoid adding dust
- Apply solvent evenly over the surface
- Allow the metal to dry completely before marking
Applying Contrast Coatings
Apply a contrast coating to make marks easier to see. Dark coatings work well on light metals and light coatings on dark metals.
Use paint, marker pens, or special metal marking fluids. Let the coating dry before you begin marking.
- Choose a coating that dries fast
- Apply a thin, even layer to avoid bumps
- Test the coating on a small area first
Ensuring A Flat Surface
Check that the metal sheet lies flat and does not bend. A flat surface helps you mark straight, accurate lines.
Use a flat workbench or table. If needed, place weights to hold the metal in place while marking.
- Remove any dents or warps before marking
- Secure the sheet to stop movement
- Use a ruler or straightedge for better accuracy
Measuring Techniques
Measuring metal sheets accurately is key to good results. Careful measuring helps cut and shape metal without waste.
Use the right tools and methods. This guide covers calipers, rulers, templates, and how to avoid mistakes.
Using Calipers And Rulers
Calipers give precise inside and outside measurements. Rulers are good for straight edges and longer lengths.
- Use digital calipers for exact readings.
- Hold rulers firmly to prevent slipping.
- Measure twice to confirm accuracy.
- Check for zero error on calipers before use.
Marking With Templates
Templates help repeat shapes on metal sheets quickly. They reduce errors from freehand marking.
Use durable materials like plastic or wood for templates. Secure them on the metal before tracing.
| Template Material | Best Use |
|---|---|
| Plastic | Simple shapes, lightweight |
| Wood | Complex designs, long-term use |
| Metal | High durability, frequent use |
Avoiding Common Measurement Errors
Errors happen from wrong tool use or poor technique. Avoid these to keep marks correct.
- Do not measure on uneven surfaces.
- Check tools for damage or wear.
- Use proper lighting to see marks clearly.
- Keep tools clean and free of debris.
- Cross-check measurements with a second tool.

Credit: awmachineworks.com
Marking Methods
Marking metal sheets accurately is key for quality work. Clear marks guide cutting, bending, and assembling. Different methods fit different needs.
Choose a method that suits your tools and the metal type. Use simple tools or precise instruments for best results.
Hand Marking Tips
Hand marking is easy and fast for many projects. Use a sharp scribe or a fine tip marker for clear lines. Clean the metal surface before marking.
- Hold the scribe firmly to avoid slips.
- Make light marks first, then deepen them if needed.
- Keep your hand steady and use a straight edge.
- Mark on a flat surface for better control.
Using Punches For Precision
Punches create small dents to guide drilling or cutting. They help keep tools from slipping on smooth metal sheets. Use a center punch for spot marking.
| Punch Type | Use | Tip |
| Center Punch | Mark drill spots | Strike with a hammer |
| Prick Punch | Fine layout marks | Use for initial light marks |
| Dot Punch | Permanent dots | Good for metal ID marks |
Employing Stencils And Guides
Stencils and guides help repeat shapes and lines. They reduce errors and speed up marking. Use metal or plastic stencils for best durability.
Tips for using stencils and guides:
- Secure the stencil firmly to prevent movement.
- Use a fine marker or scribe for clear edges.
- Check alignment before marking each time.
- Clean stencils regularly to avoid smudges.
Maintaining Accuracy
Marking metal sheets with high accuracy is key to good results. Small mistakes can cause big problems during cutting or assembly.
Using careful methods helps you keep marks precise and reduces waste. Focus on three main areas to maintain accuracy.
Double-checking Measurements
Always measure twice before marking the metal sheet. This simple step helps catch errors early.
- Use a reliable measuring tool like a steel ruler or tape measure.
- Mark lightly first, then confirm the spot before making a dark line.
- Check measurements from different points on the sheet.
- Ask a colleague to verify the marks if possible.
Working In Controlled Environments
Metal sheets expand and contract with temperature changes. Work in a stable environment for better accuracy.
| Condition | Effect on Metal |
| High Temperature | Expansion causing inaccurate marks |
| Low Temperature | Contraction shifting measurements |
| Stable Room Temperature | Consistent size for precise marking |
Regular Tool Calibration
Tools lose accuracy over time. Calibrate them regularly to keep measurements true.
Common calibration tips:
- Check rulers and tapes against a standard scale.
- Sharpen or replace marking tools like scribers.
- Inspect measuring devices for wear or damage.
- Store tools properly to avoid warping or bending.
Credit: www.amazon.ie
Safety Precautions
Marking metal sheets needs care to avoid injuries. Following safety steps keeps you safe and accurate.
Using the right tools and gear helps protect your hands and eyes from harm.
Protective Gear For Marking
Wear gloves to protect your hands from sharp edges. Use safety glasses to guard your eyes from metal dust.
Long sleeves and closed shoes reduce the risk of cuts and injuries during marking.
- Cut-resistant gloves
- Safety glasses or goggles
- Long-sleeve shirts
- Closed-toe shoes
Handling Sharp Tools Safely
Hold marking tools firmly and keep fingers away from the tip. Use tools with comfortable grips to avoid slips.
Store sharp tools in a safe place after use. Always cut away from your body to prevent accidents.
- Hold tools with steady hands
- Use tools that fit your hand well
- Cut away from your body
- Keep tools in a safe storage spot
Frequently Asked Questions
What Tools Are Best For Marking Metal Sheets Accurately?
Using a fine-tip scribe, metal ruler, and a center punch ensures precise markings. These tools help create clear, sharp lines and points that guide cutting or drilling, improving accuracy and reducing errors.
How Can I Prevent Errors When Marking Metal Sheets?
Double-check measurements and use a stable surface before marking. Avoid moving the sheet and mark lightly first, then darken the lines for precision and fewer mistakes.
Why Is Surface Preparation Important Before Marking Metal Sheets?
Cleaning removes dirt, oil, and rust, which can distort markings. A smooth, clean surface ensures the marking tools glide evenly, resulting in more accurate and visible lines.
Can Temperature Affect Metal Sheet Marking Accuracy?
Yes, metal expands or contracts with temperature changes. Marking in a stable, room-temperature environment helps maintain consistent measurements and prevents inaccuracies caused by thermal expansion.
Conclusion
Accurate marking on metal sheets saves time and prevents mistakes. Use the right tools and measure twice before marking. Keep your lines clear and straight for better cutting results. Practice steady hand movements to improve precision. Small details make a big difference in metalwork.
Follow these tips to achieve cleaner and more accurate marks. Consistency helps you finish projects faster and with less waste. Simple steps lead to better craftsmanship every time.