Are you struggling with marking metal sheets accurately for cutting? Precision is everything when it comes to metalwork, and getting those markings right can make all the difference between a professional finish and a costly mistake.
Whether you’re a seasoned craftsman or just starting out, learning effective marking techniques is crucial. Picture yourself creating flawless cuts, saving time, and reducing waste. Imagine the satisfaction of pieces fitting together perfectly, thanks to your careful preparation. By mastering these tips for marking metal sheets, you can transform your cutting process and elevate your projects to a new level of excellence.
Let’s dive into these essential strategies that promise to sharpen your skills and streamline your workflow.
Choosing The Right Tools
Marking metal sheets correctly makes cutting easier and more accurate. Using the right tools helps create clear lines that last through cutting.
Different metals and projects need different marking tools. Choose tools that fit the metal type and your cutting method.
Types Of Marking Instruments
Many tools can mark metal sheets. Each tool works best for certain metals and tasks.
- Scriber:A sharp metal tool that scratches the surface for precise marks.
- Permanent Marker:Uses ink to draw on metal. Good for quick, visible lines.
- Soapstone:A soft stone that leaves chalky marks. Easy to remove after cutting.
- Grease Pencil:Leaves waxy marks that resist water and oil.
- Center Punch:Makes small dents to guide drilling or cutting.
Choose your marking instrument based on how clear and lasting the mark needs to be.
Selecting Tools For Different Metals
Soft metals like aluminum or copper need gentle marking tools to avoid damage. Hard metals like steel require stronger tools.
| Metal Type | Best Marking Tool | Reason |
|---|---|---|
| Aluminum | Permanent Marker or Soapstone | Soft surface, easy to mark without scratches |
| Copper | Soapstone or Grease Pencil | Marks are visible and removable after cutting |
| Steel | Scriber or Center Punch | Hard surface needs scratch or dent marks |
| Stainless Steel | Center Punch or Scriber | Hard and smooth, needs clear, lasting marks |
Pick tools that work well with your metal type to get clean and clear marking lines.
Preparing The Metal Surface
Marking metal sheets clearly is important for accurate cutting. Preparing the metal surface helps marks stay visible and precise.
Cleaning and smoothing the metal makes it easier to draw or scratch lines. Applying surface treatments can improve mark visibility and durability.
Cleaning And Smoothing Techniques
Start by removing dirt, oil, and rust from the metal sheet. Use a clean cloth and a degreaser or mild soap solution.
After cleaning, smooth the surface with fine sandpaper or a metal file. This removes bumps and rough spots.
- Wipe the surface with a cloth soaked in degreaser
- Rinse and dry completely to avoid water spots
- Sand lightly with 120- to 220-grit sandpaper
- Remove dust with a dry cloth before marking
Applying Surface Treatments
Apply a surface treatment to help marking tools show clearly on the metal. Treatments create a better contrast between marks and the metal.
Common surface treatments include using a marker, chalk, or a light coating of paint. Choose one based on the metal type and cutting method.
- Use a permanent marker for dark metals
- Chalk works well on smooth, light-colored metals
- Apply a thin coat of spray paint and let dry before marking
- Test the treatment on a scrap piece first
Marking Techniques For Accuracy
Marking metal sheets correctly is important for precise cutting. Accurate marks save time and materials.
Use clear methods to ensure your lines are exact. This helps avoid mistakes during cutting.
Using Templates And Stencils
Templates and stencils help keep your markings consistent. They are useful for repeated shapes or patterns.
Place the template firmly on the metal sheet. Trace the edges with a fine marker or scribe for sharp lines.
- Choose templates made of durable material
- Secure the template to prevent movement
- Use a sharp marking tool for clear lines
- Check the stencil edges for wear before use
Measuring And Layout Tips
Measure twice to avoid errors. Use a good ruler or tape measure for precise dimensions.
Mark layout lines lightly first. Confirm all measurements before making dark, permanent marks.
- Use a square to keep lines straight and at right angles
- Mark points clearly before drawing lines
- Double-check measurements between points
- Keep tools clean and free of debris for accuracy

Credit: handprinted.co.uk
Ensuring Visibility Of Marks
Marking metal sheets clearly helps make precise cuts. Visible marks reduce mistakes and save time.
Using the right tools and colors is key to seeing your cutting lines well. This guide covers how to keep marks easy to see.
Choosing Marking Colors
Pick colors that stand out against the metal surface. Bright colors like red, blue, or white work best on dark metals.
- Use permanent markers made for metal to avoid smudging.
- Try white paint pens for dark metals.
- Use dark markers or pencils on light metals like aluminum.
- Test your chosen color on a small metal piece first.
Enhancing Marks For Cutting
Make marks thicker or add outlines to improve visibility. You can also use tape or chalk to highlight cutting lines.
| Method | Benefit |
| Thick Marker Lines | Easier to see from a distance |
| Outline Marks | Prevents marks from fading |
| Use Masking Tape | Creates a clear, bright edge |
| Apply Chalk Dust | Improves contrast on smooth metal |
Preventing Common Marking Errors
Marking metal sheets correctly is important for a clean cut. Mistakes in marking can lead to wasted materials and time.
Using simple tips helps avoid common errors like smudging and wrong measurements.
Avoiding Smudges And Fading
Markings on metal sheets can smudge or fade easily. This makes cutting inaccurate and causes errors.
Use fine-tipped permanent markers or special metal pencils. These tools create clear, lasting lines.
- Wipe the metal surface clean before marking
- Let the ink dry fully before moving the sheet
- Avoid touching the marks with dirty or oily hands
- Store marked sheets in dry, dust-free areas
Double-checking Measurements
Measuring twice reduces errors and material waste. Always check your measurements before marking.
Use reliable tools like steel rulers or tape measures. Confirm measurements from different points on the sheet.
- Measure the length and width separately
- Mark reference points lightly before final lines
- Have a second person verify your measurements
- Re-check measurements after marking and before cutting

Credit: boss-exteriors.com
Improving Efficiency In Marking
Marking metal sheets correctly saves time and reduces waste. Efficient marking helps workers cut sheets faster and with fewer mistakes.
Using smart techniques for marking improves the whole cutting process. This guide explains ways to work faster and more precisely.
Batch Marking Strategies
Marking many metal sheets at once saves time. Group similar sheets and mark them together to speed up the work.
Organize sheets by size and shape before marking. This reduces the need to change tools often and keeps the flow steady.
- Sort sheets by size and type
- Mark all sheets in one batch
- Use templates for repeated shapes
- Label sheets clearly to avoid confusion
Using Technology For Precision
Technology helps make precise marks on metal sheets. Tools like laser markers and digital templates reduce errors and save time.
Computer software can plan marks before cutting. This reduces waste and ensures each cut is in the right place.
- Use laser markers for clear, exact lines
- Apply digital templates for consistent shapes
- Try software to plan sheet layouts
- Check marks with measuring tools or sensors

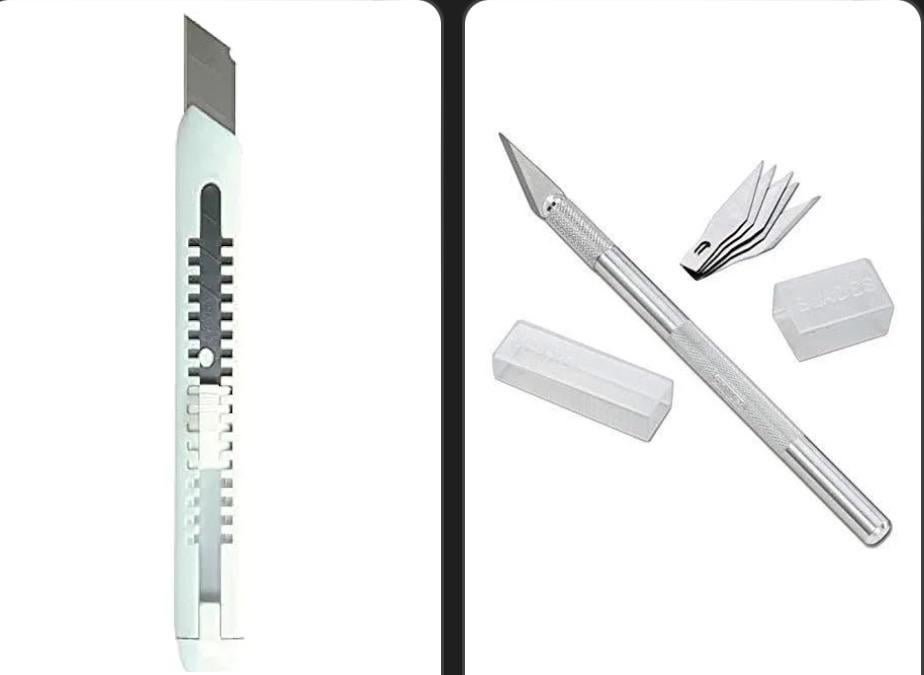
Credit: www.amazon.ca
Frequently Asked Questions
What Tools Are Best For Marking Metal Sheets?
Use fine-tip permanent markers, scribers, or soapstone for clear, precise markings. These tools resist smudging and withstand cutting processes effectively.
How To Ensure Accurate Measurements On Metal Sheets?
Always use a reliable measuring tape or ruler and double-check measurements before marking. Mark lightly first, then confirm to avoid errors.
Can I Use Pencil For Marking Metal Sheets?
Pencils are not ideal as marks can be faint or erase easily. Use markers or scribers for durable, visible lines.
How To Prevent Marks From Rubbing Off During Cutting?
Choose oil-based markers or engrave lines with a scribe. These methods ensure markings stay visible throughout cutting.
Conclusion
Marking metal sheets carefully helps ensure clean, accurate cuts. Use the right tools and measure twice to avoid mistakes. Clear markings guide your cutting and save time. Take your time and work steadily for best results. Practice improves your skill and confidence over time.
Follow these tips to make your metal cutting easier and safer. Keep your workspace organized and your tools sharp. Precision in marking leads to professional-looking finished pieces.
