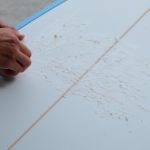
If you’re working on a woodworking project, getting your measurements right is key. Marking wood with chalk lines can save you time and help you make precise cuts.
But if you’ve ever struggled with messy or fading lines, you know how frustrating it can be. You’ll discover simple tips that make marking wood with chalk lines easier and more accurate. Keep reading, and you’ll learn how to get sharp, clean lines every time—so your project turns out just the way you want.
Credit: www.familyhandyman.com
Choosing The Right Chalk Line
Marking wood accurately helps you make straight cuts and fit pieces well. Chalk lines are useful tools for this task. Picking the right chalk line makes your work easier and more precise.
This guide explains types of chalk lines, how to select the chalk color, and what to check for quality and durability.
Types Of Chalk Lines
Chalk lines come in many styles. Choose one that fits your project and comfort. Here are common types:
- Manual Reel:You pull the line out by hand and snap it on the wood.
- Retractable Chalk Line:It has a spring inside that pulls the line back automatically.
- Chalk Line with Handle:Offers a larger grip for easier use on bigger projects.
- Disposable Chalk Line:Used for quick jobs and then thrown away.
Selecting Chalk Color
Pick a chalk color that shows well on your wood surface. Bright colors are easier to see. Common chalk colors include:
- Blue – works well on light wood.
- Red – shows up on dark or rough wood.
- White – good for dark wood but may not be visible on light wood.
- Green – visible on many surfaces but less common.
Durability And Quality Factors
| Feature | What to Look For | Why It Matters |
|---|---|---|
| Case Material | Strong plastic or metal | Prevents damage and lasts longer |
| Line Strength | Thick, sturdy string | Stops snapping during use |
| Chalk Powder Quality | Fine and bright chalk | Leaves clear, visible lines |
| Refill Options | Easy to refill chalk | Saves money and extends tool life |
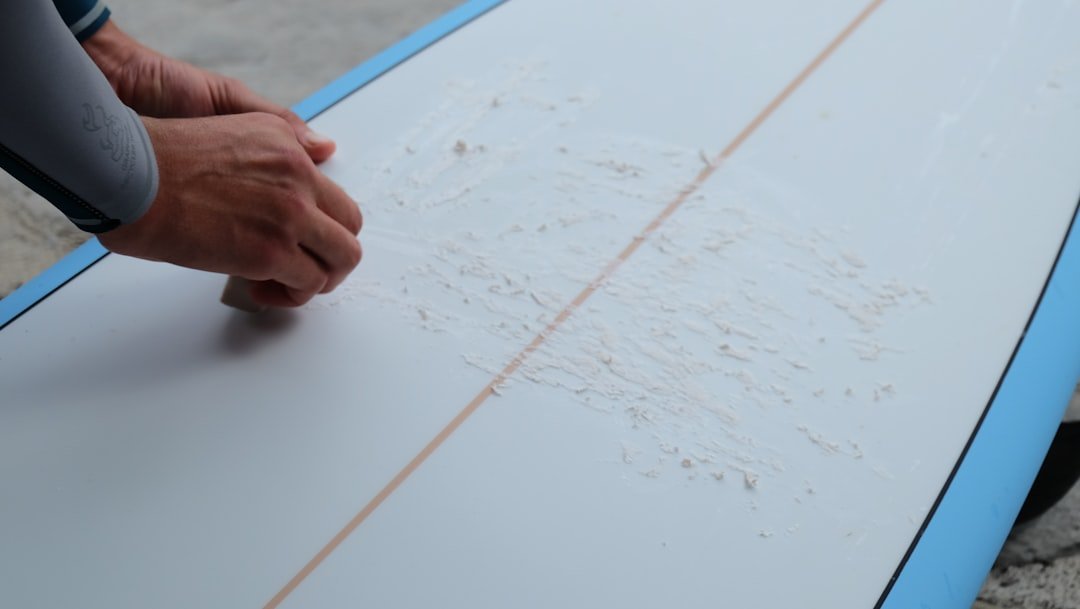
Preparing Wood For Marking
Marking wood accurately helps you make clean cuts and strong joints. Preparing the wood surface is important before using chalk lines.
Good preparation ensures the chalk line shows clearly and does not smudge or fade.
Cleaning The Surface
Remove dirt, dust, and debris from the wood before marking. A clean surface helps the chalk stick better and show lines clearly.
Use a brush or cloth to wipe off loose particles. Avoid using water or harsh cleaners that can damage the wood.
Sanding For Smoothness
Sanding the wood smooth makes chalk lines easier to draw and read. Rough surfaces can break the chalk line or cause uneven marks.
Use fine-grit sandpaper to lightly sand the area where you will mark. Sand in the direction of the wood grain for best results.
Ensuring Dryness
Make sure the wood is dry before marking with chalk lines. Moisture can cause chalk to smear or not stick at all.
If the wood feels damp, let it dry completely in a warm, dry place before starting your work.
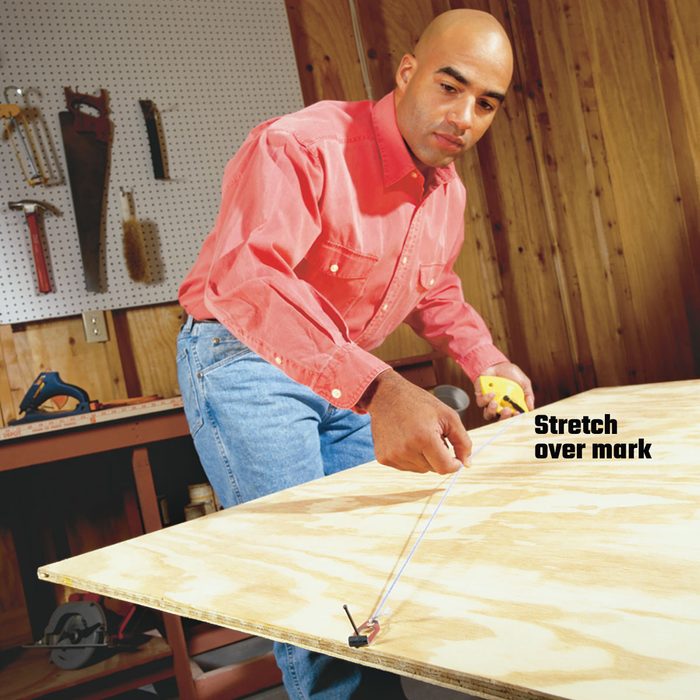
Setting Up The Chalk Line
Marking wood with chalk lines helps create straight, clear guidelines. Setting up the chalk line correctly ensures accuracy and ease during your woodworking project.
Follow simple steps to prepare your chalk line. This guide covers tension, measuring, and common errors to avoid.
Proper Tension Techniques
Keep the chalk line tight before snapping it on the wood. Proper tension gives a clean, straight line without sagging or gaps.
- Pull the line firmly but avoid overstretching.
- Hold the reel steady to keep tension consistent.
- Check that the line returns smoothly after snapping.
- Reapply chalk powder if the line loses color.
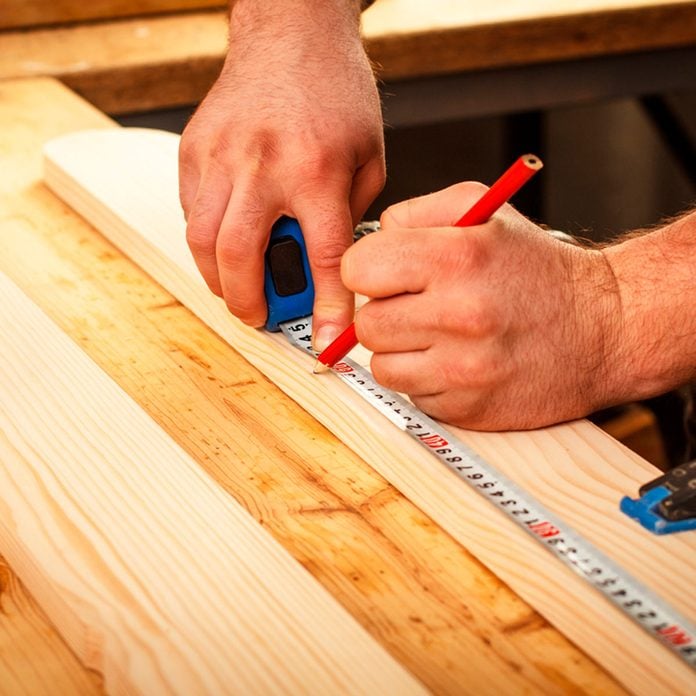
Measuring And Positioning
Measure twice to place the chalk line exactly where you want. Position the hooks or anchors securely on both ends of the wood.
| Tip | Reason |
| Use a tape measure for accuracy | Prevents misaligned lines |
| Anchor hooks tightly | Keeps line from slipping |
| Mark end points clearly | Makes snapping easier |
Avoiding Common Mistakes
Simple errors can ruin your chalk line mark. Watch out for slack lines, wrong measurements, and poor chalk coverage.
- Don’t snap a loose line; it causes curved marks.
- Double-check measurements before marking.
- Shake the chalk reel well to coat the line evenly.
- Clean the wood surface for better chalk adhesion.
Marking Techniques For Accuracy
Using chalk lines helps mark wood quickly and clearly. Accurate marks make cutting and fitting easier.
Good marking techniques reduce mistakes and save time during your project. Focus on precision and care.
Snap Line Best Practices
Choose a tight chalk line to get a sharp mark. A loose line makes a blurry, inaccurate mark.
Hold the chalk line taut and snap it firmly against the wood. This leaves a clear and straight line.
- Apply chalk evenly on the string
- Keep the line tight before snapping
- Snap the line in the center for best results
- Repeat if the mark is faint or uneven
Double Checking Measurements
Measure twice before snapping the chalk line. This ensures your marks are correct the first time.
Use a tape measure and ruler to check your distances. Mark the same spot twice for clarity.
- Mark the start and end points clearly
- Compare measurements from different edges
- Check for square corners with a carpenter’s square
- Confirm marks before cutting or drilling
Using Guides And Clamps
Use straight guides to keep your chalk lines even. Clamps hold the guides firmly in place.
Secure the guide before snapping the line. This prevents movement and keeps your marks straight.
- Choose a straight edge or board as a guide
- Clamp it securely along the wood surface
- Snap the chalk line against the guide edge
- Remove the clamps after marking
Maintaining Chalk Lines
Chalk lines help mark wood quickly and accurately. Keeping them in good shape saves time and effort.
Proper care of your chalk line makes your work cleaner and more precise every time.
Refilling Chalk Powder
Check the chalk level before each use. Add powder when it runs low to keep the line sharp.
Use the right chalk color for your project. Pour chalk powder slowly to avoid spills.
- Open the chalk line reel carefully
- Pour chalk powder into the container
- Close the reel tightly to prevent leaks
- Test the line on scrap wood before use
Cleaning The Line String
Keep the line string clean for clear, straight marks. Dirt and chalk build-up reduce line quality.
Wipe the string with a dry cloth after use. Avoid water to prevent rust on metal parts.
- Pull out the string gently
- Use a soft cloth to remove chalk dust
- Check for frays or damage on the string
- Replace the string if it is worn out
Storage Tips To Extend Life
Store chalk lines in a dry, cool place. Heat and moisture damage the chalk and reel parts.
Keep the chalk line reel closed to avoid chalk spills and dust buildup.
- Do not leave the chalk line in direct sunlight
- Store in a toolbox or protective case
- Keep away from damp areas to stop rust
- Check the chalk level before long storage periods
Credit: www.familyhandyman.com
Troubleshooting Chalk Line Issues
Using chalk lines is a common way to mark wood for cutting or alignment. But sometimes, the lines may not appear clear or the string breaks. These issues can slow down your work.
This guide helps you fix common chalk line problems so you get clean, straight marks every time.
Faint Or Uneven Lines
Faint or uneven chalk lines happen if the chalk powder is old or the string is not coated well. Moisture or dust can also cause poor marking.
- Shake the chalk line container before use to mix the powder.
- Use fresh chalk powder for better coating.
- Snap the line sharply to leave a clear mark.
- Keep the string dry to avoid clumps.
- Clean the wood surface before marking.
String Breakage Solutions
Strings break when pulled too hard or if they are worn out. Using the wrong string type can also cause breakage.
| Cause | Solution |
| Old or frayed string | Replace with a new, strong string |
| Too much tension when snapping | Pull gently and release quickly |
| Using thin or weak string | Use a heavy-duty chalk line string |
| Sharp edges on wood surface | Protect string or avoid sharp edges |
Preventing Chalk Dust Mess
Chalk dust can create a mess on your tools and workspace. It can also stain clothes and skin if not handled carefully.
- Wear a dust mask and safety glasses.
- Work in a well-ventilated area.
- Use a chalk line with a sealed container to reduce spills.
- Tap excess chalk off the string before snapping.
- Clean up chalk dust with a damp cloth or vacuum.

Credit: www.familyhandyman.com
Frequently Asked Questions
What Is The Best Chalk For Marking Wood?
The best chalk for marking wood is bright and highly pigmented. It should contrast well with the wood color. Blue or white chalk lines work well for most wood types. Avoid chalk that easily smudges or fades to ensure accurate, long-lasting marks.
How Do I Keep Chalk Lines Straight On Wood?
To keep chalk lines straight, use a chalk line reel with a taut string. Snap the string firmly against the wood surface. Ensure the reel is aligned properly before marking. This technique guarantees clean, precise lines for accurate cutting or measurements.
Can Chalk Lines Damage Wood Surfaces?
Chalk lines generally do not damage wood surfaces. They leave temporary marks that wipe off easily. However, avoid excessive pressure or sharp snapping, which might indent soft wood. Always test on a scrap piece first to confirm no damage occurs.
How To Prevent Chalk Dust When Marking Wood?
Prevent chalk dust by snapping the line gently and in a controlled manner. Use a chalk line reel with dust-resistant chalk. Work in a well-ventilated area and wear a mask if sensitive. These steps minimize airborne chalk dust while marking wood.
Conclusion
Mastering chalk line marking makes woodworking projects easier and more precise. Chalk lines help create straight, accurate guides on wood surfaces. Always choose the right chalk color for visibility. Keep chalk lines clean and avoid smudging. Practicing proper tension ensures straight lines.
Regularly check your tools for accuracy. These tips will enhance your woodworking skills, leading to better results. With these simple practices, you improve efficiency and precision. Happy woodworking!