When you’re diving into a carpentry project, precision is your best friend. A slight misalignment can turn your woodworking masterpiece into a lopsided mess.
That’s where chalk lines come in. They are your go-to tool for marking straight lines on wood, ensuring your cuts are spot-on. Imagine transforming your projects from ordinary to extraordinary with the simple swipe of a chalk line. It’s not just about marking; it’s about enhancing your craftsmanship and making each project a success.
Ready to discover the secrets to perfect chalk line marking that will elevate your woodworking skills? Let’s get started!
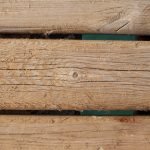
Credit: www.familyhandyman.com
Choosing The Right Chalk Line
Using a chalk line helps mark straight lines on wood easily. Picking the right chalk line makes your carpentry work cleaner and more accurate.
Different chalk lines suit different jobs. Learn about types, colors, and care to get the best results.
Types Of Chalk Lines
There are several chalk line types. Some use manual winding, others are automatic. Choose one that fits your needs and comfort.
- Manual chalk lines need you to pull and rewind the string by hand.
- Automatic chalk lines have a built-in reel for quick winding.
- Some chalk lines have a metal or plastic case for better durability.
- Longer lines work well for big projects, shorter ones for small tasks.
Selecting Chalk Colors
Chalk color matters for visibility. Pick a color that shows well on your wood surface.
- White chalk works best on dark wood.
- Blue chalk is good for light or medium wood tones.
- Red chalk stands out on very light wood or dusty surfaces.
- Choose color based on the wood type and lighting in your workspace.
Maintaining Chalk Line Tools
Keep your chalk line tools clean and dry. Proper care helps them last longer and work better.
- Empty old chalk before refilling to avoid clumps.
- Store in a dry place to prevent rust or damage.
- Check the string regularly for wear and replace if needed.
- Wipe the case clean after each use to remove chalk dust.
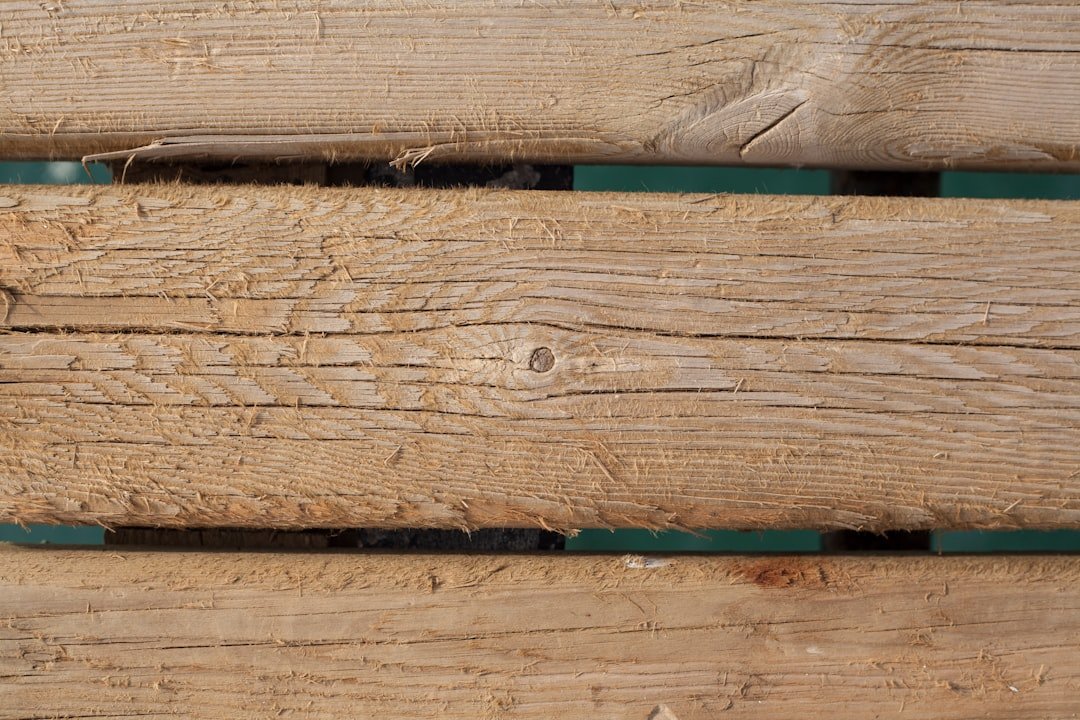
Credit: www.familyhandyman.com
Preparing The Wood Surface
Marking wood clearly helps you cut and shape it right. Before you use chalk lines, prepare the wood surface well. This makes your marks clean and easy to see.
Good preparation also protects the wood from damage. Clean and smooth the wood before marking for the best results.
Cleaning And Smoothing
Remove dust, dirt, and grease from the wood surface. Use a dry cloth or brush to wipe off loose particles. For sticky spots, use a damp cloth and let the wood dry fully.
Smooth rough areas with fine sandpaper. Sand lightly to avoid changing the wood shape. A smooth surface helps the chalk line stick better and makes a sharper mark.
- Wipe wood with a dry cloth first
- Use a damp cloth for tough dirt
- Sand rough spots gently with fine grit sandpaper
- Allow wood to dry before marking
Avoiding Surface Damage
Be careful not to scratch or dent the wood. Use soft tools for cleaning and light sanding. Avoid heavy pressure that can leave marks on the wood.
Test the chalk line on a small area first. This step checks if the chalk will leave unwanted stains. Choose chalk colors that show well but do not harm the wood finish.
- Use soft cloths and brushes only
- Sand gently to avoid dents or scratches
- Test chalk on a hidden spot first
- Pick chalk colors that contrast but do not stain
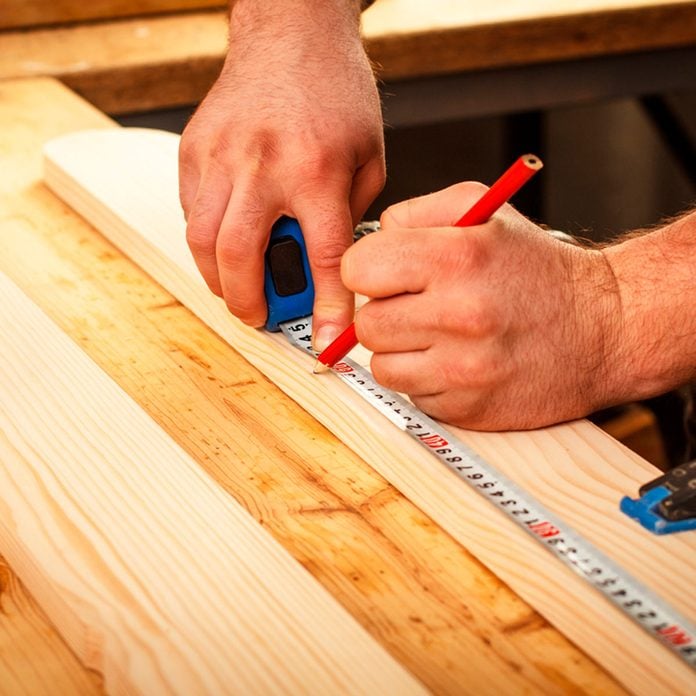
Measuring And Marking Accurately
Marking wood correctly is important for good carpentry work. Chalk lines help make straight and clear marks on wood surfaces.
Accurate measuring and marking save time and reduce mistakes. Use the right tools and techniques to get the best results.
Using Measuring Tools
Choose the right measuring tool like a tape measure or ruler for your project. Make sure the tool is clean and easy to read.
Measure twice before you mark to avoid errors. Hold the tape measure steady and note the exact length you need.
- Use a steel tape for long measurements
- Use a ruler for small, detailed marks
- Check the tool’s markings before use
- Keep the tape tight and flat on the wood
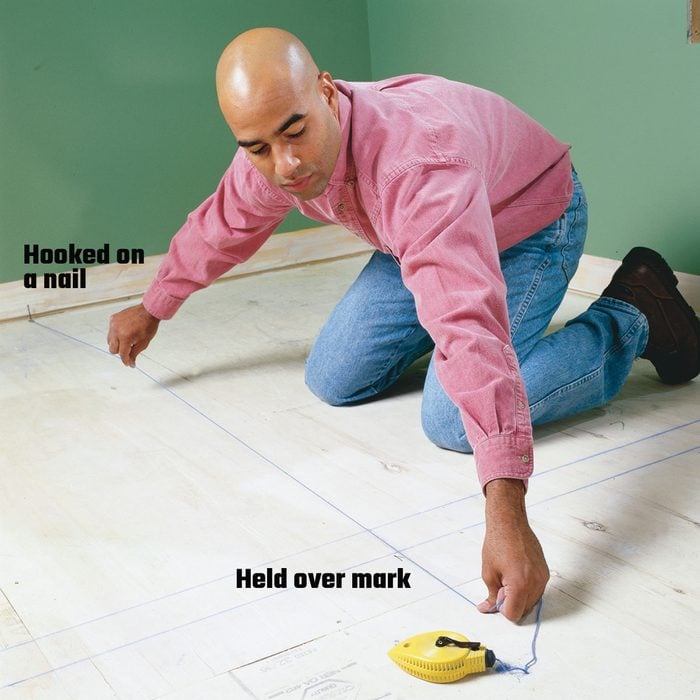
Setting Reference Points
Start by marking clear reference points on the wood. These points guide where to snap the chalk line for accuracy.
Use a pencil to make small marks at key spots. Make sure these points match your measurements exactly.
- Mark the start and end points of the chalk line
- Check the points before snapping the chalk line
- Use a square tool for right angles and straight lines
- Keep reference points visible but light enough to erase

Credit: www.familyhandyman.com
Applying The Chalk Line
Using a chalk line helps mark straight lines on wood. It is a simple tool that saves time and improves accuracy.
To get the best results, you need to apply the chalk line correctly. This means positioning, tensioning, and snapping the line properly.
Positioning The Line
Place the chalk line where you want the mark on the wood. Align it with the edges or points you need to connect.
Check that both ends are held firmly in place. This keeps the line from moving and ensures a straight mark.
- Hold one end at the starting point
- Stretch the line to the ending point
- Make sure the line is flat against the wood
Tensioning The String
Pull the chalk line string tight without bending the wood. A tight string makes a clean, sharp line.
Keep steady tension using your hand or a tool. Avoid slack or loose string to prevent crooked lines.
- Grip the string firmly
- Stretch it straight across the surface
- Hold tension with one hand or a clamp
Snapping The Line Cleanly
Lift the string slightly in the middle and let it snap back onto the wood. This leaves a clear chalk mark.
Snap the line sharply but gently. Too hard can cause dust or smudges, too soft may not leave a clear line.
- Lift string about an inch off the wood
- Release it quickly to snap down
- Check the line for clarity before moving on
Dealing With Common Challenges
Marking wood with chalk lines is a common carpentry task. It helps create straight guides for cutting or measuring. Sometimes, challenges appear that make marking harder. These challenges include rough surfaces, chalk smudging, and fading lines.
Understanding how to handle these problems can save time and improve accuracy. Below are tips for dealing with common issues when marking wood with chalk lines.
Marking On Rough Or Uneven Surfaces
Rough or uneven wood can cause chalk lines to break or appear patchy. The chalk may not stick well on splintered or bumpy areas. This makes it hard to see the line clearly.
To fix this, lightly sand the surface before marking. Use medium-grit sandpaper to smooth the area where the line will go. If sanding is not possible, stretch the chalk line tightly and snap it firmly to reduce gaps.
Preventing Chalk Smudges
Chalk lines can smudge easily during work, especially if the wood is handled a lot. Smudged lines lose their sharp edges and become unclear. This can cause mistakes in cutting or measuring.
To prevent smudging, avoid touching the chalk line with your hands or tools. Let the chalk dry for a minute before starting work. You can also spray a light coat of clear fixative or hairspray over the line to hold the chalk in place.
- Handle wood carefully around the chalk line
- Allow chalk to dry before moving wood
- Use a fixative spray for long-lasting lines
Reapplying Chalk For Visibility
Sometimes chalk lines fade or disappear during work. This can happen on dusty or oily wood. Faded lines make it hard to follow guides and reduce accuracy.
Reapply chalk by snapping the chalk line again with fresh chalk. If the line is still faint, use a chalk pencil to trace over the snapped line. This adds extra color and improves visibility.
- Snap the chalk line with new chalk powder
- Trace the line with a chalk pencil for clarity
- Keep extra chalk handy for quick reapplication
Enhancing Precision With Additional Tools
Marking wood accurately is key in carpentry. Chalk lines help create straight guides quickly. Using other tools can improve precision and ease your work.
Adding squares and pencil marks to your chalk lines gives better control. These tools help avoid mistakes and make cutting or assembling easier.
Using Squares And Guides
Squares are great for checking and drawing right angles on wood. Use a combination square or speed square with chalk lines to get exact corners and edges.
- Place the square firmly on the wood edge before snapping the chalk line.
- Use the square to check if the chalk line is perfectly straight or at a 90-degree angle.
- Guide your saw or cutting tool along the square’s edge to stay on the line.
- Combine squares with measuring tapes to mark precise distances before snapping chalk lines.
Combining Chalk Lines With Pencil Marks
Pencil marks help highlight and detail chalk lines. Use pencils to add notes or fine points where chalk lines may fade or be less visible.
| Marking Method | Purpose |
| Chalk Lines | Creates long, straight guide lines quickly |
| Pencil Marks | Refines details and adds clear points |
| Squares | Ensures accurate right angles and edges |
| Measuring Tape | Measures exact lengths before marking |
Safety Tips When Working With Chalk Lines
Using chalk lines helps mark straight lines on wood. It makes carpentry work easier and more precise. Safety is important when handling chalk lines and related tools.
These tips focus on protecting your eyes and hands. They also cover how to handle tools safely to avoid injuries.
Protecting Eyes And Hands
Chalk dust and snapped lines can harm your eyes. Your hands can get cuts or scrapes from tools and wood edges. Wear safety gear to protect yourself.
- Always wear safety goggles to shield your eyes from chalk dust.
- Use work gloves to protect your hands from splinters and sharp edges.
- Avoid touching your face while working to keep chalk dust away from eyes.
- Keep your work area clean to reduce dust and debris.
Safe Handling Of Tools
Chalk line tools have snapping cords that can cause injuries. Handle tools with care to avoid accidents. Store tools safely after use.
| Tool | Safety Tip |
| Chalk Line Reel | Keep your fingers clear when snapping the line. |
| Chalk Powder | Use non-toxic chalk and avoid inhaling dust. |
| Sharp Edges on Wood | Wear gloves and sand rough edges before marking. |
| Storage | Store tools in a dry place to prevent damage. |
Frequently Asked Questions
What Is The Best Chalk Line For Carpentry Marking?
The best chalk line for carpentry is durable, easy to rewind, and produces clear, visible lines. Choose one with a strong string and vibrant chalk colors for accuracy in marking wood.
How Do You Ensure Straight Chalk Lines On Wood?
To ensure straight chalk lines, pull the chalk line taut between two points. Snap it firmly against the wood surface to leave a clear, straight mark for precise cuts and measurements.
Can Chalk Lines Be Used On All Types Of Wood?
Yes, chalk lines work well on most wood types. However, on rough or porous wood, lines may be less visible. Using contrasting chalk colors improves visibility on different wood grains.
How Do You Prevent Chalk Dust From Smudging On Wood?
Prevent chalk dust smudging by snapping the line cleanly and avoiding excess chalk powder. Lightly tapping the chalk line helps distribute chalk evenly for crisp, non-smudging marks on wood surfaces.
Conclusion
Marking wood with chalk lines helps keep your cuts straight and clear. Use the right chalk color for better visibility on different woods. Keep your chalk line taut and snap it firmly for a clean mark. Regularly check the chalk line tool for wear to avoid faded lines.
Practice these tips to make your carpentry work easier and more accurate. Small steps like these improve your woodworking results. Try these methods on your next project and see the difference yourself. Simple tools, smart use, good results.