Are you struggling with a power sander that just won’t work like it used to? Whether your tool is making strange noises, losing power, or simply not turning on, fixing it yourself can save you time and money.
Imagine getting your sander back to perfect condition without needing to buy a new one or pay for expensive repairs. You’ll discover simple, effective tips that anyone can use to repair their power sander quickly and confidently. Keep reading, and you’ll learn how to bring your tool back to life and get your projects moving again.
Common Power Sander Issues
Power sanders are useful tools for smooth finishes. They can stop working well over time. Knowing common problems helps fix them fast.
This guide covers motor problems, pad and belt wear, power supply failures, and unusual noise and vibration.
Motor Problems
Motors may stop running or run weakly. Dust and debris can cause motor brushes to wear. This lowers power and speed.
Check if the motor shaft spins freely. If not, clean or replace the brushes. Also, inspect the armature for damage.
Pad And Belt Wear
Worn pads or belts reduce sanding quality. They cause uneven surfaces and make the tool vibrate more. Replace them if damaged.
- Inspect pads for cracks or tears
- Check belts for fraying or stretching
- Replace worn parts promptly
- Use correct size pads and belts
Power Supply Failures
| Issue | Cause | Fix |
| No power | Faulty cord or plug | Replace cord or plug |
| Intermittent power | Loose connections | Tighten or repair wiring |
| Tool stops suddenly | Overheating or fuse blow | Let cool or replace fuse |
Unusual Noise And Vibration
Strange sounds or shaking may mean internal parts are loose or damaged. Bearings and gears wear out with use.
Check these items to reduce noise and vibration:
- Tighten all screws and bolts
- Lubricate moving parts
- Replace worn bearings or gears
- Balance sanding pads correctly

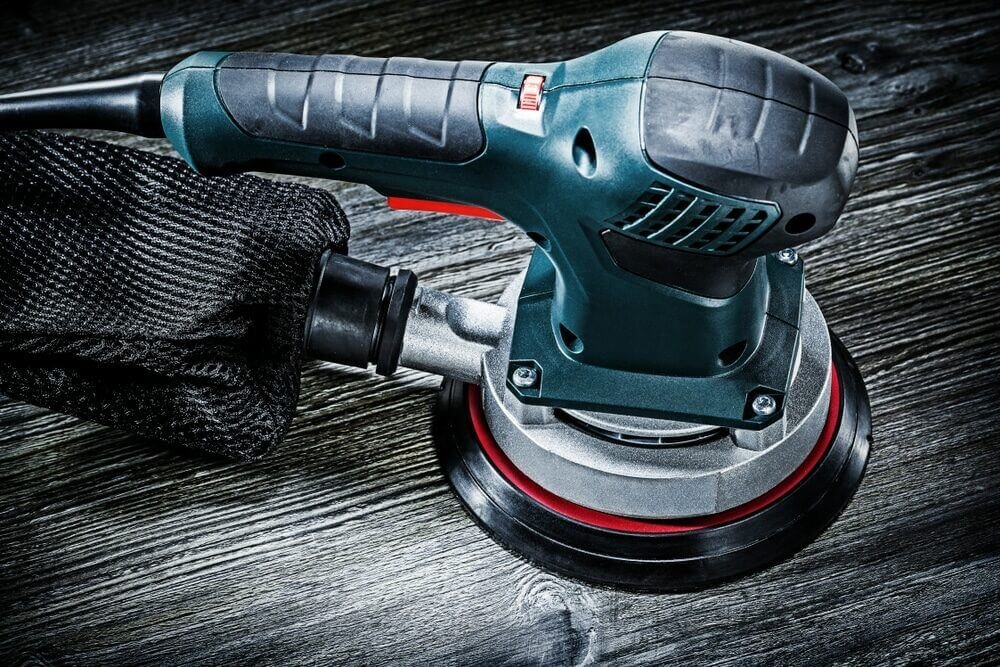
Credit: www.youtube.com
Essential Tools For Repairs
Repairing power sanders needs the right tools. Using proper tools makes the job easier and safer.
This guide covers basic hand tools, using a multimeter, replacement parts, and safety gear.
Basic Hand Tools
You need simple hand tools to open and fix power sanders. These tools help remove screws and parts.
- Screwdrivers (flathead and Phillips)
- Pliers (needle nose and regular)
- Wrenches (adjustable and fixed size)
- Allen keys (for hex screws)
- Wire cutters
Multimeter Use
A multimeter checks the electric parts inside the sander. It finds problems like broken wires or bad switches.
Use a multimeter to test:
- Continuity of wires and switches
- Voltage on power supply
- Resistance in motors and coils
Replacement Parts
Keep common replacement parts ready. This saves time during repairs and keeps the sander working well.
| Part | Purpose | Notes |
| Sandpaper sheets | Replace worn abrasive surface | Match grit size to task |
| Carbon brushes | Conduct electricity to motor | Wear out over time |
| Power cord | Connect sander to power | Replace if damaged |
| Switches | Turn sander on/off | Can fail with use |
Safety Gear
Wear safety gear to protect yourself during repairs. This prevents injuries and keeps you safe.
- Safety glasses to protect eyes
- Work gloves to protect hands
- Dust mask to avoid breathing dust
- Hearing protection if noise is loud
Quick Fixes For Motor Troubles
Power sanders sometimes stop working well because of motor problems. Fixing these issues can save time and money. Simple checks and repairs help your tool run smoothly again.
Below are easy tips for cleaning, checking, and testing parts of your sander’s motor. Follow these steps to find and fix common motor troubles quickly.
Cleaning And Lubricating
Dirt and dust can block your sander’s motor parts. Cleaning and lubricating keeps it running smoothly. Use a brush or compressed air to clear dust.
- Unplug the sander before cleaning.
- Use a soft brush to remove dust from vents and motor parts.
- Apply a light machine oil to moving parts.
- Wipe off excess oil to avoid attracting more dirt.
- Check the owner’s manual for recommended lubricants.
Checking Brushes
Brushes transfer electricity to the motor. Worn brushes cause poor motor performance. Inspect brushes regularly and replace if needed.
| Brush Condition | Action |
| Brush length above 1 cm | Keep using |
| Brush length below 1 cm | Replace brushes |
| Brush cracked or damaged | Replace brushes immediately |
Testing The Armature
The armature spins the motor. Check it if the motor hums but does not run. Test for breaks or shorts using a multimeter.
Follow these steps to test the armature:
- Remove the armature from the sander.
- Set your multimeter to the resistance (ohms) setting.
- Place probes on the armature’s commutator bars.
- Look for continuous resistance readings. Infinite or zero means a problem.
- Check for shorts between the armature windings and the metal core.

Credit: www.theottohouse.com
Replacing Worn Pads And Belts
Power sanders need regular maintenance to work well. Worn pads and belts reduce their performance. Replacing these parts helps your sander last longer and work smoothly.
This guide explains how to spot wear, pick the right parts, and install them correctly.
Identifying Wear Signs
Check pads and belts often for damage. Look for cracks, tears, or thinning areas. Worn belts may slip or make noise. Pads may lose grip or feel rough.
- Cracks or splits in pads
- Frayed or torn belts
- Uneven sanding results
- Belts slipping during use
- Strange noises while sanding
Choosing The Right Parts
Use parts that match your sander’s model. Check the size and type of pads and belts. Buy good quality parts for better results and longer life.
- Match belt length and width to your sander
- Pick pads made for your sander model
- Choose abrasive grit based on your project
- Buy from trusted suppliers
Proper Installation Steps
Turn off and unplug the sander before starting. Remove old pads and belts carefully. Follow instructions to fit new parts firmly and evenly.
- Unplug the sander to avoid accidents
- Release belt tension before removing old belt
- Clean the sanding surface before installing new parts
- Place the new belt or pad in the correct direction
- Tighten the belt to the right tension
- Test the sander briefly to check installation
Troubleshooting Electrical Issues
Power sanders may stop working due to electrical problems. Checking these issues helps fix the tool safely.
Look closely at parts like cords, switches, and motors. Testing these parts can find the problem quickly.
Inspecting Power Cords
Power cords carry electricity to the sander. Check for cuts, frays, or worn spots on the cord.
Damaged cords can cause shorts or no power. Replace cords that show any damage to stay safe.
- Unplug the sander before inspecting
- Look for exposed wires or cracks
- Check plugs for loose or broken pins
- Replace or repair damaged cords only
Testing Switches And Connections
Switches control power to the sander. Faulty switches can stop the tool from turning on.
Test switches with a multimeter to check for continuity. Also, inspect internal wiring for loose connections.
- Remove the switch cover carefully
- Use a multimeter on the switch terminals
- Look for broken wires or loose connectors
- Replace switches that do not work properly
Addressing Overheating
Overheating can cause the sander to stop or smell burnt. It may damage the motor if ignored.
Check air vents for dust and blockages. Clean vents and let the tool cool down before use.
- Keep vents free from dust and debris
- Use the sander in short sessions to avoid heat
- Check the motor brushes for wear
- Replace worn brushes to improve cooling
Reducing Noise And Vibration
Power sanders can be loud and shaky. This makes them hard to use for long times. Reducing noise and vibration helps you work better and safer.
Fixing small problems in your sander can lower noise and stop shaking. Use some simple tips to make your sander work smoothly.
Balancing The Sanding Pad
An unbalanced sanding pad causes noise and shaking. Check the pad for damage or dirt. Clean or replace it if needed.
Make sure the sanding pad fits well on the sander. A balanced pad spins evenly and cuts noise and vibration.
- Remove the sanding pad
- Check for dirt or damage
- Clean or replace the pad
- Reattach the pad properly
- Test for smooth spinning
Tightening Loose Components
Loose parts make your sander noisy and shaky. Check screws, nuts, and bolts regularly. Tighten any loose pieces you find.
Focus on parts that hold the motor and pad. A firm sander works quietly and feels more stable in your hands.
- Turn off and unplug the sander
- Inspect screws and bolts
- Use the right tools to tighten them
- Check motor mounts and pad attachments
- Test the sander after tightening
Using Anti-vibration Pads
Anti-vibration pads reduce shaking between parts. They absorb vibrations and lower noise. Use them under the sanding pad or handle.
Choose pads made from soft rubber or foam. Replace worn pads to keep the sander smooth and quiet.
- Buy pads that fit your sander model
- Place pads between motor and housing
- Put pads under the sanding pad if possible
- Replace pads if they crack or wear out
- Test the sander for noise and vibration
Maintenance Tips To Prevent Damage
Power sanders work best when properly maintained. Regular care helps avoid costly repairs.
Follow simple steps to keep your sander in good shape and extend its life.
Regular Cleaning
Clean your sander after each use to remove dust and debris. This prevents buildup that can cause damage.
- Unplug the sander before cleaning
- Use compressed air to blow out dust from vents
- Wipe the exterior with a dry cloth
- Check and clean the sanding pad regularly
- Empty and clean dust collection bags or canisters
Proper Storage
Store your power sander in a dry and cool place. Avoid damp areas to stop rust and corrosion.
| Storage Tip | Reason |
| Keep in original case or box | Protects from dust and damage |
| Avoid stacking heavy items on top | Prevents physical damage |
| Store away from direct sunlight | Prevents overheating and plastic damage |
| Keep cords neatly coiled | Stops wire breakage |
Routine Inspections
Check your sander often for signs of wear or damage. Early fixes avoid bigger problems.
- Inspect power cords for cuts or frays
- Look for loose screws or parts
- Test the sanding pad for wear
- Listen for unusual sounds during operation
- Replace worn or damaged parts promptly
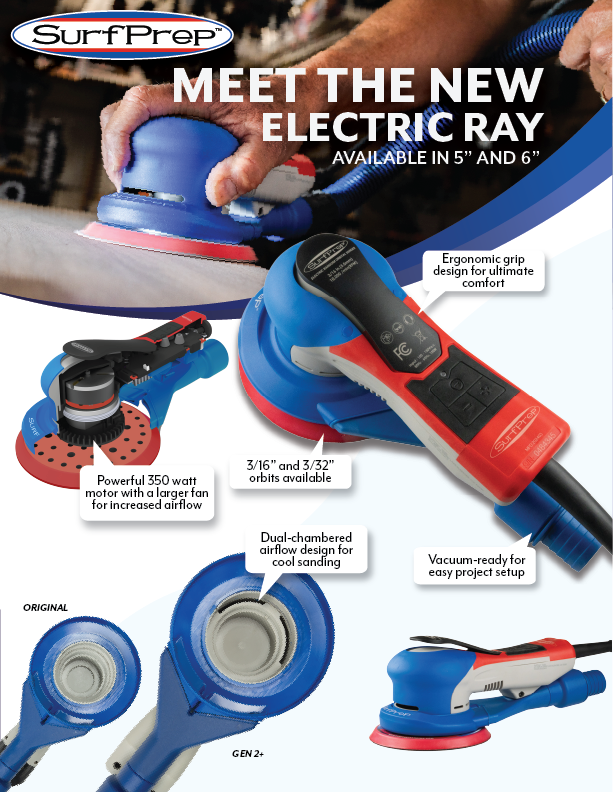
Credit: surfprepsanding.com
Frequently Asked Questions
How To Fix A Power Sander Not Starting?
First, check the power source and ensure it’s connected. Inspect the power cord for damages. Examine the motor brushes and replace if worn out. Finally, clean dust from vents to prevent overheating. These steps should help your power sander start again.
Why Is My Sander Making Loud Noises?
Loud noises often indicate worn bearings or loose parts. Inspect the sander’s bearings and replace if necessary. Tighten any loose screws or components. Regular maintenance can prevent noise issues. Ensuring proper lubrication can also help reduce friction and noise.
What Causes Sander Belt To Slip Off?
A slipping belt can result from incorrect tension or wear. Check the belt tension and adjust it if necessary. Inspect the belt for signs of wear or damage. Replace it if needed. Regularly cleaning the sander can also prevent debris buildup affecting the belt.
How To Repair A Sander With Uneven Sanding?
Uneven sanding is often due to a worn sanding pad. Inspect the pad for wear and replace if needed. Ensure the pad is correctly aligned and attached. Regularly check the sander’s alignment for consistent results. Cleaning the sander helps prevent uneven surfaces.
Conclusion
Repairing power sanders can save money and extend tool life. Regular checks help find small problems early. Always use the right parts for replacements. Clean the tool after each use to keep it working well. Take safety seriously to avoid accidents.
With patience and care, you can fix many common issues. Keep practicing, and your repair skills will improve over time. This makes sanding projects smoother and more enjoyable.