Sanding curved surfaces can be tricky. You might struggle to get a smooth finish without damaging the shape.
But don’t worry—there are simple tricks that can make the job much easier. You’ll discover practical tips to help you sand curves like a pro. Whether you’re working on furniture, crafts, or DIY projects, these techniques will save you time and give your work a flawless look.
Keep reading to master the art of sanding curved surfaces and boost your skills today.
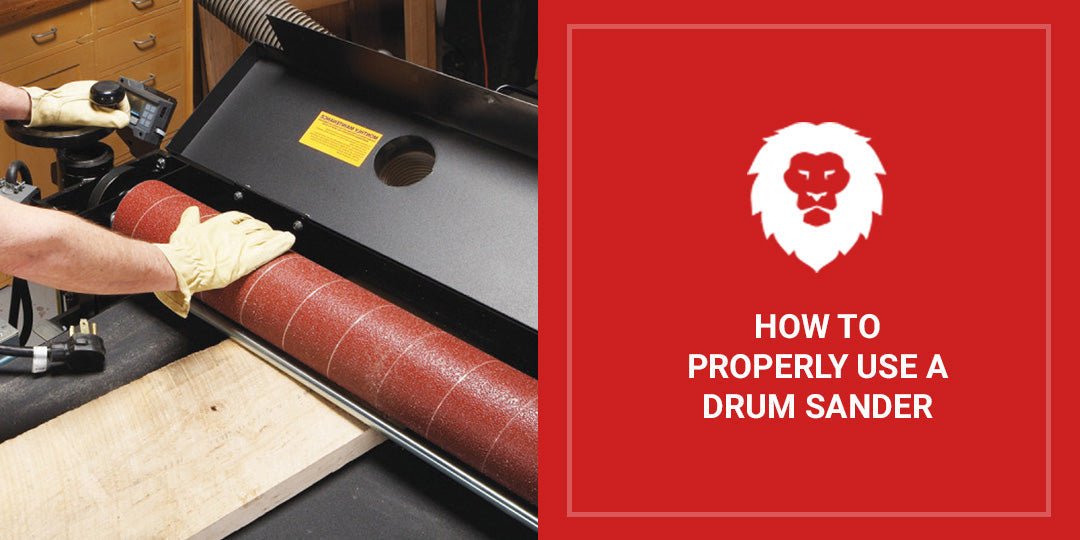
Credit: www.redlabelabrasives.com
Choosing The Right Sandpaper
Sanding curved surfaces needs special care. Choosing the right sandpaper helps get smooth, even results.
Using the correct sandpaper type and grit protects the curve shape. It also avoids scratches or damage.
Grit Selection For Curves
Use fine grit sandpaper for curved surfaces. It sands smoothly without removing too much material.
Start with medium grit if the curve is rough. Then switch to fine grit for finishing.
- Coarse grit (40-60) removes deep scratches but can damage curves
- Medium grit (80-120) smooths rough areas gently
- Fine grit (150-220) perfect for final sanding on curves
- Extra fine grit (240+) polishes curves softly
Types Of Sandpaper Materials
Different sandpaper materials work best on curves. Some flex better and last longer.
Choose materials that bend easily without tearing. This helps keep the curve shape intact.
- Aluminum oxide: Durable and good for wood curves
- Garnet: Soft and works well on delicate curves
- Silicon carbide: Sharp and great for metal curves
- Ceramic: Long-lasting but less flexible
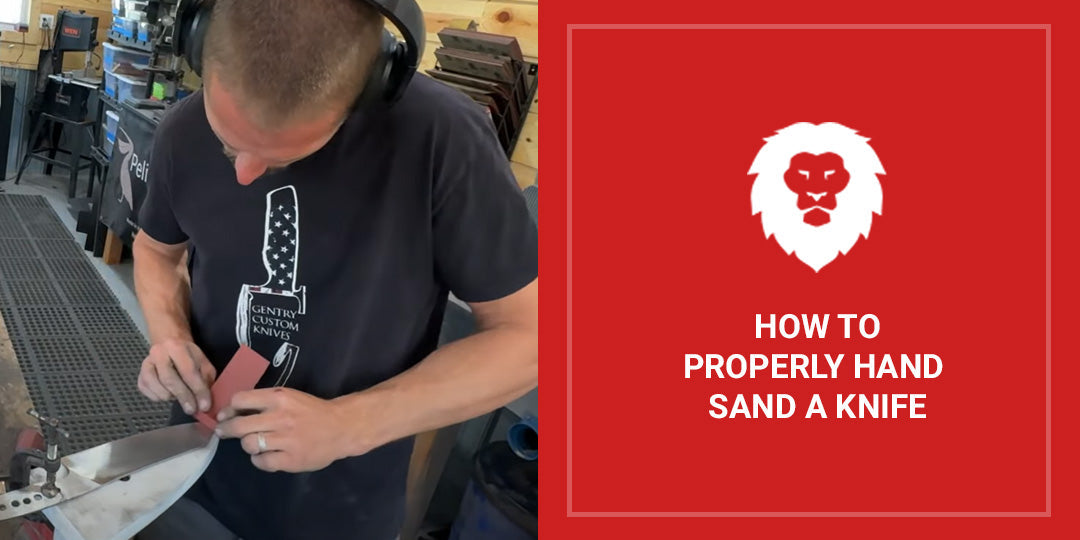
Credit: www.familyhandyman.com
Preparing The Surface
Sanding curved surfaces requires careful preparation. Cleaning and marking the surface helps achieve smooth results.
Proper preparation makes sanding easier and avoids damage to the surface.
Cleaning And Removing Old Finish
Remove dust, dirt, and grease before sanding. Use a mild cleaner and a soft cloth. For old finishes, use a chemical stripper or sand lightly with fine grit sandpaper.
- Wipe surface with a damp cloth
- Apply a gentle cleaner if needed
- Use chemical stripper on thick old finishes
- Sand gently to remove residue
Marking Problem Areas
Mark dents, scratches, or rough spots to focus sanding. Use a pencil or masking tape to highlight these areas.
| Problem Area | Marking Method |
| Dents | Pencil circle |
| Scratches | Masking tape strip |
| Rough patches | Colored pencil shading |
Sanding Tools For Curved Surfaces
Sanding curved surfaces needs special tools and care. Flat sanders do not fit well on rounded edges. Using the right tools helps you get smooth, even results.
This guide covers hand sanding, flexible sanding sponges, and power sanders made for curves. Each tool works best for different shapes and projects.
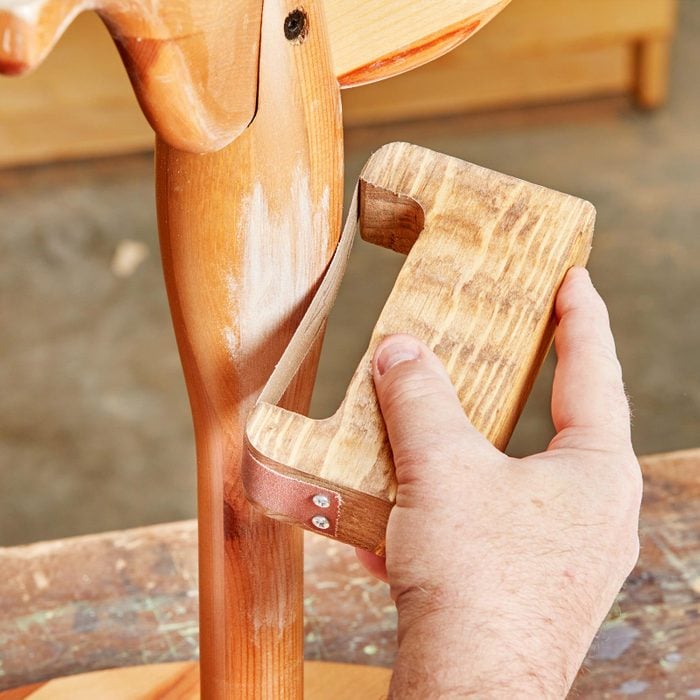
Hand Sanding Techniques
Hand sanding is good for small or detailed curved surfaces. Use your fingers to feel the shape as you sand. Move the sandpaper in circles or along the curve.
- Choose fine-grit sandpaper for smooth finishes.
- Fold sandpaper to fit tight curves.
- Sand lightly to avoid changing the shape.
- Use a sanding block wrapped with sandpaper for larger curves.
Using Flexible Sanding Sponges
Flexible sanding sponges bend to match curved surfaces. They are soft and easy to hold. These sponges work well on complex shapes.
| Type of Sponge | Best For | Grit Range |
| Soft Foam | Gentle curves, fine finishing | 220-400 |
| Medium Foam | Moderate curves, general sanding | 120-220 |
| Firm Foam | Hard curves, initial sanding | 80-120 |
Power Sanders For Curves
Power sanders with special pads make sanding curves faster. Look for models with round or flexible sanding pads. These tools reduce hand effort and save time.
- Use a random orbital sander with a soft pad to follow the curve.
- Try a detail sander with a triangular pad for tight corners.
- Keep the sander moving to avoid gouging the surface.
- Start with coarse grit and finish with fine grit sandpaper.

Credit: www.woodcraft.com
Techniques For Smooth Results
Sanding curved surfaces can be tricky. It needs patience and the right methods.
Using proper techniques helps get a smooth finish without damage.
Maintaining Consistent Pressure
Keep your sanding tool pressure even across the surface. Uneven pressure causes rough spots.
- Hold the sander firmly but don’t press too hard.
- Use your whole hand to spread the pressure.
- Check your work often to avoid deep marks.
- Rest your hand if it feels tired to keep steady pressure.
Following The Curve’s Contours
Move your sanding tool along the shape of the curve. This helps keep the surface smooth.
| Tool Movement | Effect on Surface |
|---|---|
| Along the curve | Smooth and even finish |
| Across the curve | Uneven sanding and scratches |
| Random directions | Inconsistent surface texture |
Avoiding Over-sanding
Do not sand too much in one area. It can change the shape or damage the surface.
- Check the surface often during sanding.
- Use light strokes and less pressure near edges.
- Switch to finer grit sandpaper as you progress.
- Stop sanding once the surface feels smooth and even.
Dealing With Different Materials
Sanding curved surfaces needs care and the right tools. Different materials react differently to sanding. Knowing how to handle each type helps get smooth results.
This guide covers tips for sanding wood, metal, and plastic curves. Follow these steps to avoid damage and achieve a clean finish.
Wood Surfaces
Wood curves require gentle sanding to keep the shape and avoid removing too much material. Use flexible sanding tools that follow the curve’s form.
- Start with medium grit sandpaper (120-150 grit).
- Use a sanding sponge or flexible sanding block to fit curves.
- Sand with the grain to prevent scratches.
- Switch to fine grit (220 or higher) for a smooth finish.
- Clean dust regularly to check the surface progress.
Metal And Plastic Curves
Metal and plastic need different sanding approaches. Use the right grit and tools to avoid scratching or melting the surface.
| Material | Recommended Grit | Tool Type | Tip |
| Metal | 180-320 | Fine sandpaper or sanding pads | Use light pressure to avoid scratches |
| Plastic | 400-600 | Wet/dry sandpaper | Sand wet to prevent melting |
Finishing Touches
Sanding curved surfaces needs careful finishing. These final steps help protect and improve your work.
Cleaning and sealing are key to lasting results. They prepare the surface for the next treatment.
Cleaning After Sanding
Remove all dust and debris before applying any finish. Use a soft brush or tack cloth for best results.
- Brush off loose dust with a soft brush
- Wipe surface gently with a tack cloth
- Use compressed air for hard-to-reach areas
- Allow surface to dry fully if you use a damp cloth
Applying Sealants Or Paint
Choose the right sealant or paint for your project. Apply thin and even coats to curved areas.
| Type | Best Use | Application Tip |
| Polyurethane | Wood protection | Use a foam brush for smooth finish |
| Shellac | Fast drying | Apply multiple thin layers |
| Latex Paint | Color and protection | Use flexible brush or spray |
| Oil-based Paint | Durability | Sand lightly between coats |
Frequently Asked Questions
What’s The Best Sandpaper Grit For Curved Surfaces?
Start with medium grit (120-150) to shape curves smoothly. Progress to finer grits (220-320) for a polished finish. Using multiple grit levels ensures even sanding without damaging the curve or surface texture.
How Do I Sand Tight Curves Effectively?
Use flexible sanding sponges or wrap sandpaper around a foam block. This adapts to tight curves better than rigid tools. Sand gently in circular motions to maintain the curve shape and avoid flat spots.
Can Power Sanders Be Used On Curved Surfaces?
Yes, but with caution. Choose detail or palm sanders with small pads for better control. Avoid aggressive sanding to prevent uneven surfaces or removing too much material on curves.
How To Prevent Sanding Marks On Curved Wood?
Use fine grit sandpaper and sand in the direction of the grain. Lightly sand with a sanding sponge for gentle pressure. Regularly check the surface to avoid over-sanding or creating flat areas.
Conclusion
Sanding curved surfaces can be tricky. But with the right tips, it gets easier. Always choose the correct sandpaper for your project. Use tools that fit the curve shape. Be patient and work slowly for the best result. Remember to sand in the direction of the curve.
This prevents scratches. Take breaks to check your progress. Your hard work will pay off with a smooth finish. Practicing these tips improves your sanding skills. Keep trying new techniques and tools for better results. Happy sanding!