Are your project edges looking rough or uneven? Sanding edges might seem simple, but doing it right can make all the difference in your work’s finish and feel.
You want smooth, clean edges that show off your skill and attention to detail. In this post, you’ll discover easy, practical tips to master sanding edges like a pro. Whether you’re working on wood, metal, or any other material, these tips will save you time and frustration while giving your projects a polished, professional look.
Keep reading to learn how to transform your edges from rough to refined with just a few simple steps.
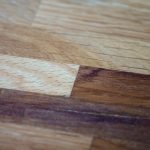
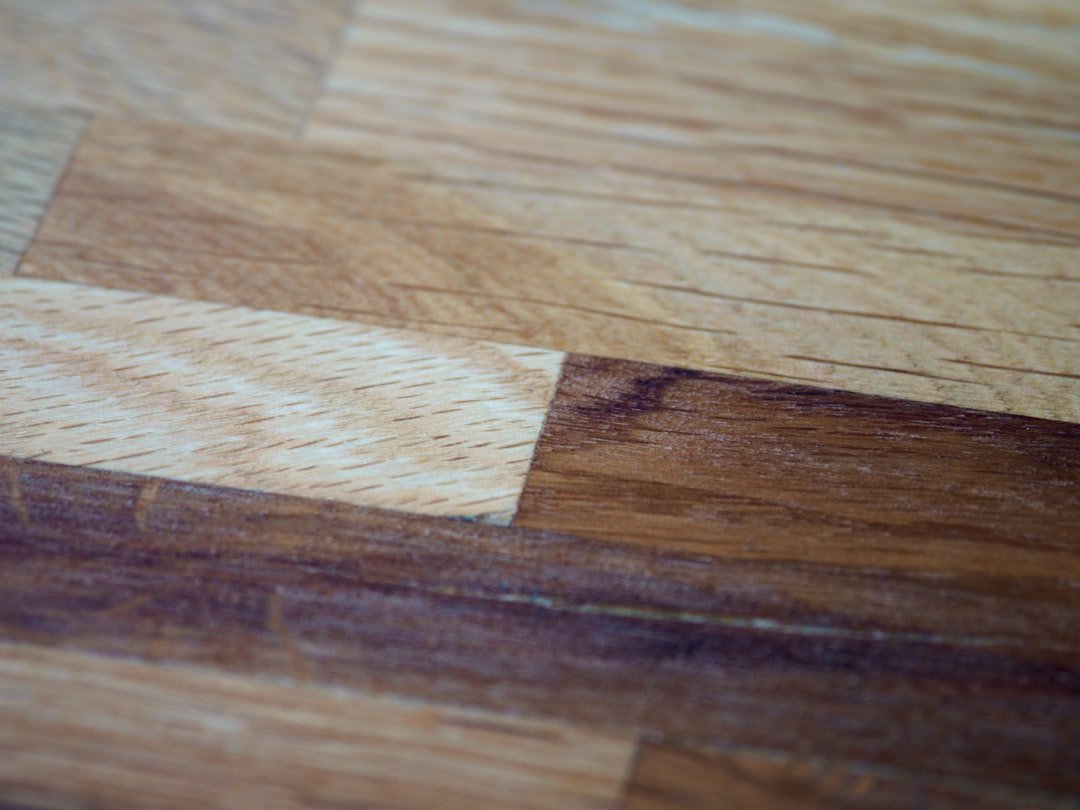
Credit: www.familyhandyman.com
Choosing The Right Sandpaper
Choosing the correct sandpaper is important for smooth edges. The right sandpaper makes sanding easier and safer.
Different projects need different types of sandpaper. Knowing which one to pick helps you get better results.
Grit Levels And Their Uses
Sandpaper comes in many grit levels. The grit number shows how rough or fine the paper is.
Lower grit numbers are rough and remove a lot of material fast. Higher grit numbers are fine and smooth the surface.
- Coarse grit (40-60) is for heavy sanding and shaping.
- Medium grit (80-120) is for smoothing rough surfaces.
- Fine grit (150-220) is for finishing touches.
- Extra fine grit (240 and above) is for polishing.
Material-specific Sandpaper
Different materials need special sandpaper to avoid damage. Use sandpaper made for the material you work with.
Wood, metal, and plastic all require different abrasives to get the best finish.
| Material | Recommended Sandpaper Type | Notes |
|---|---|---|
| Wood | Aluminum oxide or garnet | Good for shaping and smoothing wood surfaces |
| Metal | Silicon carbide | Works well on rust and metal edges |
| Plastic | Fine silicon carbide | Prevents melting or scratching |
Preparing The Edges
Properly preparing edges is key for smooth and clean sanding. This process helps avoid damage and gives better results.
Start by cleaning and checking the edges carefully. Then, remove any rough spots to make the surface even.
Cleaning And Inspection
Clean edges to remove dust, dirt, and oils. Use a soft cloth or brush for this job. Check the edges for cracks or splinters.
- Wipe edges with a dry cloth
- Use mild soap and water if very dirty
- Look closely for damage or weak spots
- Mark areas that need extra sanding
Removing Rough Spots
Rough spots make sanding harder and less even. Use sandpaper or a sanding block to smooth these areas before detailed sanding.
| Tool | Use | Grit |
| Coarse Sandpaper | Remove large bumps | 60-80 |
| Medium Sandpaper | Even out rough areas | 100-150 |
| Fine Sandpaper | Prepare for finishing | 180-220 |
Sanding Techniques
Sanding edges is important for smooth finishes. Good sanding makes your project look clean and professional.
Different techniques work best for different edges. Use the right tools and methods to get the best results.
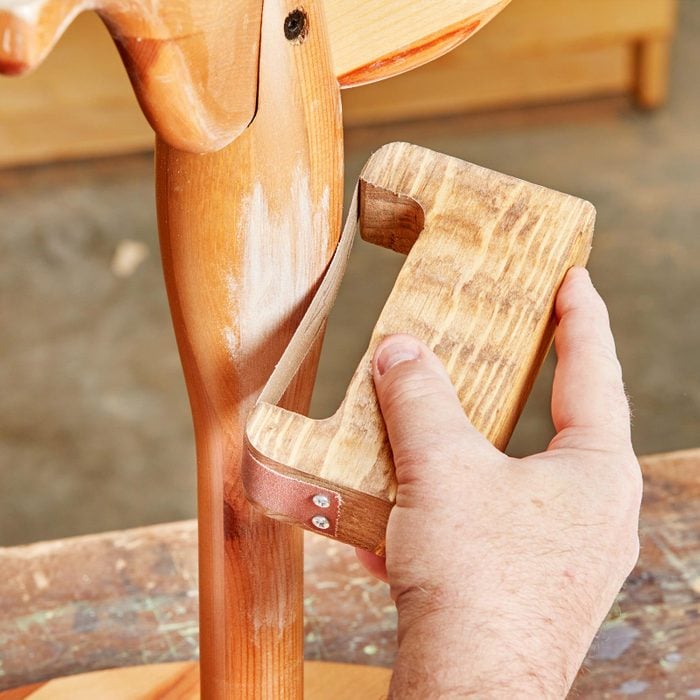
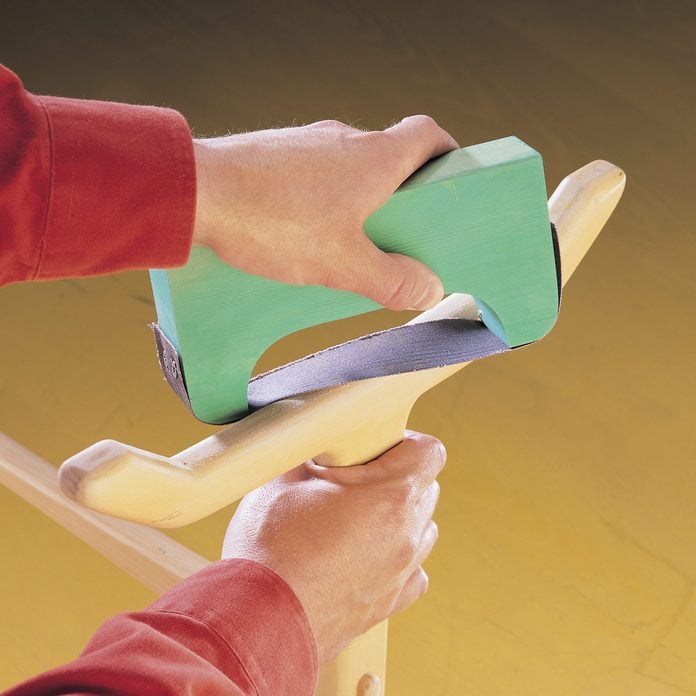
Hand Sanding Tips
Hand sanding gives you control over small areas and delicate edges. It helps avoid removing too much material.
Use a sanding block to keep the pressure even. Always sand with the grain to avoid scratches.
- Start with coarse grit sandpaper for rough edges
- Switch to finer grits for a smooth finish
- Wrap sandpaper around a block for flat edges
- Use fingertip sanding for curves and tight spots
- Check your progress often to avoid over-sanding
Using Power Sanders Safely
Power sanders speed up the sanding process. They work best on large or flat edges but need careful handling.
Wear safety gear like goggles and a mask. Keep your hands clear of moving parts and work in a clean area.
- Choose the right sander type for your edge
- Hold the sander firmly but do not press too hard
- Move the sander smoothly along the edge
- Keep the power cord away from the sanding path
- Turn off the tool before changing sandpaper
- Clean dust regularly to avoid clogging
Working With Different Materials
Sanding edges is important to make surfaces smooth and safe. Each material needs different care when sanding.
Knowing how to sand wood, metal, and plastic helps get better results. Use the right tools and techniques for each.
Wood Edges
Wood is easy to sand but can splinter if not careful. Start with coarse sandpaper to shape the edge.
Use finer sandpaper to smooth the surface after shaping. Sand along the grain to avoid scratches.
- Begin with 80-120 grit sandpaper for shaping
- Finish with 180-220 grit for smoothness
- Always sand in the direction of the wood grain
- Use a sanding block for even pressure
Metal Edges
Metal edges can be sharp and need careful sanding to avoid injury. Use a file before sanding if edges are rough.
Use fine grit sandpaper or sanding pads to remove burrs and smooth edges. Wear gloves for safety.
- Start with a metal file for rough edges
- Use 220-400 grit sandpaper for smoothing
- Sand in one direction for best results
- Wear protective gloves and eye protection
Plastic Edges
Plastic can melt if you sand too hard. Use light pressure and medium-grit sandpaper to avoid damage.
Finish with fine grit sandpaper to get a smooth edge. Clean dust often to see your progress clearly.
- Use 150-220 grit sandpaper for shaping
- Finish with 320-400 grit for smooth edges
- Apply light pressure to avoid melting
- Clean dust with a soft brush regularly
Achieving A Smooth Finish
Sanding edges well is key to a smooth finish on wood projects. It helps remove rough spots and prepares the surface for painting or staining.
Using the right sanding steps avoids scratches and uneven texture. This guide covers sanding grit progress and final polishing tips.
Progressive Grit Sanding
Start sanding with a coarse grit to shape the edges. Then, move to finer grits to smooth the surface. Each grit removes scratches from the previous one.
- Begin with 80 or 100 grit sandpaper for rough edges.
- Use 120 grit for initial smoothing.
- Switch to 180 grit for fine smoothing.
- Finish with 220 grit for a smooth surface.
Always sand with the grain to avoid scratches. Keep the sanding motion even and gentle to prevent gouges.
Final Touches And Polishing
After sanding, clean dust from the edges. Then, polish to enhance smoothness and shine. Use fine steel wool or polishing pads for best results.
| Polishing Method | Purpose |
| Fine Steel Wool (0000) | Removes fine dust and smooths surface |
| Polishing Cloth | Adds shine and removes fingerprints |
| Wax or Oil Finish | Protects wood and deepens color |
Let the finish dry fully before handling. This prevents marks and keeps edges clean and smooth.

Credit: www.wikihow.com
Common Mistakes To Avoid
Sanding edges is a key step in many projects. Doing it wrong can ruin your work.
Avoid these mistakes to get smooth, clean edges every time.
Over-sanding
Sanding too much can make edges uneven or too thin. It weakens the material.
Stop sanding as soon as the edge feels smooth and matches the shape you want.
- Check edges often to avoid removing too much material
- Use finer grit sandpaper for finishing touches
- Work slowly to keep control
Uneven Pressure Application
Pressing too hard on one side can cause uneven edges. It creates bumps and dips.
Apply gentle, even pressure when sanding. Move your hand smoothly along the edge.
- Keep your sanding block flat against the edge
- Use both hands to balance pressure
- Sand in long, even strokes
Safety Tips For Edge Sanding
Sanding edges is a common step in woodworking. It smooths rough surfaces and improves the look.
Safety is very important during sanding. Using the right tools and habits helps prevent injuries.
Protective Gear
Wearing protective gear keeps you safe from dust and debris. It also reduces the chance of accidents.
Always use gear that fits well and is in good condition. Replace worn-out items quickly.
- Safety glasses protect your eyes from flying dust and chips
- A dust mask or respirator stops you from breathing harmful particles
- Hearing protection helps prevent ear damage from noisy sanders
- Gloves protect your hands but should not get caught in moving parts
- Wear long sleeves and pants to protect your skin
Proper Workspace Setup
Arrange your workspace to reduce hazards. A clean and organized area helps you work safely.
Good lighting lets you see edges clearly. Keep cords and tools away from your sanding zone.
- Use a sturdy workbench to hold your project steady
- Keep the floor free of dust and scrap pieces to avoid slipping
- Place tools and sandpaper within easy reach to prevent stretching
- Ensure proper ventilation to clear dust from the air
- Use clamps to secure small pieces and avoid hand injuries
Credit: www.familyhandyman.com
Frequently Asked Questions
What Is The Best Grit For Sanding Edges?
Start with medium grit (120-150) to shape edges. Finish with fine grit (220+) for smoothness. This ensures even and clean edges without damaging the material.
How Do I Avoid Rounded Edges When Sanding?
Use a sanding block or guide for control. Sand evenly along the edge, avoiding excessive pressure. This helps maintain sharp, defined edges without unwanted rounding.
Can I Sand Edges On Painted Surfaces?
Yes, but use fine grit sandpaper (320+). Sand lightly to avoid removing paint layers. This smooths imperfections while preserving the painted finish.
How Long Should I Sand Edges For A Smooth Finish?
Sand edges in short, even strokes for 2-3 minutes. Check frequently to prevent over-sanding. This balances smoothness with maintaining edge shape.
Conclusion
Sanding edges requires patience and the right tools. Smooth edges enhance any project. Keep tools sharp and clean for best results. Always sand in gentle, steady motions. This prevents unwanted scratches. Choose sandpaper grit according to your material. Start with coarse, finish with fine.
Clean surfaces between grits for a perfect finish. Safety first: wear goggles and masks. Practice often to improve your skills. With these tips, your edges will shine. Happy sanding!