Sanding can be tricky, especially when you’re working with both flat and curved surfaces. If you’ve ever struggled to get a smooth finish or ended up with uneven edges, you’re not alone.
But what if you could master the techniques that make sanding easier and more effective every time? You’ll discover simple tips that save you time and effort while giving your projects a professional look. Whether you’re a beginner or just want to improve your skills, these strategies will help you achieve perfect results on any surface.
Keep reading to find out how you can transform your sanding experience for good.

Credit: www.woodcraft.com
Choosing The Right Sandpaper
Sanding flat and curved surfaces needs the right sandpaper. The choice affects how smooth the surface becomes.
Picking the correct sandpaper helps avoid damage and saves time.
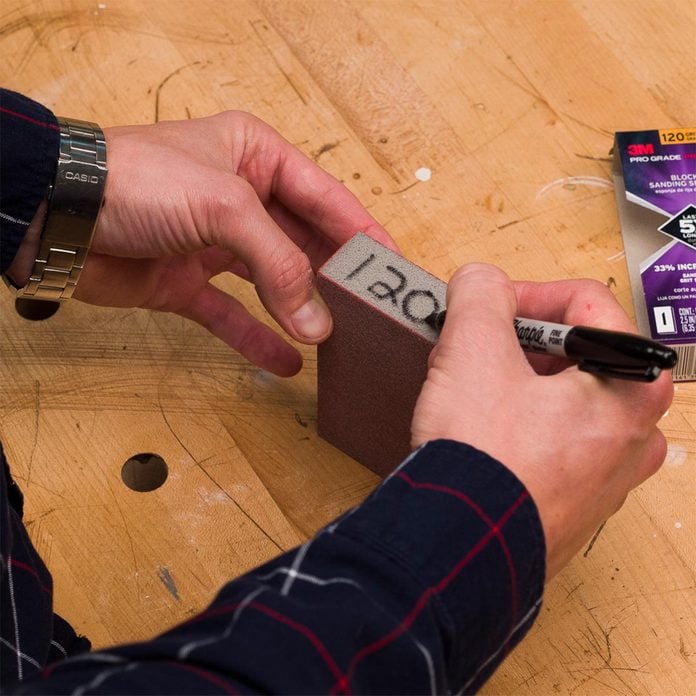
Grit Sizes For Different Surfaces
Grit size shows how rough or fine the sandpaper is. Lower numbers mean rougher grit, higher numbers mean finer grit.
Use coarse grit for heavy sanding and fine grit for finishing touches.
- Coarse grit (40-60) removes old paint or rough wood fast
- Medium grit (80-120) smooths surfaces after coarse sanding
- Fine grit (150-220) prepares surfaces for painting or staining
- Very fine grit (320-400) used for polishing and final smoothing
Material Types And Their Uses
Sandpaper comes in different materials like aluminum oxide, garnet, and silicon carbide. Each suits different tasks and surfaces.
Choosing the right material helps you get the best results and lasts longer.
- Aluminum oxide is good for wood and metal. It is durable and sharp.
- Garnet works well on wood for fine finishing. It wears out faster.
- Silicon carbide is best for sanding metal, plastic, and wet surfaces.
- Ceramic sandpaper is very tough for heavy-duty sanding on hard materials.
Credit: www.redlabelabrasives.com
Preparing Your Workspace
Preparing your workspace is important before sanding flat and curved surfaces. A clean and organized area helps you work safely and quickly.
Make sure you have enough light and space. This helps you see details and move freely while sanding.
Safety Measures
Safety is the first step when sanding. Dust and particles can harm your eyes and lungs. Protect yourself well.
Wear safety glasses and a dust mask. Gloves can protect your hands from rough surfaces and tools.
- Use safety glasses to protect your eyes
- Wear a dust mask to avoid breathing dust
- Put on gloves to protect your hands
- Work in a well-ventilated area
- Keep your workspace free of clutter to prevent accidents
Organizing Tools Efficiently
Arrange your sanding tools so you can reach them easily. This saves time and keeps your work smooth.
Sort sandpaper by grit and keep all tools on a table or in containers. This prevents losing items and confusion.
- Sort sandpaper from coarse to fine grit
- Keep sanding blocks, sponges, and pads together
- Place tools within arm’s reach
- Use containers to hold small items
- Clear the workspace after each session
Sanding Flat Surfaces
Sanding flat surfaces requires steady hands and good tools. It smooths the surface by removing rough spots and old finishes.
Using the right technique ensures an even finish. This helps paint or stain stick better and look cleaner.
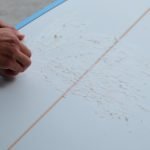
Techniques For Even Finishing
Start sanding with a coarse grit paper to remove big flaws. Then use finer grits for smoothness. Always sand along the grain of the wood.
- Use a sanding block to keep pressure even.
- Move the sandpaper in long, straight strokes.
- Change sandpaper regularly to keep it effective.
- Clean dust off the surface before changing grit.
- Check your work often by touch and sight.
Avoiding Common Mistakes
Many make errors that leave scratches or uneven spots. Avoid pressing too hard or sanding in circles.
| Mistake | Effect | How to Fix |
|---|---|---|
| Pressing too hard | Uneven surface | Use light, even pressure |
| Sanding against grain | Visible scratches | Sand with the grain only |
| Using dull sandpaper | Slow work and rough finish | Replace sandpaper often |
| Skipping grit levels | Rough or scratched surface | Sand through all grit steps |
| Not cleaning dust | Poor finish adhesion | Wipe surface before next sanding |
Sanding Curved Surfaces
Sanding curved surfaces needs care and the right tools. Flat sanding techniques do not work well on curves.
Using the correct methods helps keep the curve smooth and even. It also prevents damaging the shape.
Hand Sanding Tips
Hand sanding is good for small or detailed curves. It lets you feel the surface and control pressure.
Move your sanding paper in small circles or follow the curve shape. Avoid sanding back and forth straight across.
- Use light pressure to avoid flat spots
- Sand with the grain of the wood if possible
- Check your progress often with your hand
- Change sandpaper often to keep it effective
Using Flexible Sanding Tools
Flexible sanding tools bend to fit curved surfaces. They make it easier to sand evenly and quickly.
Foam sanding pads and sanding sponges are good choices. They adapt to curves and reduce the risk of flat spots.
- Choose a sanding sponge with a soft, flexible body
- Use sanding pads that wrap around curved shapes
- Keep the tool moving smoothly over the surface
- Replace worn sanding tools to maintain quality
Advanced Techniques
Sanding flat and curved surfaces well takes skill and the right approach. Advanced techniques help create smooth finishes on all shapes.
These tips focus on blending edges smoothly and using power sanders properly. They improve your sanding results and save time.
Blending Edges Seamlessly
Blending edges makes the transition between flat and curved areas smooth. This avoids visible lines or bumps on the surface.
Use a flexible sanding sponge or a sanding block wrapped with sandpaper. Work gently along the curve and the flat area at the same time.
- Start with medium grit sandpaper for shaping
- Use light pressure to avoid digging into the wood
- Sand in small circular motions near edges
- Switch to fine grit for finishing
- Check often under good light for smoothness
Using Power Sanders Effectively
Power sanders speed up sanding but need careful handling. Choose the right type for your surface shape.
Orbital sanders work well on flat surfaces. For curves, use a detail sander or sanding drum. Always keep the sander moving to avoid gouges.
- Use medium grit paper to remove rough spots
- Switch to fine grit for smooth finish
- Hold sander flat on the surface
- Sand with the grain if possible
- Don’t press hard; let the sander do the work
Maintaining Sanding Tools
Sanding flat and curved surfaces needs good tools. Keeping your sanding tools clean and safe helps them work well.
Proper care of sanding tools saves money and time. It also makes your work easier and smoother.
Cleaning And Storage
Clean your sanding tools after each use. Remove dust and debris from sanding pads and blocks.
Store tools in a dry place. Avoid moisture to stop rust and damage.
- Use a soft brush to clean sanding surfaces
- Wipe tools with a dry cloth
- Keep sanding sheets flat and dry
- Store tools in a toolbox or on shelves
Extending Tool Lifespan
Use the right sandpaper grit for each job. Using too rough or fine paper wears tools fast.
Check tools often for wear and tear. Replace parts or sanding sheets on time to keep good results.
- Avoid pressing too hard while sanding
- Change sanding sheets when clogged
- Keep moving tool smoothly over surfaces
- Store tools properly after cleaning
Credit: www.familyhandyman.com
Frequently Asked Questions
What Grit Sandpaper Is Best For Flat Surfaces?
For flat surfaces, start with 120-grit sandpaper for rough sanding. Progress to 220-grit for a smooth finish. This method ensures even removal and prepares the surface well for painting or staining.
How Do You Sand Curved Surfaces Smoothly?
Use flexible sanding sponges or hand sand with folded sandpaper for curves. Apply light, even pressure and sand along the curve’s contour to avoid uneven spots and maintain shape integrity.
Can Power Sanders Be Used On Curved Surfaces?
Power sanders can work on gentle curves but may remove too much material on tight curves. Use hand sanding for precision and control on complex curves to avoid damage.
How To Avoid Sanding Marks On Flat Surfaces?
Use fine-grit sandpaper and sand in a consistent, circular or back-and-forth motion. Clean the surface between grits to remove dust and prevent scratches or marks.
Conclusion
Sanding flat and curved surfaces needs patience and technique. Use the right tools for each surface. Always sand in the direction of the grain. This prevents scratches. For curves, flexible sanding tools work best. They adapt to contours easily. Keep your workspace clean to avoid dust buildup.
Safety is key. Wear a mask and goggles. Regular practice improves your skills over time. Remember, the right approach makes sanding easier. Keep experimenting to find what suits you best. With these tips, achieve smooth finishes every time. Happy sanding!