Are you tired of rummaging through cluttered toolboxes every time you need a hammer? Storing your hammers properly on racks can transform your workspace, making it more organized and efficient.
Imagine reaching for the perfect hammer without a second thought, your tools neatly lined up and ready for action. In this blog post, you’ll discover simple yet effective tips for storing your hammers on racks, ensuring they are always within easy reach.
By the end of this guide, you’ll not only save time but also prolong the life of your tools. Get ready to unlock the secrets to a more streamlined and productive workspace!
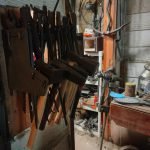
Credit: www.etsy.com
Choosing The Right Rack
Storing hammers properly keeps your workspace safe and organized. Picking the right rack helps you save space and protect your tools. This guide covers key points to consider for your hammer rack choice.
Look at the options carefully. Choose a rack that fits your needs and workspace size.
Wall-mounted Vs Free-standing
Wall-mounted racks fix to a wall and save floor space. Free-standing racks stand on the floor and can be moved.
- Wall-mounted racks keep tools visible and easy to reach.
- Free-standing racks offer more storage and can be relocated.
- Wall racks require wall space and proper installation.
- Free-standing racks take up floor space but do not need mounting.
Material And Durability
Choose a rack made of strong material to hold heavy hammers safely. Look for rust-resistant or coated racks for long use.
| Material | Durability | Maintenance |
|---|---|---|
| Steel | High | Low, may need rust protection |
| Plastic | Medium | Easy, but less strong |
| Wood | Medium | Needs occasional treatment |
Size And Capacity Considerations
Choose a rack size that fits the number and size of your hammers. Leave space to add more tools later.
- Measure the length and handle size of your hammers.
- Pick a rack that holds your current tools comfortably.
- Consider future tool additions when choosing capacity.
- Ensure enough space between slots to avoid damage.
Preparing The Rack Area
Storing hammers on racks keeps your workspace neat and tools easy to find. Preparing the rack area well makes storage safe and efficient.
Start by choosing the best spot and making sure the wall can hold the rack. Clear the space so you have room to work.
Selecting The Ideal Location
Pick a place where you often use your hammers. The spot should be easy to reach and well-lit. Avoid damp or dusty areas that can damage tools.
Think about the height and space around the rack. You want to hang hammers where they won’t get in the way or cause accidents.
Ensuring Proper Wall Support
Check if the wall can hold the rack and the weight of your hammers. Drywall alone may not be strong enough. Find studs or use anchors for support.
- Use a stud finder to locate wall studs
- Choose heavy-duty screws or anchors
- Test the wall’s strength before mounting
Clearing And Cleaning The Space
Remove any items from the wall area where you will install the rack. Clean dust and dirt from the wall and floor. This helps the rack stick better and keeps tools clean.
Make sure the floor is clear so you can move safely while storing or taking hammers from the rack.
Hammer Placement Techniques
Storing hammers correctly helps keep your workspace safe and tidy. Organizing them on racks saves time when you need to grab the right tool.
Using smart placement techniques can protect your hammers and make your rack look neat. This guide covers useful tips for efficient hammer storage.
Grouping By Type And Size
Sort your hammers by type, such as claw, ball-peen, or sledge. Also, group them by size to keep similar tools together.
- Place claw hammers in one section for quick access.
- Keep smaller hammers separate from larger ones to avoid confusion.
- Label groups clearly to find the right hammer fast.
- Store specialty hammers like mallets in a distinct area.
Using Hooks And Holders
Hooks and holders keep hammers off surfaces and prevent damage. They also make your rack look organized.
| Hook Type | Best For | Benefits |
| S-shaped Hooks | Claw and Ball-peen | Easy to hang and remove |
| Magnetic Holders | Metal Hammer Heads | Strong grip without damage |
| Custom Holders | Specialty Hammers | Secure fit, prevents slipping |
Maximizing Rack Space
Make the most of your rack by arranging hammers to use all available space. Vertical and horizontal placement helps store more tools.
- Hang hammers vertically to save shelf space.
- Place smaller hammers under larger ones for easy reach.
- Use double hooks to hold two hammers in one spot.
- Keep frequently used hammers at eye level for quick access.
- Utilize empty wall space near the rack for extra hooks.
Safety Tips For Storage
Storing hammers on racks keeps your workspace neat and safe. Proper storage stops accidents and tool damage.
Follow these safety tips to store your hammers correctly and avoid hazards.
Securing Hammers To Prevent Falls
Always secure hammers firmly on racks. Loose hammers can fall and cause injury.
- Use racks with hooks or slots that hold hammers tightly.
- Place heavier hammers on lower racks to reduce fall risk.
- Keep handles facing the same direction for easy grip and safety.
- Check that racks are mounted securely to walls or workbenches.
Avoiding Overloading
Do not overload hammer racks. Too many tools cause racks to bend or fall.
| Risk | Cause | Prevention |
| Rack collapse | Too many hammers | Limit number of hammers per rack |
| Hammer damage | Stacking hammers | Use individual slots or hooks |
| Injury | Falling tools | Check load limits on racks |
Regular Inspection And Maintenance
Check hammer racks often. Look for loose mounts or worn hooks to avoid accidents.
- Inspect racks monthly for damage.
- Tighten screws and brackets as needed.
- Replace any bent or broken parts immediately.
- Clean racks to prevent rust and dirt buildup.
Maintaining Organization
Keeping hammers organized on racks helps you find the right tool fast. It also makes your workspace safer and tidier.
Good storage habits prevent damage to your tools and save time during projects.
Labeling And Categorizing
Label each hammer type and size clearly on the rack. This stops confusion and speeds up tool selection.
Group hammers by use or size to keep similar tools together. Categories make it easier to spot missing items.
- Use durable labels or tags on each rack slot
- Separate hammers by claw, sledge, ball-peen, etc.
- Arrange from smallest to largest or by frequency of use
Routine Clean-up Practices
Set a regular time to clean the hammer rack and tools. Dust and dirt can build up and cause damage.
Wipe hammers with a dry cloth and check for rust or wear. Return each hammer to its labeled spot after use.
- Clean the rack surface weekly
- Inspect hammer heads and handles for damage
- Organize tools after every project
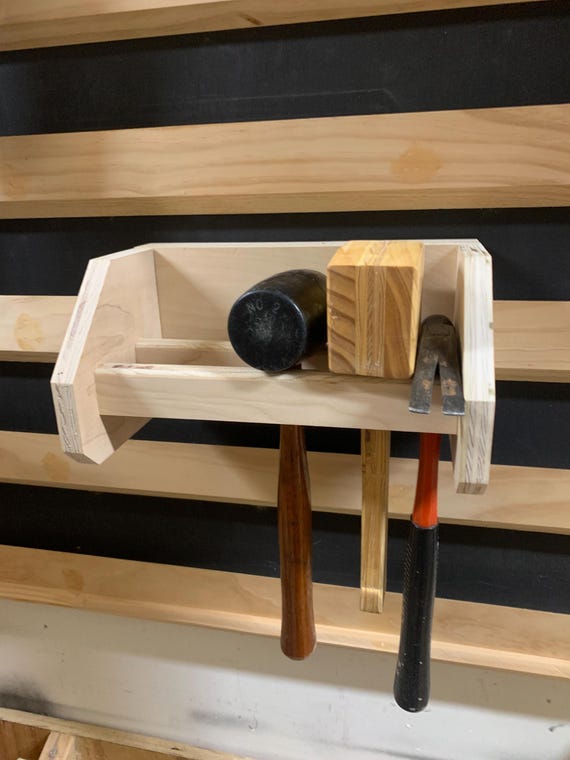
Upgrading Storage Solutions
Consider adding hooks, magnetic strips, or custom holders to improve your hammer rack. These help keep tools secure and visible.
Choose storage upgrades that fit your workspace size and tool collection. A well-designed rack saves space and protects your hammers.
- Install magnetic bars for quick hammer access
- Add custom foam slots for each hammer shape
- Use wall-mounted racks to free up bench space

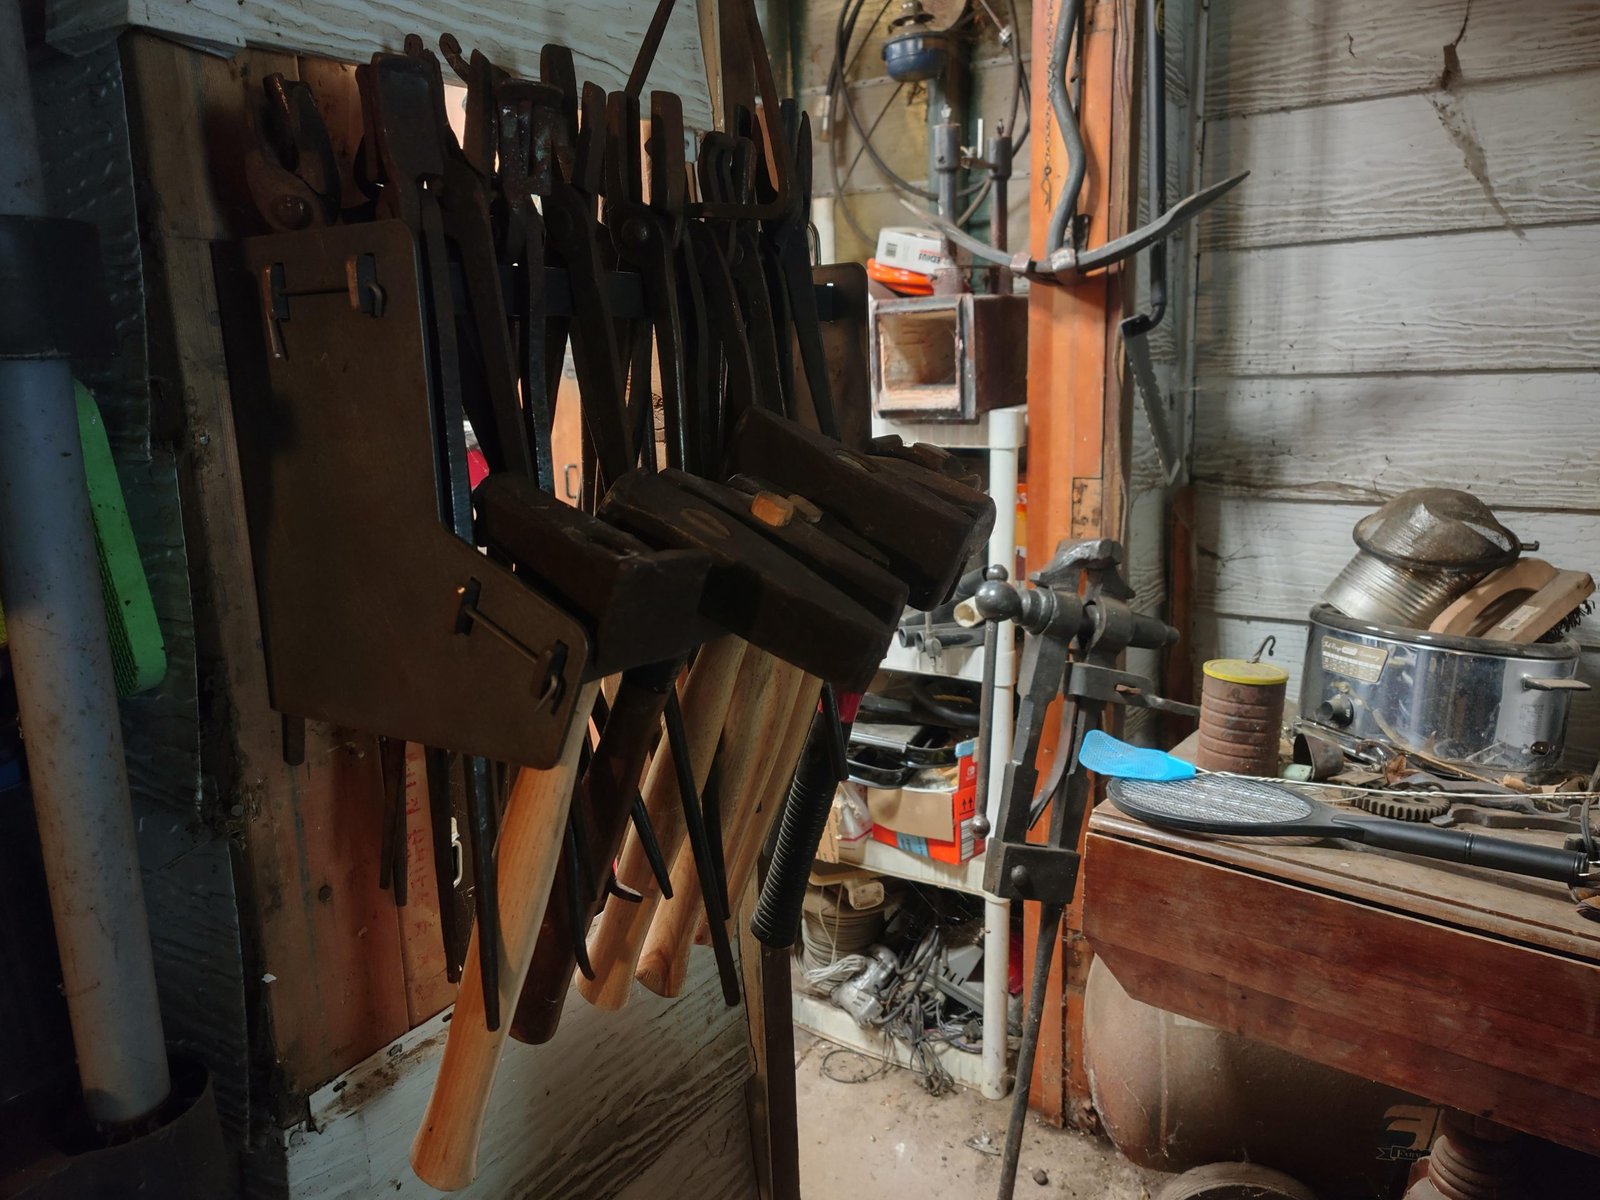
Credit: www.reddit.com
Additional Storage Accessories
Storing hammers on racks can be easier with the right accessories. These tools help keep your workspace tidy. They also protect your hammers and make them easy to find.
Here are some useful storage accessories to consider for your hammer racks. Each one offers different benefits and fits various storage needs.
Magnetic Strips
Magnetic strips attach to your hammer rack or wall. They hold metal hammer heads securely. This keeps hammers visible and easy to grab. Magnetic strips save space by using vertical surfaces.
Tool Trays And Bins
Tool trays and bins help organize hammer parts and accessories. They keep smaller items like nails and handles in one place. You can place trays on shelves or under racks. Bins can be stackable or wall-mounted.
- Use shallow trays for quick access
- Label bins to find items faster
- Choose bins with lids to avoid dust
- Keep similar items grouped together
Customizable Inserts
Customizable inserts fit inside tool drawers or trays. They have slots shaped for hammers and related tools. Inserts prevent hammers from rolling or banging into each other. You can arrange them by hammer size or type.
| Insert Type | Material | Best Use |
| Foam | Soft foam | Protects delicate hammer handles |
| Plastic | Hard plastic | Durable, easy to clean |
| Wood | Wooden slots | Classic look, sturdy hold |

Credit: www.reddit.com
Frequently Asked Questions
How Do I Organize Hammers On A Rack Efficiently?
To organize hammers efficiently, group them by type and size. Use labeled hooks or slots for easy access. Keep frequently used hammers at eye level. This system saves time and keeps your workspace tidy and safe.
What Rack Materials Are Best For Hammer Storage?
Metal and wooden racks are ideal for hammer storage. Metal racks offer durability and strength. Wooden racks provide a sturdy and aesthetic option. Both materials support weight well and help keep hammers secure and organized.
How Can I Prevent Hammer Damage On Racks?
Prevent hammer damage by using padded hooks or rubber sleeves on racks. Avoid stacking hammers directly on each other. Proper spacing and secure placement reduce wear and prolong hammer lifespan.
Where Should I Place Hammer Racks In My Workshop?
Place hammer racks within easy reach near your workbench. Ensure good lighting and clear visibility. Avoid cluttered or damp areas to maintain tool condition and enhance workflow efficiency.
Conclusion
Storing hammers on racks keeps your workspace neat and safe. It saves time by making tools easy to find. Choose a rack that fits your space well. Arrange hammers by size or type for quick access. Regularly check racks for damage to avoid accidents.
Proper storage also helps hammers last longer. Small efforts make a big difference in tool care. Keep your rack organized and enjoy a tidy work area. Simple steps lead to better tool management every day.