When you’re putting together furniture, using the right tools can make all the difference. A mallet might seem simple, but it’s one of the most powerful tools in your kit.
Knowing how to use it properly can save you time, protect your furniture, and make the whole process smoother. You’ll discover easy tips that help you get the most out of your mallet, even if you’re new to furniture assembly.
Ready to build with confidence? Keep reading to unlock the secrets that will turn your next project into a success.
Choosing The Right Mallet
Using the right mallet makes furniture assembly easier. It helps protect wood and other materials.
Picking the best mallet depends on your project and the parts you work with.
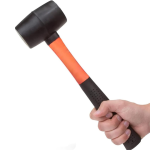
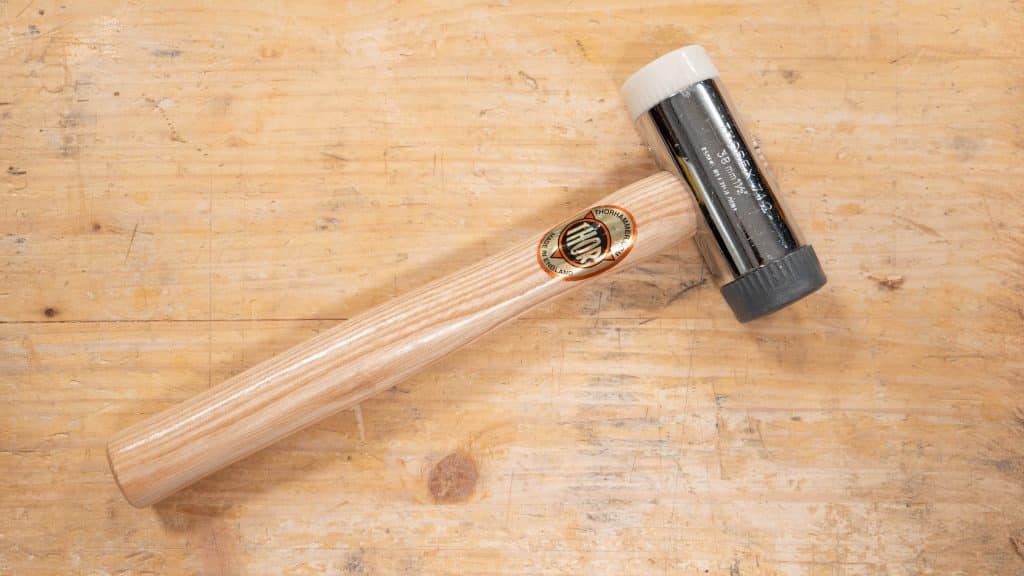
Types Of Mallets
There are different mallet types for different jobs. Some are soft, some are hard.
- Wooden mallets: Good for light tapping and delicate work.
- Rubber mallets: Great for gentle hits without damage.
- Plastic mallets: Durable and used for medium force.
- Rawhide mallets: Soft and protect surfaces well.
Material Matters
The mallet’s material affects how much force it delivers. Soft materials reduce damage risk.
Hard materials give stronger hits but may leave marks. Choose material based on your furniture parts.
- Wood: Absorbs shock, gentle on surfaces.
- Rubber: Flexible, good for non-marking.
- Plastic: Tough, used for heavier work.
- Rawhide: Soft, protects delicate finishes.
Size And Weight
Pick a mallet size that feels comfortable in your hand. It should be easy to control.
Heavier mallets give more power but tire your hand faster. Lighter mallets are good for small jobs.
- Small mallets: Best for tight spaces and delicate work.
- Medium mallets: Good for most furniture tasks.
- Large mallets: Use for heavy joints and tougher materials.

Credit: traditionalskills.wordpress.com
Preparing For Assembly
Using a mallet for furniture assembly needs good preparation. Getting ready helps you work safely and avoid mistakes.
This guide covers how to set up your workspace, protect your furniture, and gather the right tools before you start.
Workspace Setup
Choose a clean, flat area with enough space to work. A large table or the floor can work well for assembly.
Good lighting helps you see small parts and instructions clearly. Remove any clutter to avoid losing pieces.
- Clear a flat surface
- Ensure bright lighting
- Keep the area free of clutter
- Use a soft mat to protect parts
Protecting Your Furniture
Protect your furniture pieces from scratches and dents during assembly. Use soft coverings on your workspace.
Place cloth, foam, or cardboard under the parts. This will keep the wood or finish safe while you work.
- Use a soft cloth or foam padding
- Avoid hard or rough surfaces
- Handle parts gently with clean hands
- Keep assembled parts separate to avoid damage
Gathering Tools
Collect all tools before you start. This saves time and keeps you focused on the job.
A mallet is the main tool for assembly. Also have screwdrivers, Allen wrenches, and any parts that came with your furniture.
- Rubber or wooden mallet
- Screwdrivers (flathead and Phillips)
- Allen wrenches or hex keys
- Measuring tape or ruler
- All hardware and instructions provided
Proper Mallet Techniques
Using a mallet correctly helps you assemble furniture safely and easily. Good techniques reduce damage to wood and parts.
Focus on your grip, how hard you hit, and the angle of each strike for best results.
Correct Grip And Stance
Hold the mallet handle firmly but not too tight. Use your dominant hand near the base of the handle. Stand with feet shoulder-width apart. Keep your body balanced and stable.
- Grip the mallet handle near the end
- Keep your wrist straight
- Stand with one foot slightly forward
- Bend your knees slightly for better control
- Keep your eyes on the strike point
Controlling Force
Adjust your swing to match the task. Use light taps for small parts. Use stronger hits for bigger joints. Avoid hitting too hard to prevent damage.
| Task | Recommended Force |
| Fitting small dowels | Light taps |
| Joining large panels | Moderate strikes |
| Driving stubborn parts | Firm hits |
| Adjusting alignment | Gentle taps |
Striking Angles
Hit the part squarely to avoid slipping or damage. Aim for a 90-degree angle between the mallet head and the surface. Keep your arm steady during the swing.
- Keep the mallet head flat against the surface
- Avoid hitting at sharp angles
- Use slow, controlled swings
- Check alignment before each hit
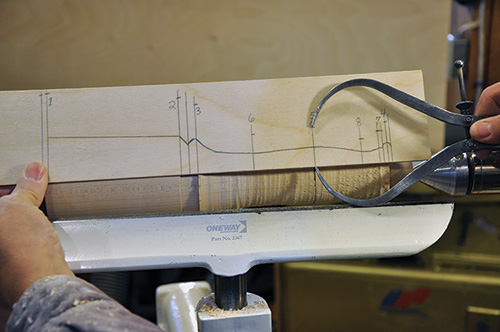
Credit: www.woodworkersjournal.com
Avoiding Common Mistakes
Using a mallet in furniture assembly can make your work easier. Yet, some errors can cause damage or slow you down. Knowing how to avoid these mistakes helps you build stronger furniture.
This guide covers key tips for safe and effective mallet use. Focus on preventing damage, handling delicate parts, and recognizing when to stop hitting.
Preventing Damage
Using a mallet wrong can leave dents or cracks in your wood. Protect your materials by following simple rules.
- Use a rubber or wooden mallet, not a metal hammer.
- Hit gently at first to test the force needed.
- Place a scrap piece of wood between the mallet and furniture to shield surfaces.
- Keep the mallet face clean to avoid scratches.
Handling Delicate Parts
Delicate parts need extra care to avoid breakage. Use these tips to handle them correctly with a mallet.
| Delicate Part | Recommended Mallet Use |
| Thin wood panels | Tap lightly and use a soft mallet face |
| Veneered surfaces | Cover with a cloth before tapping |
| Glue joints | Apply gentle taps to avoid loosening |
| Plastic fittings | Use minimal force and check fit often |
Recognizing When To Stop
Knowing when to stop hitting prevents damage and frustration. Watch for signs that the parts are fitting or if force is too much.
Stop using the mallet if you see:
- Parts no longer move or fit tighter with each tap
- Wood begins to crack or split
- Glue starts to squeeze out from joints
- Plastic or metal parts bend or deform
At these points, check alignment and adjust your work. Use gentle pressure by hand instead of more mallet strikes.
Maintenance Tips For Your Mallet
Taking care of your mallet helps it last longer and work better. Simple maintenance keeps the tool safe and effective during furniture assembly.
Learn how to clean, inspect, and store your mallet to avoid damage and maintain its performance.
Cleaning And Storage
Clean your mallet after each use to remove dust and dirt. Use a soft cloth to wipe the head and handle.
Store the mallet in a dry place away from direct sunlight. Keep it off damp surfaces to avoid wood swelling or damage.
- Wipe with a dry or slightly damp cloth
- Avoid harsh chemicals or soaking in water
- Keep in a toolbox or hang on a pegboard
- Store away from extreme temperatures
Inspecting For Wear
Check your mallet regularly for cracks, dents, or loose parts. Look at the head and handle for any damage.
Minor dents are normal but deep cracks can weaken the tool. Tighten any loose handles or heads before use.
- Look for splits or cracks in the wood or rubber
- Ensure the head is firmly attached to the handle
- Check for worn or rounded striking surfaces
- Replace worn parts if possible
When To Replace
Replace your mallet if it shows serious damage. Unsafe mallets can cause injury or damage to furniture.
If the handle cracks, the head loosens, or the striking surface wears out, it is time for a new mallet.
- Cracked or broken handle
- Loose or detached head
- Deep dents or worn striking face
- Splitting or rotting wood
Credit: commonwoodworking.com
Expert Tricks For Efficiency
Using a mallet correctly can save time and avoid damage. This guide shares tips for better results when assembling furniture.
Learn how to combine tools, balance speed with care, and fix tough joints effectively.
Using A Mallet With Other Tools
A mallet works well alongside other tools to protect wood and improve control. Use the right tool for each part of the job.
- Use a block of scrap wood with the mallet to avoid dents.
- Pair the mallet with a chisel for clean cuts and shaping.
- Tap dowels gently into place with the mallet to prevent splitting.
- Combine a mallet and clamp for steady assembly without damage.
Speed Vs. Precision
Quick work is good, but slow and steady often means fewer mistakes. Choose the right balance based on your project.
| Task | When to Use Speed | When to Use Precision |
| Fitting Pieces | Simple joints | Delicate or tight joints |
| Driving Dowels | Large parts | Thin or fragile parts |
| Adjusting Parts | Rough assembly | Final fitting |
Troubleshooting Stubborn Joints
Joints that do not fit easily need careful work to avoid damage. Use gentle taps and check alignment often.
- Check if parts are clean and free of debris.
- Use a mallet to tap lightly at different angles.
- Apply a little wax or soap to help pieces slide together.
- Try loosening any clamps before adjusting the fit.
- Don’t force parts; adjust them step by step.
Frequently Asked Questions
What Is The Best Mallet For Furniture Assembly?
A rubber mallet is ideal for furniture assembly. It prevents wood damage and applies force evenly. Choose one with a comfortable grip for better control and precision during assembly.
How Do I Avoid Damaging Wood With A Mallet?
Use a rubber or wooden mallet to avoid dents. Always strike gently and evenly. Place a scrap piece of wood between the mallet and furniture for extra protection.
Can A Mallet Replace A Hammer In Assembly?
Yes, a mallet can replace a hammer for delicate tasks. It delivers softer blows, reducing the risk of splitting or damaging wood surfaces during furniture assembly.
How To Hold A Mallet Correctly When Assembling Furniture?
Grip the mallet handle firmly near the end. Keep your wrist straight and use controlled, smooth swings. This improves accuracy and prevents accidental damage to the furniture.
Conclusion
Using a mallet in furniture assembly can make tasks easier. Always choose the right mallet for your project. Rubber mallets are gentle, while wooden ones are more forceful. Grip the handle firmly for better control. Striking lightly prevents damage to furniture pieces.
Practice makes perfect, so don’t worry if you’re not perfect at first. Remember, patience is key. A well-assembled piece can last for years. These tips can enhance your furniture assembly skills. Enjoy building and creating with confidence. Happy assembling!