Are you ready to master the art of measuring complex angles with precision? Using a protractor might seem straightforward, but when it comes to more intricate angles, things can get tricky.
Imagine the satisfaction of confidently tackling those challenging geometry problems or DIY projects that require exact measurements. In this guide, you’ll discover simple, effective tips that make using a protractor a breeze, even for the most complex angles. By the end, you’ll feel empowered to take on any angle with ease and accuracy.
Curious to learn the secrets to becoming a protractor pro? Read on and unlock the skills you need to succeed.
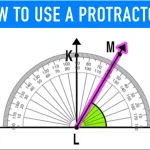
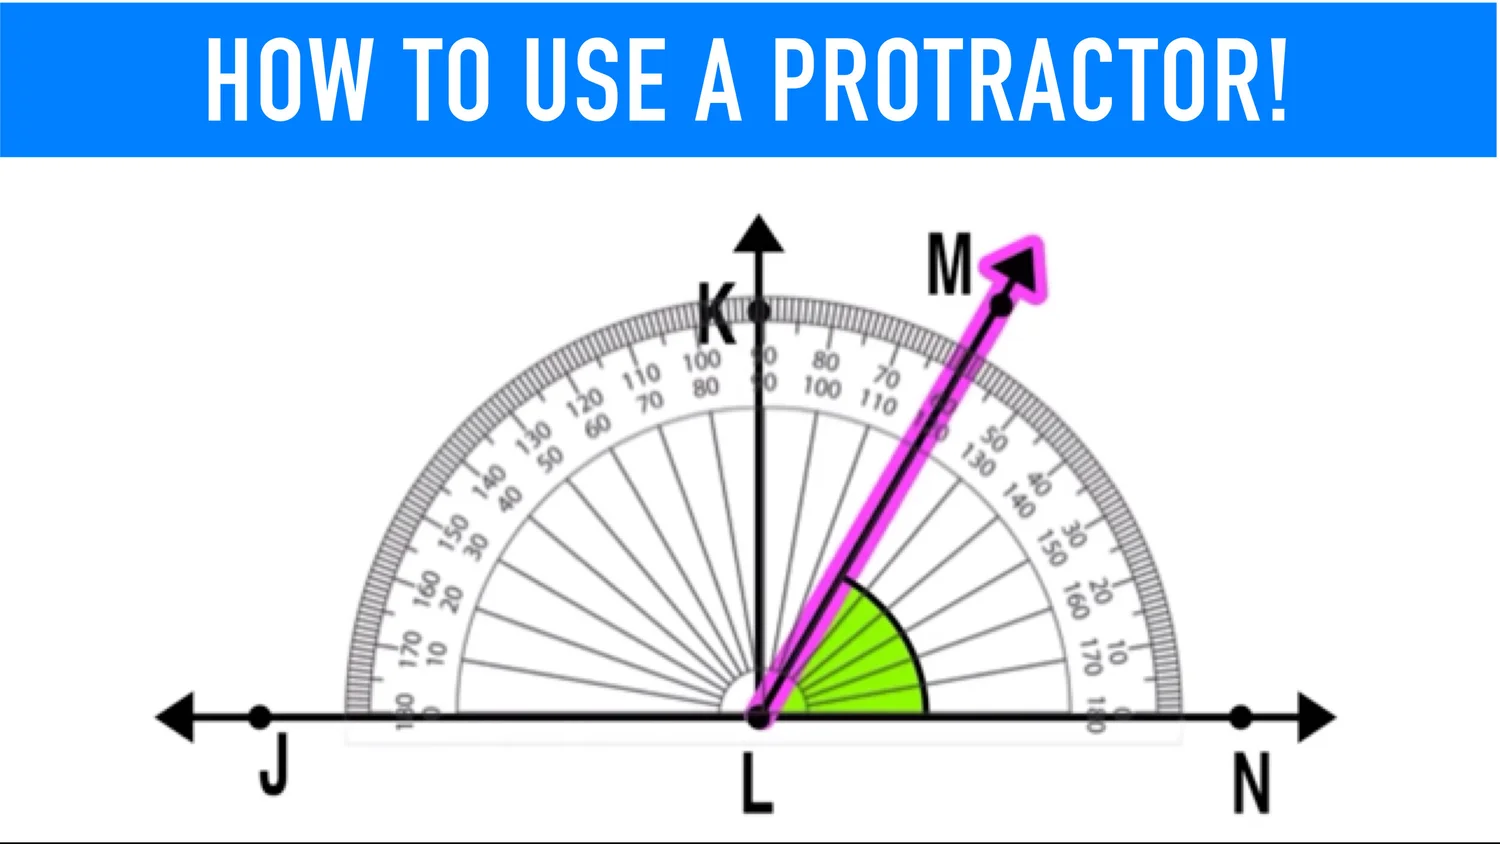
Credit: www.elearningcampus.io
Choosing The Right Protractor
Using a protractor helps you measure and draw angles accurately. Picking the right protractor is key for working with complex angles.
Different protractors have different shapes and features. Choose one that fits your project needs and skill level.
Types Of Protractors
There are several types of protractors. Each type suits different tasks and angle measurements.
- Half-circle protractors: Measure angles up to 180 degrees. They are common in schools.
- Full-circle protractors: Measure angles up to 360 degrees. Useful for complex angles.
- Digital protractors: Show angle measurements on a screen. They are precise and easy to read.
- Adjustable protractors: Can be set to specific angles. Good for drawing repeated angles.
Features To Look For
Some features make a protractor easier to use and more accurate. Look for these when choosing one.
- Clear markings:Numbers and lines should be easy to read.
- Durable material:Plastic or metal protractors last longer.
- Center hole:Helps to place the protractor correctly on the angle.
- Non-slip backing:Stops the protractor from sliding during use.
- Angle measurement range:Choose one that covers the angles you need.
- Digital display:Useful for quick and precise readings.
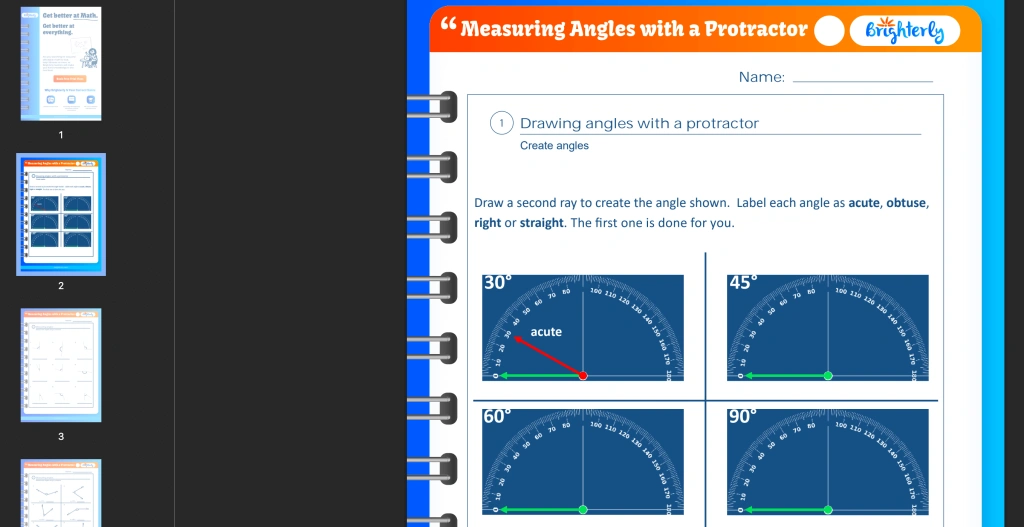
Credit: brighterly.com
Preparing Your Workspace
Using a protractor for complex angles needs a good workspace. A neat and organized area helps you work with ease and accuracy.
Setting up your space correctly reduces mistakes and makes measuring angles faster.
Stable Surface Setup
Choose a flat and steady surface to place your paper and protractor. A shaky table can cause wrong angle readings.
Make sure the surface is clean and clear of clutter. This lets you move your tools freely and keeps your work neat.
- Use a desk or a solid table
- Clear away papers and items not needed
- Place your paper firmly on the surface
- Use a clipboard if the table feels unstable
Proper Lighting
Good lighting helps you see the protractor’s markings clearly. It prevents eye strain and errors in angle reading.
Natural light is best. If not available, use a bright desk lamp that covers your whole workspace.
- Work near a window for daylight
- Use a white LED lamp for clear light
- Avoid shadows on your paper
- Adjust lamp position to reduce glare
Aligning The Protractor Accurately
Using a protractor for complex angles needs careful alignment. Accurate positioning helps get correct angle measurements.
This guide explains how to align your protractor well by focusing on two key points.
Positioning The Baseline
The baseline of the protractor must match the line from which you measure angles. This line is often the bottom edge of the protractor.
- Place the protractor flat on the paper.
- Align the baseline with the edge of the angle’s first side.
- Ensure no gaps or tilts between the protractor and the line.
- Hold the protractor steady to avoid movement.
Centering The Origin Point
The origin point is the small hole or mark at the center of the protractor. It must sit exactly on the angle’s vertex.
| Task | Why It Matters |
| Place origin on vertex | Ensures angle is measured from correct point |
| Check alignment with baseline | Prevents incorrect angle reading |
| Keep protractor stable | Stops errors from shifting during measurement |
Measuring Acute And Obtuse Angles
Using a protractor to measure angles helps in many math and design tasks. Acute and obtuse angles are common types you will often measure.
Knowing how to identify these angles and read the protractor correctly will make your measurements accurate and easy.
Identifying Angle Types
An acute angle is less than 90 degrees. An obtuse angle is more than 90 degrees but less than 180 degrees.
- Acute angles look sharp and small.
- Obtuse angles appear wider and larger.
- Right angles measure exactly 90 degrees.
Reading Inner And Outer Scales
Protractors have two number scales: inner and outer. Each scale runs in opposite directions.
| Scale Type | Use For | Direction |
|---|---|---|
| Inner Scale | Start measuring from protractor’s right side | 0 to 180 degrees, left to right |
| Outer Scale | Start measuring from protractor’s left side | 0 to 180 degrees, right to left |
To measure an angle, align one side with zero on the correct scale. Then read the number where the other side crosses.
Handling Reflex Angles
Reflex angles are angles greater than 180 degrees but less than 360 degrees. Measuring them can be tricky with a protractor. You need special techniques to find their size accurately.
This guide will help you handle reflex angles easily. You will learn how to extend angle lines and use supplementary angles for better measurement.
Extending Angle Lines
Sometimes, the angle lines are too short to measure the reflex angle directly. Extending these lines helps you use the protractor more effectively. Draw the lines longer to see the full angle clearly.
After extending the lines, place the protractor’s center at the angle’s vertex. Align one line with the zero mark. Read the smaller angle first, then subtract from 360 to get the reflex angle.
- Draw the angle lines longer using a ruler
- Place protractor center at vertex
- Align one line with zero degrees
- Read the smaller angle on protractor
- Subtract that angle from 360 degrees
- The result is the reflex angle measurement
Using Supplementary Angles
Supplementary angles add up to 180 degrees. You can use this fact to find reflex angles easily. Measure the smaller angle between the lines first.
Then, subtract this smaller angle from 360 degrees to get the reflex angle. This method works well for angles that are hard to measure directly with a protractor.
- Measure the smaller angle first
- Subtract the smaller angle from 360 degrees
- The answer is the reflex angle size
Techniques For Repeated Measurements
Taking repeated measurements with a protractor ensures accuracy. This is important when working with complex angles that need precision.
Using careful techniques helps reduce errors. Two key methods are marking reference points and avoiding parallax errors.
Marking Reference Points
Marking reference points on your work surface helps you measure the same angle multiple times. It acts as a guide to keep your measurements consistent.
- Use a sharp pencil to mark the vertex of the angle clearly.
- Draw small lines along the arms of the angle to show where the protractor should align.
- Label each reference mark to avoid confusion during repeated checks.
- Keep the marks light if you need to erase them later without damaging the material.
- Check that your marks do not shift between measurements.
Avoiding Parallax Errors
Parallax errors occur when you do not look directly above the protractor’s scale. This can cause incorrect readings of the angle.
| Tip | How to Do It |
| Eye Level | Keep your eye directly above the measurement mark on the protractor. |
| Stable Setup | Place the protractor on a flat, steady surface to prevent movement. |
| Use a Mirror | Some protractors have a mirror strip to help align your view correctly. |
| Repeat Viewing | Take multiple readings from the same angle to confirm accuracy. |
Using Digital Protractors
Digital protractors help measure complex angles with ease. They show angles on a clear digital screen.
These tools are useful for precise work in fields like carpentry and engineering.
Advantages Over Manual Tools
Digital protractors give faster and more accurate readings than manual ones. They reduce human errors in angle measurement.
They also display results clearly, making it easier to read small or tricky angles.
- Quick angle measurement
- High accuracy and precision
- Easy-to-read digital display
- Can hold measurements for checking
- Works well with complex angles
Calibration Tips
Calibrate your digital protractor regularly to keep it accurate. Follow the manufacturer’s instructions for best results.
Check calibration by measuring a known angle, like 90 degrees, to confirm accuracy.
- Place the protractor on a flat surface
- Turn it on and reset to zero
- Measure a known angle to test
- Adjust settings if the reading is off
- Repeat calibration often for precise work
Common Mistakes To Avoid
Using a protractor for complex angles can be tricky. Many errors happen because of small mistakes. Avoiding these errors helps you get accurate results.
Two common mistakes are misreading the scale and improper alignment. These cause wrong angle measurements and confusion.
Misreading The Scale
Protractors have two sets of numbers. It is easy to read the wrong scale. This mistake leads to incorrect angle values.
- Check if you read from 0 to 180 degrees clockwise or counterclockwise.
- Use the inner or outer scale based on the angle’s direction.
- Double-check the number you pick on the scale.
- Mark the vertex point clearly before measuring.
Improper Alignment
Aligning the protractor incorrectly causes wrong angle readings. The center hole must sit exactly on the vertex.
| Alignment Error | Effect on Measurement |
| Center hole off the vertex | Angle appears larger or smaller |
| Base line not aligned with zero mark | Reading shifts from the true angle |
| Protractor tilted or angled | Measurement becomes inaccurate |
Practice Exercises For Precision
Using a protractor accurately takes practice. Doing exercises helps improve your skills.
Try different angle types to get better at measuring complex angles.
Simple Angle Drills
Start with easy angles like 30°, 45°, and 90°. These help you get used to the protractor.
Practice placing the protractor’s center on the vertex correctly. Read the inner and outer scales carefully.
- Draw a 30° angle and measure it with the protractor.
- Check a 45° angle and mark its exact point.
- Measure right angles (90°) to build confidence.
Complex Angle Challenges
After simple drills, try angles over 180° or angles inside shapes. These are harder to measure.
Practice finding angles between lines that cross or form unusual shapes. Use the protractor carefully.
- Measure reflex angles (greater than 180° but less than 360°).
- Find angles inside polygons, like pentagons or hexagons.
- Practice measuring angles that are not aligned with the protractor base.

Credit: brighterly.com
Frequently Asked Questions
How Do I Align A Protractor For Complex Angles?
Place the protractor’s center hole on the angle’s vertex. Align the baseline with one angle arm. Ensure accuracy by keeping the protractor steady while measuring or drawing the angle.
Can A Protractor Measure Angles Over 180 Degrees?
Standard protractors measure up to 180 degrees. For angles over 180 degrees, use a 360-degree protractor or subtract the smaller angle from 360 degrees to find the reflex angle.
What Protractor Type Is Best For Complex Angles?
A transparent 360-degree protractor is ideal for complex angles. It allows easy alignment and measurement of angles beyond 180 degrees, improving accuracy and efficiency in geometric tasks.
How To Avoid Errors When Using A Protractor?
Ensure the protractor is properly aligned with the vertex and baseline. Read the scale carefully, and double-check measurements. Using a clear protractor and good lighting reduces mistakes.
Conclusion
Using a protractor for complex angles becomes easier with practice. Take your time to align it correctly. Always double-check your measurements for accuracy. Small mistakes can change your results. Keep your hand steady while reading the angle. Remember, clear markings help you avoid confusion.
With these tips, measuring complex angles feels less tricky. Stay patient and keep practicing often. Your skills will improve step by step. Accurate angle measurements help in many tasks. Keep this guide handy for future reference.