Are you ready to take your woodworking projects to the next level? Using a rotary tool for polishing wood can give your pieces a smooth, professional finish that catches everyone’s eye.
But if you’re not careful, it’s easy to make mistakes that could damage your work. You’ll discover simple tips that help you polish wood like a pro, saving you time and frustration. Keep reading to unlock the secrets that will make your wood shine beautifully every time.
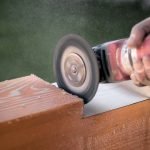
Credit: tendsupplies.com
Choosing The Right Rotary Tool
Using a rotary tool for polishing wood can make the job easier. Picking the right tool helps you get smooth results.
Not all rotary tools work the same. You need to find one that fits your project and skill level.
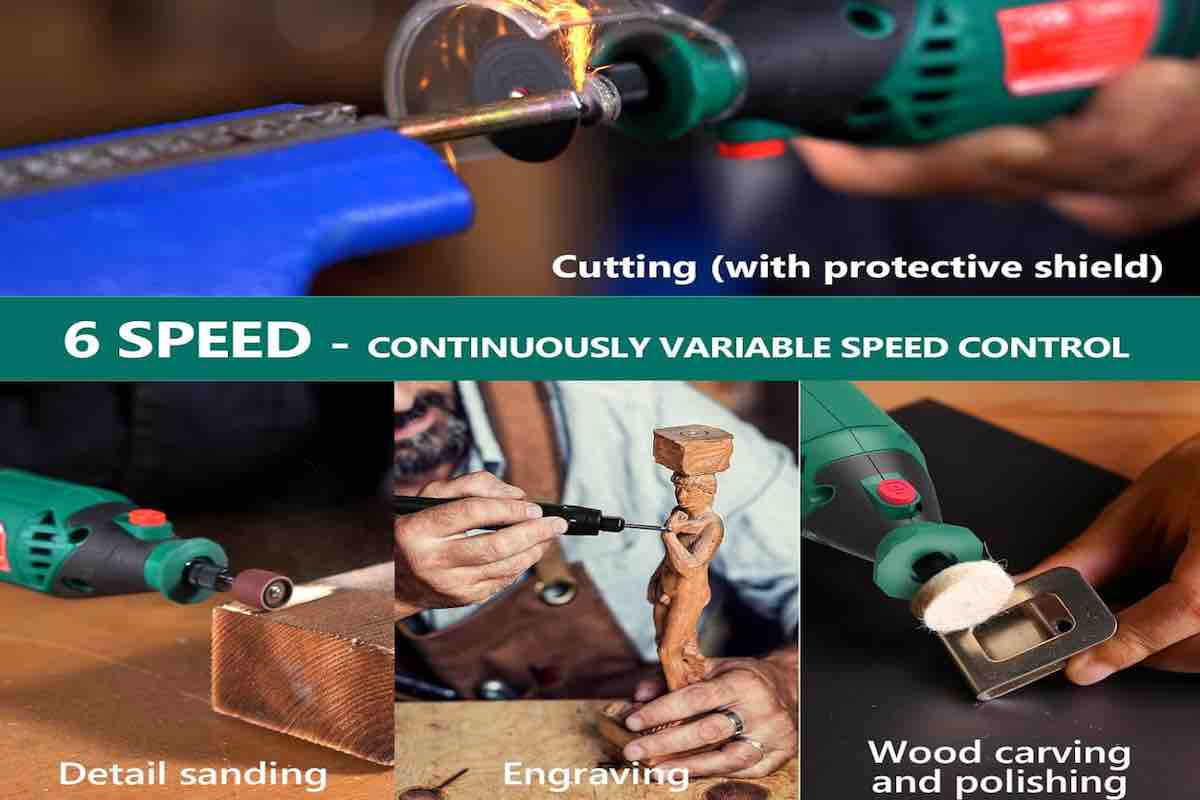
Types Of Rotary Tools
Rotary tools come in different types. Some are small and light, while others are bigger and stronger.
Look for a tool with variable speed control. This helps you polish wood without damage.
- Compact rotary tools are good for small projects.
- Heavy-duty rotary tools work well on large surfaces.
- Electric rotary tools offer steady power.
- Battery-powered tools give more freedom to move.
Selecting Suitable Accessories
Accessories affect how well your rotary tool polishes wood. Choose the right pads and attachments.
Use soft polishing pads for a smooth finish. Rough pads are for removing old paint or rough spots.
- Foam pads work well for fine polishing.
- Felt wheels are good for applying polish.
- Sanding drums help smooth rough wood.
- Brush attachments clean small details.
Preparing Wood For Polishing
Before polishing wood with a rotary tool, prepare the surface carefully. This helps the polish stick well and look smooth.
Good preparation makes your wood shine brighter and last longer after polishing.
Cleaning The Surface
Start by cleaning the wood surface. Remove dust, dirt, and grease for a clean base.
Use a soft cloth and mild cleaner to avoid damage. Let the wood dry before polishing.
- Wipe with a dry cloth to remove loose dust
- Use soap and water for sticky spots
- Dry the wood completely to prevent polish issues
Sanding For Smoothness
Sanding creates a smooth surface for the polish. It removes rough spots and old finishes.
Start with coarse sandpaper, then use finer grits to finish. Always sand along the wood grain.
- Use 80-120 grit sandpaper for rough sanding
- Switch to 220-320 grit for a smooth finish
- Remove all sanding dust before polishing
Setting Up The Rotary Tool
Setting up your rotary tool correctly is important before polishing wood. It helps you work safely and get a smooth finish.
This guide shows how to adjust the speed and attach polishing pads properly.
Adjusting Speed Settings
Choose the right speed for polishing wood to avoid damage. Slow speeds work best for delicate finishes.
Start low and increase speed if needed. High speeds can burn the wood or polish unevenly.
- Low speed: gentle polishing and small areas
- Medium speed: general polishing tasks
- High speed: avoid for wood, can cause damage
Attaching Polishing Pads
Select the right polishing pad for your wood type and finish. Soft pads work best for smooth surfaces.
Make sure the pad is secure before starting. Loose pads can cause scratches or accidents.
- Turn off the tool before attaching pads
- Use the correct size pad for the rotary tool
- Press the pad firmly onto the tool’s attachment point
- Check that the pad is tight and centered
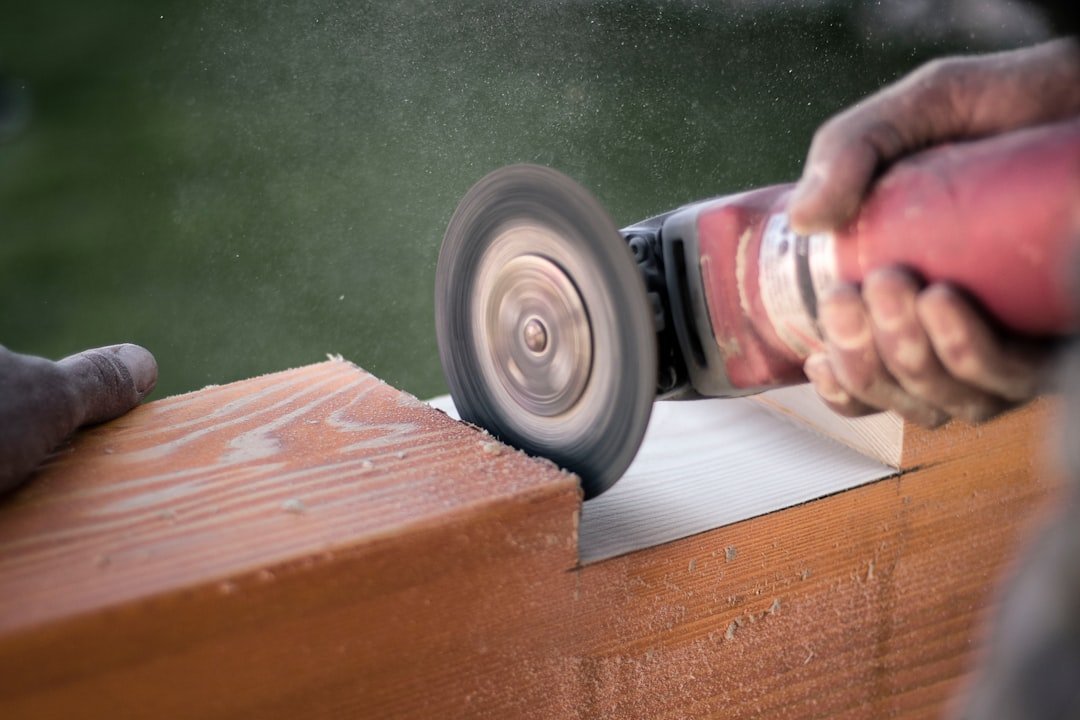
Credit: hardell.com
Polishing Techniques
Using a rotary tool for polishing wood requires some skill. Proper techniques help create a smooth, shiny surface.
Focus on how you apply pressure, move the tool, and manage heat. These tips will improve your polishing results.
Maintaining Consistent Pressure
Keep steady pressure on the wood while polishing. Too much force can damage the surface.
Apply light to moderate pressure. Let the rotary tool do the work, not your hands.
- Hold the tool firmly but relaxed
- Press evenly over the area
- Avoid pushing too hard
- Check the wood often for smoothness
Using Circular Motions
Move the rotary tool in small circles while polishing. Circular motions help cover the surface evenly.
This technique reduces streaks and marks on the wood. Keep your movements smooth and steady.
- Use slow, controlled circles
- Overlap each circle slightly
- Work across the entire surface
- Keep the tool flat against the wood
Avoiding Overheating
Polishing creates friction that heats the wood and tool. Too much heat can burn the wood or damage the tool.
Take breaks often to let the tool cool down. Watch for smoke or discoloration on the wood.
- Polish in short sessions
- Use lower speed settings
- Keep the tool moving constantly
- Stop if the wood feels hot
Safety Tips
Using a rotary tool for polishing wood can be fast and effective. It also needs careful safety steps to avoid injuries.
Always follow safety rules to protect yourself and work safely with your tool and materials.
Wearing Protective Gear
Wear safety glasses to protect your eyes from dust and wood particles. Polishing can send tiny bits flying.
Use a dust mask to avoid breathing in fine dust. This keeps your lungs safe during long polishing jobs.
- Safety glasses or goggles
- Dust mask or respirator
- Hearing protection if tool is loud
- Gloves to protect your hands
Ensuring Proper Ventilation
Work in a well-ventilated area to reduce dust and fumes. Fresh air helps keep you healthy.
Open windows or use fans to move air. This clears dust and prevents buildup around your workspace.
- Open windows or doors
- Use a fan to circulate air
- Consider working outside if possible
- Keep your workspace clean to reduce dust
Finishing Touches
Using a rotary tool for polishing wood adds a smooth, shiny finish. The final steps make your wood project look its best.
Focus on applying polish or wax and then buffing to get a rich shine. These steps protect the wood and enhance its natural beauty.
Applying Wood Polish Or Wax
Choose a polish or wax suitable for your wood type. Apply it evenly to avoid streaks or blotches.
- Use a soft cloth or foam pad on the rotary tool at low speed.
- Apply a thin layer of polish or wax over the wood surface.
- Work in small sections to cover all areas evenly.
- Allow the polish or wax to set for a few minutes before buffing.
Buffing For Shine
Buffing brings out the wood’s natural glow. Use the rotary tool with a soft buffing wheel or pad.
| Buffing Speed | Tool Attachment | Time |
| Low (500-1000 RPM) | Soft cloth pad | 2-3 minutes per section |
| Medium (1000-2000 RPM) | Foam buffing wheel | 1-2 minutes per section |
| High (2000+ RPM) | Not recommended | Avoid to prevent damage |
Move the tool in slow, circular motions. Avoid pressing too hard to protect the wood surface.
Common Mistakes To Avoid
Using a rotary tool for polishing wood can give great results. Still, some mistakes can damage the wood or the tool. Avoid these common errors to keep your project smooth and safe.
Learn about common mistakes so you can polish wood with care. This guide covers wrong accessories and polishing too hard.
Using Incorrect Accessories
Choosing the wrong accessory can harm your wood or tool. Each polishing task needs a specific type of attachment. Using the wrong one can leave scratches or wear out the wood finish.
- Do not use abrasive wheels on soft woods.
- Avoid hard brushes that can dig into the surface.
- Choose polishing pads that fit the rotary tool size exactly.
- Use accessories designed for wood, not metal or plastic.
- Check the accessory speed rating matches your tool speed.
Polishing Too Aggressively
Pressing too hard or using high speed can damage wood surfaces. Aggressive polishing may cause burns or uneven finishes. Patience and a gentle touch produce the best results.
| Problem | Effect on Wood | How to Avoid |
| High pressure | Deep scratches and dents | Use light pressure and steady motion |
| High speed | Wood surface burns and discoloration | Adjust speed to a moderate setting |
| Long polishing time in one spot | Uneven shine and surface damage | Keep tool moving evenly over wood |
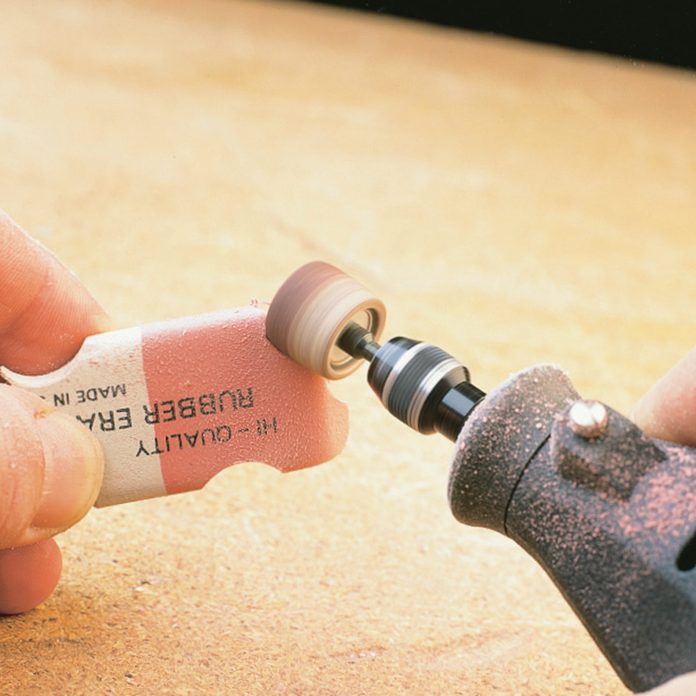
Credit: www.familyhandyman.com
Frequently Asked Questions
What Rotary Tool Is Best For Polishing Wood?
A rotary tool with variable speed and soft polishing attachments works best for wood. Brands like Dremel offer versatile options. Choose one with adjustable speed to avoid overheating or damaging the wood surface during polishing.
How Do I Prepare Wood Before Polishing With A Rotary Tool?
Start by sanding the wood smooth using fine-grit sandpaper. Clean the surface to remove dust and debris. Proper preparation ensures even polishing and enhances the final wood finish.
What Polishing Attachments Should I Use On Wood?
Use soft felt or cloth polishing wheels and foam pads. These attachments provide a gentle finish and prevent scratching. Avoid abrasive attachments that can damage the wood’s surface.
How Can I Avoid Burning Wood When Polishing?
Use low to medium rotary tool speed to reduce heat buildup. Keep the tool moving continuously to avoid staying in one spot. Take breaks if the wood feels warm to prevent burning.
Conclusion
Using a rotary tool for polishing wood can be rewarding. It makes wood surfaces smooth and shiny. Practice is key for perfect results. Start with low speed, then increase gradually. Choose the right attachments for the task. Safety should always come first.
Wear goggles and a mask to stay safe. Consistent pressure helps avoid uneven surfaces. With patience, you’ll see improvement. Polishing wood enhances its natural beauty. It also protects the wood from damage. Remember, every project improves your skills. Enjoy the process and watch your craftsmanship grow.