Are you ready to take your small craft projects to the next level? Using a rotary tool can open up a world of possibilities, making your work more precise and professional.
But if you’re new to these handy gadgets, it’s easy to feel overwhelmed or unsure where to start. Don’t worry—this guide is here to help you master your rotary tool quickly and confidently. Keep reading to discover simple, practical tips that will make your crafting smoother, safer, and way more enjoyable.
Your next project is about to get a lot better!
Credit: www.familyhandyman.com
Choosing The Right Rotary Tool
Rotary tools are great for small craft projects. Picking the right one makes your work easier and more precise.
There are many types and accessories. Safety gear is also important for safe use.
Types Of Rotary Tools
Rotary tools vary by power source and speed. Corded tools give constant power. Cordless tools offer mobility but may run out of charge.
- Basic rotary tools for light sanding and carving
- High-speed rotary tools for cutting and grinding
- Multi-speed tools that adjust for different tasks
Essential Accessories
Accessories help you do many jobs with one tool. Choose the right bits and attachments for your project.
| Accessory | Use |
| Sanding drums | Smooth rough edges |
| Cutting wheels | Cut thin wood or plastic |
| Grinding stones | Sharpen or shape metal |
| Polishing pads | Make surfaces shine |
Safety Gear Selection
Always wear safety gear to protect yourself. A mask stops dust, and goggles protect your eyes.
- Safety goggles to guard eyes
- Dust mask to avoid breathing dust
- Gloves to protect hands from sharp bits
- Ear protection if the tool is loud
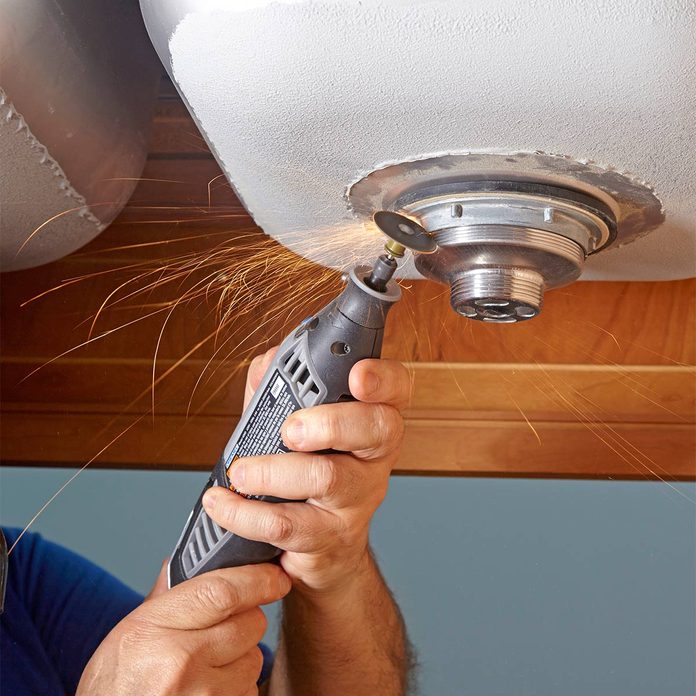
Credit: www.familyhandyman.com
Setting Up For Precision
Using a rotary tool for small craft projects needs careful setup. Precision depends on how well you prepare your workspace and tools.
Good preparation helps you work safely and get clean, accurate results every time.
Workspace Organization
Keep your workspace tidy and well-lit. A clean area helps you focus and avoid mistakes.
Arrange your tools and materials within easy reach to save time and effort.
- Clear the table surface before starting
- Use a bright lamp to light your work
- Keep small parts in containers or trays
- Have a safe place for your rotary tool
Tool Calibration
Check your rotary tool before use. Make sure it runs smoothly and accurately.
Adjust the speed and bit tightness to match your project needs.
- Test the tool on scrap material first
- Tighten the bit securely to avoid wobble
- Set speed low for delicate materials
- Use the right bit for the task
Material Preparation
Prepare your materials to make cutting or engraving easier. Clean and secure them before starting.
Fix small pieces with clamps or tape to keep them steady while working.
- Remove dust or dirt from your material
- Mark your design clearly on the surface
- Use clamps or tape to hold pieces firmly
- Choose materials suitable for your tool’s power
Mastering Basic Techniques
Rotary tools are perfect for small craft projects. They let you work on detailed tasks easily. Learning some basic techniques can improve your results.
Practice cutting, sanding, and polishing to get clean and smooth finishes. Each skill helps you handle different materials and shapes.
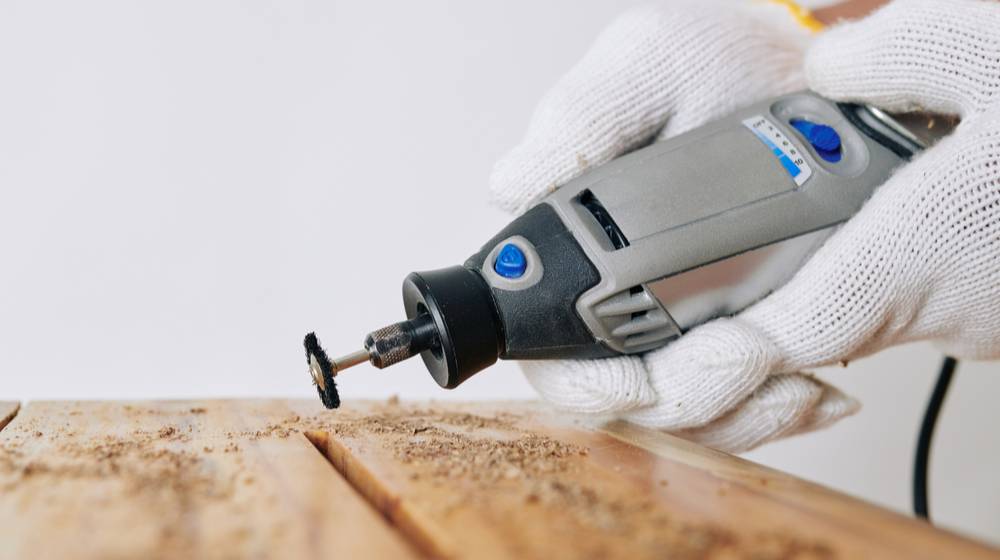
Cutting Tips
Use the right cutting bit for your material. Hold the tool steady and move slowly to avoid mistakes. Always wear safety glasses to protect your eyes.
- Secure your workpiece firmly before cutting.
- Start cutting with light pressure to guide the tool.
- Keep the rotary tool moving to avoid burning the material.
- Use a cutting guide for straight or curved lines.
- Clean the cutting bit regularly to keep it sharp.
Sanding Strategies
Sanding smooths rough edges and shapes your project. Use different grit sanding bits depending on the finish you want. Start with coarse grit and finish with fine grit for best results.
| Grit Level | Purpose | Material Example |
|---|---|---|
| Coarse (60-80) | Remove rough areas quickly | Wood, plastic |
| Medium (100-150) | Shape and smooth edges | Wood, metal |
| Fine (220-400) | Final smooth finish | Wood, metal, plastic |
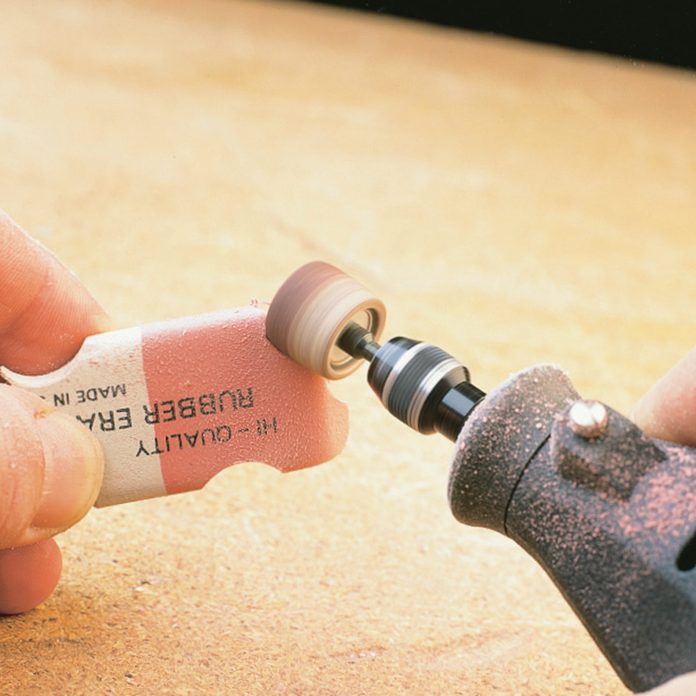
Polishing Methods
Polishing gives your project a shiny, clean look. Use a soft polishing wheel and a gentle touch. Apply polishing compound sparingly for best results.
- Attach a soft felt or cloth wheel to your rotary tool.
- Apply a small amount of polishing compound to the wheel.
- Work in slow, circular motions over the surface.
- Keep the tool moving to avoid heat buildup.
- Wipe the surface with a clean cloth after polishing.
Credit: diyprojects.com
Advanced Tricks For Detail Work
A rotary tool can help you with small craft projects that need fine details. Using the right techniques makes your work cleaner and more precise.
This guide shares tips for engraving, drilling, and handling delicate materials with a rotary tool.
Engraving With Accuracy
Choose small, sharp bits for fine engraving. Keep your hand steady and work slowly to avoid mistakes. Use a light touch to control depth.
- Secure your project firmly to prevent movement.
- Select the right speed setting for the material.
- Practice on scrap material before engraving the final piece.
- Use magnification tools to see details better.
- Clean the bit regularly to avoid clogging.
Drilling Small Holes
Use the thinnest drill bits available for small holes. Start drilling slowly to keep the bit from slipping. Apply gentle pressure and keep the tool straight.
| Material | Recommended Speed | Tip |
| Wood | Low to medium | Use masking tape to reduce splintering |
| Plastic | Medium | Cool with water to avoid melting |
| Metal | Low | Use cutting oil for smooth drilling |
Handling Delicate Materials
Delicate materials need gentle handling. Use soft grips and avoid high speeds that can cause damage. Support the material well to prevent cracks.
- Choose bits designed for fine work, like diamond or carbide tips.
- Hold the tool lightly to feel the material’s response.
- Work in short bursts to avoid overheating.
- Keep your workspace clean and free of dust.
- Wear safety glasses to protect against small debris.
Maintenance For Longevity
Taking care of your rotary tool helps it last longer. Regular maintenance keeps it working well for small craft projects.
Simple steps like cleaning, replacing parts, and storing your tool right can save you time and money.
Cleaning Your Tool
Clean your rotary tool after each use. Dirt and dust can damage the motor and other parts.
Use a soft brush or compressed air to remove debris from vents and moving parts. Avoid water or harsh cleaners.
- Unplug the tool before cleaning
- Brush dust from vents and attachments
- Wipe the outside with a dry cloth
Replacing Parts
Check parts like brushes, collets, and bits regularly. Worn parts reduce tool performance and can cause damage.
Replace parts as soon as you notice wear. Use parts made for your specific rotary tool model.
- Inspect brushes for wear and replace if short
- Change collets if they no longer hold bits tightly
- Use sharp bits for clean cuts and less stress on the motor
Storage Best Practices
Store your rotary tool in a dry, cool place. Avoid moisture and extreme temperatures.
Keep the tool and accessories organized in a case or box. This prevents damage and loss of parts.
- Use a dedicated storage case or box
- Keep accessories in labeled compartments
- Store in a place away from dust and humidity
Troubleshooting Common Issues
Rotary tools are handy for small crafts. Sometimes, they face issues that slow down your work.
Knowing how to fix these problems can save time and keep projects on track.
Overheating Solutions
Rotary tools can get hot after long use. Overheating may damage the motor or parts.
- Turn off the tool and let it cool for 10-15 minutes.
- Use the tool in short bursts instead of long continuous runs.
- Check the air vents for dust and clean them regularly.
- Use the right speed setting for your material to avoid extra strain.
Vibration Control
Excess vibration makes it hard to control the tool and can cause hand fatigue.
| Cause | Fix |
|---|---|
| Loose bits or attachments | Tighten all parts before use |
| Worn or damaged accessories | Replace accessories regularly |
| Unbalanced tool | Hold tool firmly and steady |
Power Fluctuation Fixes
Power drops or surges can stop your tool or damage it.
- Check the power cord for cuts or damage.
- Plug the tool into a stable power source with correct voltage.
- Use a surge protector to prevent sudden power spikes.
- If using a battery, ensure it is fully charged and in good condition.
Frequently Asked Questions
What Is A Rotary Tool Used For In Crafts?
A rotary tool is versatile and perfect for small craft projects. It can be used for cutting, sanding, engraving, polishing, and drilling. This tool is ideal for detailed work and can handle various materials like wood, metal, and plastic. Its compact size makes it easy to maneuver.
How To Choose The Right Rotary Tool Bit?
Choosing the right bit depends on your project. For cutting, use a cutting wheel or disc. For sanding, opt for sanding drums or bands. Engraving requires a diamond wheel or carbide bit. Always match the bit to the material for best results and safe operation.
Can Beginners Use A Rotary Tool Safely?
Yes, beginners can use a rotary tool safely with some practice. Start by reading the manual and wearing safety gear. Practice on scrap materials first. Always secure your project and maintain a steady hand. Gradually increase speed and pressure for precision.
Safety should always be your top priority.
How To Maintain A Rotary Tool?
Regular maintenance ensures optimal performance. Clean the tool after each use to remove dust and debris. Regularly check and replace worn-out bits and accessories. Lubricate moving parts as needed. Store the tool in a cool, dry place. Following these steps will prolong the life of your rotary tool.
Conclusion
Using a rotary tool makes small craft projects easier and more fun. Keep your workspace clean and always wear safety gear. Choose the right bits for each task to get the best results. Take your time and work carefully to avoid mistakes.
Practice helps you improve with every project. Enjoy the process and create something unique. Small steps lead to great crafts. Keep these tips in mind for your next project. You will see better results and feel more confident. Crafting with a rotary tool can be simple and rewarding.