If you want to create beautiful, detailed designs on wood, a rotary tool is one of your best friends. But using it the right way can make all the difference between a smooth, professional-looking engraving and a frustrating mess.
You might be wondering how to get the most from your rotary tool without damaging your wood or wasting time. This guide will give you simple, practical tips to help you master wood engraving quickly and confidently. Keep reading to unlock the secrets that will turn your projects into impressive works of art.
Choosing The Right Rotary Tool
Using a rotary tool for wood engraving requires the right choice of equipment. The tool you pick affects your control and the quality of your work.
Choosing the best rotary tool means looking closely at its features and the brand behind it. This helps you find a tool that fits your needs.
Key Features To Look For
Some features matter more when engraving wood with a rotary tool. These features help you work safely and efficiently.
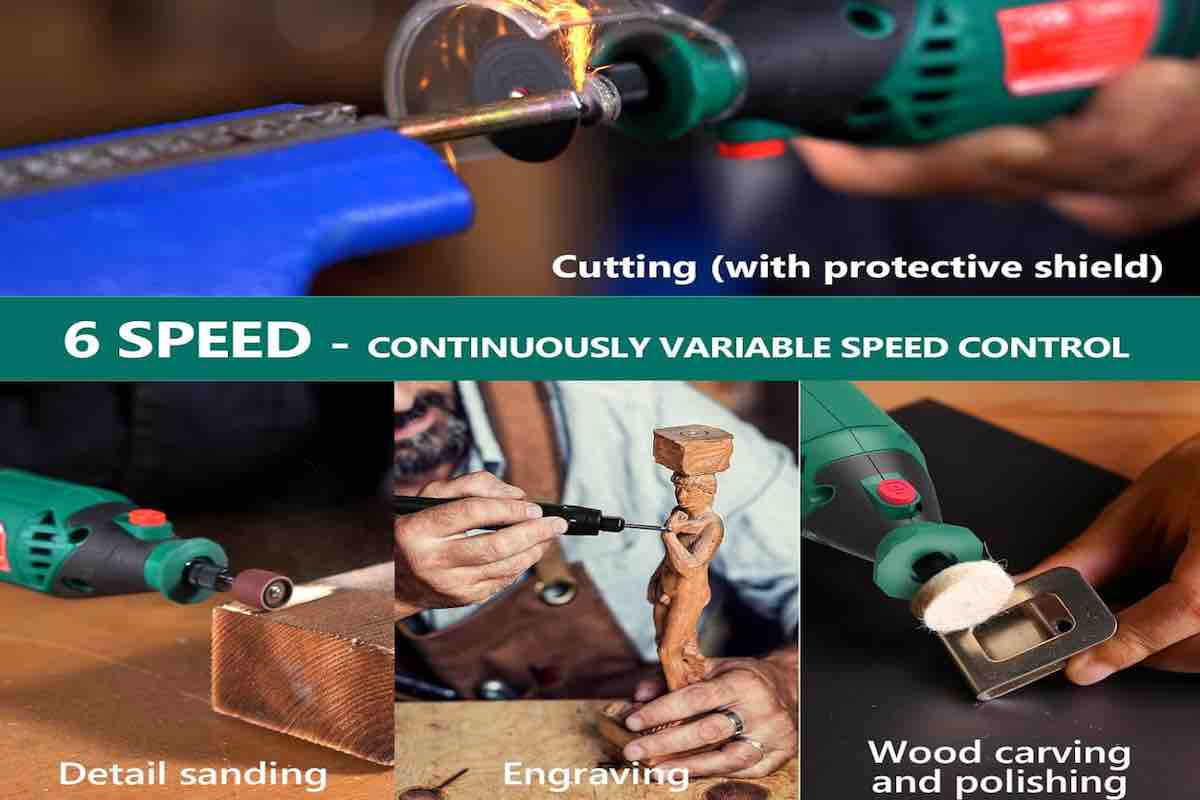
- Variable Speed Control:Adjust speed to match wood type and detail level.
- Power:Look for enough power to engrave without stalling.
- Ergonomic Design:Choose a tool that feels comfortable in your hand.
- Accessory Compatibility:Ensure it supports different engraving bits.
- Durability:A strong build lasts longer and handles tough jobs.
Best Brands For Wood Engraving
Some brands are known for quality rotary tools suitable for wood engraving. Choosing a trusted brand can give you more confidence in your tool.
| Brand | Known For | Price Range |
| Dremel | Wide range of accessories and variable speed | Medium to High |
| Proxxon | Precision tools for detailed work | Medium |
| WEN | Affordable and reliable for beginners | Low to Medium |
| Makita | Powerful motors and durable design | High |
Selecting Appropriate Bits
Choosing the right bits for your rotary tool is important for wood engraving. The bits you use affect the quality and style of your work.
Different bits create different cuts and textures. Picking the correct bit helps you reach your desired effect with ease.
Types Of Bits For Different Effects
There are many bits designed for wood engraving. Each bit gives a unique look and feel to your project.
- Diamond Bits:Great for fine detail and smooth lines.
- Carbide Bits:Perfect for rough cuts and removing large areas.
- High-Speed Steel (HSS) Bits:Good for general engraving and shaping.
- Ball Nose Bits:Create rounded grooves and curved designs.
- Flat Bits:Make straight cuts and smooth surfaces.
- Needle Bits:Ideal for very fine lines and intricate patterns.
Choose bits based on the detail and texture you want. Test different bits to see which fits your style best.
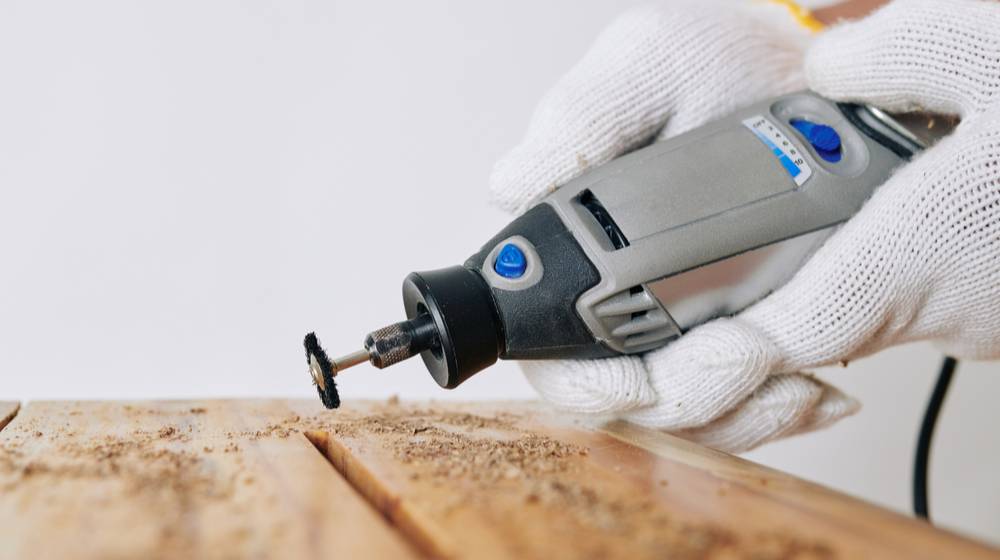
Maintaining And Replacing Bits
Keeping your bits clean helps them last longer. Dirt and wood dust can reduce their cutting power.
Replace bits when they become dull or damaged. Using worn bits can harm your work and the tool.
- Clean bits after each use with a brush or cloth.
- Check bits for cracks or chips before starting work.
- Store bits in a safe place to avoid damage.
- Swap out dull bits to keep your cuts sharp and clean.
Preparing Wood For Engraving
Preparing wood properly helps you get clean and clear engravings. This process starts with picking the right wood type. Then, you prepare the surface for your rotary tool.
Good preparation makes engraving easier and improves the final look of your design.
Choosing Suitable Wood Types
Softwoods and hardwoods work differently for engraving. Some woods cut easier and show details better. Choose wood that fits your project style.
- Basswood: Soft, smooth, and easy to carve.
- Birch: Harder, with a fine grain pattern.
- Pine: Soft but has knots that can be tricky.
- Maple: Hard and durable with a smooth surface.
- Cedar: Soft with a pleasant smell and good texture.
Surface Preparation Techniques
Preparing the wood surface helps your rotary tool move smoothly. Clean and smooth surfaces give sharper engraving results.
| Technique | Description |
| Sanding | Use fine-grit sandpaper to smooth the wood. |
| Cleaning | Remove dust and dirt with a soft cloth. |
| Sealing | Apply a light coat of wood sealer for a uniform surface. |
| Marking | Draw your design lightly before engraving. |

Credit: eternaltools.com
Setting Up Your Workspace
Setting up a good workspace helps you work safely and easily. A clean, organized area keeps your tools ready.
Good lighting and a flat surface improve your wood engraving results. Take time to prepare your space before starting.
Safety Precautions
Wear safety glasses to protect your eyes from dust and wood chips. Use a mask to avoid breathing dust.
Keep your workspace well-ventilated. Avoid loose clothing or jewelry that can get caught in the tool.
- Wear eye protection
- Use a dust mask
- Work in a ventilated area
- Avoid loose clothes and jewelry
- Keep a first aid kit nearby
Tool And Material Organization
Arrange your rotary tool and bits within reach. Use containers or holders to keep small parts from getting lost.
Sort your wood pieces by size and type. Clear space for your project to avoid clutter and distractions.
- Place rotary tool on a steady surface
- Use holders for bits and accessories
- Organize wood by size and type
- Keep workspace clean and free of clutter
- Have extra lighting focused on your work
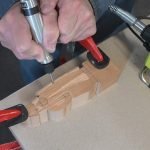
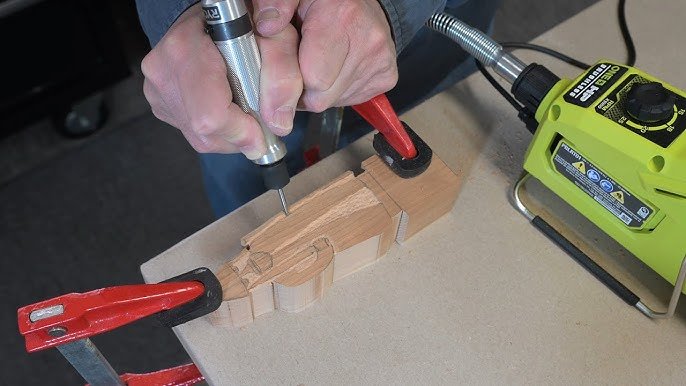
Mastering Engraving Techniques
Using a rotary tool for wood engraving takes practice. Learning how to control the tool helps create better designs.
Focus on how speed and pressure affect the engraving. Also, learn how to add fine details and textures.
Controlling Speed And Pressure
Adjust the rotary tool speed to match the wood type. Softer wood needs slower speed to avoid damage.
Use light pressure to prevent deep cuts. Heavy pressure can break the tool bit or ruin the design.
- Start with low speed and increase slowly
- Keep steady, gentle pressure
- Test on scrap wood before engraving
Creating Fine Details And Textures
Use smaller bits for fine lines and small details. This helps make the design clear and sharp.
Try different bit shapes to add texture. For example, round bits create soft edges, while pointed bits add sharp lines.
- Choose bits based on detail size needed
- Practice slow and steady movements
- Use shading techniques by varying pressure
Credit: diyprojects.com
Troubleshooting Common Issues
Using a rotary tool for wood engraving can be tricky. Small problems can affect your work. Fixing these issues helps you get better results.
This guide covers two common issues: avoiding burn marks and preventing bit slippage. Each section gives tips to solve these problems.
Avoiding Burn Marks
Burn marks happen when the tool stays too long on one spot or moves too slowly. The wood can scorch and ruin your design.
- Use a light touch. Let the tool do the work without pressing hard.
- Keep the tool moving steadily. Avoid stopping in one place for too long.
- Adjust the speed. Use lower speeds for soft woods to reduce heat buildup.
- Take breaks to let the wood cool down during long engraving sessions.
- Test your settings on scrap wood before starting your main project.
Preventing Bit Slippage
Bit slippage can cause uneven cuts and damage your work. It happens when the bit is not tight or the wood is too hard.
| Cause | Solution |
| Loose bit | Tighten the collet firmly with the correct tool |
| Worn or damaged bit | Replace the bit with a new one |
| Wood too hard | Use a sharper bit or lower speed |
| Tool pressure too high | Apply gentle pressure and let the bit cut |
Finishing And Protecting Engraved Wood
After engraving wood with a rotary tool, finishing and protecting the design is important. This helps keep your work looking great for a long time.
Proper finishing adds smoothness and guards the wood from damage and dirt.
Sanding And Cleaning
Start by sanding the engraved wood carefully. Use fine-grit sandpaper to smooth edges and remove rough spots without harming the design.
- Use a soft brush to clean dust from the carved areas.
- Wipe the surface with a damp cloth to remove leftover particles.
- Let the wood dry completely before applying any finish.
Applying Sealants And Finishes
Sealants protect the wood and enhance the engraved details. Choose a finish that suits your project’s look and use.
| Type of Finish | Description | Best Use |
| Polyurethane | Durable, water-resistant coating | Outdoor or heavy-use items |
| Wax | Soft sheen and smooth touch | Indoor decorative pieces |
| Oil Finish | Enhances natural grain and color | Furniture and art objects |
| Lacquer | Fast-drying, glossy surface | Fine crafts and small projects |
Credit: tendsupplies.com
Frequently Asked Questions
What Is The Best Rotary Tool For Wood Engraving?
The best rotary tool for wood engraving is one with variable speed settings. Consider tools like Dremel for their versatility and precision. Ensure it comes with engraving accessories for detailed work. Choose a tool that is comfortable to handle for extended periods.
How Do You Start Wood Engraving With A Rotary Tool?
Start by selecting the right bit for your design. Secure your wood piece and outline your design lightly. Use a low speed to begin engraving, increasing speed as needed. Always wear safety glasses to protect your eyes from wood dust.
Can Beginners Use A Rotary Tool For Engraving?
Yes, beginners can use a rotary tool for engraving. Start with simple designs and practice on scrap wood. Choose a rotary tool with easy-to-handle features. Follow safety precautions and gradually work up to more complex projects as you gain confidence.
What Safety Tips Should I Follow When Engraving?
Always wear safety glasses to protect your eyes. Use gloves to protect your hands from wood splinters. Work in a well-ventilated area to avoid inhaling dust. Secure your workpiece to prevent it from moving. Keep your rotary tool clean and well-maintained for safe operation.
Conclusion
Using a rotary tool for wood engraving takes practice and care. Start with simple designs to build your skills. Always wear safety gear to protect yourself. Choose the right bits for smooth and clean cuts. Keep your tool steady and work slowly for better results.
With patience, you can create beautiful wood engravings. Enjoy the process and learn from each project. Your creativity will grow with each use. Keep experimenting and have fun with your rotary tool!