Are you ready to transform your floors into stunning masterpieces? With the right tools and techniques, you can achieve a smooth and flawless finish that will leave everyone impressed.
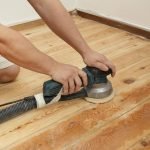
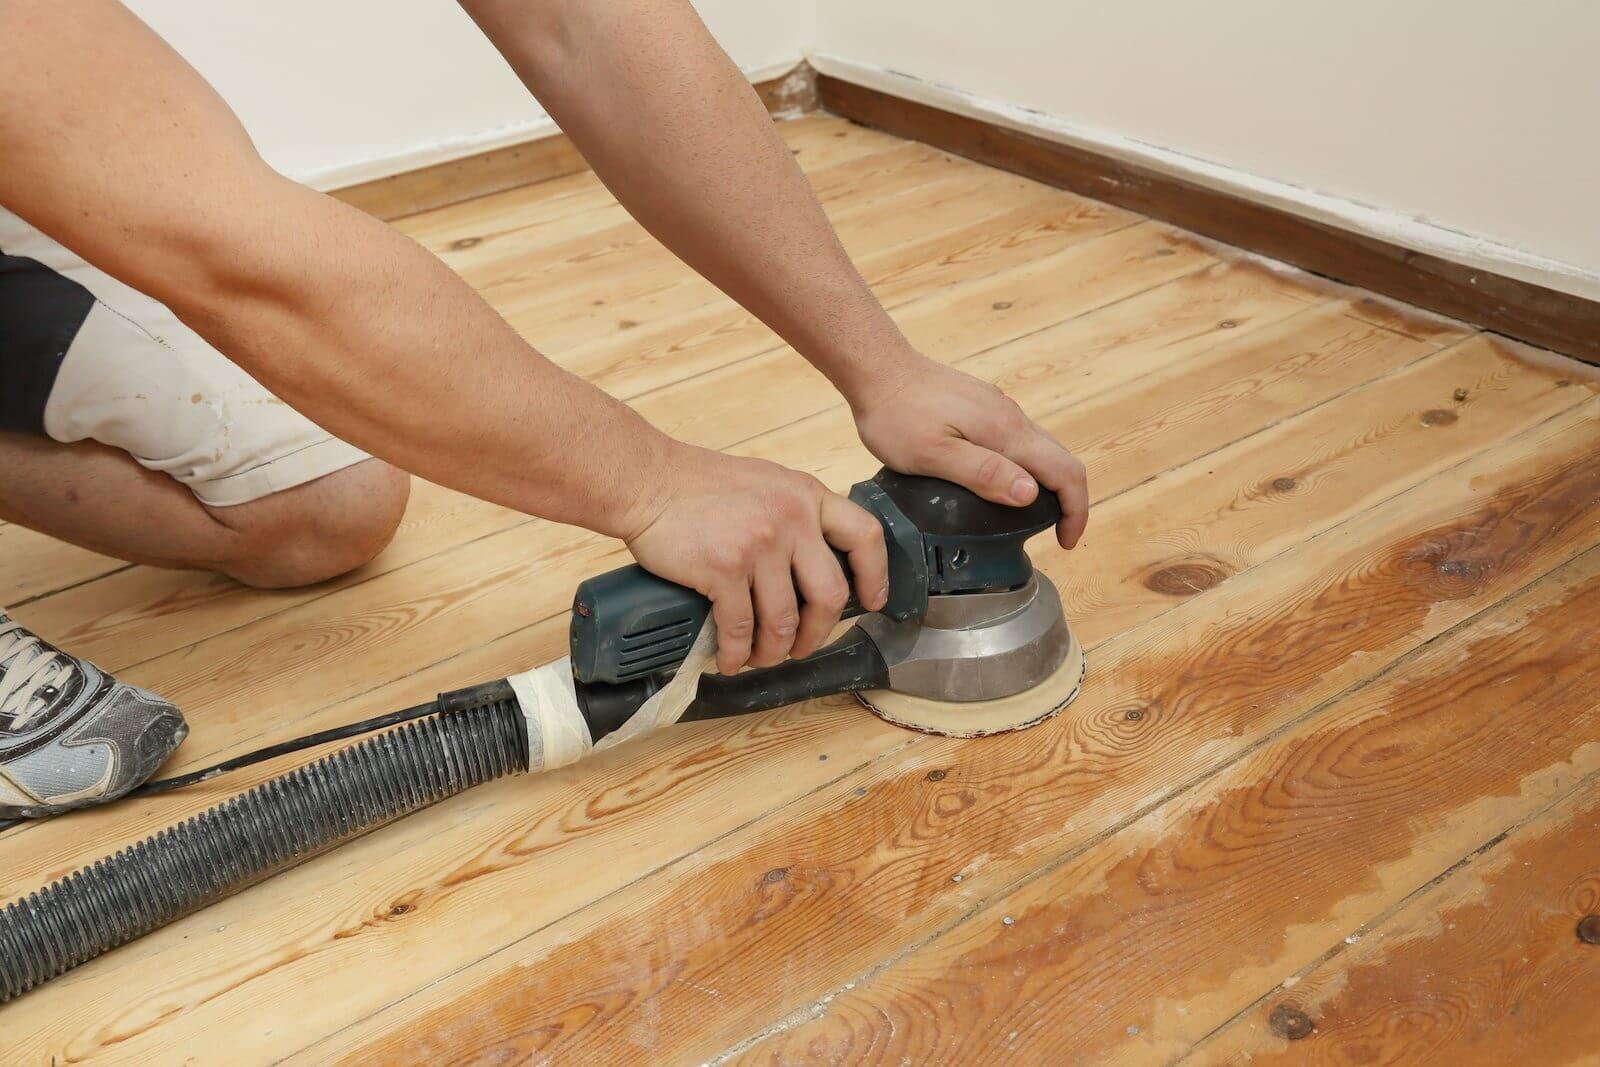
One of the most effective tools for this job is the orbital sander. Easy to use and incredibly efficient, this tool can make your floor finishing project a breeze. But using it correctly is crucial to achieving the best results.
In this guide, you’ll discover essential tips for using an orbital sander to bring out the beauty in your floors. Whether you’re a DIY enthusiast or a seasoned pro, these insights will help you avoid common mistakes and ensure a perfect finish. Keep reading to unlock the secrets to flawless floor finishing!
Choosing The Right Orbital Sander
Using an orbital sander helps make your floor smooth and ready for finishing. Picking the right sander is important for good results and easy work.
This guide covers key points to choose the best orbital sander for floor finishing projects.
Types Of Orbital Sanders
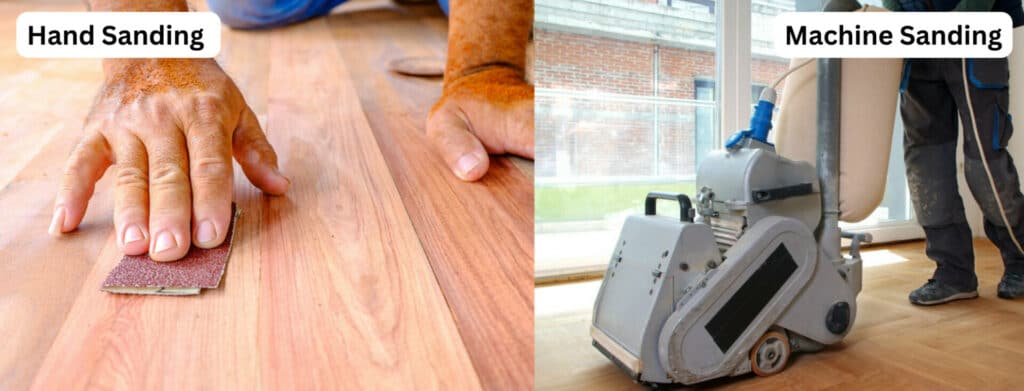
There are two main types of orbital sanders: palm sanders and random orbit sanders. Palm sanders are small and good for light sanding. Random orbit sanders move in a circular and elliptical motion. This helps avoid swirl marks on floors.
Random orbit sanders are better for floor finishing because they sand faster and give a smoother surface.
- Palm Sanders:Small, light, good for edges and corners.
- Random Orbit Sanders:Larger, powerful, best for big floor areas.
Selecting The Best Grit Sandpaper
Choosing the right grit sandpaper matters for floor sanding. Coarse grit removes old finish and rough spots. Fine grit smooths the floor before finishing.
Start with a lower grit and move to higher grit sandpaper to get a smooth surface.
- 40-60 Grit:Removes old finish and rough wood.
- 80-100 Grit:Smooths the wood surface.
- 120-150 Grit:Prepares floor for final finish.
Power And Size Considerations
Power and size affect how well the sander works on floors. A powerful motor helps the sander work longer without slowing down. Bigger sanders cover more floor area faster.
Choose a sander size and power that match your floor size and project needs.
- Higher power is good for large or rough floors.
- Medium power works for most home floors.
- Smaller sanders are easier to control but slower.
Preparing The Floor For Sanding
Before using an orbital sander, prepare the floor well. Proper preparation helps get smooth and even results.
Cleaning and fixing the floor first saves time and avoids damage during sanding.
Clearing And Cleaning The Area
Remove all furniture and rugs from the room. Clear the floor to avoid obstacles while sanding.
Sweep or vacuum the floor well. Dust and dirt can scratch the surface when sanding.
- Take out all movable items
- Sweep or vacuum carefully
- Check corners and edges
- Remove nails or staples
Repairing Floor Imperfections
Look for cracks, holes, or loose boards on the floor. Fix these problems before sanding.
Use wood filler for holes and cracks. Tighten nails or screws to secure loose boards.
- Fill holes with wood filler
- Sand filler smooth after drying
- Secure loose floorboards
- Remove old glue or debris
Safety Precautions
Wear safety gear before sanding. Protect your eyes, ears, and lungs from dust and noise.
Check the sander for damage. Use it in a well-ventilated area and keep the cord clear of the machine.
- Wear safety goggles and earplugs
- Use a dust mask or respirator
- Inspect the sander before use
- Keep work area ventilated
- Clear power cord from sanding path
Techniques For Effective Sanding
Using an orbital sander properly ensures a smooth finish on your floors. Good sanding techniques save time and prevent damage.
This guide covers key methods to handle the sander, follow sanding patterns, and avoid common mistakes.
Proper Sander Handling
Hold the sander firmly with both hands to keep it steady. Keep the sander flat on the floor to avoid gouges.
- Start the sander before it touches the floor
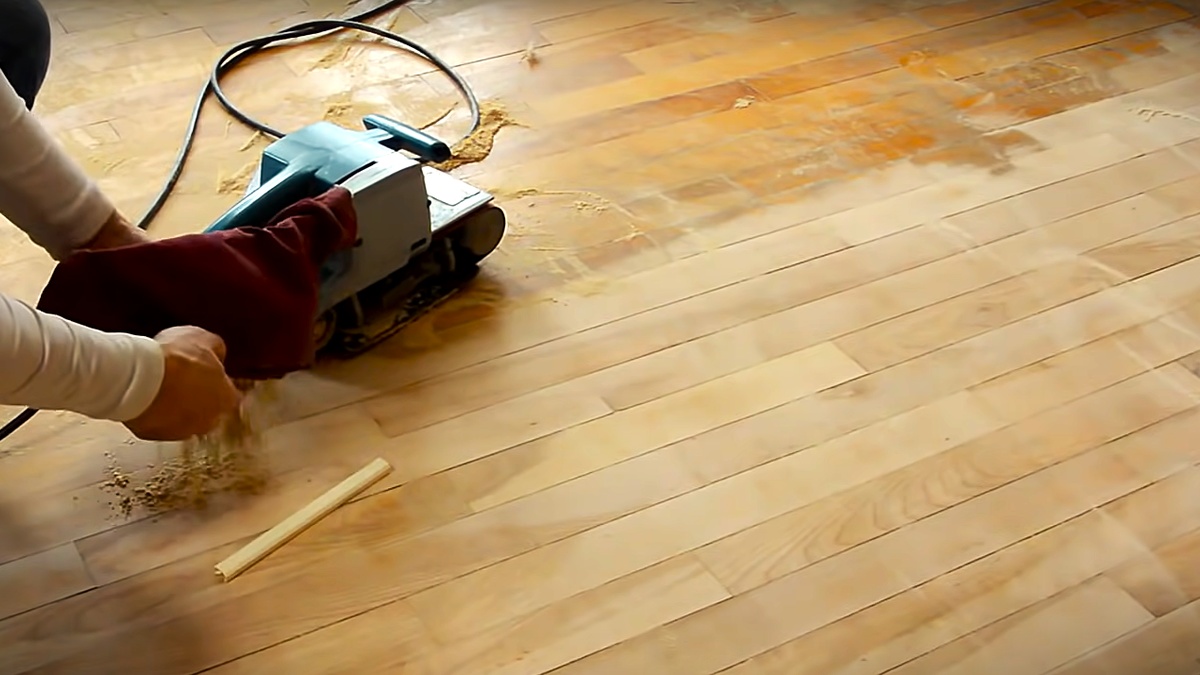
- Move the sander slowly and evenly
- Do not press down hard; let the sander do the work
- Keep the power cord away from the sanding path
Sanding Patterns To Follow
Use consistent sanding patterns to get an even finish. Change directions between grits to remove scratches.
| Pattern | Description |
| Back and Forth | Move the sander in straight lines along the grain. |
| Cross-Sanding | Sand perpendicular to the grain for uniformity. |
| Circular Motion | Use small circles to blend edges and corners. |
Avoiding Common Mistakes
Watch out for errors that can ruin the floor finish. Fixing mistakes early saves effort later.
- Do not stay too long in one spot to avoid dips
- Replace sandpaper when worn to maintain effectiveness
- Clean dust often to prevent clogging
- Check the floor regularly to see your progress
Credit: mrsander.co.uk
Maintaining The Orbital Sander
Keeping your orbital sander in good shape helps it work well for a long time. Regular maintenance stops problems and keeps your floor finishing smooth.
Simple care tasks will improve the sander’s life and the quality of your work. Clean it, check parts, and fix small issues early.
Cleaning And Dust Management
Dust from sanding can clog your sander and harm its motor. Clean the dust bag or container after each use.
Use a soft brush or compressed air to clear dust from vents and moving parts. This stops overheating and keeps the sander running smoothly.
- Empty the dust bag often to prevent clogging
- Wipe the sander with a dry cloth after use
- Use compressed air to clean vents and crevices
- Wear a mask to avoid breathing dust
Replacing Sanding Pads
Sanding pads wear out and lose grip after time. Change them as soon as they show damage or stop sanding well.
Check the pads before each project. Using good pads gives an even finish and protects your sander from damage.
- Remove worn or torn pads immediately
- Match the pad type to your sanding task
- Attach new pads firmly to avoid slipping
- Store spare pads in a dry place
Troubleshooting Common Issues
If your sander stops working or vibrates too much, check for simple problems first. Fixing these can save time and money.
Loose parts, blocked vents, or worn pads cause many issues. Regular checks help spot these problems early.
- Check power cords for cuts or damage
- Tighten any loose screws or parts
- Clean dust from vents to prevent overheating
- Replace sanding pads if vibration increases
- Listen for unusual sounds and stop if they occur
Finishing Touches After Sanding
After sanding your floor with an orbital sander, the final steps are very important. These steps help protect the wood and make it look great.
Cleaning, staining, and maintaining the floor will keep it beautiful for a long time.
Removing Dust And Debris
Dust and debris from sanding can cause problems when you apply finish. Clean the floor well before the next step.
Use a vacuum to pick up most of the dust. Then wipe the floor with a damp cloth to remove any fine dust left behind.
- Vacuum all corners and edges
- Use a microfiber cloth for wiping
- Check for dust in cracks and joints
Applying Stain Or Finish
Choose a stain or finish that suits your wood floor. Apply it evenly using a brush or cloth. Work in small sections for best results.
Let the stain or finish dry fully before walking on the floor. This helps avoid marks or uneven color.
- Test stain on a small area first
- Apply thin, even coats
- Follow manufacturer drying times
Curing And Maintenance Tips
After finishing, the floor needs time to cure. Avoid heavy use or placing furniture for several days.
Keep the floor clean by sweeping regularly. Use floor protectors under furniture to prevent scratches.
- Wait at least 48 hours before heavy use
- Sweep or vacuum often to remove dirt
- Use felt pads under furniture legs
- Clean spills quickly to avoid stains
Credit: www.ecohome.net
Credit: mrsander.co.uk
Frequently Asked Questions
How Do I Prepare Floors For Orbital Sanding?
Clean the floor thoroughly and remove all furniture. Check for nails or debris that may damage the sander. Ensure the floor is dry and free of dust for smooth sanding.
What Grit Sandpaper Is Best For Floor Finishing?
Start with 60-80 grit for rough sanding, then move to 100-120 grit for a smooth finish. Finer grits help achieve a polished surface.
How Do I Avoid Swirl Marks With An Orbital Sander?
Keep the sander moving constantly and avoid staying in one spot. Use the correct grit sandpaper and apply even pressure for a smooth finish.
Can I Use An Orbital Sander On Hardwood Floors?
Yes, an orbital sander is ideal for hardwood floors. It provides an even finish without damaging the wood when used correctly.
Conclusion
Using an orbital sander helps create smooth, even floors. Take your time and work in small sections. Keep the sander moving to avoid marks. Always wear safety gear to protect yourself. Clean dust often for better results. With patience and care, your floor will look great.
Practice makes the process easier and faster. Try these tips on your next floor project. You will enjoy a polished, professional finish. Simple steps lead to beautiful floors every time.