Imagine walking into your garage or workshop and instantly finding every tool you need, neatly organized and within arm’s reach. Sounds like a dream, right?
If you’ve ever felt the frustration of rummaging through cluttered drawers or piles of tools, you’re not alone. The good news is, there’s a simple solution: pegboards. These versatile panels can transform your space and streamline your tool organization effortlessly.
But how do you make the most of them? You’ll discover practical tips for using pegboards to organize your tools efficiently, saving you time, reducing stress, and even enhancing your productivity. Stay with us, and let’s turn that chaotic mess into an orderly haven you’ll love working in.

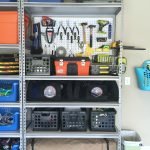
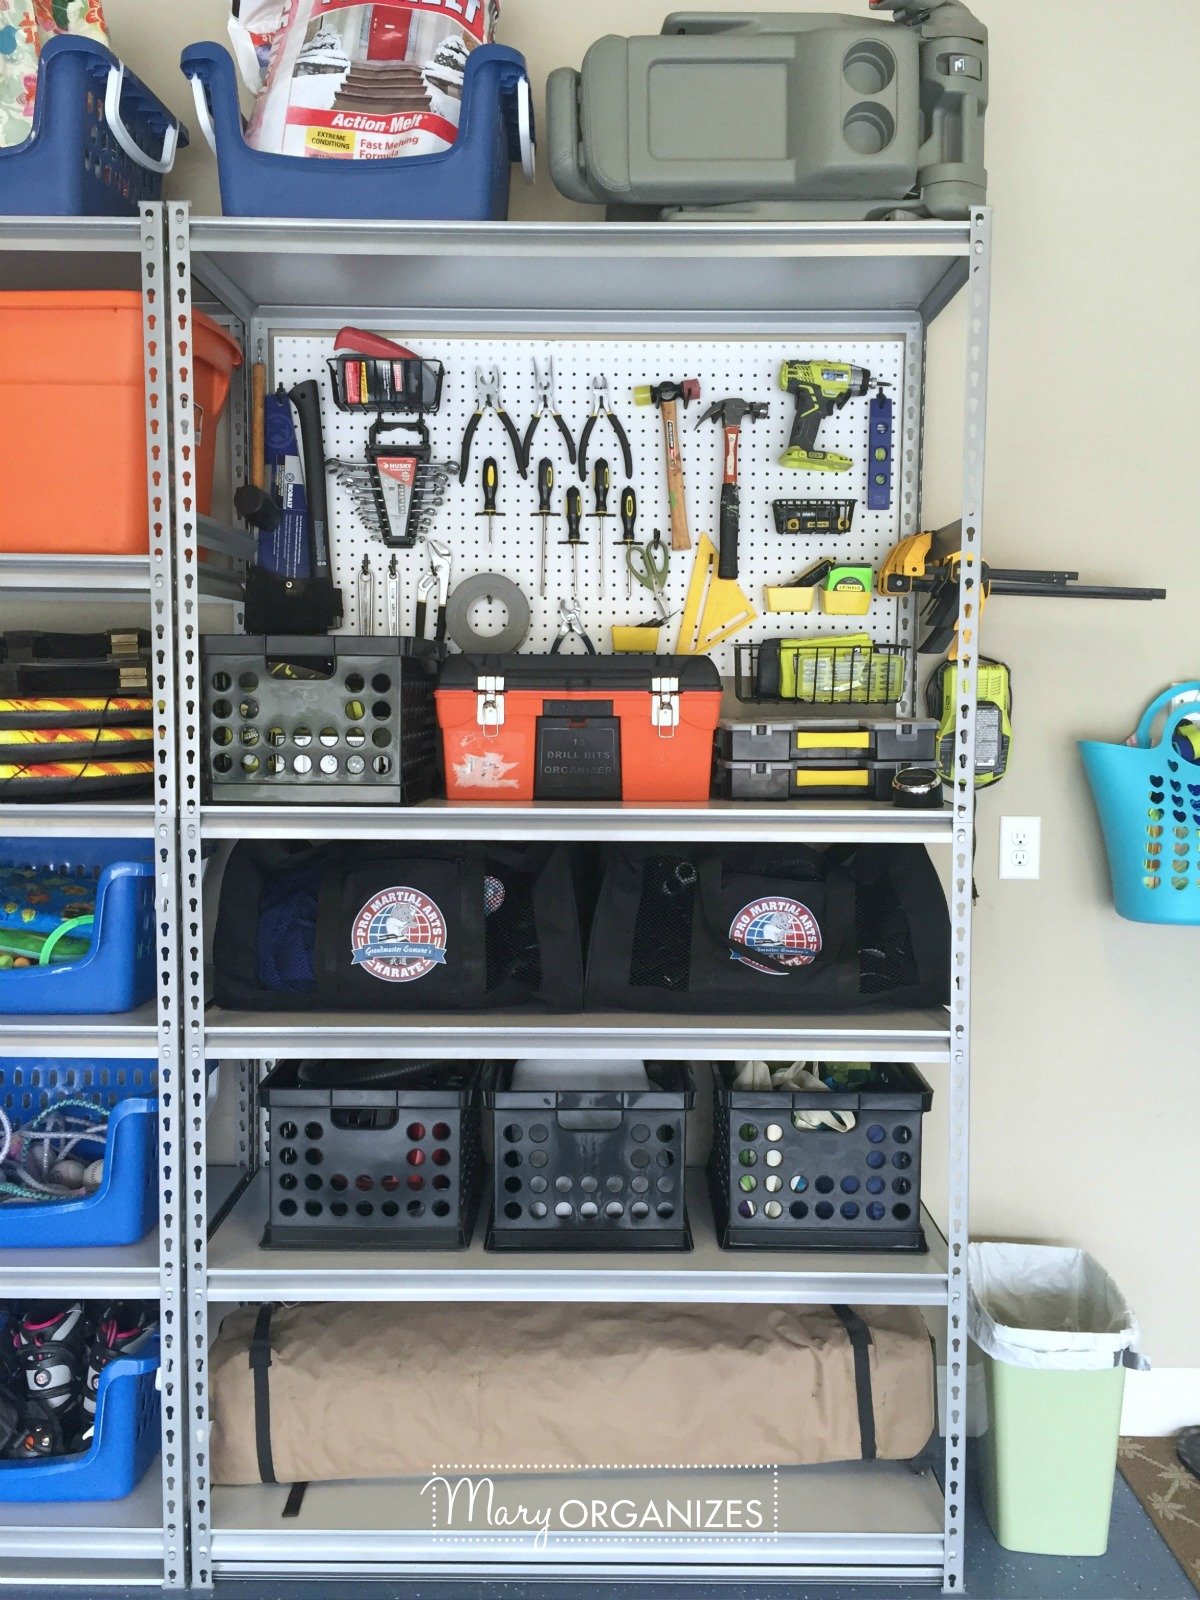
Credit: www.reddit.com
Choosing The Right Pegboard
Choosing the right pegboard is key to organizing your tools well. The right pegboard holds your tools safely and fits your workspace.
Think about the material, size, and how you will mount the pegboard before you buy.
Material Options
Pegboards come in different materials. Each material has its own strength and look. Choose one that fits your tools and room.
- Wood:Strong and looks nice but may warp if wet.
- Metal:Very strong and durable for heavy tools.
- Masonite (hardboard):Common and affordable but less strong.
- Plastic:Lightweight and resists moisture but may bend.
Size And Thickness
Choose the right size so the pegboard fits your wall space. Pick thickness based on the weight of your tools.
- Standard pegboards are usually 4 feet by 8 feet.
- Smaller boards fit in tight spaces or corners.
- Thicker boards hold heavier tools better.
- Thin boards work for light tools and small items.
Mounting Considerations
How you mount the pegboard affects its strength and usability. Some pegboards need space behind for hooks.
- Mount on furring strips to leave space for hooks.
- Use screws that fit the wall type (drywall, wood, concrete).
- Ensure the pegboard is level for better tool placement.
- Consider using wall anchors for heavy loads.
Essential Pegboard Accessories
Pegboards help keep tools organized and easy to find. Adding the right accessories makes your pegboard more useful.
This guide covers important pegboard accessories to improve your tool storage. You will learn about hooks, bins, shelves, and magnetic strips.
Hooks And Holders
Hooks and holders are the most common pegboard accessories. They hang tools neatly and save space.
Different hooks hold different tools. Choose hooks that fit your tool shapes and weights well.
- Straight hooks for screwdrivers and wrenches
- Curved hooks for hammers and pliers
- Tool holders with slots for drills and saws
- Multi-hook racks for grouped tools
Bins And Shelves
Bins and shelves add storage for small parts and bulky items. They keep your workspace tidy.
Use bins for nails, screws, and bolts. Shelves hold larger tools like paint cans or glue bottles.
- Plastic bins for easy cleaning
- Clear bins to see contents quickly
- Adjustable shelves for different tool sizes
- Stackable bins to save space
Magnetic Strips
Magnetic strips attach to pegboards to hold metal tools firmly. They keep tools visible and ready to use.
Magnetic strips work well for screwdrivers, wrenches, and drill bits. They prevent tools from falling off the pegboard.
- Strong magnets for heavy tools
- Long strips for many tools
- Easy to install and move
- Keep sharp tools safe and accessible
Planning Your Layout
Organizing tools on a pegboard needs good planning. A clear layout helps you find tools fast and keeps your workspace tidy.
Think about how you use your tools and where each tool fits best. This saves time and space.
Grouping Tools By Type
Group tools that do similar jobs together. This makes it easy to grab what you need quickly.
- Keep all screwdrivers in one area
- Hang wrenches by size on one row
- Place cutting tools like scissors and knives nearby
- Group measuring tools together
Maximizing Space
Use every inch of your pegboard smartly. Arrange tools to fit tightly but still be easy to remove.
| Tool Type | Best Pegboard Hook | Placement Tip |
|---|---|---|
| Hammers | Heavy-duty hooks | Place near center for balance |
| Screwdrivers | Small hooks or holders | Arrange by size and type |
| Pliers | Curved hooks | Hang in a cluster for easy reach |
| Measuring Tape | Loop hooks | Keep near workbench |
Accessibility Tips
Put the tools you use most often at eye level. This reduces bending or stretching.
Try this setup:
- Place daily tools between 4 and 6 feet high
- Keep rarely used tools above or below this range
- Label areas to quickly spot where each tool belongs
Installing Your Pegboard
Installing a pegboard is a smart way to keep tools neat and easy to find. A well-installed pegboard holds weight and looks tidy.
Follow simple steps to prepare the wall, secure the board, and add accessories for a strong setup.
Wall Preparation
Start by choosing a clean, flat wall area. Remove any nails, screws, or hooks from the wall.
Check for studs behind the wall. Use a stud finder to locate them. Mark these spots with a pencil.
- Clear space around the wall
- Use a level to mark a straight line
- Measure the pegboard size to plan placement
Securing The Board
Attach the pegboard to the wall using screws and anchors. Screwing into studs is best for strength.
Use spacers behind the pegboard to create a gap. This space lets hooks fit easily into holes.
- Drill pilot holes in the pegboard
- Place spacers between wall and board
- Use screws long enough to hold firmly
- Tighten screws without warping the board
Adding Accessories
After securing the board, add hooks, shelves, and holders to organize your tools.
Arrange accessories by tool size and frequency of use. Keep heavy tools near studs for safety.
- Use different hook sizes for various tools
- Add small bins for screws and nails
- Place shelves for power tools
- Label tool spots for easy finding
Maintaining Organization
Keeping your pegboard organized helps you find tools fast. It also keeps your workspace tidy and safe.
Use simple habits to maintain order. This makes your tool area efficient and easy to use every day.
Regular Tool Placement
Always return tools to their assigned spots on the pegboard. This keeps everything easy to spot and grab.
- Hang each tool in the same place every time.
- Group similar tools together for quick access.
- Use labels or outlines to mark tool spots.
- Check the pegboard daily to keep order.
Updating Layouts
Change your pegboard layout as your tool collection grows or your needs shift. A good layout saves time and space.
| Reason to Update | What to Do |
| New tools added | Make space and group by type |
| Tools rarely used | Move them to less visible areas |
| Improved workflow | Rearrange tools by task order |
| Damaged hooks | Replace or repair for safety |
Cleaning And Care
Keep your pegboard clean and in good shape. This protects tools and keeps your area neat.
Follow this simple cleaning routine:
- Remove all tools before cleaning.
- Wipe the pegboard with a damp cloth to remove dust and dirt.
- Check hooks and fasteners for rust or damage.
- Dry the board completely before rehanging tools.

Credit: www.rockler.com
Creative Pegboard Ideas
Pegboards offer a smart way to keep your tools neat and easy to find. You can customize them to fit your space and style.
Use simple tricks to make your pegboard both useful and attractive. Here are some ideas to help you organize better.
Color Coding
Color coding helps you spot the tool you need fast. Paint hooks or use colored tags to group tools by type or use.
- Use red for cutting tools
- Blue for measuring tools
- Green for fastening tools
- Yellow for electrical tools
Labeling Tools
Labels make your pegboard clear and easy to use. You can write tool names or draw simple icons next to each spot.
| Label Type | Benefit |
| Text Labels | Easy to read and create |
| Icon Labels | Quick to recognize |
| Magnetic Labels | Easy to move and update |
| Color-coded Labels | Match tool categories |
Incorporating Lighting
Good lighting improves visibility and safety. Add small LED strips or clip-on lights to brighten your pegboard area.
- Use battery-powered LED strips for easy installation.
- Place lights above or below rows of tools.
- Choose warm white light for comfort.
- Make sure wires do not block tool access.
Troubleshooting Common Issues
Using pegboards for tool organization can save space and keep tools easy to find. Some common problems can affect how well your pegboard works.
Knowing how to fix these issues will help you keep your tools safe and your workspace tidy.
Loose Hooks
Loose hooks can cause tools to fall and get damaged. This usually happens when hooks are not inserted properly or the pegboard holes are worn out.
- Push hooks firmly into the pegboard holes until they click.
- Replace bent or damaged hooks with new ones.
- Use hooks with locking mechanisms for heavy tools.
- Check pegboard holes for wear and replace the board if needed.
Overcrowding
Putting too many tools close together makes it hard to remove them and can cause damage. Overcrowding also hides smaller tools.
- Group tools by size or type to keep things organized.
- Leave space between hooks to make tools easy to grab.
- Remove tools you don’t use often to free up space.
- Use additional pegboards if needed to spread out tools.
Wall Damage Prevention
Mounting a pegboard can damage walls if done incorrectly. It is important to protect your wall and keep the pegboard stable.
| Tip | How It Helps |
|---|---|
| Use wall anchors or studs | Keeps pegboard secure and prevents wall holes from enlarging |
| Install a backing board | Protects the wall and spreads out the weight |
| Avoid overloading pegboard | Prevents stress on mounting points and wall surface |
| Check mounting screws regularly | Stops screws from loosening and causing damage |

Credit: keepohome.com
Frequently Asked Questions
How Do Pegboards Improve Tool Organization?
Pegboards keep tools visible and accessible. They save space by vertical storage. This reduces clutter and speeds up work. Hooks and holders customize the layout. It’s easy to rearrange tools as needed.
What Materials Work Best For Pegboards?
Wood, metal, and hardboard are common pegboard materials. Metal pegboards are durable and support heavy tools. Wood pegboards offer a classic look but less strength. Choose material based on tool weight and workspace style.
How Do You Install A Pegboard For Tools?
Locate wall studs for secure mounting. Use spacers to create space behind the board. Drill holes and screw the pegboard into studs. Ensure it’s level for proper tool hanging. This setup supports heavy tools safely.
What Accessories Are Essential For Pegboard Tool Storage?
Hooks, bins, shelves, and clips are key accessories. They hold different tool types securely. Use labeled bins for small parts. Adjustable hooks accommodate various tool sizes. Accessories keep the pegboard organized and functional.
Conclusion
Pegboards keep your tools neat and easy to find. They save space and help you work faster. Organize tools by size and use for best results. Regularly update your pegboard to match your needs. Simple steps lead to a tidy and efficient workspace.
Start arranging today and enjoy a cleaner, safer area. Tool organization becomes less stressful with these tips. Small changes make a big difference in your workshop.